

Large rectangular tiles can make a small floor feel calmer and a big floor feel grand — but only when the layout is planned before the first tile is stuck down. With 12×24 tiles, pattern, offset and starting point decide almost everything about the finished look.
This guide explains the main patterns, how offsets work in practice, where to start in typical rooms, and how to dry-lay and adjust before any adhesive is mixed.
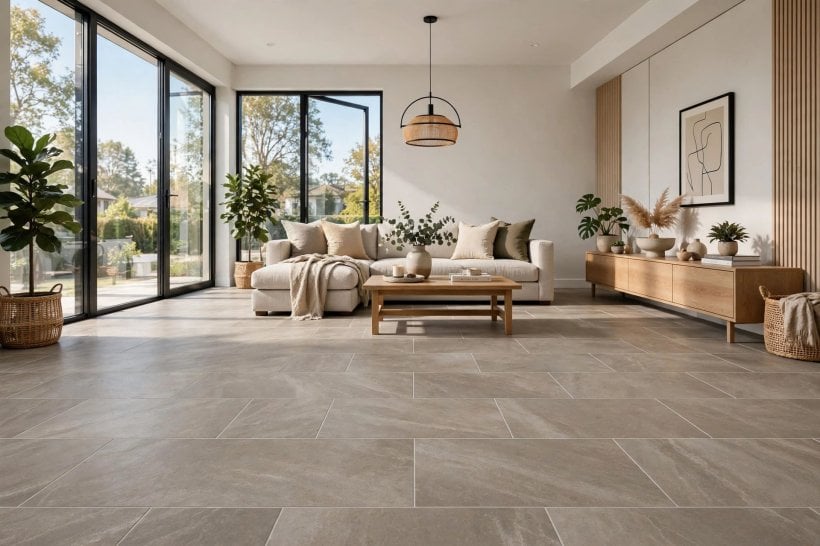
1. Understand the Tile and Plan Before Anything Is Fixed
| Question | Key Point |
|---|---|
| Why does layout matter so much? | Large tiles show every alignment error; planning prevents slivers and wavy joints. |
| What is an offset? | How far each row shifts sideways compared with the row before it. |
| Which offset is common for long tiles? | A third offset is common practice; a half offset can emphasise any gentle bow in a tile. |
| Where do I start? | From the room’s visual centre or its most-seen doorway, worked out on paper and in a dry lay first. |
| Can I ignore the tile maker’s guidance? | No — treat this guide as general practice and always follow the specific guidance for your tile. |
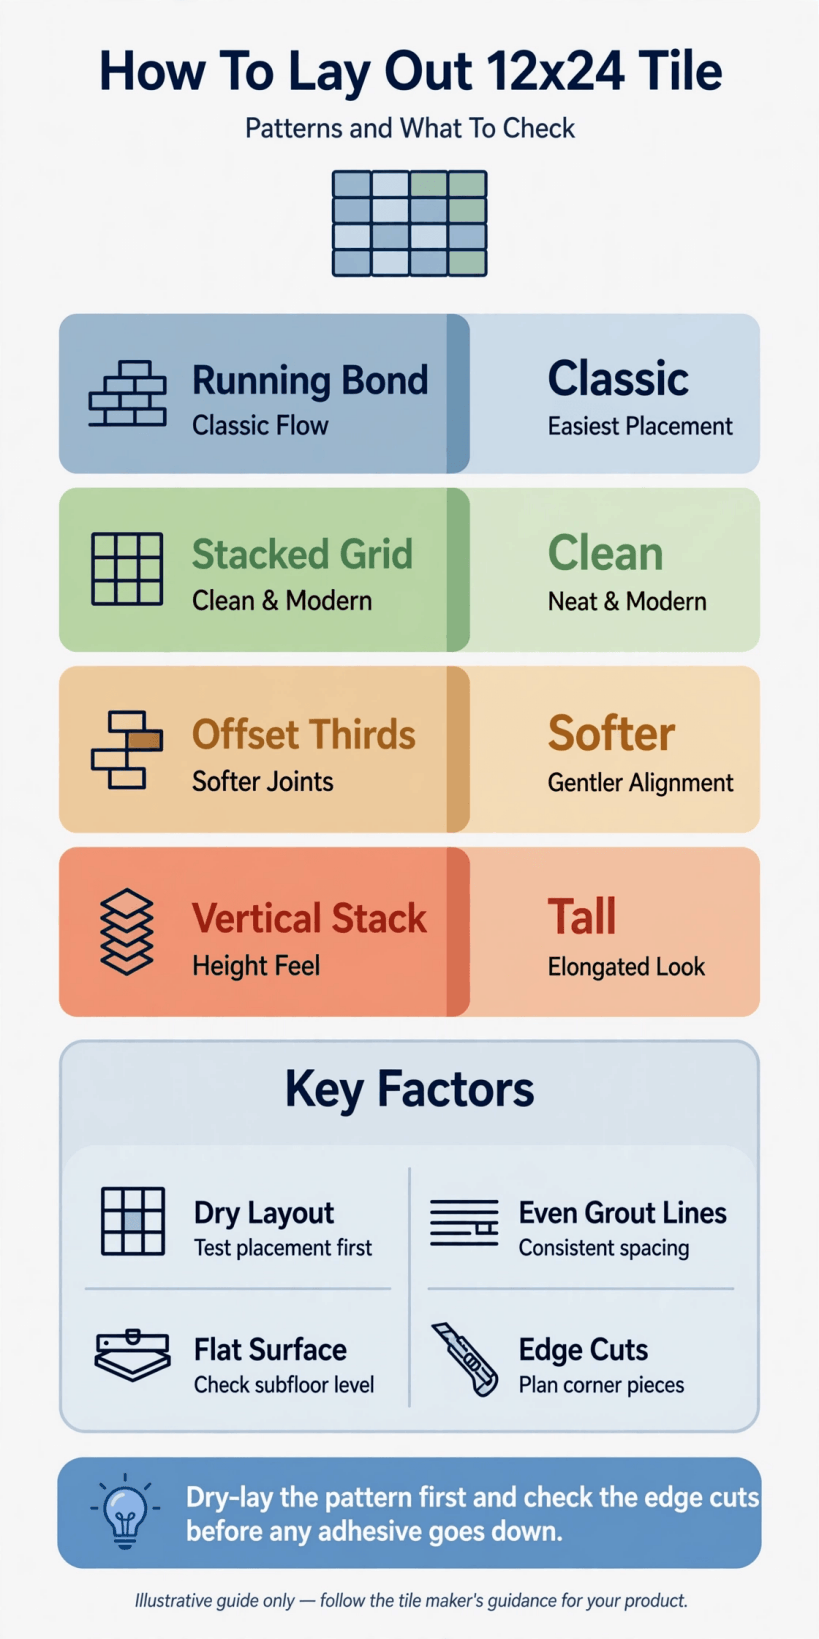
The planning sequence at a glance: choose a pattern, choose an offset, find the starting point, dry-lay, adjust, and only then fix.
A 12×24 tile is, as the name says, roughly twelve inches by twenty-four — twice as long as it is wide — and that simple 2-to-1 proportion is what makes its layouts so flexible. The same tile can run like floorboards, stack like bricks, turn corners in a herringbone, or calm down in a neat grid. It also means small decisions multiply quickly across a room: a joint that starts a fraction off will be visibly off ten tiles later, and an offset that flatters one tile can make another look uneven. None of this is a reason to worry; it is a reason to plan on paper and on the floor before adhesive enters the story.
Start by looking honestly at your actual tiles, not just the sample. Lay several out and check how flat they sit and how their edges meet, because large-format tiles vary a little from batch to batch and those small differences shape sensible choices later. The planning mindset in these interior design ideas for homes — measure the real room, work with the real materials — is exactly right here. Everything in this guide is general practice; always follow the specific guidance supplied with your own tile.
2. Straight Lay: The Calm Grid
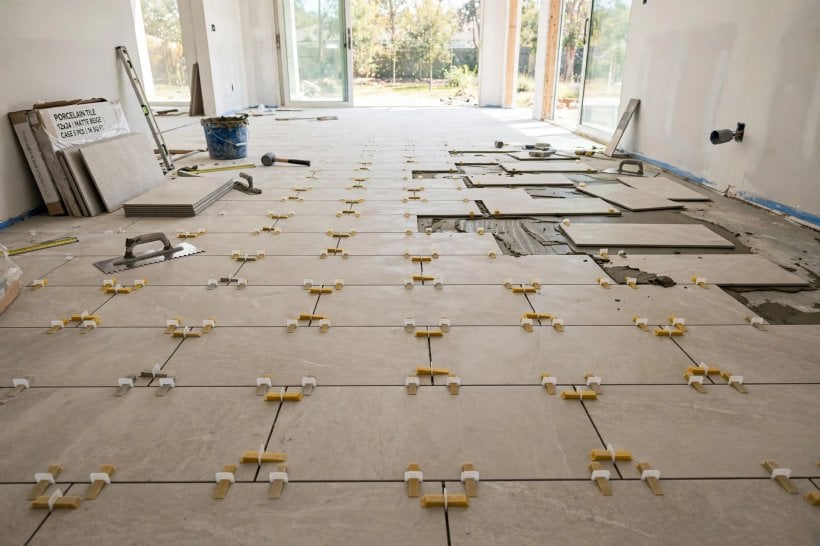
The straight lay, sometimes called a grid or stack, aligns every tile in neat rows and columns with continuous joints in both directions. It is the most restful pattern for 12×24 tiles and the most forgiving to plan, because what you draw is exactly what you get. Running the long direction of the tile along the long direction of the room stretches the space visually; running it across can widen a narrow room or hallway. In bathrooms, a straight lay keeps shower and floor lines easy to align, and in kitchens it sits quietly under cabinetry without arguing with it.
The grid’s honesty is also its challenge: every joint is one long line, so lines must start straight and stay straight. Use your dry lay to check where the grid lands at each wall, because the pattern offers nowhere to hide a thin sliver of tile at the edge. If one side would end in slivers, shifting the whole grid by half a tile in that direction often balances both edges. That single adjustment, made on paper in minutes, is the difference between a floor that looks designed and one that looks squeezed in. Simplicity, done precisely, reads as confidence.
3. Running Bond and the Half Offset
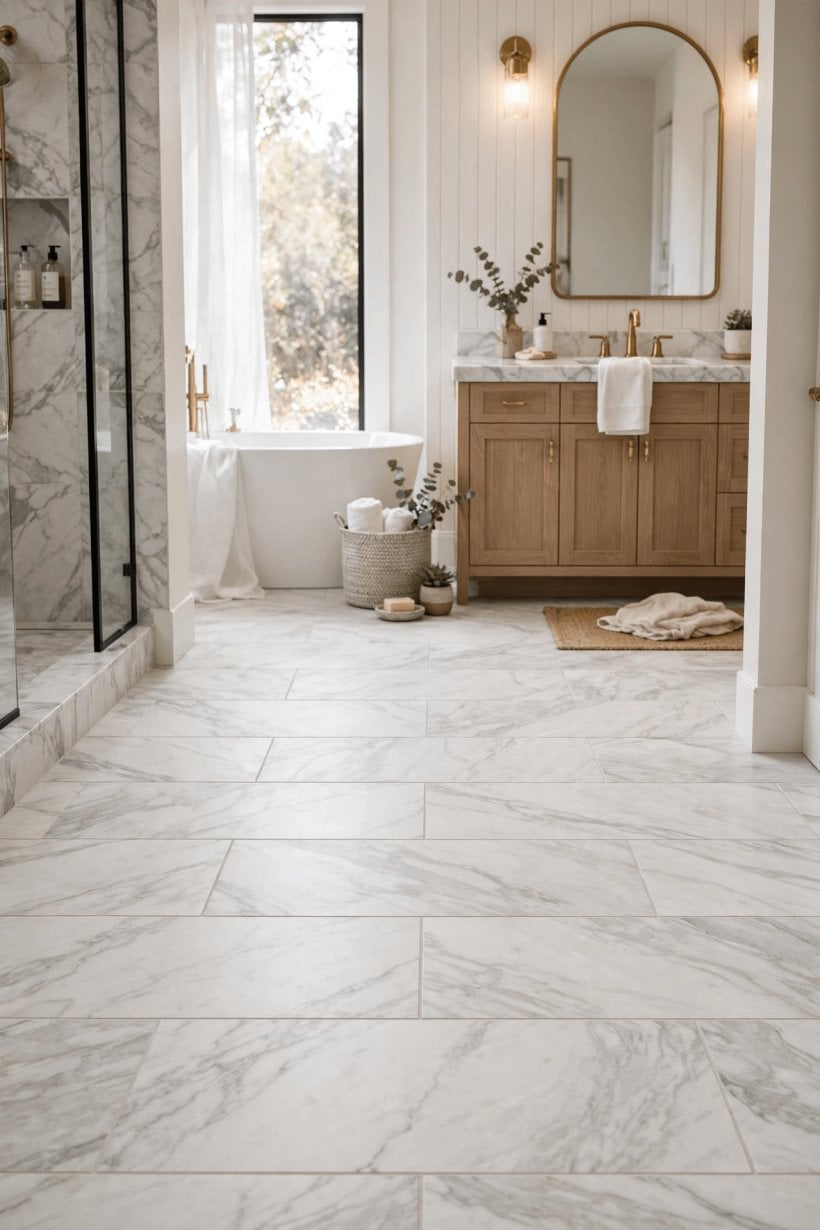
Running bond shifts each row by half a tile, like brickwork, so every joint lands at the middle of the tile above and below. It is a familiar, friendly pattern that adds movement without fuss, and it can be kind to rooms that are not perfectly square, because the eye follows the stagger rather than hunting for one long straight line. With 12×24 tiles it echoes plank flooring, which is why it suits hallways, kitchens and open-plan spaces so well. Run it along the room for flow, or across it to slow the eye down in a long, narrow space.
One honest caution belongs with this pattern. A half offset places the middle of one tile beside the ends of its neighbours, and if a long tile has any gentle bow along its length, that arrangement can make high and low spots sit side by side — a effect tilers call lippage when it becomes noticeable. Many tiles are flat enough that this never troubles anyone, but it is exactly why a dry lay matters: set out a patch in half offset, look across it in low light, and feel across the joints. If it sits unevenly in your hands and under your eye, choose the third offset in the next section instead.
4. The Third Offset: Common Practice for Long Tiles
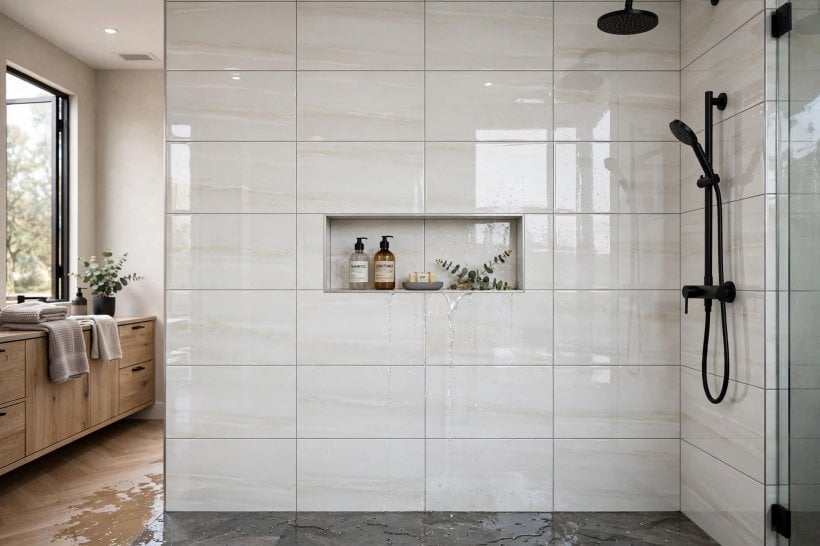
A third offset shifts each row by one third of a tile’s length, so joints step along in a regular, diagonal rhythm. It keeps the energy of brickwork while moving each joint away from the middle of the neighbouring tile, and for that reason a third offset is widely used in common practice for long tiles like 12×24. The stepping pattern also disguises minor irregularities gracefully and looks equally at home in modern and traditional rooms. Some tilers alternate the direction of the step or work in a repeating sequence across three rows; either way, consistency is what makes it read as a pattern rather than a mistake.
Treat the third offset as a strong general recommendation, not a rule carved in stone. Tiles differ, and the guidance supplied with your particular tile — and your tiler’s experience of that tile — outranks any general article, including this one. In your dry lay, compare a patch of half offset with a patch of third offset side by side; on many floors the third offset simply looks and feels flatter, and seeing that difference with your own tiles is worth more than any photograph. The same test-first habit serves small-space projects well, as these small home interior design ideas keep demonstrating.
5. Herringbone, Basketweave and Other Pattern Options
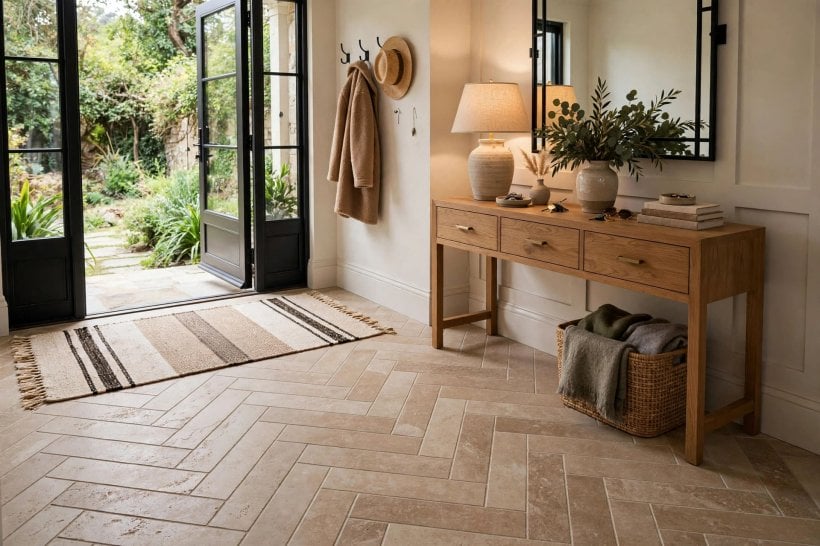
Because a 12×24 is exactly twice as long as it is wide, it unlocks patterns that uneven sizes cannot. Herringbone turns tiles at right angles in a zigzag that suits hallways and bathrooms beautifully, bringing energy and a sense of craftsmanship, at the cost of many angled cuts at the edges. A basketweave arrangement pairs tiles in alternating horizontal and vertical blocks for a woven rhythm that flatters traditional rooms. Vertical stacking — tiles stood on their short end in columns — is a bold wall treatment that draws the eye upward in showers and splashback zones.
Choose these patterns with your eyes open. They use more tiles, take more time, and demand a very careful setting-out, because a herringbone that starts a degree off will wander visibly across a room. They also create more grout lines, which changes the feel: busier, more textured, more artisanal. In a small room, one patterned surface is usually plenty — a herringbone floor with calm walls, or a woven-look splashback above a straight-laid floor. The same one-strong-pattern restraint appears in these gift shop interior design ideas, where a single confident display carries a small space. Order extra tiles for patterned work, keep your offcuts until the end, and dry-lay a generous patch first so the rhythm is in your hands before it is on the wall.
6. Direction: Which Way Should the Tiles Run?
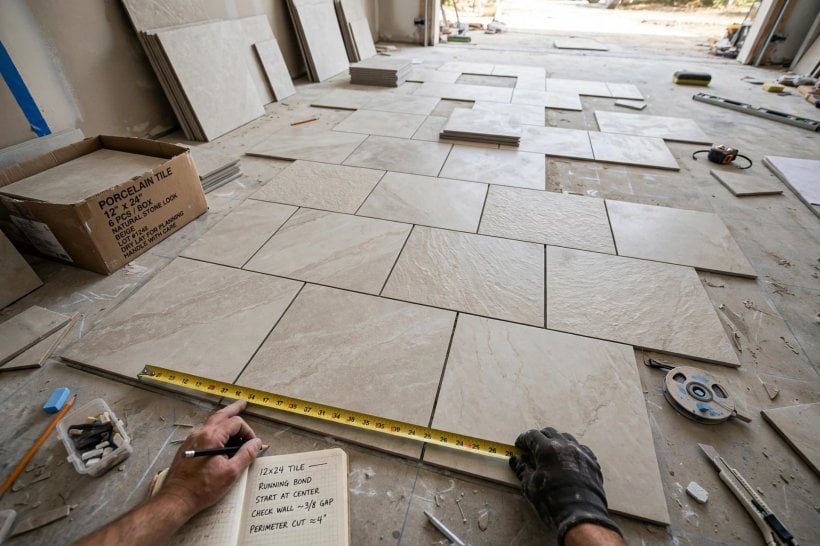
Direction changes a room as surely as pattern does. As a starting point, running the long edge of the tile in the direction you travel through a space — down a hallway, from door to window — pulls the eye forward and makes the route feel longer and calmer. Running tiles across a narrow room can make it feel wider, because the long lines cross the short dimension and the eye reads width. In open-plan areas, one consistent direction unifies the whole floor, while a deliberate change of direction can mark a zone, such as a dining corner, without a rug or a threshold strip.
Light argues too. Joints catch light and shadow, so a floor lit from a window at its end will show its pattern differently from one lit from the side; your dry lay, viewed at different times of day, will reveal this better than any rule. Doorways matter as well: a tile running through a doorway in the direction of travel looks continuous and generous, while a joint landing exactly under the door is a gift for separating two patterns in adjoining rooms. The interiors in these bedroom interior ideas for tiny houses use the same directional tricks with floorboards — long lines, used deliberately, are free space.
7. Where To Start: Centre Lines, Doorways and Focal Points
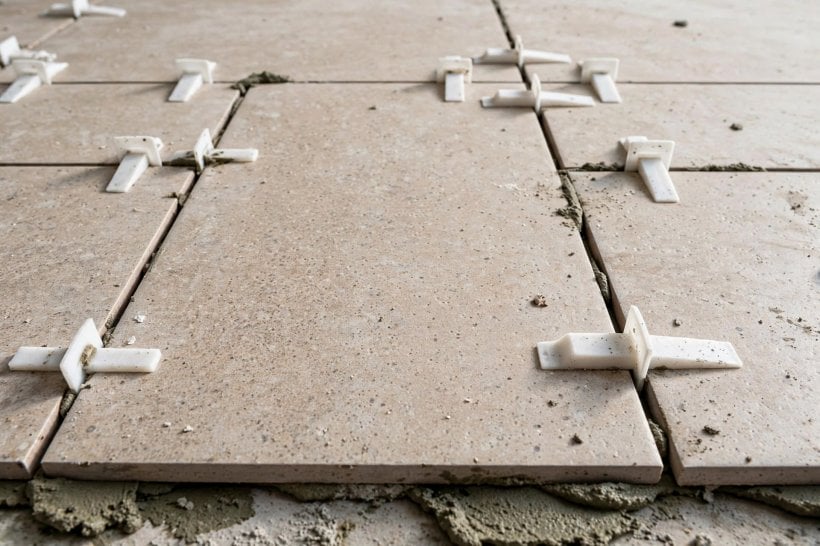
Professionals rarely start in a corner and hope. The usual approach is to find the room’s centre, snap or draw crossed guide lines there, and work outwards so that cuts at opposite walls come out balanced. In practice, the best starting reference is the one the room will be judged by: the main doorway, the view from the hall, or a focal wall. If starting dead centre leaves a sliver at the most visible doorway, nudge the whole layout sideways by a fraction of a tile — the edges at the hidden walls will absorb the change, and the view that matters will look intentional.
When you plan how to lay out 12×24 tile in a bathroom, let the fixtures vote. A layout that centres a tile or a joint on the shower, the bath or the basin will look designed even if the cuts at the skirting are uneven, because eyes go to fixtures first. In an L-shaped room, plan each leg and check where the patterns meet at the inner corner before fixing anything. Draw the plan, number the rows if the pattern is complex, and keep the drawing on the wall while you work; memory is a poor substitute once adhesive is open and the clock is ticking.
8. Dry Laying, Spacing and Checking for Slivers
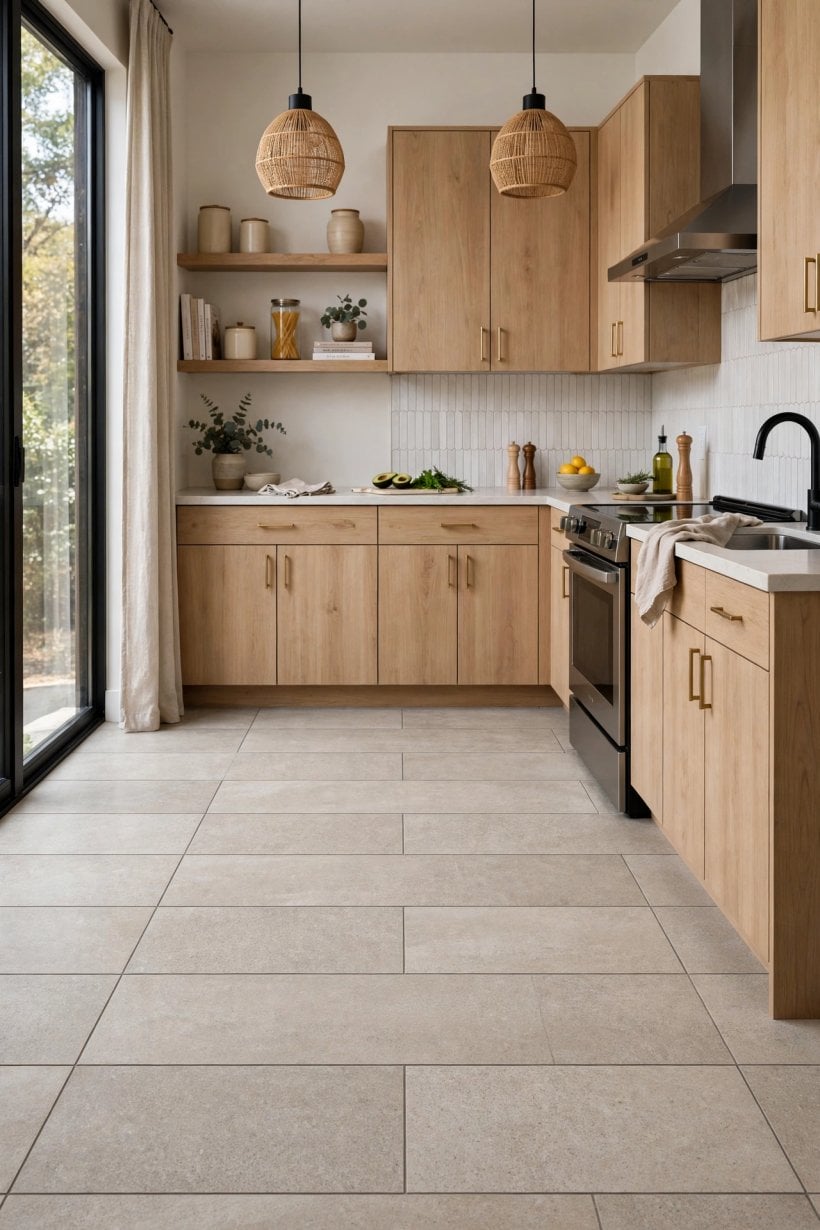
A dry lay — setting tiles out without adhesive, with spacers in place — is the cheapest insurance in all of tiling. Lay at least a few rows across the room’s full width, and ideally reach both walls in one direction, so you can see exactly what the edge cuts will be. Use consistent spacers sized for your tiles and grout choice, because joint width is part of the pattern: narrow joints read modern and seamless, wider joints read rustic and forgiving. Stand back, look from the doorway, crouch and look across the surface in raking light, and run a straight edge over the joints to feel for unevenness before anything is permanent.
Hunt for the two classic problems now, while they cost nothing to fix. The first is the sliver: a final row or column cut so thin it looks mean and can be fragile — solve it by shifting the whole layout, as described earlier, so both edges take fair cuts. The second is pattern drift, where joints slowly wander off line; solve it by returning to your guide lines rather than chasing the last row. This is also the moment to arrange colour variation: mix tiles from several boxes in the dry lay so any gentle shade differences spread evenly across the floor instead of pooling in one corner, a trick used throughout these bathroom interior design ideas.
9. Walls, Splashbacks and Showers: Layout Upright

On walls, 12×24 tiles usually run horizontally, which widens a room and echoes the horizon lines of baths and worktops, but vertical layouts are a confident choice in showers and tall splashbacks, pulling the eye up and making ceilings feel higher. Horizontal running bond is the classic shower wall: familiar, forgiving, and easy to align with a floor pattern if you plan the joints together. A straight vertical stack reads modern and architectural, though it asks for very true walls, because every joint becomes a plumb line the eye can check against the corner of the room.
Start wall tiling from a level batten fixed at your planned starting row, not from a floor or bath edge that may not be level, and work out where the top row will land before you begin: a fair cut at the ceiling looks deliberate, a sliver does not. Around windows, niches and fittings, centre the layout on the feature, just as on floors, and let the less visible edges absorb the odd sizes. Large tiles are heavy on walls, so use the adhesive type recommended for your tile and substrate, work in manageable sections, and support the first rows until they have grabbed. Where floor and wall patterns meet, decide which one leads and let the other follow.
10. A Worked Planning Sequence and Final Checks
Bring everything together in a calm order of work. First, measure the room properly — both diagonals as well as length and width, because few rooms are perfectly square, and note the difference now rather than at tile fifteen. Second, choose pattern and direction, and sketch the layout to scale, marking where cuts will fall. Third, choose the offset — third offset as the common-practice starting point for long tiles, adjusted by what your dry lay shows and what your tile’s own guidance says. Fourth, set the starting lines from the room’s focal point. Fifth, dry-lay, check for slivers and drift, mix the boxes, and photograph the approved layout before you lift a single tile.
Only then does fixing begin, in sections, checking back to your lines and your photograph as you go. Keep grout joints clean as you work, because dried adhesive in a joint shows through grout later. For readers who enjoy this plan-measure-test rhythm, it is the same discipline that runs through larger builds like those in this guide to how to build your own tiny house: the thinking is the project, and the doing is the reward. If at any stage the floor underneath proves uneven, damaged or unsuitable, pause and deal with the substrate first — no layout, however clever, can rescue a bad base, and tilers asked for advice will always tell you the same.
Final Considerations
The best layout is the one that suits your room, your tiles and your eye — and you can only find it by testing, not by copying a photograph. Use this guide’s sequence as your checklist: pattern, offset, direction, starting point, dry lay, adjust, then fix. When you plan how to lay out 12×24 tile with that patience, allowing a third offset where it flatters the tile, centring what the eye sees first, and refusing to accept slivers at the edges, the finished floor stops looking tiled and starts looking inevitable — as though the room had always been waiting for exactly those lines. Take your time at the planning stage; the tiles will repay every minute of it for as long as they are down.


0 Comments