

Cold, grey and faintly damp underfoot, a bare basement slab can make the whole lower level feel like storage, even when the walls are finished. Yet that same concrete is flat, durable and already paid for.
This guide collects practical basement concrete floor ideas for turning the slab into the warm foundation of real living space below ground.
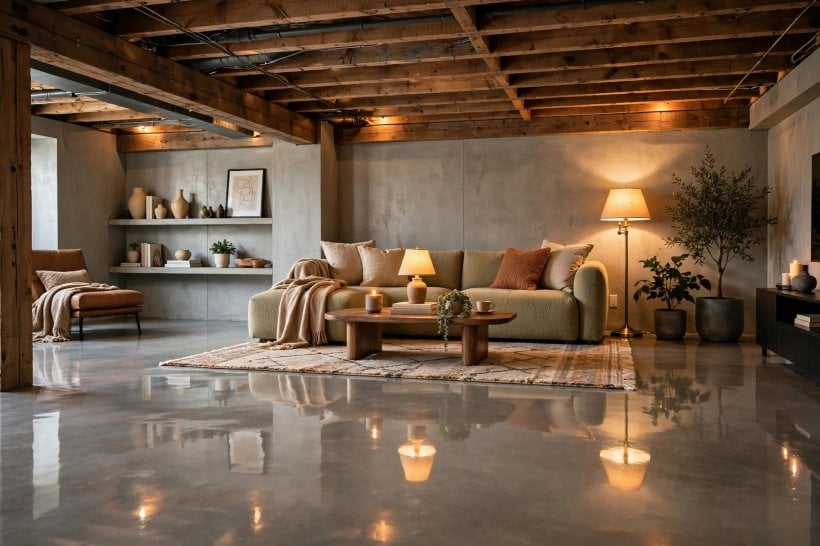
1. Concrete Basement Floors at a Glance
The slab can stay visible, take a coating, or disappear under an overlay, depending on moisture, use and finish. Think of it as the central material of the room: its colour, texture, temperature and condition shape every other decision, from furniture layout to how much light the basement needs.
| Best uses? | Living, office, gym, laundry and play space needing a hard, level, lasting surface. |
| Main finishes? | Sealed bare concrete, stain, polish, epoxy, paint, stencils, and overlays over the slab. |
| Moisture first step? | Test first, fix outside leaks and grading, then seal, coat or cover. |
| Lighting note? | Concrete absorbs light; pair it with layered warm lighting and lighter walls. |
| Maintenance? | Sweep, damp-mop, clean spills promptly, use felt pads, re-seal coated surfaces periodically. |
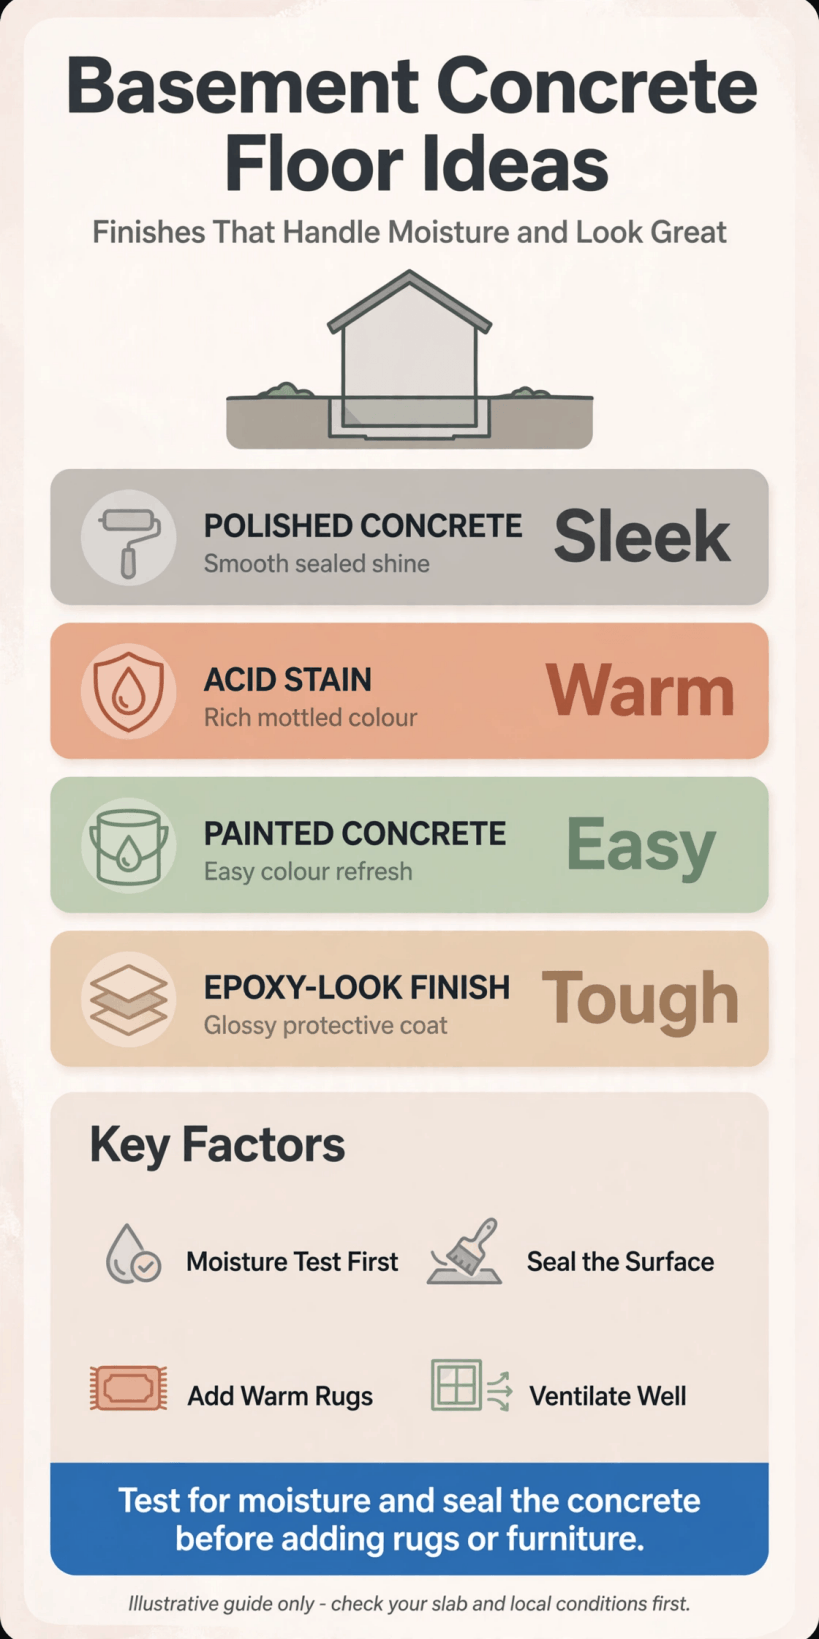
At a glance: test for moisture first, choose a finish or overlay second, plan lighting around the slab.
2. Layouts and Zones on a Concrete Slab
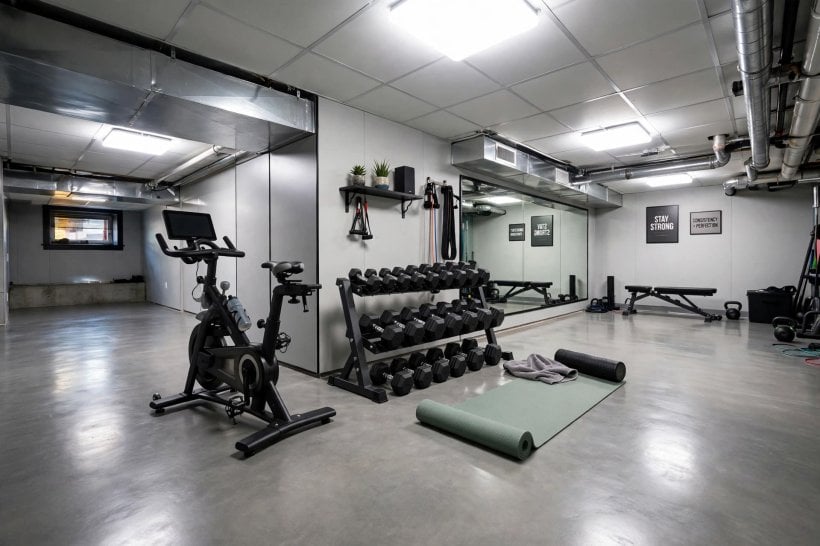
Zoning does the work walls cannot, as in these basement interior design ideas for tiny houses on one level. Changes in finish, rugs and lighting can separate living, working, exercising and storage without breaking the floor into fragments or losing the sense of one coherent, usable space below ground.
1. Keep One Continuous Slab
Use one finish throughout so the eye reads a single generous room, not patchwork pieces.
2. Define Living Space With a Large Rug
A low-pile rug marks seating, softens sound and adds warmth, leaving a visible concrete border.
3. Put the Gym on Bare Concrete
Equipment belongs on hard concrete, where dropped weights do least harm and vibration is contained.
4. Create a Laundry and Utility Strip
Keep washers and storage along one wall on sealed concrete, where drips cause least damage.
5. Carve Out a Home Office Corner
Place a desk in the best light, separated by a painted border or different stain tone.
6. Reserve a Play Zone on Mats
Interlocking mats or carpet tiles mark children’s space that can be lifted or rearranged easily.
7. Use a Painted Border Instead of Walls
A painted line on the slab outlines a reading nook — a low-commitment layout test.
8. Keep Paths in Bare Concrete
Leave stair-to-door routes rug-free and hard, reserving softer layers for quieter corners.
9. Plan Around Columns and Ducts
Let a column anchor a media wall and a low duct define a cosier seating zone.
3. Stained and Polished Concrete Finishes
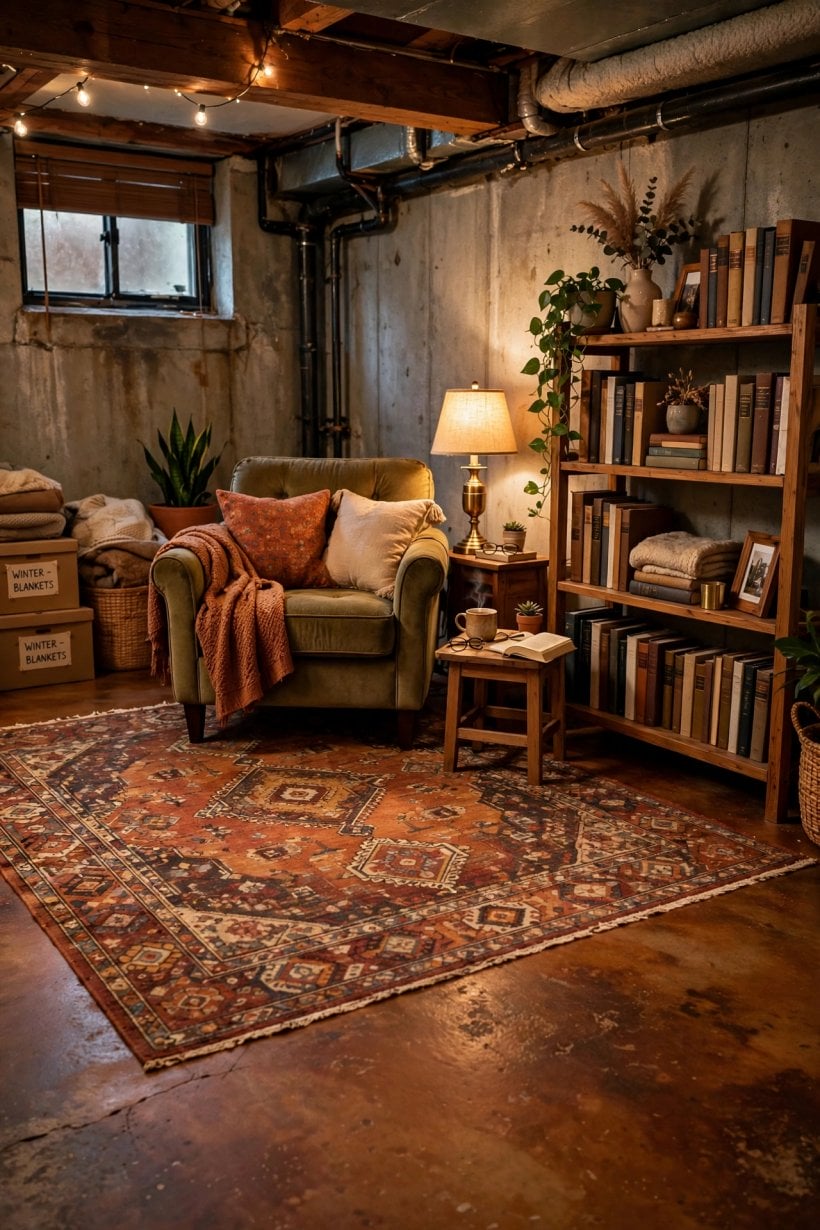
Stain and polish keep the slab on show, like modern tiny house interior design using honest materials. Trowel marks, faint cracks and tonal variation become part of the character rather than flaws to hide, which is why preparation and realistic expectations matter as much as the colour you choose.
10. Try a Warm Brown Acid Stain
Acid stain gives mottled, earthy tones that hide dust well; test a hidden corner first.
11. Use Water-Based Stain for Even Colour
Water-based stains behave predictably in wider colours, generally better when areas must match closely.
12. Polish to a Satin Finish
Satin polish reflects light back into the room and forgives footprints better than mirror gloss.
13. Leave It Bare, Just Sealed
Clear sealer stops dusting and keeps natural grey — honest for workshops and industrial-style spaces.
14. Darken the Slab for a Media Room
Charcoal stain reduces screen glare; balance it with warm lamps and lighter furnishings.
15. Lighten With Pale Grey Stain
Pale grey lifts a low basement without stark white, pairing well with timber furniture.
16. Add a Two-Tone Patchwork
Stain taped-off large squares in related tones to read as oversized tiles and outline zones.
17. Grind Back Old Paint
Grinding flaking paint reveals worn, layered character; seal what remains rather than chasing perfection.
18. Layer Rugs Over Polished Concrete
Rugs, upholstery and curtains soften polished floors’ hardness and echo, keeping the border visible.
4. Paint, Epoxy and Stencilled Concrete
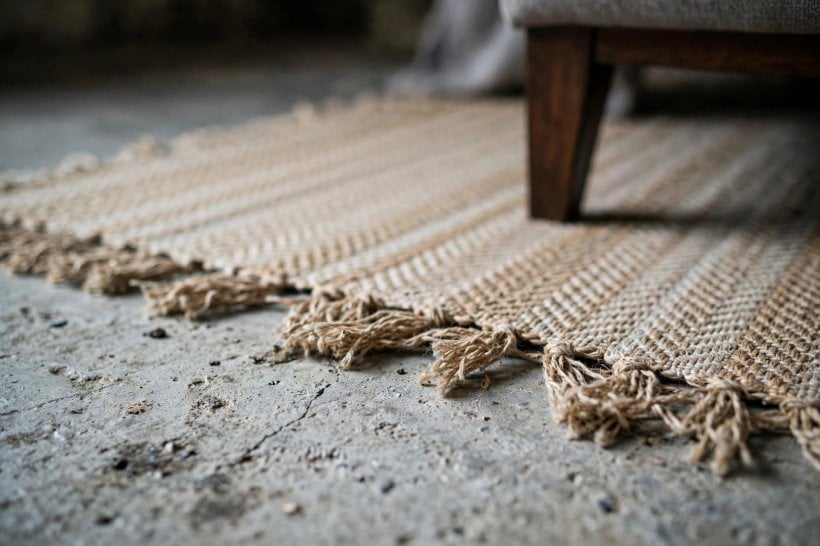
Coatings give the strongest colour change; preparation — clean, dry, sound concrete — matters more than product. Paint, epoxy and stencil work all sit on the surface rather than in it, so they offer bold pattern and colour, but they also show wear honestly and need a sound, properly prepared base.
19. Coat a Workshop in Epoxy
Epoxy gives a hard, easy-clean surface; add texture where the floor may get wet.
20. Add Flakes to Epoxy
Flakes break up plain colour, disguise dust and add grip; mixed neutrals are most forgiving.
21. Paint the Slab Warm White
Warm white paint brightens a dingy basement, but shows marks sooner and needs touch-ups.
22. Stencil a Tile Pattern
A large stencil and second colour imitate geometric tiles; work in sections and seal afterwards.
23. Stencil a Border Only
A stencilled border around the room gives crafted detail with far less time and risk.
24. Paint a Faux Rug
A painted rectangle under a table never curls, traps crumbs or needs lifting for cleaning.
25. Use Checkerboard Paint
Large grey-and-white squares suit games rooms; bigger squares are easier to tape and less fussy.
26. Choose Matte Paint
Matte paint hides trowel ridges that gloss highlights, giving a calmer background for furniture.
5. Flooring Overlays Over the Slab
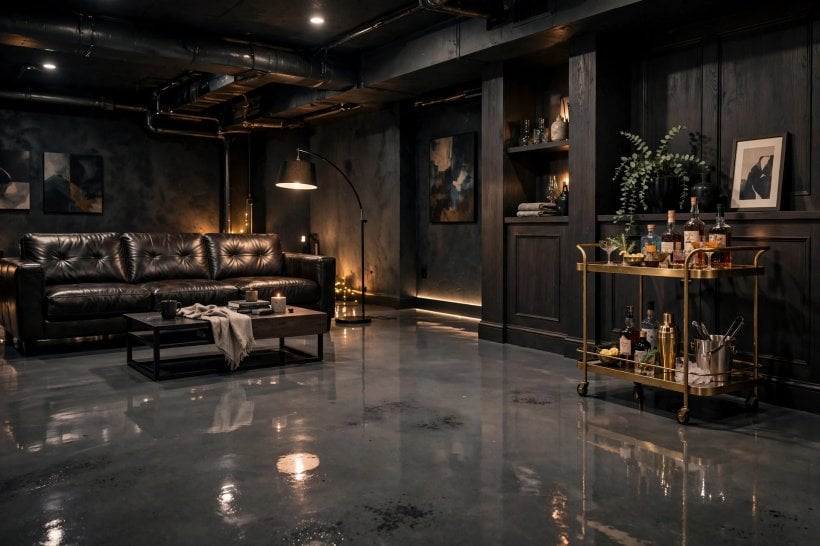
Overlays change warmth and sound without removing the slab; choose below-grade products and respect moisture limits. The advantage is comfort and reversibility in many cases: individual tiles, planks or mats can often be lifted for repair, inspection or a change of use, unlike a finish bonded permanently to the concrete.
27. Lay Luxury Vinyl Plank
Rigid plank forgives minor unevenness, replaces board by board, and floats with an expansion gap.
28. Use Carpet Tiles
Carpet tiles add warmth and quiet, and a stained tile swaps without replacing whole flooring.
29. Put Rubber in the Gym Zone
Rubber cushions joints and deadens noise; confine it to workouts, keeping surrounding concrete easy-clean.
30. Try Cork Tiles
Cork feels resilient and less cold, suiting offices better than wet zones, with careful sealing.
31. Lay Foam Mats Temporarily
Foam mats are a reversible play or guest fix, letting you test a zone before spending.
32. Install a Raised Subfloor
A raised subfloor adds an insulating air gap in cold basements; check head height first.
33. Keep a Loose-Lay Rug Strategy
Washable rugs over sealed concrete keep the slab inspectable, helping you spot damp early.
34. Mix Overlay and Bare Concrete
Cover the living half, seal the utility half; a boundary following a wall looks intentional.
6. Lighting That Makes Concrete Look Good
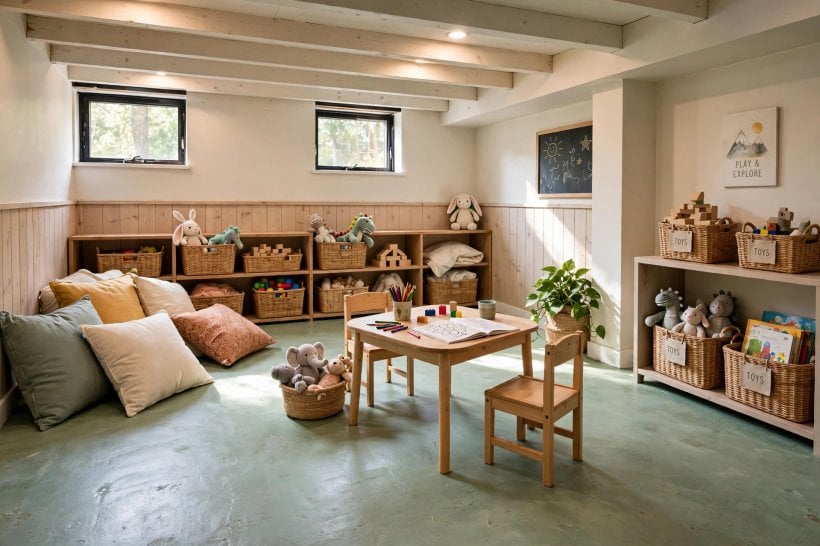
Concrete absorbs daylight or throws it back as glare; layered lighting solves both problems. Judge every finish under the lighting you will actually live with, because a stain that looks warm at midday near a window can read flat and cold under a single ceiling fitting at night.
35. Layer Ceiling, Task and Accent Light
Lamps at seating plus task light soften the slab’s hard edges as one fitting cannot.
36. Choose Warm Light Over Dark Floors
Warm bulbs soften grey concrete; cool light can make it feel institutional and colder.
37. Wash the Walls
Light directed up the walls puts brightness at eye level, lifting a mid-tone floor.
38. Add Low-Level Path Lighting
Step or skirting lighting guides movement after dark without full overhead glare.
39. Use Mirrors to Borrow Light
A mirror opposite small windows spreads daylight, helping pale concrete look clean, not flat.
40. Avoid Single Downlights on Polished Floors
One harsh downlight exaggerates flaws; spread diffused fittings and favour satin sheen instead.
41. Light Pale and Dark Floors Differently
Pale floors need less light; dark floors need more fittings, warmth and lighter rugs.
42. Put Lamps Inside the Rug Zone
A lamp pooling light where people sit signals the living area clearly on an open slab.
7. Moisture, Insulation and Comfort Underfoot
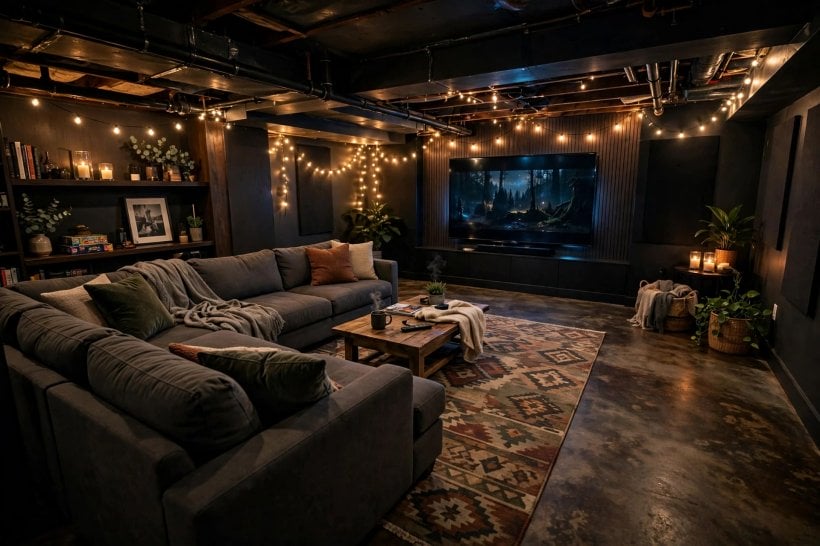
Moisture decides every finish — the base-structure logic behind how long tiny houses last, by build type. Concrete can pass water vapour and wick cold from the ground even when it looks dry, so testing, drainage and insulation are not optional extras; they are what allow the decorative ideas to survive.
43. Do the Plastic-Sheet Test First
Tape clear plastic to the slab; condensation beneath signals moisture to fix before finishing.
44. Fix Outside Water First
Gutters, downspouts and grading cause many damp basements no inside sealer can honestly cure.
45. Seal Cracks Before Finishing
Fill cracks and patch spalls for even finishes; test patches first on stained floors.
46. Use Breathable Sealer if Vapour Is Present
Breathable sealers let vapour escape instead of blistering under an impermeable film.
47. Add Damp-Proof Underlay
Floating floors generally need their specified underlay; skipping it commonly causes cold, early failure.
48. Insulate the Slab Edge
Heat escapes where slab meets wall; insulating that rim makes seating edges less cold.
49. Warm It With Rugs
A thick rug beside bed, sofa or desk is the simplest insulation, leaving the rest easy-clean.
50. Consider Radiant Heat at Renovation Stage
Heating under an overlay gives even warmth but needs planning, and not every overlay suits it.
51. Keep a Dehumidifier in the Plan
Summer humidity makes concrete feel clammy; ventilation protects the finish and stored belongings.
8. Colour Palettes Built Around Concrete
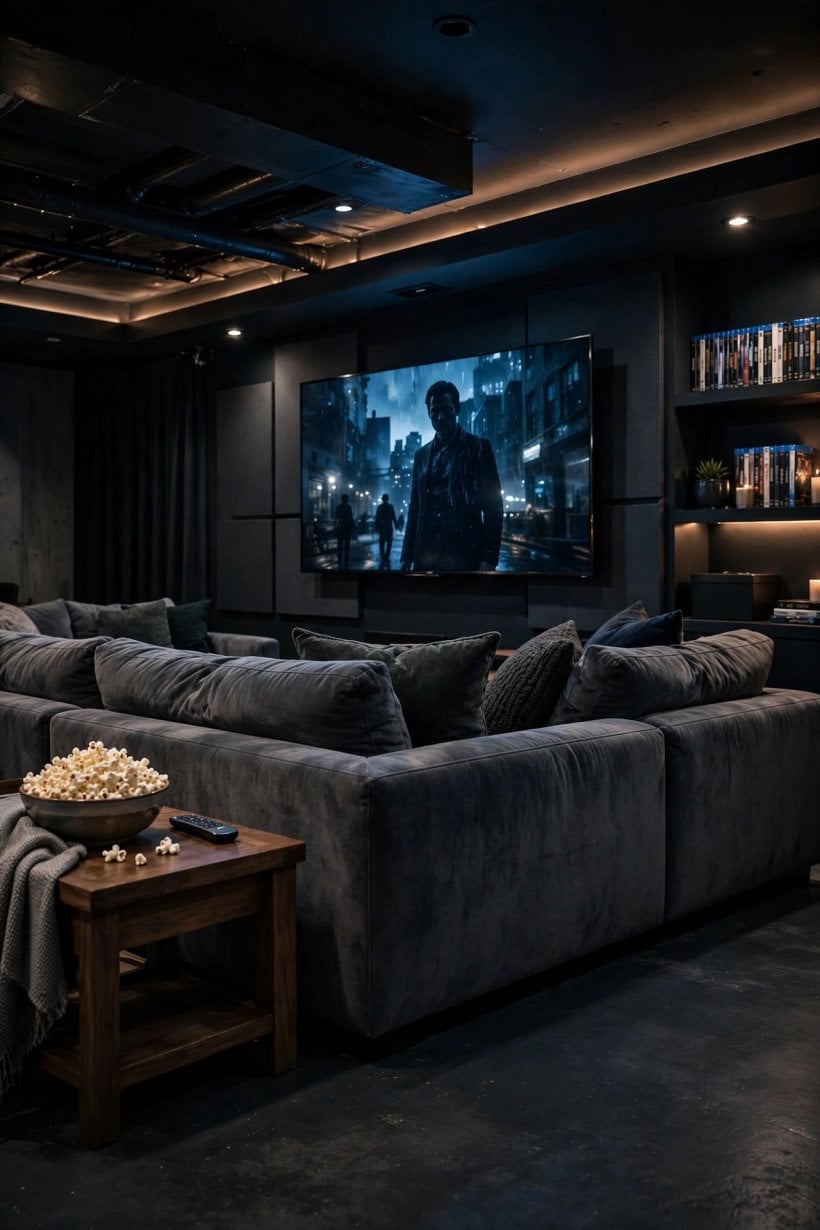
Slabs lean blue-grey or warm and sandy; sample yours, using broader tiny house interior design ideas for compact rooms. The most successful palettes do not try to turn concrete into something else — they repeat its temperature in timber, textiles and metals, then use one or two contrasting tones to give the room its energy.
52. Pair Grey Concrete With Warm Timber
Warm wood cancels grey’s industrial chill; repeat it in shelves, tables and frames.
53. Go Monochrome, Add One Accent
Layer greys across floor, walls and upholstery, then add one strong accent colour.
54. Soften Charcoal With Cream Textiles
Cream textured weaves and knits stop a dark floor swallowing the room.
55. Use White Walls With Mid-Grey
Warm white walls against a grounded grey floor give honest, bright contrast.
56. Bring in Terracotta and Clay
Terracotta, clay and rust echo warm notes in stained concrete, especially brown-stained floors.
57. Try Deep Green With Pale Concrete
Deep green walls make pale floors look crisp; test at basement light, where it darkens.
58. Repeat the Floor Colour in Details
A lampshade or throw in the slab’s tone makes bare concrete look chosen, not unfinished.
59. Test Samples on the Slab
Stain looks different dry and at scale; judge a hidden patch morning and evening.
9. Small-Basement Tricks on a Concrete Floor
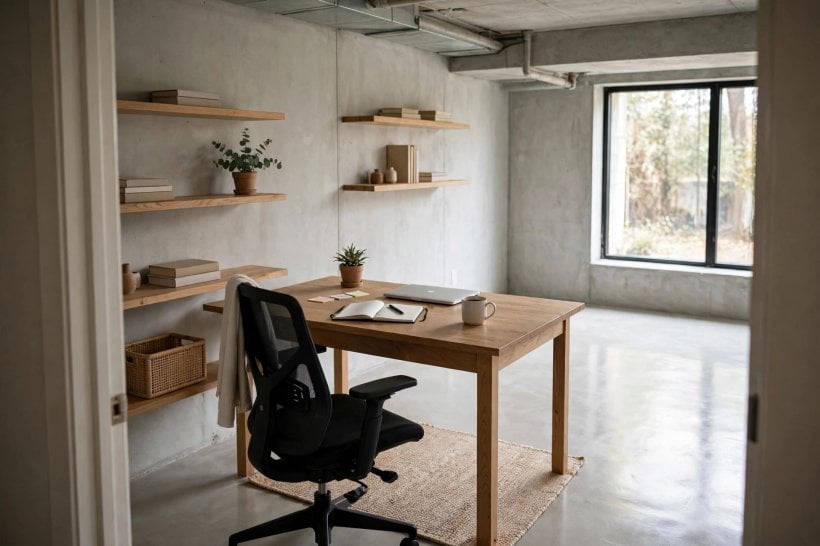
Small basements reward continuity, like these small space interior design ideas and tricks from tiny houses. The floor is the largest single surface in the room, so keeping it pale, unbroken and partly visible around furniture does more for the sense of space than almost any single piece of furniture can.
60. Choose One Pale Finish Wall to Wall
One unbroken pale floor does more for space than pattern, borders or rug clutter.
61. Raise Furniture on Legs
Legs let light travel underneath, show more floor and make sweeping far easier.
62. Use One Large Rug
One low-pile rug anchors seating; several small rugs fragment a small floor.
63. Keep Patterns Large or Leave Them Out
Oversized stencils read calm and spacious; small busy motifs shrink the room.
64. Run Planks Toward the Light
Plank laid lengthwise toward windows lengthens the view and hides joins in natural light.
65. Store Vertically
Tall shelving keeps storage off the slab; clear floor is the cheapest space illusion.
66. Paint Floor and Skirting Together
One colour blurs the wall-floor line, softening a low room and widening the slab visually.
67. Mirror the Brightest Corner
A mirror near the best light source doubles its effect across the floor.
10. Budget Order of Work and Finishing Sequence
Sequence saves money: the staged thinking behind the cost to turn a shed into a tiny house and financing a tiny house on wheels vs on foundation. Test, repair, finish and furnish — in that order — and each stage protects the money spent in the next, instead of forcing you to strip a new finish to fix an old problem underneath it.
68. Spend First on Moisture
Gutters, grading and crack repair precede decoration; coating active damp means spending twice.
69. Clean and Degrease First
Oil and old adhesive ruin adhesion; thorough cleaning decides whether finishes actually hold.
70. Start With Sealer if Money Is Tight
Clear sealer on dry concrete is a complete, usable finish that can be built on later.
71. Do One Zone Completely First
Finishing the living zone end to end transforms a basement sooner than spreading work thinly.
72. Paint Before Buying Flooring
Messy coating work comes first; paint spots clean far easier off bare concrete than new planks.
73. Keep Spare Material
Retain labelled stain, paint and spare planks; matching discontinued colours later is usually impossible.
74. Upgrade Lighting Before Judging the Floor
Many supposedly dark floors are simply underlit; improve lighting, then decide on covering.
75. Finish With Soft Layers Last
Rugs and curtains go in after finishes cure fully, and are easiest to change later.
Final Considerations
This is where the best basement concrete floor ideas start: test for moisture before any finish, fix outside water first, and let coatings cure before furniture returns. Sealed, stained or polished, the slab itself is a legitimate finished floor — an overlay is a comfort choice, not a requirement.
Trade-offs are honest: bare concrete is durable but hard, cold and louder; painted floors need touch-ups; overlays are warmer but depend on the slab staying dry. Choose for actual use, keep spares, and the floor you already own can carry the room for years.

0 Comments