

Somewhere in a barn or a grandparent’s shed there is probably a heavy old rototiller that has outlived two of its owners — cast iron, a belt you could tow with, and an engine that still starts on the third pull. Machines like that tempt people, and they should: a sound vintage tiller is a genuinely useful garden tool.
This guide explains how to identify what you have found, what to check before you buy it, rescue it or rely on it, how to care for it, and how to run it safely — stated generally, because honest guidance about old machinery is about condition and checks, not about any one maker’s catalogue.

1. Vintage Rototillers at a Glance
A vintage rototiller is a walk-behind rotary cultivator from the decades when garden machinery was built heavy and repairable: a small petrol engine driving a set of rotating tines, usually through a belt and a chain or gear case, with the operator walking behind a pair of handlebars. The type matters more than the badge. Everything in this guide — identification, inspection, care and safety — applies to the type, and connects to the wider garden it works in, from the beds it prepares in the raised garden bed ideas post to the plots it keeps workable season after season.
| Question | Short answer |
|---|---|
| How do you identify an old tiller? | By its layout, its maker’s and engine plates, its castings and decals — in that order of reliability |
| What decides whether one is worth having? | Condition: a complete, turning engine, sound tines and drive, and no cracked castings |
| What should you check first? | That the engine turns, that the tines and drive move as they should, and that nothing structural is broken |
| Are parts a promise anyone can make? | No — expect to source consumables and salvage; anyone guaranteeing parts for an old machine is guessing |
| What is the safety core? | Tines treated as live whenever the engine runs, firm footing, no bystanders, and fuel handled cold and outdoors |
2. What Counts as a Vintage Rototiller

The machines people mean by the word are the walk-behind rotary tillers built from the middle of the last century into the following decades, when small farms, market gardens and serious home gardeners all worked ground with them. They share a family resemblance: deep-section steel or cast-iron frames, an air-cooled single-cylinder engine mounted where you can reach every side of it, a belt under a pressed guard, and tines you can unbolt and replace individually. Weight was a feature, not a flaw — a heavy tiller stays in the ground instead of bouncing across it.
Plenty of these machines were sold under hardware-store and catalogue brands as well as makers’ own names, and the same basic machine can wear more than one badge. That is why identification by layout and hardware, covered next, beats identification by the name on the decal — decals fade, get painted over, and were sometimes the only difference between two badges on one production line.
The other thing that makes a tiller vintage rather than merely old is repairability. These machines were built on the assumption that the owner, or the town’s small-engine shop, would service them with hand tools: covers come off with a spanner, adjustments are mechanical and visible, and nothing is sealed for life. That assumption is why so many survive in working order, and it shapes how you should judge one — a machine designed to be mended, with its fasteners intact and its mechanisms moving, is a machine whose worst problems are usually time and neglect rather than design.
3. Reading the Machine: Plates, Castings and Decals
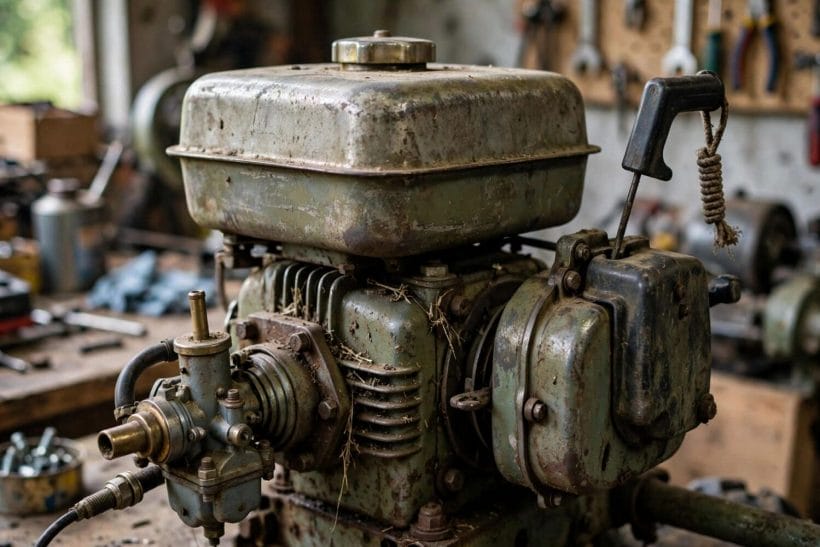
Start with the engine, because it usually carries the most legible evidence. Small engines of the era typically bear a stamped plate or tag — on the cooling shroud, the blower housing or a bracket — carrying the engine maker’s name and a model and serial string. Photograph it before you clean anything; gentle cleaning with a soft brush and a little degreaser reveals stamps that a wire brush would erase. The tiller’s own plate, if it survives, is often on the frame rail, the gearbox casing or under the handlebar mount.
Castings speak next. Raised lettering and numbers cast into the gearbox or engine crankcase were part of the mould, so they survive paint and rust that destroy decals; read them with a rubbing or a raking torch beam if they are faint. Decals and paint colours come last in reliability — useful supporting evidence, never proof on their own, because old machines were repainted in whatever was on the shelf. Garden clubs, owner forums and library-held manuals are where identifications get confirmed by people who know the type; take clear photographs of the whole machine, the plates and the tine arrangement when you ask.
4. Front-Tine, Rear-Tine and Mid-Tine Layouts
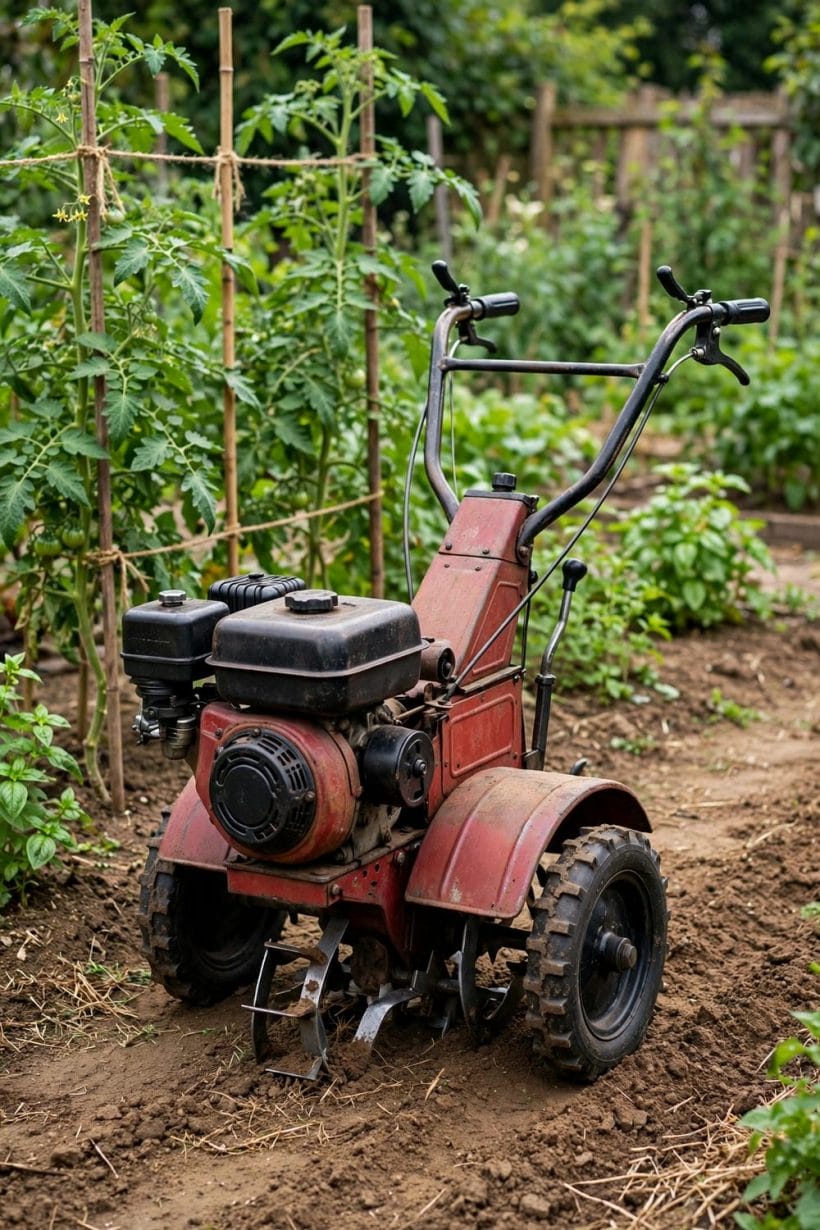
Layout is the fastest honest identifier and the biggest predictor of how a machine behaves. On a front-tine tiller the tines sit ahead of the wheels, under the engine; the machine pulls itself forward by digging, and the operator restrains it as much as guides it — lively in soft ground, tiring in hard. On a rear-tine machine the tines sit behind the wheels and the wheels are driven, so travel speed and tilling are partly independent; these are the heavyweights, steadier and kinder on large plots. A smaller number of designs put the tines under the middle, beneath the engine, with the wheels behind.
Note also how the tines are driven and whether they can counter-rotate on rear-tine models, what the tine pattern is — individual bolted tines on flanges is the repairable arrangement to hope for — and whether a depth bar or skid sets the working depth at the back. These details describe the machine’s class and condition far better than its paint, and they decide whether it suits the ground you actually have, from a soft allotment to the stony edges of a courtyard garden.
5. The Engine: Honest Checks Before Anything Else

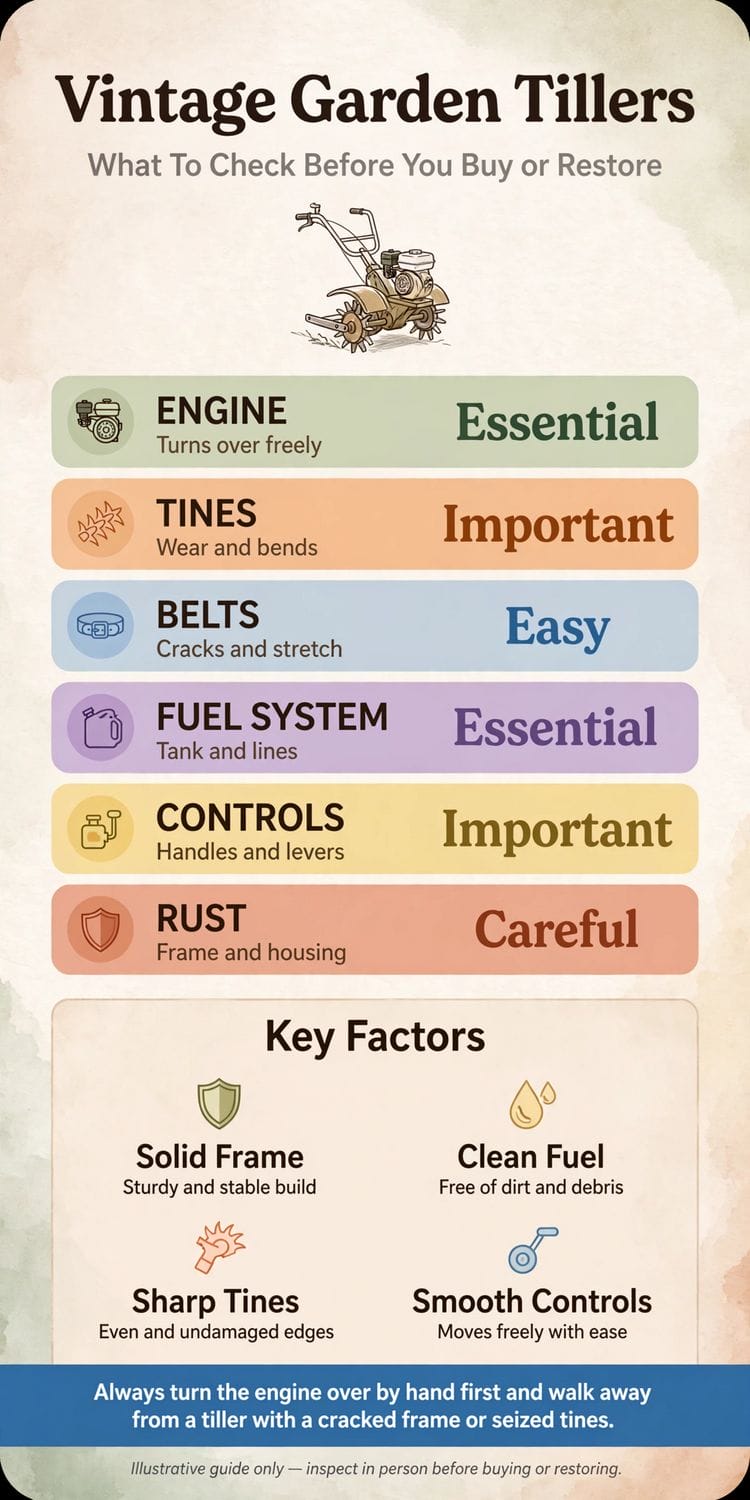
Before fuel, before optimism: does the engine turn? Remove the spark plug, ground its lead safely away from the plug hole, and pull the starter gently. A healthy old engine turns with an even, springy resistance; a seized one does not turn at all, and a gritty, graunchy one is telling you about its insides. Check the oil before anything else moves — what is in the sump, and whether it smells of petrol or carries water, tells a story about how the machine was left.
Work through the simple systems in order. Ignition: a clean plug of the right general type, tested for a spark while grounded against the engine. Fuel: old petrol is the commonest single reason these engines refuse — drain it, expect varnish in the tank and carburettor, and plan on cleaning rather than parts as the first remedy. Air: a clogged filter or a mouse nest in the housing strangles an otherwise sound engine. None of this needs model-specific knowledge; it is the standard triage for any small engine of the period, and a machine that passes it has earned the deeper work in the next section.
6. Tines, Gearbox and Drive: The Working End
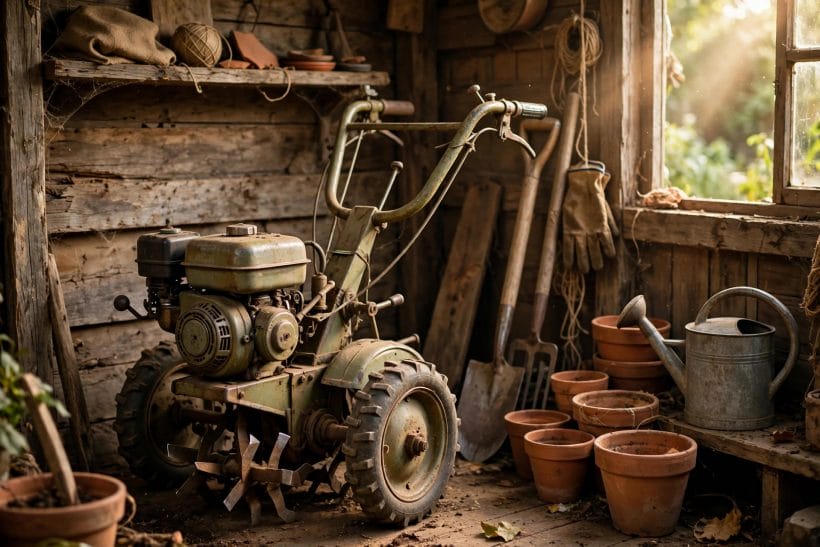
Engage and disengage the drive by hand with the engine off and the plug lead removed. Belts should be present, unperished and correctly tensioned by their idler or clutch arrangement; a belt that has turned to cracked rubber lace is a consumable, not a catastrophe. Turn the tine shaft slowly and feel for roughness in the bearings and for slack that suggests worn bushes. On chain-case machines, listen for a dry, rattling chain and look for oil weeping at the case seam — the case oil is the chain’s whole life, and a case run dry wears quickly.
Inspect the tines themselves one by one. Worn tines lose their edge and their curl until the machine polishes the soil instead of cutting it; bent tines make it hop; a missing tine unbalances the whole rotor. Individual bolted tines are good news — they can be swapped, sharpened or replaced singly. Check the wheels and their bearings, the depth bar, and every handlebar fastener, because vibration finds loose bolts on these machines with complete reliability. The same check-everything habit serves the rest of the outdoor kit stored alongside it, as the garden shed ideas post shows for the shed itself.
7. Before You Buy or Accept One: The Inspection Walk
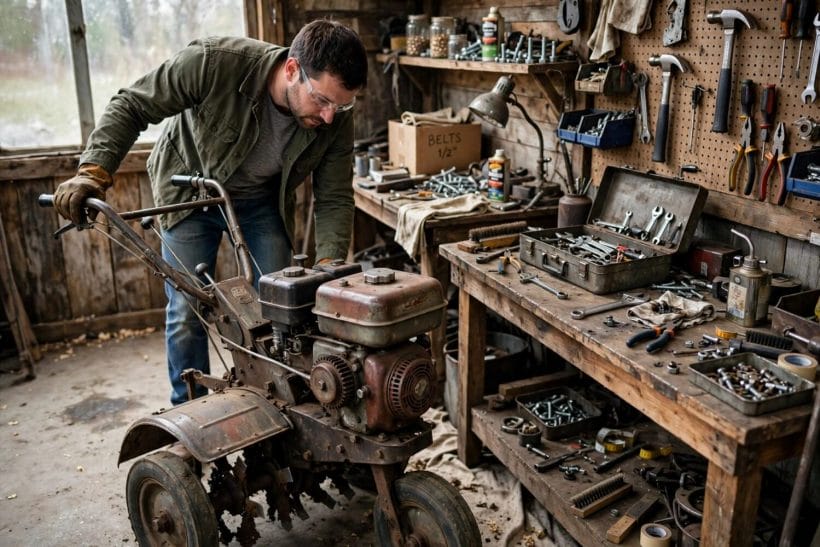
Whether money is changing hands or a neighbour is clearing a shed, walk the same circle. Frame first: cracks around engine mounts, gearbox bosses and handlebar clamps are the faults that end machines, so look at the stressed corners, not the paintwork. Completeness second: guards present, controls all moving, throttle and clutch linkages connected, recoil starter working — a complete tired machine is a better prospect than a shiny incomplete one, because the missing parts are always the awkward ones.
Then the engine checks from the earlier section, in the seller’s yard, with the plug out and then — if it will run — briefly in. Watch for smoke that does not clear, knocks under load, and a drive that engages with a bang rather than a take-up. Ask how it was stored and when it last worked; a machine that tilled last spring and was put away dry is a different proposition from one that has sat out three winters. Price, where any is discussed, belongs to the two of you and the machine in front of you — no guide can price an individual old tiller, and you should distrust any that pretends to.
8. Cleaning, Rust and Putting It Away
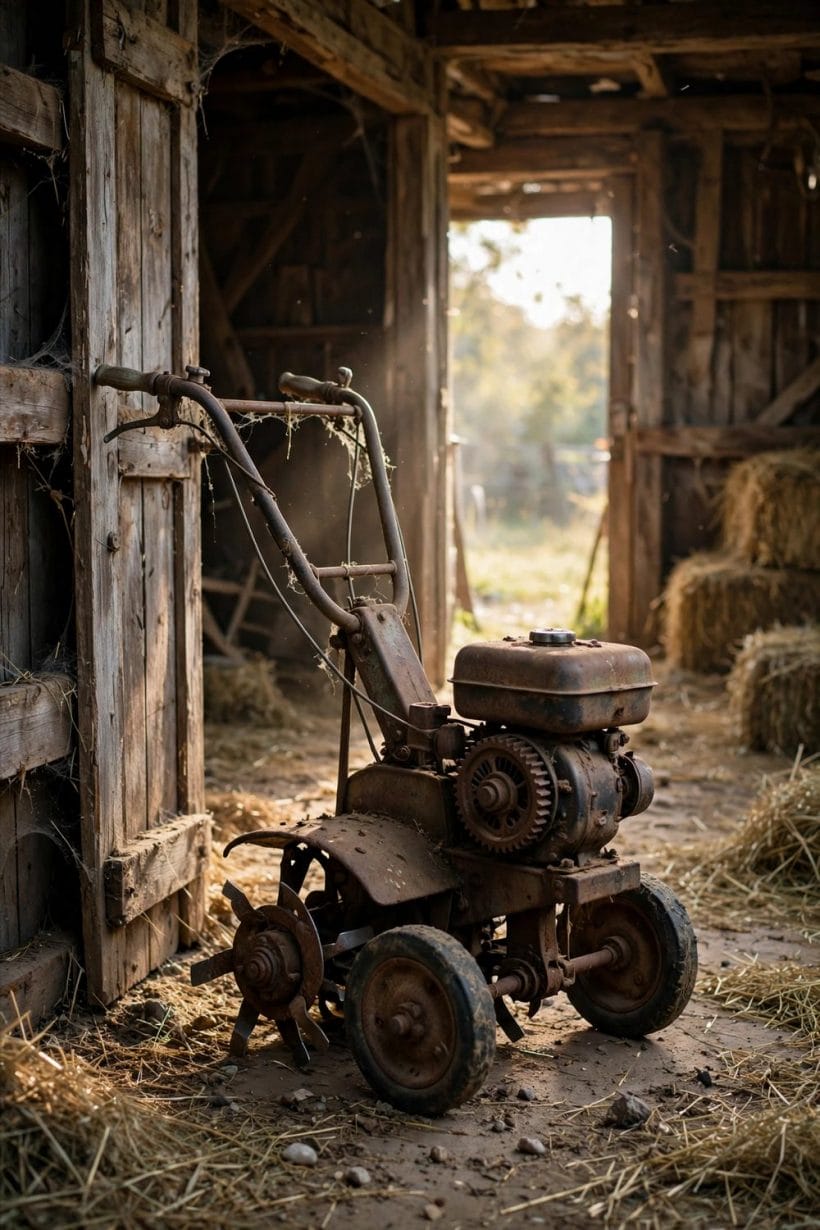
Old tillers die of storage more than of work. The routine that saves them is unglamorous: after use, with the engine cold and the plug lead off, clear the tine shaft of the twine, roots and wire it has wound up — that tangle is what tears shaft seals — and brush the soil off before it sets like concrete. Wash sparingly and dry thoroughly; water driven into bearings and cases does more harm than honest dirt.
Rust management is a judgement call. Working surfaces — tine edges, depth bar — keep themselves bright; frame rust is cosmetic until it thins a stressed member, at which point it is structural and belongs in the inspection column, not the paint column. For storage: drain or stabilise the fuel according to how long the rest will be, put a spoonful of oil down the plug hole and turn the engine gently to coat the bore, and store under a breathable cover in the dry. A machine put away like this, in a corner of the plot it serves — the kind of working garden the container garden ideas post builds at small scale — will usually wake up in spring with nothing worse than flat tyres and opinions.
9. Running One Safely
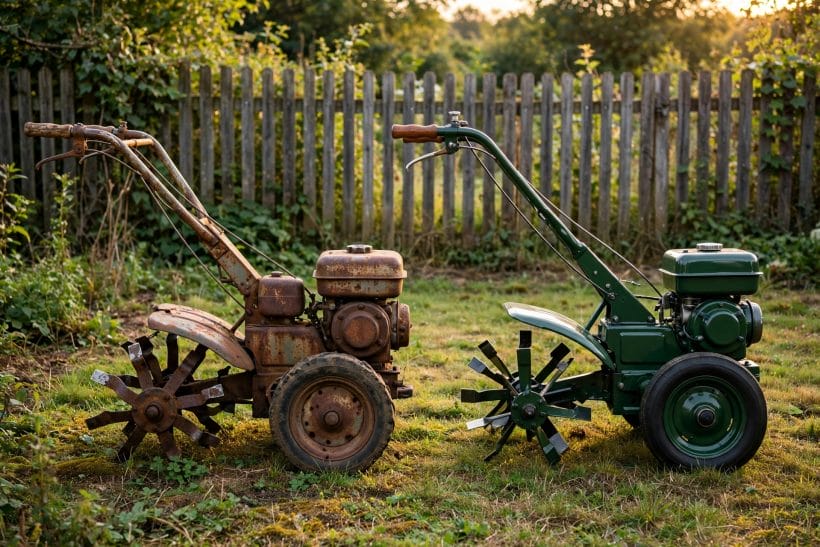
Machinery safety for a tiller reduces to respecting one fact: the tines are a powered cutting rotor at ankle height, and they do not distinguish soil from anything else. Treat the tines as live whenever the engine is running, even at idle. Never reach toward them, never clear a tangle, and never adjust, unblock or inspect anything until the engine is stopped and the spark plug lead is off — that single habit prevents the classic tiller injury, which happens during clearing, not during tilling.
Work the ground, not against it. Wear stout boots and close-fitting clothes, keep children and animals well away from the working area, and walk the plot first for buried wire, edging and stone, because a tiller that strikes something buried will lurch and can throw the object. Take slopes with extra care and never let the machine pull you off balance downhill; if a front-tine machine runs away from you, letting go of the handles must stop the drive — check that the dead-man control, where fitted, actually works before the season, not during it. Refuel only outdoors, on a cold engine, and start the machine where it stands rather than carrying it running. None of this is specific to any make; it is the standing discipline of the type, and it extends to the whole working garden, paths and pond edges included.
Technique is safety too. Work in successive shallow passes rather than forcing full depth in one go — a tiller buried to its gearbox in hard ground strains the machine and the operator together, and it is in the wrestling that follows that feet and tines meet. Keep a walking pace the machine sets, overlap passes slightly instead of fighting for the edge of the last one, and stop for stones and roots rather than powering through them. An old machine in particular rewards patience: it was built for steady work at its own rhythm, and the operator who matches that rhythm finishes the plot with the machine, the ground and themselves all in better condition.
10. Parts, Consumables and Honest Limits
Separate what a machine eats from what it is. Consumables — plugs, filters, belts, tine bolts, oils — are generic small-engine fare and are generally obtainable by size and specification rather than by badge. Wear parts like tines can often be matched by pattern or adapted from current production. The honest limit is everything else: castings, gearbox internals and maker-specific fittings for a decades-old machine exist only where salvage, donor machines and the second-hand market provide them, and no seller or writer can promise otherwise.
That limit should shape decisions, not end them. A complete, sound machine worked gently and maintained as above can give years of service on consumables alone. A machine bought as a project should be bought cheaply enough, and completely enough, that its own parts are its spares. And a machine with a cracked gearbox casting or a seized, scored engine is a donor or a garden ornament — recognising that is not defeat; it is the same judgement every generation of these machines’ owners has made, and it leaves the good ones, like the plots in the tiny house garden ideas post, still being worked.
One practice multiplies the value of everything above: keep a record with the machine. A folder or a notebook holding the plate photographs, the identification you settled on, the belt and plug sizes you fitted, the oil you use and the dates of each job turns the next repair — yours or the next owner’s — from archaeology into maintenance. Old machines pass between owners more often than new ones do, and the tiller that arrives with its own history is the one that gets kept running.
Final Considerations
A vintage rototiller earns its place the unglamorous way: identified by its hardware rather than its decals, inspected at the frame and the tines before the paint, and kept by routine — clean tines, sound belt, fresh fuel, dry storage. Respect the rotor, maintain the consumables, and be honest about what can and cannot be replaced, and a heavy old machine will go on doing the one job it was built for, season after season.




0 Comments