

A ceramic tile surround can turn an ordinary bath into the calmest corner of the home. This guide to bathtub tile ideas walks through layouts, colours, finishes and the practical details that decide whether a surround looks sharp for years or starts to tire within months.
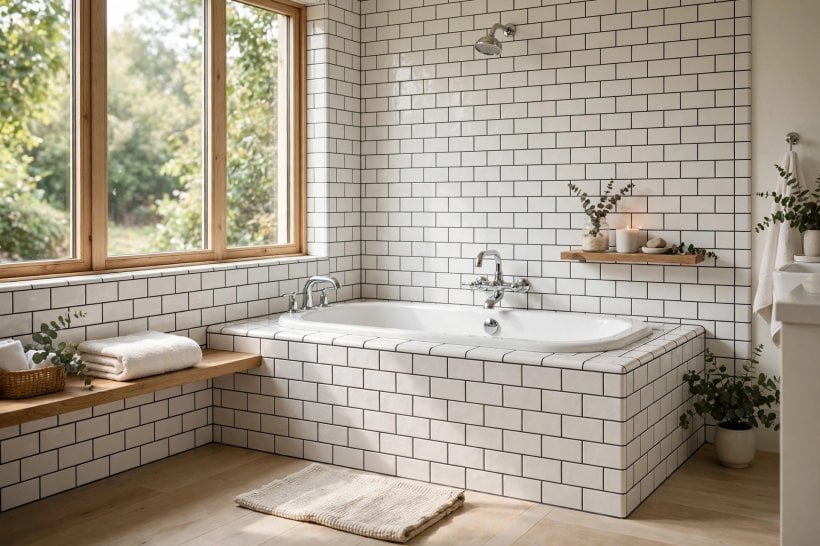
1. At a Glance
Before you fall for a sample board, it helps to see the whole decision in one place. A tub surround has to handle daily splashes, steam, cleaning products and the occasional dropped shampoo bottle, all while setting the tone of the room. Ceramic tile remains a favourite because it is widely available, straightforward to cut, and offered in everything from quiet neutrals to deep, glossy colour. The table below sums up the choices that follow, so you can shortlist a direction first and then read the sections that matter most to your bathroom, your budget and the way your household actually uses the bath.
| Question | Short Answer |
|---|---|
| What suits a small bathroom? | Light colours, a simple stack or brick layout, and grout close in tone to the tile. |
| What suits a family bath? | A matte or satin finish, mid-tone colours that forgive splashes, and a sealed, well-raked grout line. |
| Where does the money go? | Mostly on preparation, waterproofing and labour rather than the tiles themselves. |
| What lifts the look most? | Aligned joints, a planned niche, and a tidy edge finish where tile meets paint or bath panel. |
| What should you avoid? | Skipping waterproofing, mixing too many patterns, and ordering tiles with no spare allowance. |
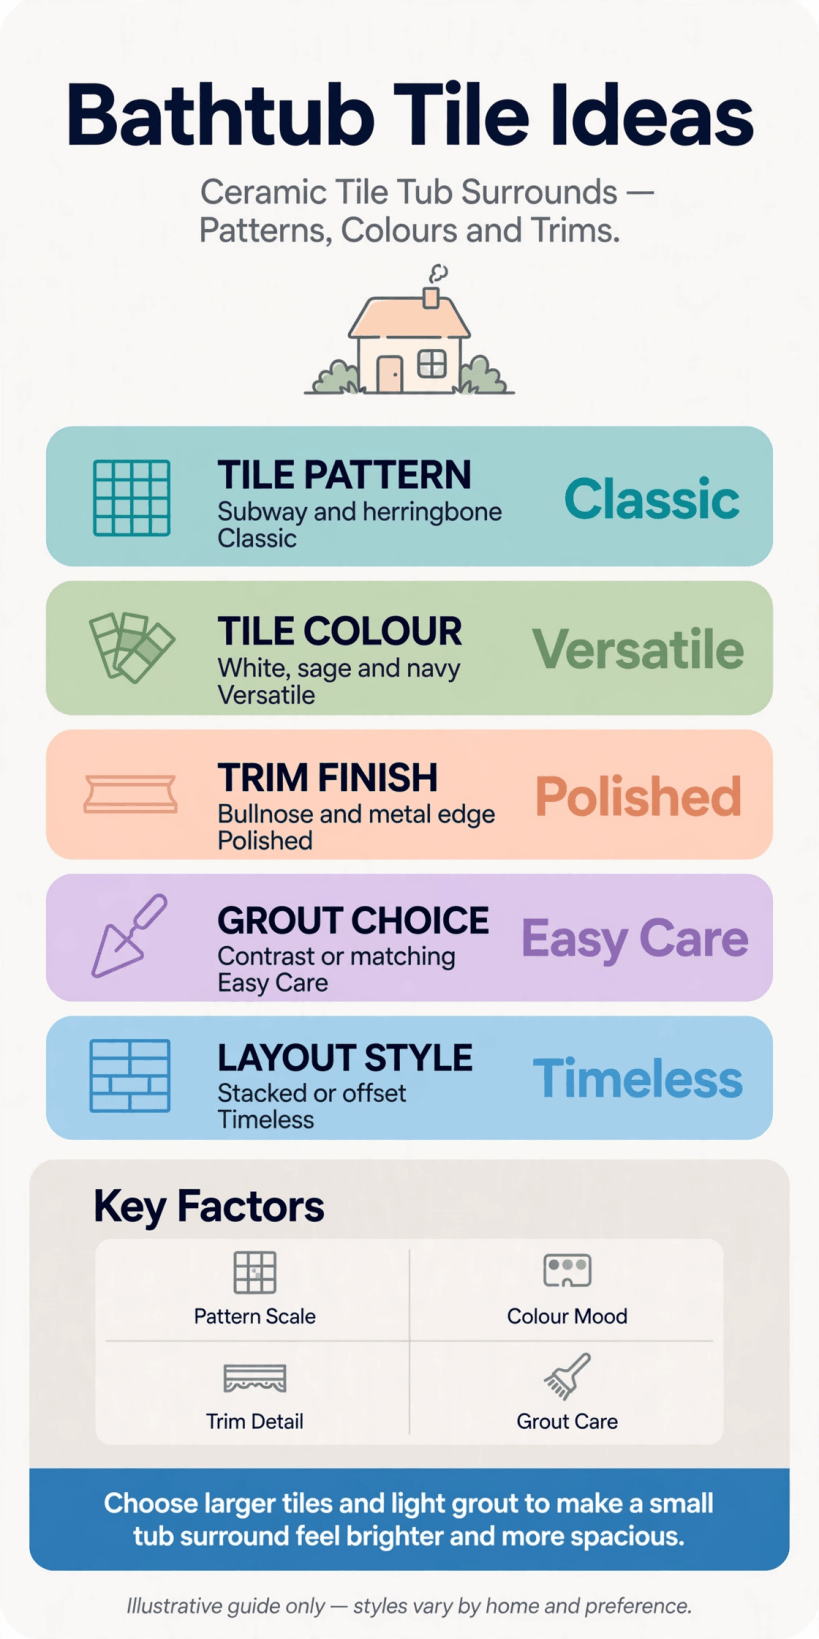
A one-page summary of layouts, colours and care points for a ceramic tile tub surround.
2. Start With the Layout: Straight, Brick or Herringbone
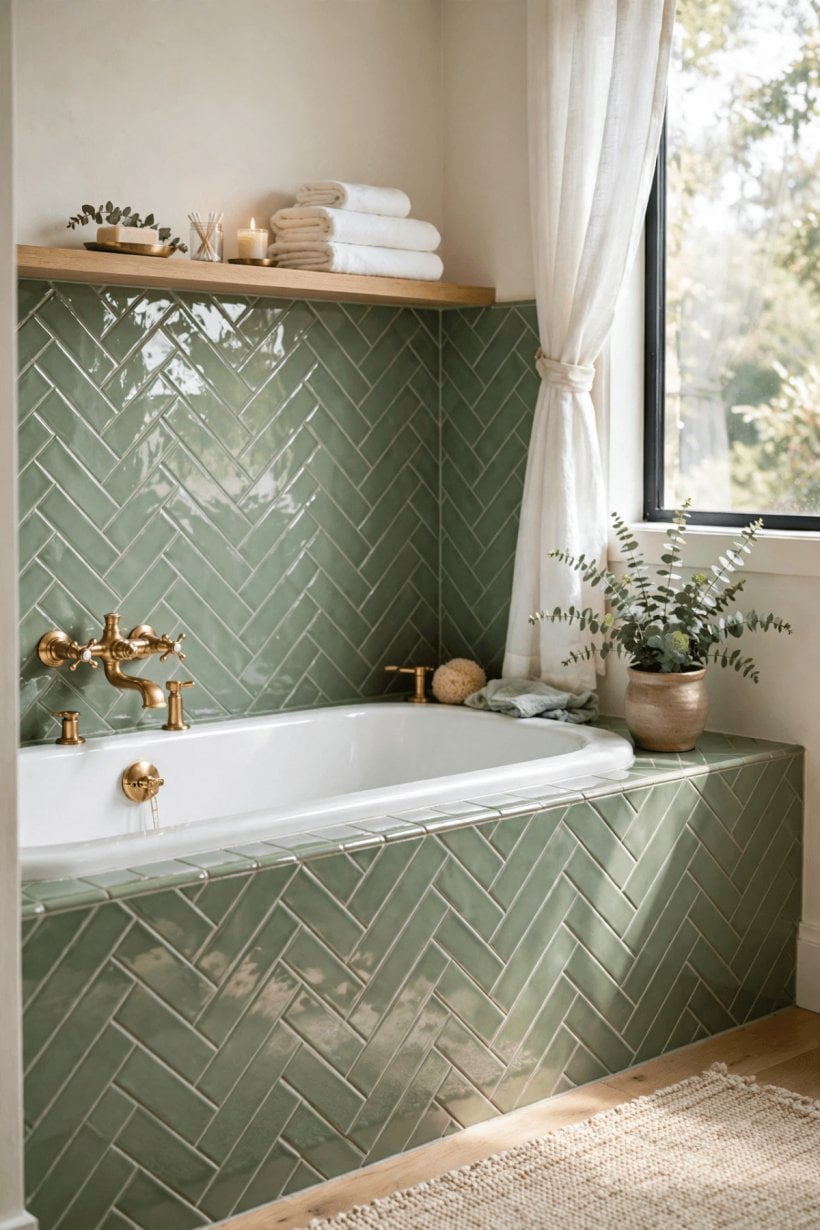
The layout is the skeleton of the whole surround, and it changes the feel of the room more than most people expect. A straight stack, where tiles sit in neat columns, reads calm and modern, and it wastes very little material because cuts stay simple. A classic brick bond, with each row offset by half a tile, feels warmer and more traditional, and it is forgiving on walls that are not perfectly flat because the offset breaks up long sight lines. Herringbone and chevron patterns add movement and suit a feature wall behind the tub, although they need more cuts, more time and a patient tiler.
Think about tile size alongside pattern. Large-format tiles mean fewer grout lines and a quieter surface, which many people prefer around a bath they soak in, while smaller tiles follow curved or uneven walls more kindly. If your wider room needs direction, browsing bathroom interior design ideas can help you see how layout choices play out in compact spaces. Whatever pattern you pick, ask for the layout to be centred on the bath so the cuts at each end match, because lopsided slivers at the corners are the detail your eye will keep finding every morning.
3. Choose a Colour Story That Suits the Light
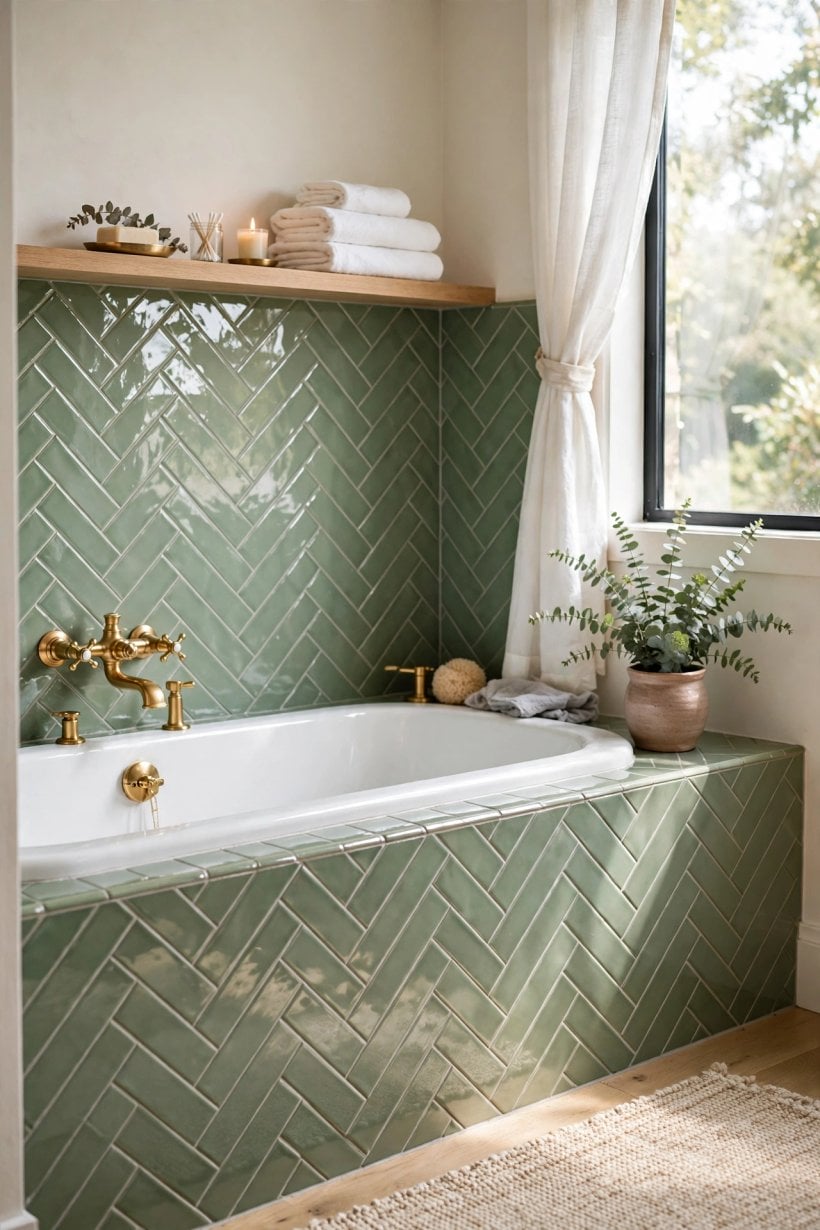
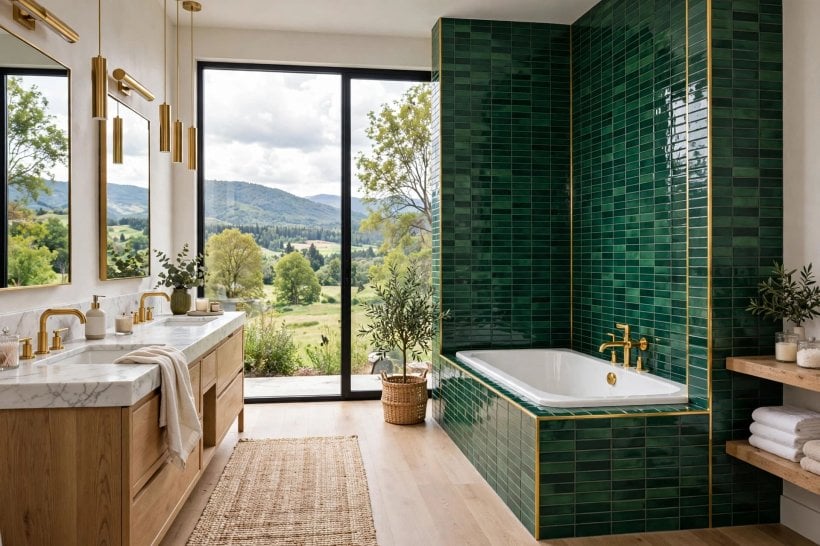
Colour is where the surround earns its mood. Soft whites and warm off-whites keep a small bathroom feeling open and are easy to pair with chrome, brushed brass or black fittings. Pale greys and stone tones hide water marks gracefully and sit comfortably between modern and classic schemes. For a stronger statement, deep green, inky blue or terracotta tiles can make the bath zone feel cocooning, especially when the rest of the room stays quieter. The golden rule is to view samples in the room itself, morning and evening, because a showroom’s bright lighting can flatter shades that fall flat under a warm bathroom bulb.
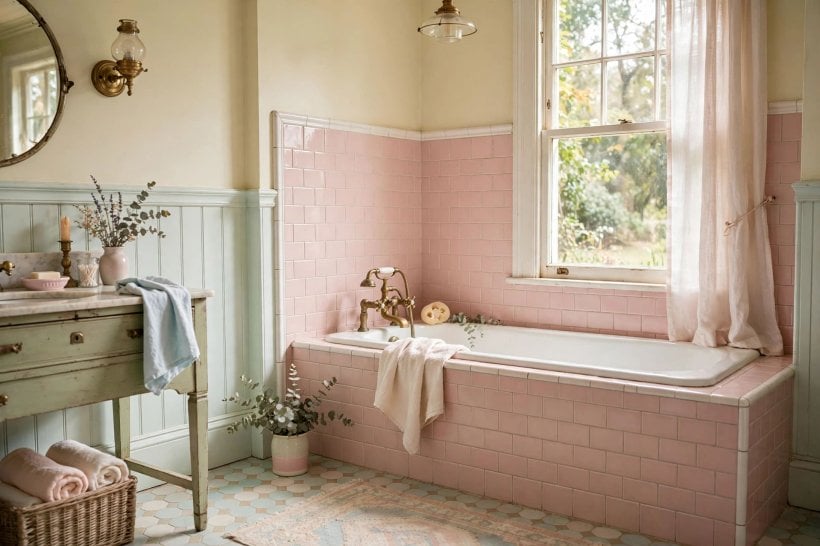
It also helps to hold the tile against the bath, the floor and any existing paintwork, since undertones clash in ways that are hard to predict from a single sample. Cool greys can turn chilly beside a warm white bath, while creamy tiles can look yellow next to a blue-toned floor. If you are still shaping the wider scheme, the palettes in these modern interior design ideas show how restrained colour stories keep small rooms feeling considered rather than cold. Limit the surround itself to one main colour family, then let towels, a bath mat and a plant carry the accents you can change cheaply later.
4. Glossy, Matte and Textured Finishes
Finish decides both the look and the upkeep of the surround. Glossy ceramic bounces light around the room, wipes clean with very little effort and gives that traditional, almost liquid shine many people picture on a bathroom wall. Its downside is honesty: water spots, toothpaste flecks and limescale show up quickly on a mirror-like surface, especially in dark colours. Matte and satin finishes feel softer and more contemporary, disguise everyday marks far better, and pair beautifully with natural wood and brushed metal, though they can hold onto soap residue a little more and benefit from regular, gentle cleaning.
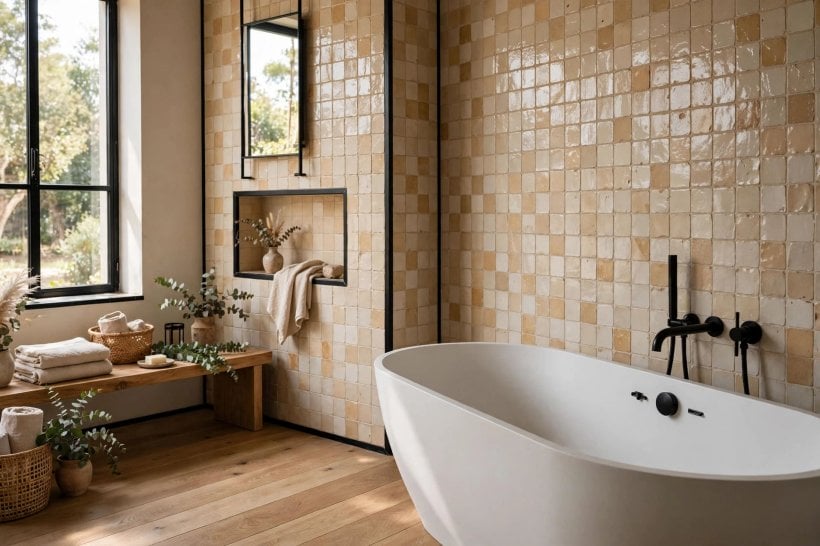
Textured and handmade-look tiles sit between the two, with gentle ripples or uneven edges that scatter light and make a plain colour feel crafted. They are a lovely choice behind a freestanding-style tub in a compact room, where the surround is the main event. One caution: heavy texture right where hands, knees and cleaning cloths press daily can be slower to wipe down, so many households keep texture for the upper rows and a smoother tile at splash height. Ask to handle samples wet as well as dry, because water deepens colour and can change how a finish reads once the shower over the bath is running.
5. Grout Colour and Joint Width
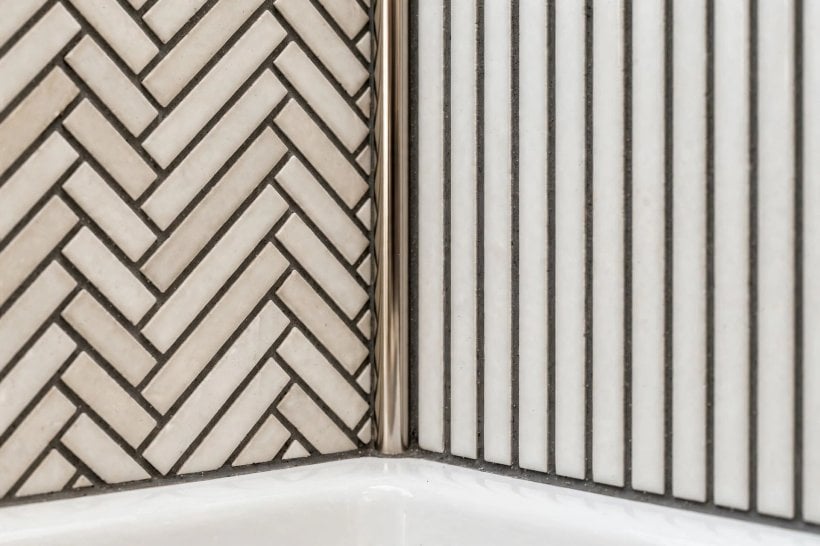
Grout is never just filler; it is a visible grid laid over your tiles, and its colour can either quieten a layout or turn it into graph paper. A grout close in tone to the tile softens the pattern, makes a small surround feel larger and is the safer choice if your tiling lines are not millimetre perfect. A contrasting grout, such as dark grey on white tile, celebrates the layout and suits brick and herringbone patterns, but it will highlight every uneven joint, so it demands tidy, consistent work. Mid-tones are the workhorse for family bathrooms because they forgive both pale soap scum and dark mildew specks better than bright white.
Joint width matters too. Narrow joints look crisp and modern but need flat tiles and flat walls to stay even, while slightly wider joints are kinder on handmade-look tiles with wavy edges. Whichever width you choose, consistency is the real luxury, so discuss spacers and sight lines with your tiler before the first tile goes on. Tilers who also fit kitchens will recognise the same principles from splashbacks, and the planning mindset in this tiny house kitchen design guide applies here as well: measure twice, centre the layout, and agree the details before adhesive comes out of the tub.
6. Niches, Shelves and Ledge Details
Every bather needs somewhere for shampoo, conditioner and a razor, and the neatest answer is storage built into the surround itself. A recessed niche, tiled to match or deliberately contrasted, keeps bottles off the rim of the bath and makes the whole wall feel planned rather than improvised. Position it within easy reach of someone sitting in the tub, high enough to clear splashes from the taps, and give its base the slightest slope so water runs out instead of pooling behind bottles. Lining the back of the niche with the feature tile, or a leftover piece of worktop stone, turns a practical hole into the detail guests ask about.
If the wall cannot take a recess, a tiled ledge or half-height shelf along the long side of the bath achieves a similar result and doubles as a perch for a candle or a child’s bath toys. Corner shelves in matching ceramic are another quiet solution for smaller surrounds. Plan these details before tiling starts, because retrofitting storage into a finished surround is messy and rarely looks intentional. Think, too, about what actually lives by your bath: two tall bottles need a taller niche than a household that decants everything into small dispensers, so measure your tallest bottle and add a little headroom.
7. Borders, Pencil Trims and Edge Finishes
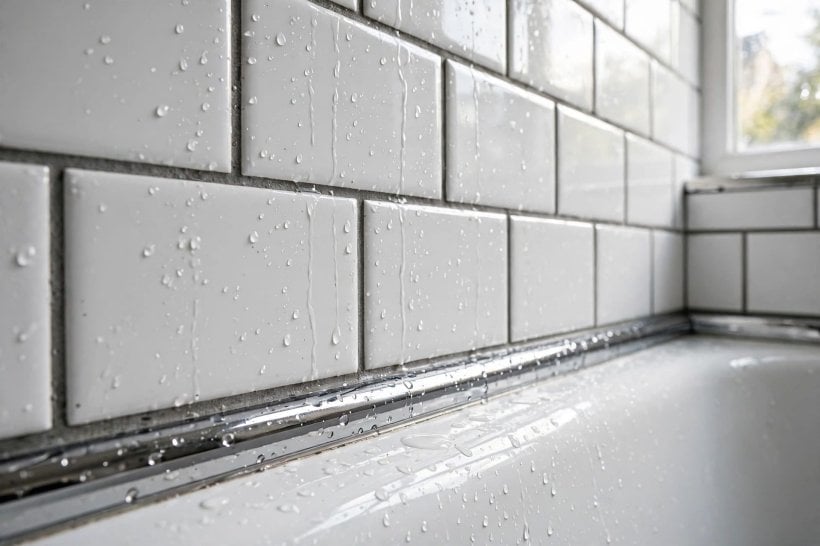
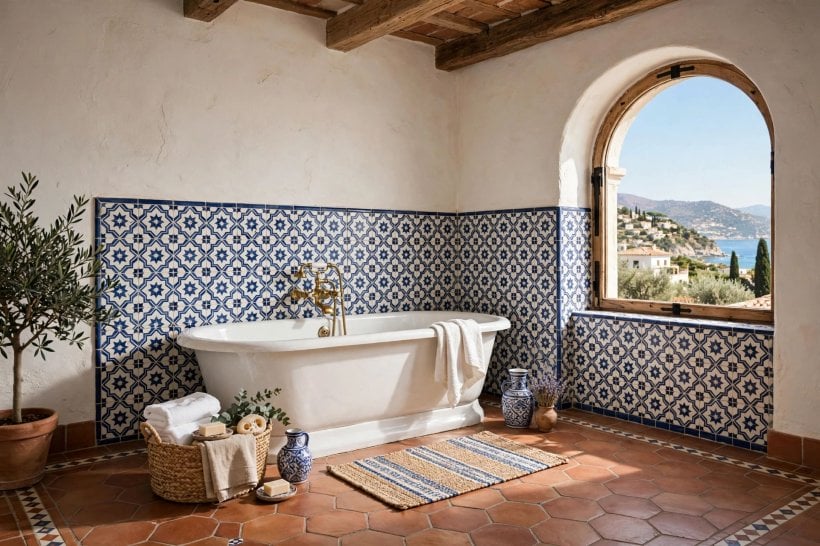
The edges of a surround are where a budget job and a considered job part company. Where tile ends against painted wall, an unfinished cut edge can look raw and chip over time, so plan a proper finish: a slim metal or PVC trim in a finish that echoes your taps, a rounded pencil trim in matching ceramic, or a neat border tile that turns the boundary into a deliberate line. A horizontal border row, placed at picture-rail height or running level with the top of a window, can also tie an otherwise plain surround to the rest of the room.
Keep the number of trims modest. One border, one edge solution and one tile colour family usually read as calm and intentional, while several competing trims make the wall feel restless. It helps to sketch the surround as a flat elevation, the way the schemes in these home designing ideas are planned room by room, marking where each row starts and stops. Check, too, how the top edge will meet the ceiling if you tile full height: a full tile at the top looks far better than a thin sliver, which may mean adjusting the starting row at the bath rim by a few millimetres so everything lands kindly.
8. Waterproofing and the Boards Behind the Tile
The most important part of a tub surround is the part nobody sees. Ceramic tile and grout are water-resistant, not waterproof, and in a bath with an overhead shower, water will find its way through joints over the years. The defence is proper preparation: sound, water-resistant backing boards in the wet zone, sealed joints and corners, and a waterproofing system applied before tiling where the bath or shower use demands it. Plasterboard that has already softened, or tiles fixed over old tiles that are themselves loose, are false economies that store up leaks and mould behind a beautiful new surface.
Ask direct questions about preparation and be glad when a tiler wants to talk about it, because enthusiasm for substrates is a good sign. The bath itself should be level, rigid and sealed to the wall with a continuous bead of sanitary silicone once tiling and grouting are complete, and that seal is a maintenance item to check yearly rather than a fit-and-forget line. If your bathroom has a history of damp, solve the cause first, whether that is a failed seal, poor extraction or a slow plumbing weep. A dry, well-ventilated room protects the new surround, the flooring and the ceiling of the room below, and it makes every other decision in this guide last longer.
9. Cleaning, Sealing and Everyday Care
A ceramic surround is one of the easiest bathroom surfaces to live with, provided care stays gentle and regular. Warm water, a soft cloth and a mild, non-abrasive cleaner handle everyday splashes; the trick is little and often, before limescale and soap film build into a weekend project. Squeegee or wipe the tiles after a shower over the bath and the grout will stay its true colour far longer. Avoid scouring pads and harsh acidic cleaners on the tile face and grout alike, and check the care note supplied with your specific tile, because some decorative and crackle-glaze ceramics ask for sealing and for cleaners within a gentle pH range.
Grout, not tile, is usually the part that ages first. Sealing cement-based grout in the splash zone helps it resist staining, and refreshing tired silicone around the bath rim is a small job that prevents a large one. Coastal households will recognise the rhythm from these beachy interior design ideas: rinse away the day, let air move, and let materials dry fully between uses. Keep a soft cloth within reach, open a window or run the extractor after baths, and deal with any pink or dark spots in corners early, while they are a cleaning task rather than a signal that moisture has settled somewhere it should not.
10. Budgeting, Quantities and Ordering With Confidence
Tile is often the smallest line in the budget, which surprises people until they price the whole job. Preparation, boards, waterproofing, adhesive, grout, trims, sealant and labour typically outweigh the cost of the ceramic itself, and a patterned layout adds labour time even when the tiles are inexpensive. That is good news in one way: upgrading from a plain tile to a lovelier one usually moves the total less than expected, while cutting corners on preparation is the most expensive saving available. Collect quotes that itemise preparation separately, so you can compare like with like and see exactly where each tilers money goes.
For quantities, measure each wall, add the returns and the area above the bath, then include a sensible spare allowance for cuts, breakages and future repairs, keeping a handful of spares in the loft afterwards. Order everything from one batch where possible, because shade can vary slightly between production runs, and check boxes on arrival before anything is fixed. Households watching overall spend will find the mindset in this guide to how to make a cheap tiny house surprisingly relevant: spend on the bones, keep finishes honest, and never pay twice for a job that was rushed the first time. A clear written scope, agreed layout and agreed start date protect the budget better than any discount tile.
Final Considerations
The best surrounds feel inevitable, as if the room could never have worn anything else. That feeling comes from ordinary decisions made carefully: a layout centred on the bath, a colour tested in real light, grout chosen as a design element, storage planned before tiling, and waterproofing treated as the main event rather than an extra. Work through these bathtub tile ideas in that order and the pretty choices will sit on top of sound ones. If you are renovating a compact home, the step-by-step thinking in how to build your own tiny house is a useful companion, because a small bathroom rewards the same discipline as a small house: measure honestly, plan storage early, and finish edges properly. Choose the scheme you will still enjoy on a grey February morning, keep spare tiles, and let the surround get on with its quiet job for years.



0 Comments