

Trim is the quiet frame that makes a whole facade look finished. A neat edge here, a confident colour there, and the house suddenly reads as cared for.
Used well, exterior house trim molding sharpens windows, doors and corners without rebuilding anything. Start with these 75 ideas, from first checks to finishing touches.
1. Start With the Shape of the House: At a Glance
Before choosing profiles or colours, walk to the street and look at the house as a passer-by sees it. Which lines already stand out, and which edges disappear? Note the roofline, the window rhythm and the front door, because trim works best when it repeats those existing lines instead of inventing new ones. If colour is your main puzzle, browse tiny house interior paint colors for shade-pairing habits that translate surprisingly well outdoors.
| Question | Quick answer |
|---|---|
| What does trim do first? | It frames openings and corners so the facade looks deliberate rather than unfinished. |
| Where should beginners start? | Windows and the front door, where contrast is most visible from the street. |
| How many trim colours are enough? | Usually one main trim colour plus one accent is plenty for a calm result. |
| What matters more, width or colour? | Both: width sets the proportion, colour sets the contrast, and they must agree. |
| What should you check locally? | Any neighbourhood, heritage or homeowners rules that may limit exterior colours or profiles. |
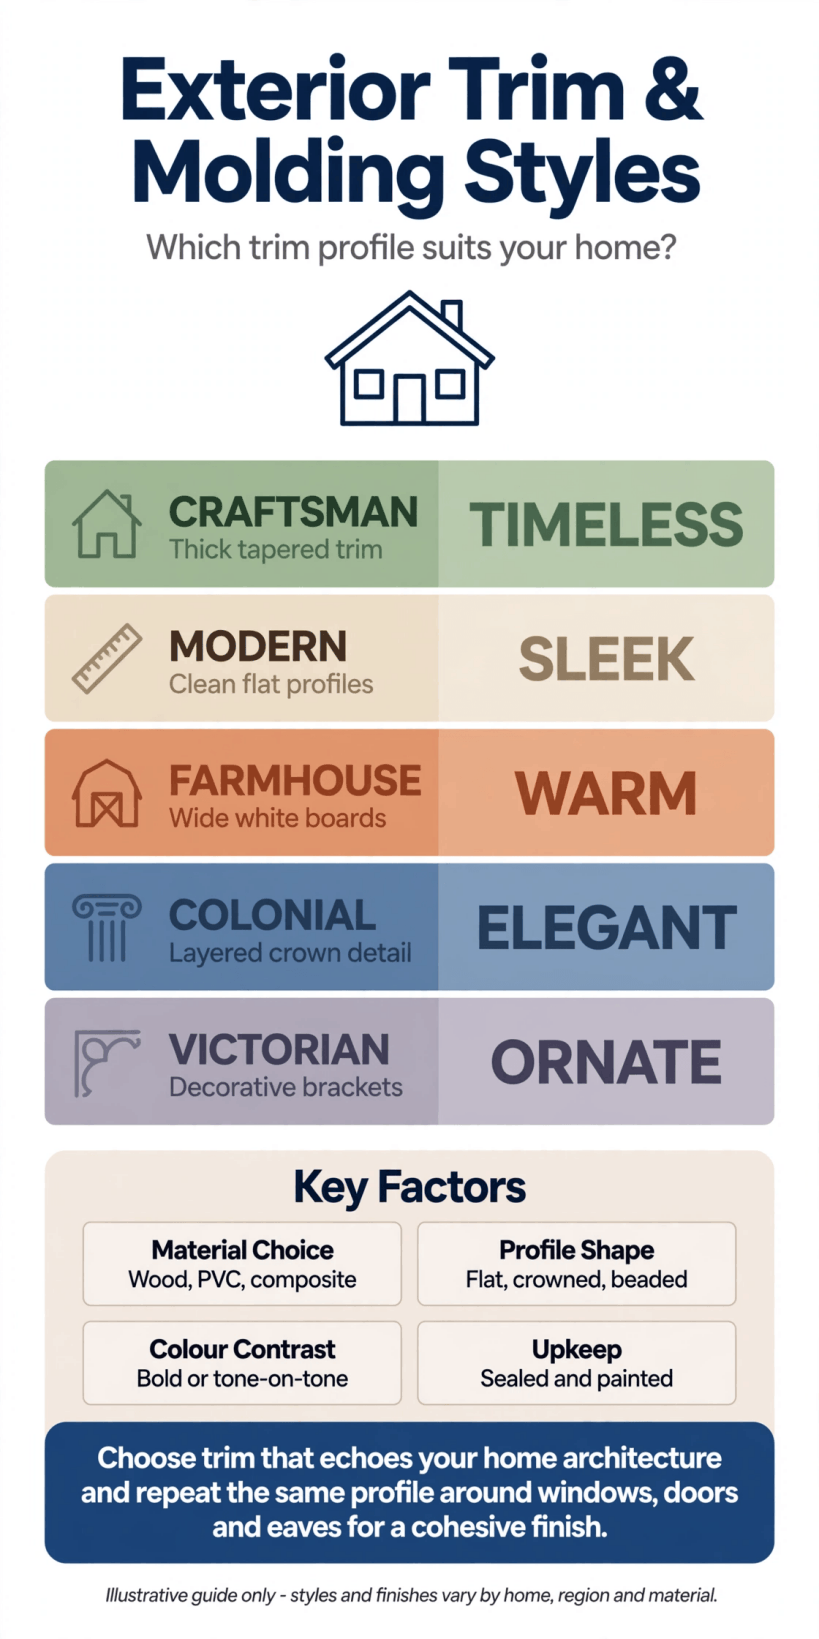
A quick at-a-glance guide to planning trim, from first proportions to colour contrast and kerb appeal.
1. Crisp white window surrounds. The classic starting point still works on brick, stone and painted siding alike. Keep the white clean and slightly warm rather than stark blue-white, and repeat it on every window so the frontage feels unified.
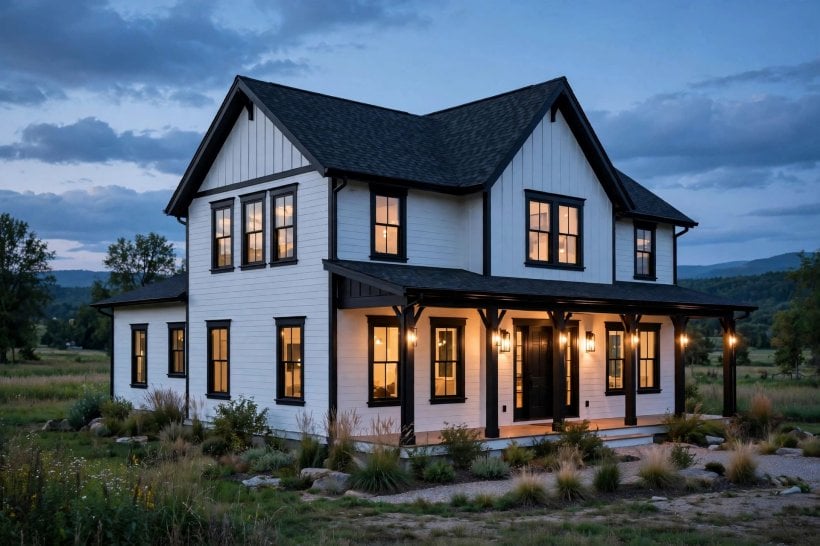
2. A deep charcoal door frame. Painting just the door surround in charcoal gives an ordinary entrance a tailored edge. It pairs well with pale walls, needs only a small amount of paint, and can be refreshed in an afternoon.
3. Wide corner boards. Generous corner boards anchor the ends of a facade and make a plain box feel built rather than assembled. Choose a width that suits the scale of the house, slimmer for cottages and bolder for tall fronts.
4. Slim modern casing. On a contemporary home, keep profiles flat, narrow and shadow-free. The restraint lets glass, render and cladding do the talking, while the trim simply tidies every junction with a clean, architectural line.
5. Matching garage door trim. Garage doors often dominate a frontage, so frame yours in the same trim colour as the windows. The match quietly links the biggest panel on the house to everything else and reduces visual clutter.
6. Contrasting fascia boards. A fascia in a contrasting shade draws a firm line beneath the roof. It is especially effective on low, wide houses where the roofline needs definition against a bright sky.
7. Tone-on-tone trim. Painting trim one shade deeper than the siding creates a soft, layered look with almost no risk. Stand back at midday and in evening light to check the difference is still just visible.
2. Window Trim That Frames the View
Windows are where trim earns its keep most visibly. A consistent treatment turns a scattered set of openings into a pattern, and a pattern is what makes a facade feel calm. For more small-frontage thinking, see these tiny house landscaping ideas and notice how planting and hard edges work together.
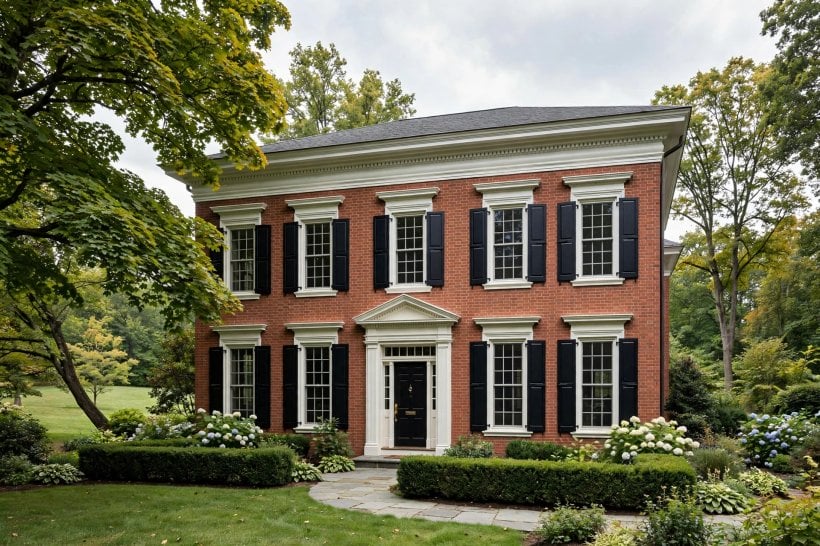
8. Extra-wide window casing. Widening the casing around a main window gives it the presence of a picture frame. Use the treatment on the front windows only if the budget is tight, keeping side windows simpler but the same colour.
9. A slight cap above each window. A shallow header board with a gentle cap sheds drips and adds a craftsman note. Keep the projection modest so it reads as detail rather than a shelf, and seal the top edge carefully.
10. Extended sill nosing. Letting the sill project a fraction beyond the casing throws a small shadow line that makes windows look deeper. It is a subtle change that photographs beautifully and lifts flat, flush facades.
11. Shutters framed by trim. If you have shutters, give them a trim border in the main trim colour and paint the shutter itself as the accent. The layered order, wall, trim, shutter, reads clearly from the road.
12. Continuous trim around a bay. Run one unbroken trim line around a bay window, top and bottom, instead of treating each face separately. The continuity makes the bay look like one piece of joinery rather than three windows.
13. Black frames with pale trim. Dark window frames inside a pale surround give a crisp, graphic contrast that suits both new builds and renovated cottages. Repeat the black on the door furniture or lanterns for a deliberate echo.
14. Trim that follows an arch. Curved openings deserve trim that follows the curve rather than stopping at the spring line. A smooth arch surround softens a formal front and draws the eye upward in the nicest way.
15. A unifying band for grouped windows. When windows sit close together, connect them with a shared header and sill line. The group then reads as one wide glazed feature, which can make a small facade feel wider and calmer.
3. Doors, Porches and the Welcome
The entrance is the handshake of the house, and trim is its cufflink. Surrounds, posts and porch edges in a considered colour make visitors feel expected before the door even opens. Readers planning whole-room schemes will also enjoy these home interior design ideas for tiny houses, where the same framing habits work indoors.
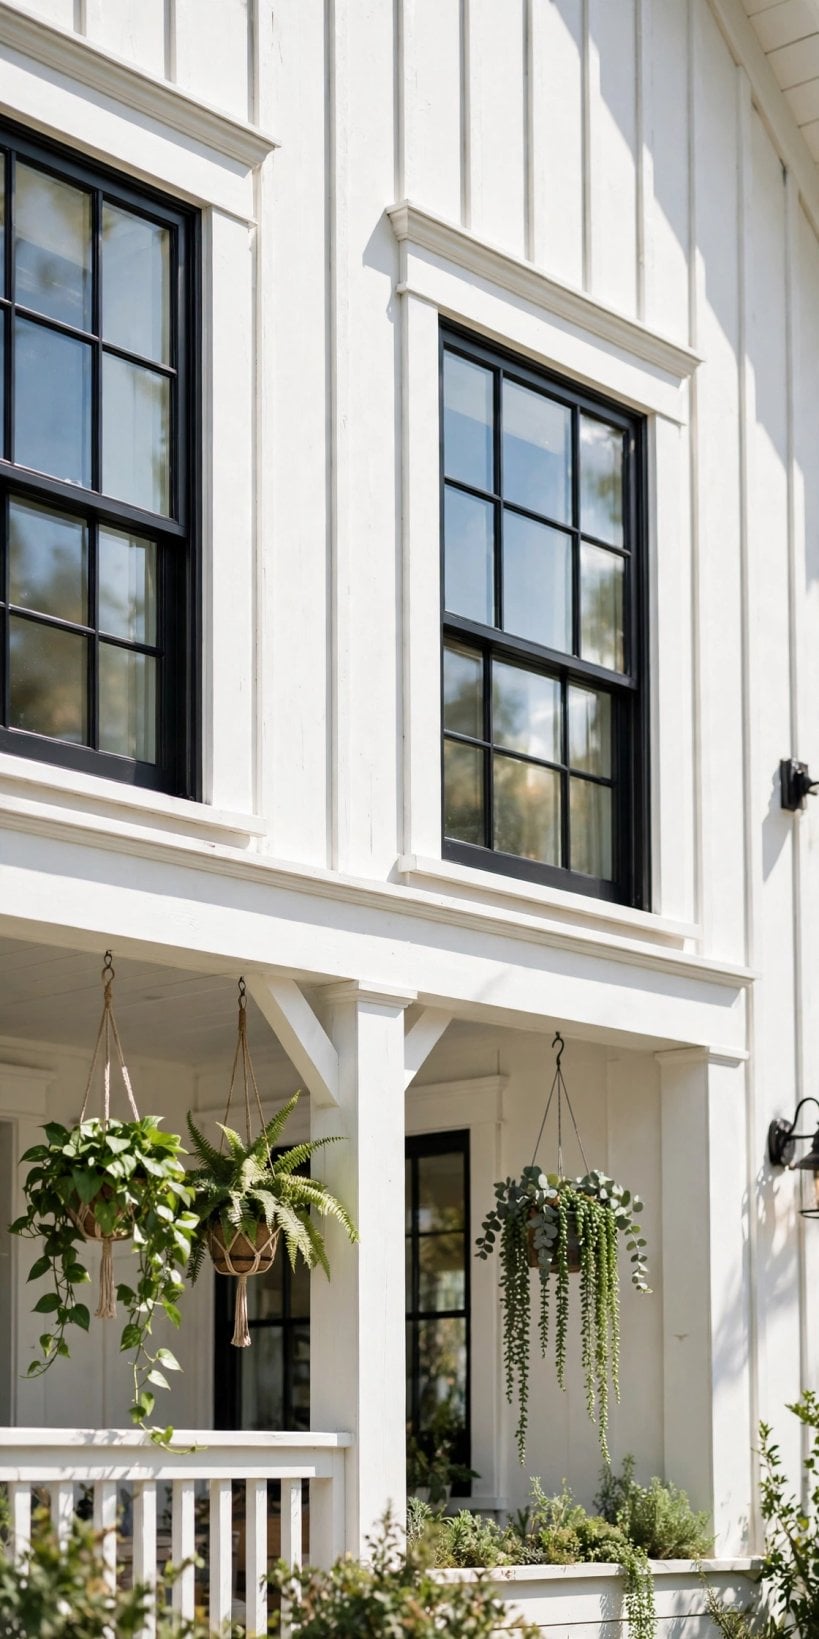
16. A bold front door surround. Widen and deepen the trim around the front door, then paint it in your accent colour. The entrance becomes the obvious destination on the facade, which is exactly what good kerb appeal should do.
17. Simple pilasters at the entry. Flat, shallow pilasters flanking the door add formality without columns or cost. Keep them plain, align their cap with the door header, and let proportion rather than ornament carry the effect.
18. Trim around a transom window. If there is a glazed panel above the door, frame it as part of the door unit rather than a separate window. One shared surround makes the whole entrance taller, lighter and more elegant.
19. Wrapped porch posts. Cladding plain porch posts with trim boards gives them a finished, furniture-like quality. Add a simple base and cap piece, paint everything in the trim colour, and the porch suddenly looks intentional.
20. House numbers on a trim board. Mount your numbers on a smooth board painted to match the door surround. The board gives numerals a clean background, improves legibility from the street and adds one more deliberate detail.
21. Lanterns set against trim. Position porch lanterns on or beside the door trim rather than on busy siding. The flat trim background shows the fixture off, hides fixings neatly and makes evening arrivals feel warmer.
22. A centre strip for double doors. On paired doors, a neat vertical trim strip down the meeting stile tidies the junction and gives the pair a single, composed look. Paint it with the doors or the surround, not a third colour.
23. A screen door in trim colour. Instead of fighting with a screen or storm door, paint it exactly the trim colour. It will recede visually, letting the main door colour show through any glazed or open sections.
4. Colour Contrast That Earns Its Place
Contrast is seasoning: enough lifts everything, too much overwhelms. Build your palette from the fixed colours you cannot change, roof, brick and stone, then choose trim to bridge them. The gallery of colorful tiny house interior schemes is a good reminder that one strong colour, repeated, beats five competing ones.
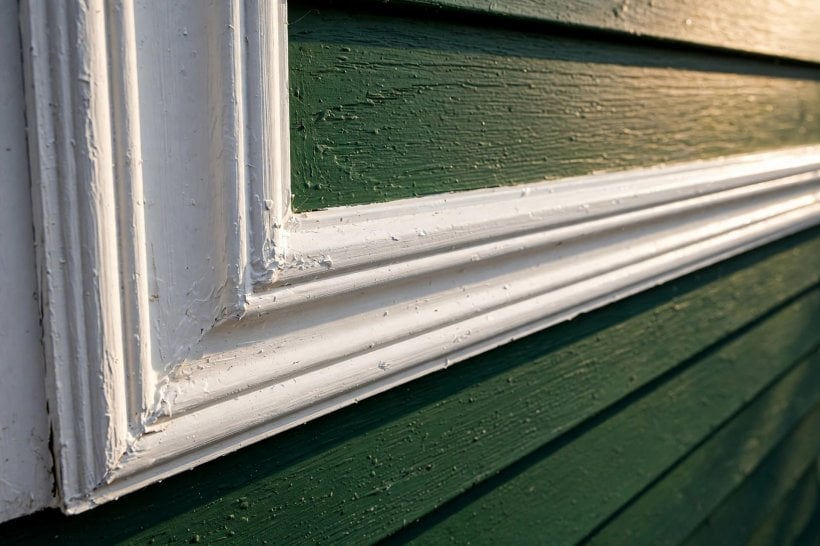
24. Navy trim with pale siding. Deep navy against cream or soft white siding feels nautical, smart and forgiving of dust. It works particularly well near the coast or on homes with white window frames already in place.
25. Black trim with warm timber. Charcoal-black trim next to natural wood siding sharpens the grain and modernises a rustic wall. Keep the black consistent across windows, fascia and door for a calm, designed result.
26. Cream trim on red brick. A warm cream softens red brick far better than a brilliant white, which can look chalky beside it. The gentler contrast flatters older brickwork and suits traditional streets beautifully.
27. Sage green trim on white. Muted sage gives a white house a garden-linked softness without turning playful. It echoes planting, suits stone paths and looks as good in winter grey light as in summer.
28. Two-layer, two-tone trim. Paint the wider casing one colour and the inner bead a shade deeper or lighter. The fine inner line adds shadow and craftsmanship, especially around doors and larger windows.
29. A dark trim that echoes the roof. Choosing a trim colour close to the roof tone ties the top of the house to its openings. The facade gains a top-and-middle rhythm that feels grounded and complete.
30. Repeat trim colour on the gate. Painting the garden gate and fence capping in the trim colour carries the house palette into the boundary. From the street, house and garden read as one composed picture.
31. A changeable door, a permanent trim. Keep trim in a timeless neutral and let the front door carry the fun colour you can repaint cheaply. That way seasonal whims never force a whole-facade repaint.
5. Corners, Edges and Long Walls
Edges are where houses either look tailored or look tired. Corner boards, frieze boards and base trim collect the eye at exactly the points where siding ends, so their condition matters out of proportion to their size.
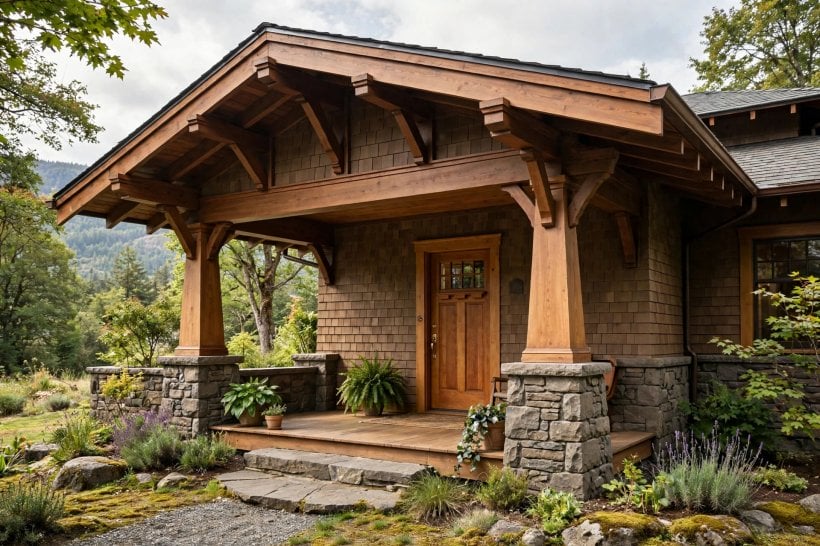
32. Corner boards wider than the casing. Making corner boards slightly more generous than window casing gives the facade a hierarchy: structure first, openings second. The subtle ranking makes even a simple house feel well-mannered.
33. Battens on board-and-batten walls. On board-and-batten siding, the battens are the trim, so keep their spacing ruthlessly regular. Align battens with window edges where you can, and paint them with the boards for texture without fuss.
34. Corners in a contrasting colour. Painting only the corner boards in the accent shade outlines the whole volume of the house. It is a bold move that suits simple shapes and plain siding best.
35. Corner blocks with a traditional profile. Small, shaped blocks at the top of corner boards nod to historic detailing. Use them sparingly on period-style homes, and keep the profile simple enough to dust and repaint easily.
36. Vertical trim to break a long wall. A blank side wall benefits from one or two vertical trim boards that divide it into bays. Match their spacing to the window rhythm on the front so the trick looks original.
37. A frieze board under the eaves. A flat board running beneath the soffit hides the siding-to-roof junction and gives the wall a finished top edge. Paint it with the trim and the whole roofline looks straighter.
38. Base trim at the foundation line. A water-table style board where wall meets foundation covers the messiest junction on the house. It protects the siding edge visually and gives mowing and splashes a sacrificial surface.
39. Trim that turns a corner cleanly. Where trim profiles meet at corners, mitre or butt them consistently around the whole house. Mixed joints look like repairs; one repeated joint looks like craftsmanship, even up close.
6. Rooflines, Fascias and Gables
The roofline is the skyline of your house, and trim is what draws it. Fascias, soffits, gable details and dormer surrounds are high, visible and weather-beaten, so choose simple profiles you can maintain safely. If you are weighing a bigger project, our guide on how to build your own tiny house shows how roofline choices shape a whole exterior.
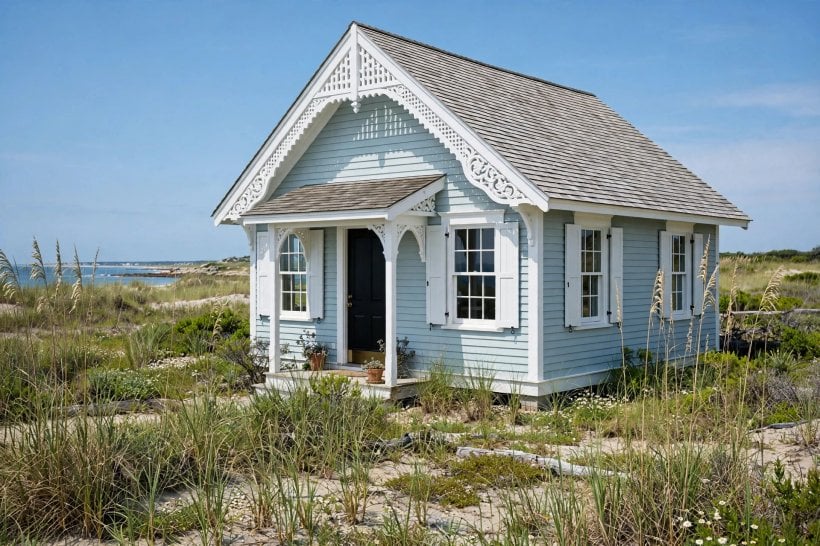
40. Fascia in the accent colour. Moving the accent colour up to the fascia gives a house a decisive top line. It works best when gutters match or disappear, so check gutter colour before committing.
41. A softly contrasting soffit. Painting the soffit a gentle off-white or the palest version of the trim colour brightens the shadow under the eaves. Porches feel lighter and the roof seems to float a little.
42. A simple gable detail. A plain vertical or sunburst-free board arrangement in the gable adds focus without theme-park fuss. Keep it flat, geometric and in the main trim colour so it ages gracefully.
43. A repeated block trim strip. A row of small, evenly spaced blocks beneath the frieze gives traditional homes a crafted rhythm. Modern versions use plain squares; the charm is in the repetition, not the carving.
44. Eaves brackets in trim colour. Where brackets or exposed rafter tails exist, painting them with the trim turns structure into decoration. The underside of the roof becomes one of the prettiest parts of the house.
45. Dormers trimmed like the windows below. Give dormers exactly the same casing, colour and sill treatment as the main windows. The repetition makes dormers look planned rather than popped in, and unifies two storeys.
46. A neat chimney surround. Tidy trim or flashing boards where the chimney meets the roof tidy a notoriously messy junction. Keep materials appropriate for that spot and check local guidance for anything structural.
47. A crown line on tall walls. On a two-storey flat wall, a slightly deeper frieze plus a shallow crown profile gives the top a cornice-like finish. It is a small addition with an outsized effect on presence.
7. Porch and Veranda Trim Details
Porches sit between house and garden, so their trim should borrow from both: the colour from the facade, the softness from the planting. Small repeated details here are what neighbours actually notice.
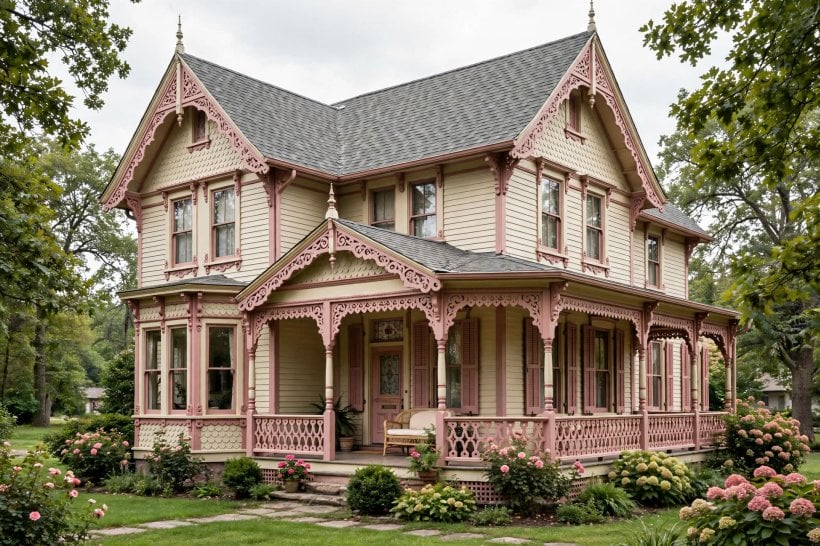
48. Beam ends wrapped in trim. Wrapping porch beam ends with trim boards hides joins and gives the roof support a finished foot and head. The porch instantly looks built-in rather than bolted on.
49. A contrasting handrail cap. Painting just the top rail of a porch railing in the accent colour gives the eye a line to follow to the door. It is also the easiest piece to repaint when it wears.
50. Trim edging on a porch ceiling. A simple perimeter trim where the porch ceiling meets its beams tidies shadows and cobweb corners. Paint ceiling and trim together for a calm, tent-like feel overhead.
51. Base rings on porch columns. A slightly wider trim ring at the foot of each column protects the splash zone and grounds the post visually. It also disguises the junction with steps or decking boards.
52. Step edges picked out in trim. A trim board on the face of porch steps defines each tread edge in shade and shadow. It looks smart and, as a bonus, makes steps easier to read at dusk.
53. Framed lattice under a porch. If you skirt a raised porch with lattice, frame every panel in trim boards. The frame turns a practical screen into a deliberate design feature and stops edges looking ragged.
54. Plain spandrel brackets at porch corners. Small, simple corner brackets where post meets beam add a hint of tradition. Choose flat, geometric shapes on modern homes and softer curves only where the house already has them.
55. Porch furniture echoing the trim. Paint a porch bench, swing or planters in the trim colour or its accent partner. The echo ties loose furniture into the architecture and makes the whole veranda feel styled.
8. Materials, Finishes and Honest Details
Trim lives a hard life at joints, sills and ground level, so material and finish choices matter as much as looks. Ask suppliers what a profile is made for, check with the city or county if any exterior rules apply to your street, and keep price talk in perspective: the best value is usually the trim you do not have to replace early. These tiny house decorating ideas show the same principle indoors, where honest materials outlast novelty.
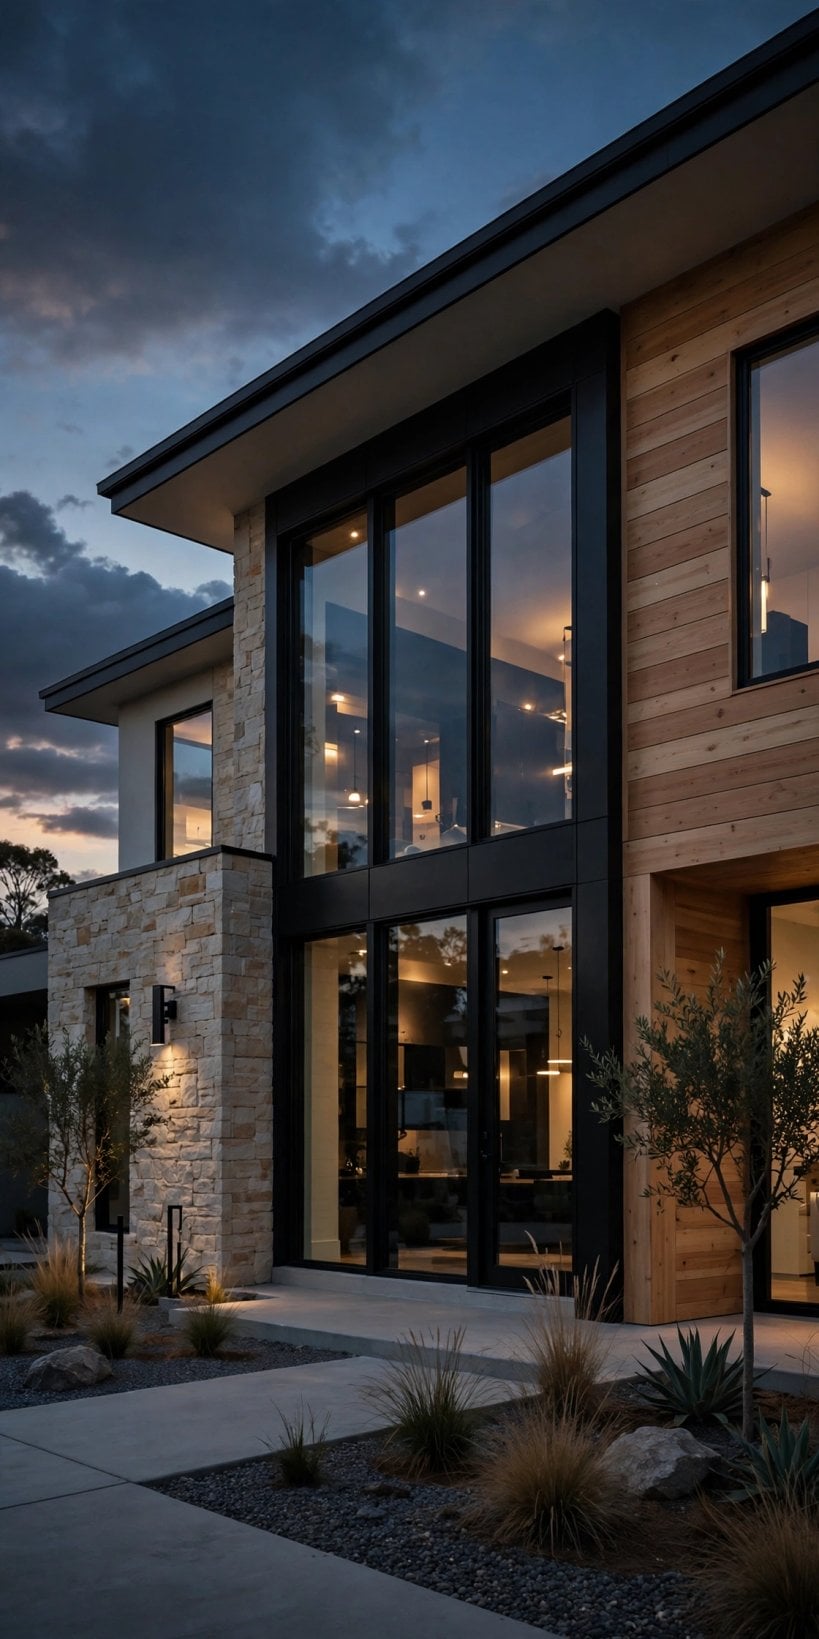
56. Painted timber with a smooth finish. A smooth, well-prepped paint finish on timber trim looks crisp on traditional homes. The secret is preparation: sound, dry surfaces and tidy caulk lines matter more than any brand claim.
57. A low-sheen contrast. Try trim in a slightly different sheen from the siding, matte against satin, say, even in the same colour. The shift catches light differently and adds depth without another colour.
58. Fibre-cement style boards for hard-wear spots. Where sprinklers, shade and splash keep timber damp, a durable manufactured board in the same profile can blend in once painted. Confirm suitability with the maker before mixing materials.
59. Metal trims kept neat and quiet. Flashings and drip edges should be straight, tight and, where visible, coloured to sit with the trim palette. Shiny, wavy metal is the one trim that always looks like an accident.
60. Stone or brick sills under windows. A masonry sill beneath painted trim adds weight and throws water clear of the wall. It suits brick and stone homes and gives painted woodwork a handsome partner.
61. Like-for-like replacement on period homes. When a section of old molding fails, copy its profile as closely as you can rather than redesigning that one spot. Consistency protects both the look and the character of the house.
62. Trim that hides a cable or pipe run. A shallow, painted channel board can tidy an unavoidable surface run along a wall. Keep access in mind, keep it straight, and never box in anything that needs regular inspection.
63. Back-primed and sealed end grain. The least glamorous idea on this list may be the most valuable: seal cut ends before fitting. Water enters at ends first, and hidden preparation is what keeps pretty trim pretty.
9. Small Homes, Tiny Frontages and Kerb Appeal
On a small house, trim is not decoration added at the end; it is the whole graphic system of the frontage. Fewer, better lines beat many fussy ones, and scale matters more than ornament. Browsing tiny houses for sale and rent is a quick way to see how the neatest small fronts all share that discipline.
64. Trim scaled down for a small facade. Narrow the casing, soften the corner boards and let one window be the feature. Oversized profiles on a tiny front look like a borrowed suit; tailored ones look charming.
65. One accent colour only. On a small frontage, discipline is everything: one trim colour, one accent, repeated everywhere. The restriction is what makes a compact house look designed rather than decorated.
66. Window boxes edged to match. Build or paint window boxes in the trim colour and plant them softly. The boxes extend the window trim into the garden and give a flat facade a living layer.
67. A mailbox post that matches. A tiny trim cap and the house colour on the mailbox post carry your palette to the pavement. It is a five-minute detail that makes the whole approach feel considered.
68. Path edging in the trim family. Edging a front path in a tone close to the trim colour links door to street. Keep the line simple and let planting, not edging, provide the softness.
69. Exterior lights in a matching finish. Choose lantern and fixture finishes that sit happily with the trim, black with charcoal, warm metal with cream. Matching metals is the jewellery rule of kerb appeal.
70. Planting that softens strong lines. Strong trim contrast needs green softness in front of it. One cloud of planting at the corner and one at the door will relax the geometry without hiding it.
10. Care, Checks and a Simple Plan
Good trim is maintained in small, regular passes rather than rescued in big ones. Put these last ideas on a yearly rhythm and most of the earlier 70 will simply need washing and the occasional touch-up.
71. Wash before you judge. Dirt makes trim colours look tired and contrast look weak. A gentle wash each spring often postpones repainting and shows you which areas genuinely need attention.
72. Test contrast in changing light. A colour pair that sings at noon may vanish at dusk. Live with sample boards for a few days, moving them around the facade, before buying paint for the whole house.
73. Renew caulk lines before painting. Paint over failed caulk just seals in a gap. Rake out loose material, refill neatly and let it cure, and your new paint line will stay sharp far longer.
74. Keep a labelled touch-up pot. Decant a small amount of each exterior colour into a labelled jar stored somewhere frost-free. Tiny chips fixed within the month never get the chance to become peeling patches.
75. Photograph, plan, then paint. Take straight-on photos of each elevation, mark the trim decisions on prints or a tablet, and only then order materials. A photographed plan prevents mid-project doubts and mismatched batches.
Final Considerations
Start with the street view, not the paint chart. The best exterior house trim molding choices respect the shape of the house first, then add contrast where the eye naturally lands: windows, the door and the roofline. Keep profiles consistent, repeat your colours with discipline, and let one or two details carry the character.
Work in a sensible order, repairs before paint, samples before full coats, and high trim only when you can reach it safely or have help. Check any local rules that may apply to colours or profiles on your street, keep notes of what you used, and your facade will stay sharp with modest, regular care.


0 Comments