

One wall is enough. A single run of cabinets, a shelf or two and a clear stretch of worktop can hold everything a home bar needs, without stealing the room.
The secret is choosing wall bar cabinet designs that work vertically, close neatly and look like furniture, not storage that escaped from the kitchen.
1. Plan the Wall First: At a Glance
Measure the wall, mark sockets, doors and radiators, and decide what the bar must hold before you buy a single cabinet. A single-wall bar succeeds when every centimetre has a job: serving at the centre, storage at the sides, display up high. If you are borrowing space from a cooking zone, compare notes with this kitchen: tiny house & small-space design ideas guide first.
| Question | Quick answer |
|---|---|
| How much wall do you need? | Enough for a worktop run, one tall storage piece and open floor in front for serving. |
| What goes at eye level? | Your prettiest glassware and bottles, on shelves or behind glazed cabinet doors. |
| What should cabinets hide? | Mixing tools, spare bottles, cloths, cleaning items and everything that looks like clutter. |
| How do you keep it compact? | Use depth wisely, hang what you can, and choose one serving surface rather than several small ones. |
| What should you check first? | Wall fixing strength, socket positions and any local rules that apply to plumbing or electrical work. |
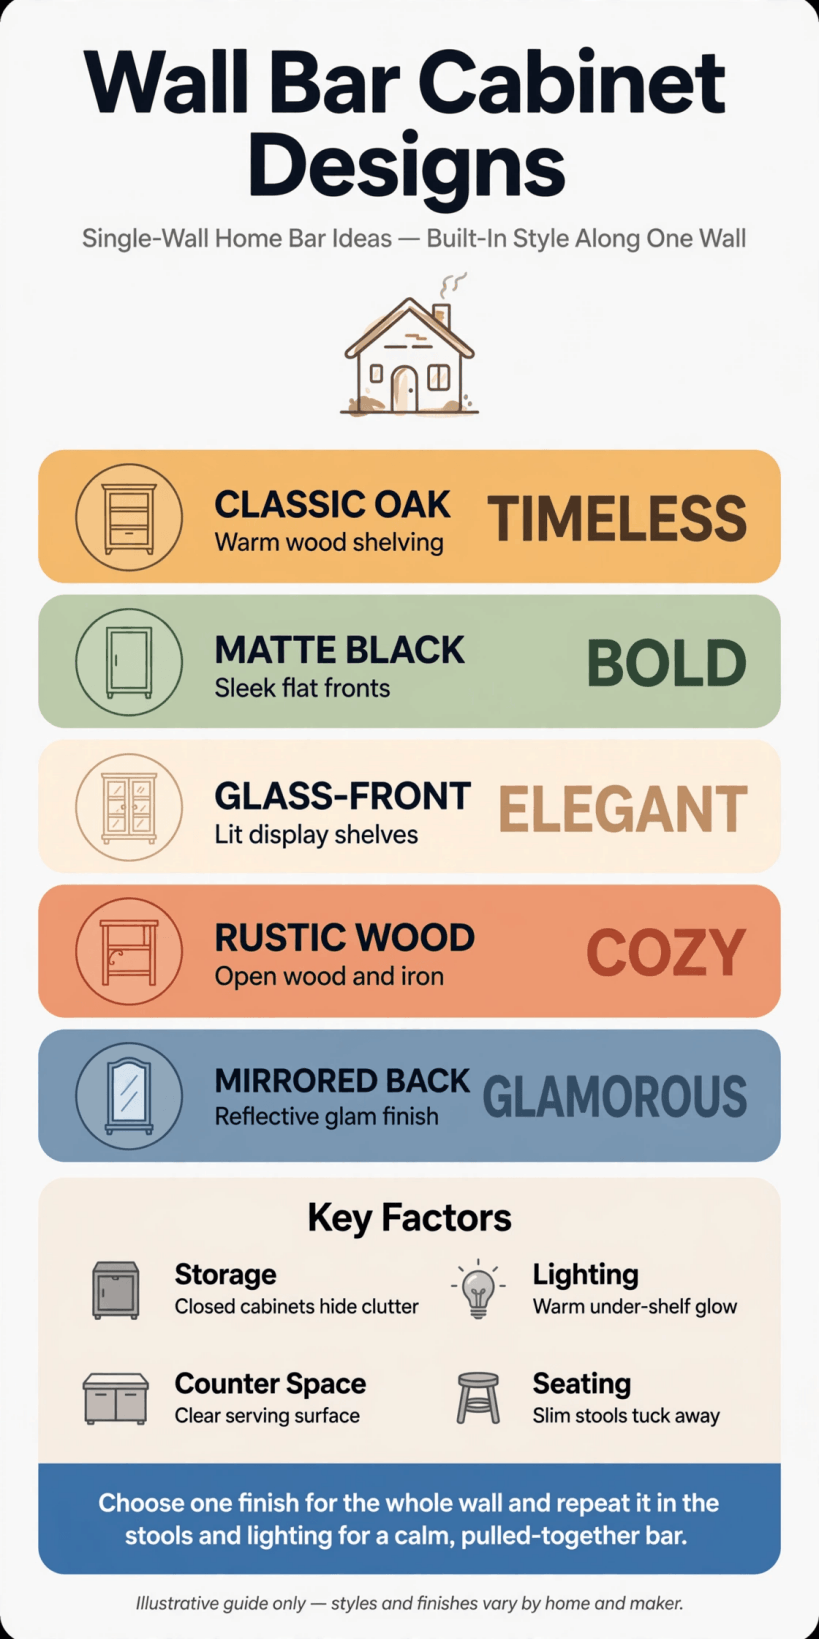
An at-a-glance planner for a single-wall bar: cabinets below, shelving above and a calm, clear serving zone.
1. Start with a taped outline. Mark the bar footprint on the wall and floor with painter tape and live with it for a day. You will quickly feel whether stools, doors and walkways still have comfortable room.
2. Put the serving zone in the middle. Centre the clear worktop where people naturally gather, with storage flanking it on both sides. A central serving space stops guests crowding one end and keeps bottles within easy reach.
3. Work upwards, not outwards. On a single wall, height is your extra room. Tall cabinets and high shelves use the vertical space so the floor area, and the room beyond it, stays open and calm.
4. Choose one cabinet depth. Keeping base cabinets to a single consistent depth gives the run a tailored, built-in look. Shallower uppers above prevent the wall feeling top-heavy or looming over the worktop.
5. Leave a breathing gap at each end. A small margin between the bar run and the corners of the wall makes the installation look deliberate. It also leaves room for a plant, a stool or simply visual rest.
6. Plan lighting on paper first. Decide where shelf lights, a pendant or a small lamp will sit before cabinets hide the wall. Lighting planned early avoids trailing cables and dark corners later.
7. Keep a clear serving strip. Reserve an unbroken stretch of worktop that never becomes storage. That discipline is the difference between a bar that looks ready and one that looks like a shelf with bottles.
2. Base Cabinets That Do the Heavy Lifting
Base cabinets carry the weight, literally and visually. Drawers usually beat cupboards for bar tools, mixers and cloths, while one good cupboard swallows bulkier items. For layout habits from compact kitchens, see these tiny house kitchen design ideas and steal their drawer logic.
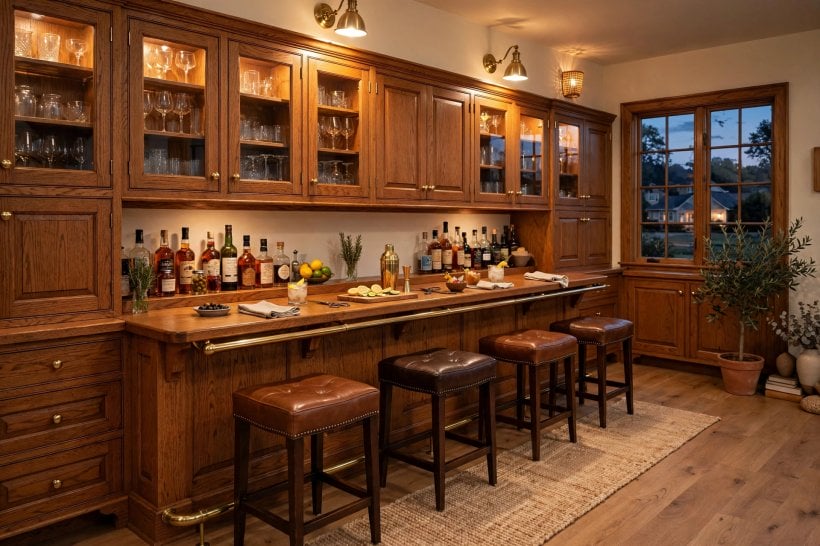
8. A wide drawer for tools. One shallow, wide drawer keeps openers, pourers, jiggers and stirrers visible at a glance. Add simple dividers so metal pieces do not rattle into a tangle every time you open it.
9. Deep drawers for bottles. Deep drawers with sturdy runners hold upright bottles safely and make labels easy to read. Keep the heaviest bottles in the lowest drawer so the cabinet stays stable and calm.
10. A cupboard for the ice bucket. Buckets, large jugs and serving trays need a door, not a drawer. A single tall cupboard at one end of the run keeps these awkward shapes out of sight.
11. A pull-out for waste and recycling. A slim pull-out for empties and peelings keeps the worktop clear while you mix. It is unglamorous and completely transformative on a small bar that hosts often.
12. Fluted or panelled cabinet fronts. A gentle vertical detail on cabinet doors makes a plain run feel crafted. Keep the profile shallow so dusting stays easy and the look suits both modern and classic rooms.
13. Handleless doors for a sleek wall. Push-to-open or integrated-edge doors keep a single-wall bar looking like panelling when closed. That disappearing act is perfect in living rooms where the bar shares space with seating.
14. Brass or black bar handles. Long, slim handles in a warm or dark metal give cabinets a furniture feel. Match the metal to your taps, light fittings or stool legs for a quiet echo.
15. A plinth that matches the room. Painting the cabinet plinth the wall or floor tone makes the run float slightly and feel lighter. It is a tiny choice that stops base cabinets looking like kitchen units.
3. Shelving and Display Above the Worktop
Shelves are the bar’s shop window. Keep them edited: glassware that catches light, a few bottles you love, and breathing space between groups. Anything dusty, chipped or rarely used belongs behind a door instead.
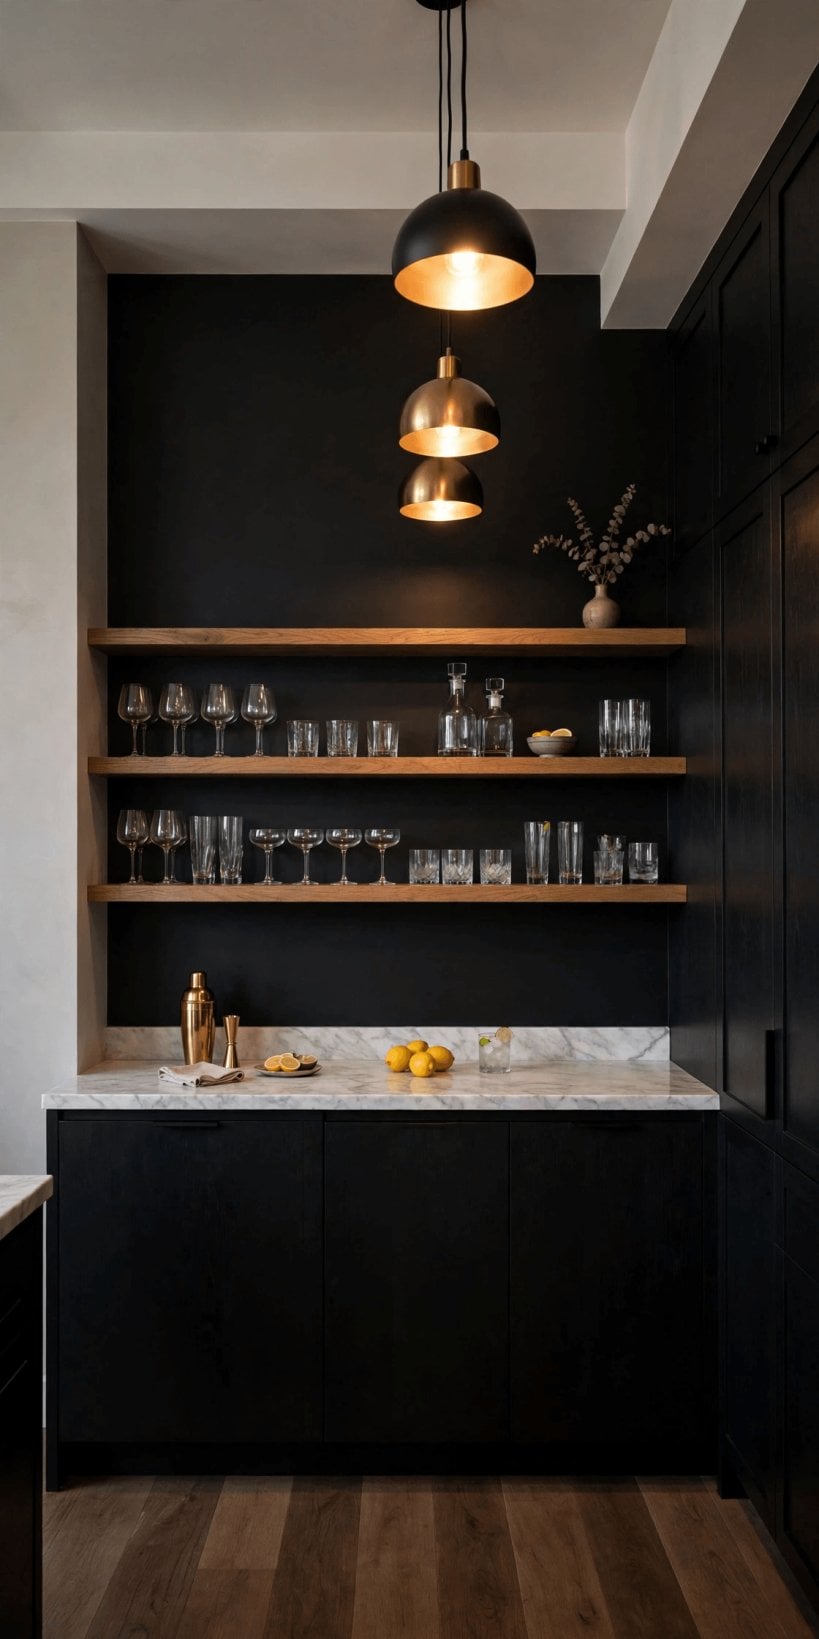
16. Two open shelves, no more. Two well-spaced floating shelves give display room without turning the wall into storage. Stop while it still looks styled; the third shelf is usually where clutter begins.
17. A shelf with a brass rail. A slim retaining rail across an open shelf keeps glasses feeling secure and adds a tailored detail. It nods to traditional bars while suiting clean, modern cabinetry too.
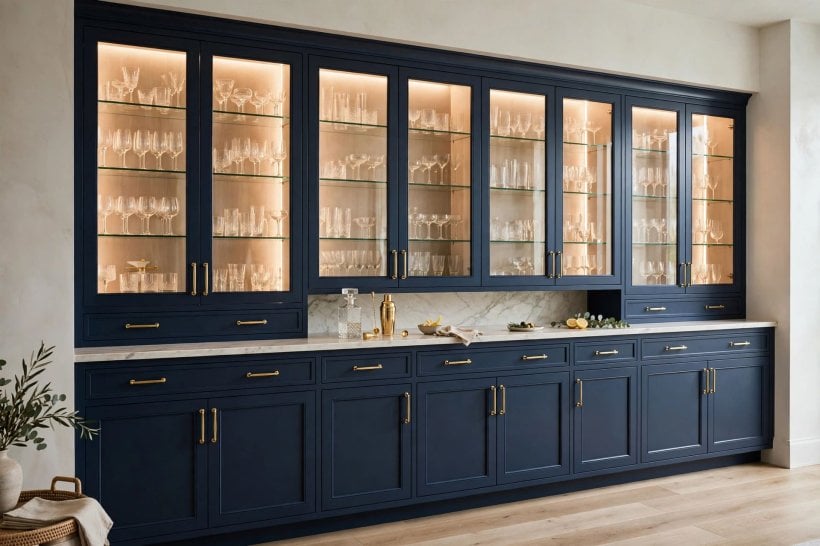
18. Glass-fronted upper cabinets. Glazed doors give you display with dust protection, the best of both worlds. Keep contents colour-grouped so the view through the glass looks calm rather than busy.
19. A mirrored or panelled back. Lining the back of open shelving with panelling or a soft-toned board adds depth behind bottles. Choose a finish you can wipe, because splashes travel further than you expect.
20. Under-shelf stemware rails. Hanging wine glasses beneath a shelf frees cabinet space and puts a pretty sparkle at eye level. Leave enough clearance below so glasses never crowd the worktop activities.
21. A single statement shelf. One thick, beautiful shelf spanning the serving zone can carry the whole display. Keep everything else plain and let that single line of wood or stone do the talking.
22. Shelves lit from beneath. A soft light under each shelf turns glassware into the decoration of the room. Warm light flatters amber bottles and makes evening drinks feel like an occasion.
23. Books lying flat as risers. A small stack of drinks or cookery books under a decanter adds height and personality. Keep stacks low, stable and away from the wettest part of the worktop.
4. Worktops and the Serving Moment
The worktop is stage and workshop at once. It needs to wipe clean, resist rings as gracefully as possible and look good empty, because most of the time the bar is scenery, not activity.
24. A stone-look worktop for glamour. A pale, veined surface instantly lifts plain cabinets and photographs beautifully behind glassware. Confirm care requirements with the supplier, since some surfaces dislike citrus and red wine standing on them.
25. Warm timber for a relaxed bar. Wood softens a wall of cabinets and suits bars in living rooms and dens. Keep a board for cutting citrus so the main surface stays unmarked and handsome.
26. A dark worktop with pale cabinets. Contrast at the worktop line gives the run a crisp horizon. It also hides the odd ring or crumb more forgivingly between wipes on busy evenings.
27. A tray that defines the mixing zone. A rimmed tray corrals bottles, tools and a small board into one movable station. Lift the whole tray away and the bar resets to calm in seconds.
28. A small sink, only if plumbing is simple. A tiny sink helps with ice melt and rinsing, but only add one where plumbing is straightforward and permitted. Otherwise, a good bucket and cloth routine works perfectly well.
29. A rail for cloths and tools. A short rail under the worktop edge holds a linen cloth and hanging tools neatly. It keeps the surface clear while keeping the essentials literally at hand.
30. Rounded or softened front edges. On a bar people lean against, a gentle worktop edge is kinder and looks crafted. It also chips less dramatically than a razor-sharp corner in a busy room.
31. A raised serving ledge. A shallow raised shelf at the back of the worktop displays bottles while the front stays clear for mixing. The two levels make even a short run feel like a proper bar.
5. Storage for Glassware, Bottles and Bits
Good bar storage is a place for everything, at the height where you use it. Heavy and everyday items low, delicate and occasional items high, and nothing stored where guests must watch you climb for it.
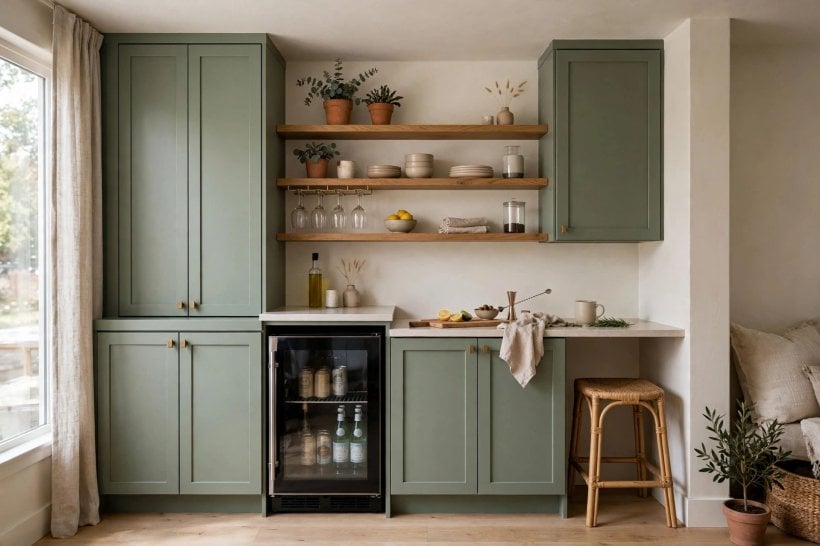
32. A lattice for bottles. A simple criss-cross bottle rack inside a cabinet or open section looks classic and keeps bottles from rolling. Reserve it for unopened bottles and keep it dusted.
33. Vertical dividers for trays and boards. Slim upright slots at one end of a cabinet store serving trays and chopping boards on edge. Everything becomes visible, grabbable and far less likely to chip.
34. A dedicated glassware cabinet. Keeping all glasses in one glazed or shelved section makes setting up for guests quick. Group by type, keep everyday glasses lowest, and leave the top shelf for rarely used pieces.
35. A drawer with a soft liner. A lined drawer cushions delicate tools, corkscrews and stoppers, and stops the midnight rattle. Choose a liner you can lift out and shake clean over a bin.
36. Hidden storage behind the pretty wall. If the bar fronts a living room, let closed cabinets outnumber open shelves. The room then sees a calm furniture wall, while the bar’s working mess stays politely hidden.
37. A lockable cabinet for peace of mind. Where children or curious guests are around, one lockable section for higher-proof bottles is a sensible, discreet choice. Check what suits your household and keep keys sensibly placed.
38. Labels inside the doors. Small labels or a simple inventory inside a cabinet door help you restock without rummaging. It sounds fussy until your first party, when it saves the evening twice.
39. A step stored flat. High shelves need safe access, so keep a small folding step that stores flat inside a tall cabinet. Wobbling on stools with glassware in hand is never part of the plan.
6. Lighting, Power and Practical Comfort
A bar glows or it glooms. Plan light in layers, keep cables invisible, and think about where a small fridge, kettle or coffee kit would plug in if you use them, checking with a qualified person for any new electrical work and with the city or county if local rules apply.
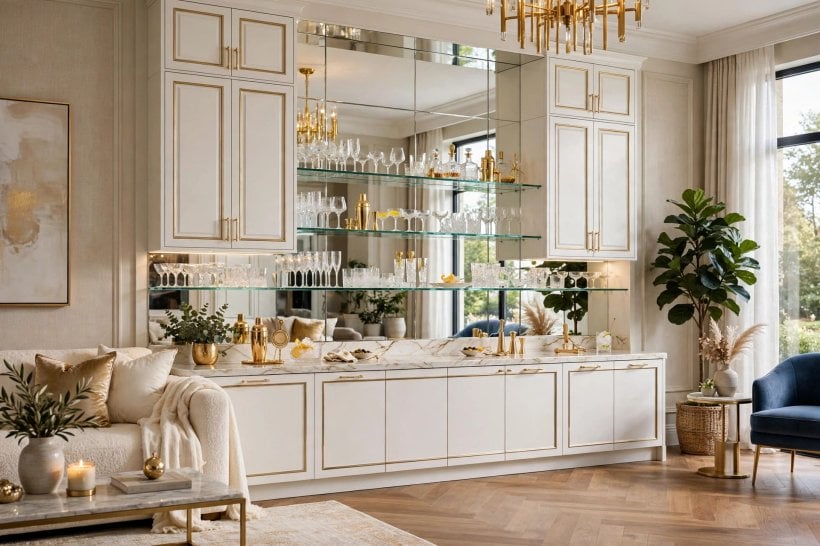
40. A pair of small pendants. Two low pendants over the serving zone mark the bar as a destination within the room. Hang them high enough to keep sightlines and bottle-opening elbows comfortable.
41. A picture light above shelving. A slim picture-style light washed over open shelves gives a gallery feel. It is an elegant trick borrowed from living rooms, where this living room interior design for tiny houses approach works so well.
42. Warm bulbs everywhere. Keep colour temperature consistent across shelf lights, pendants and lamps so the bar does not look patched together. Warm light flatters wood, brass and amber glass alike.
43. Sockets hidden under cabinets. Underside socket strips keep the splashback clear and the worktop cables short. Ask a qualified electrician what is permitted in your area before adding anything new.
44. A small lamp at one end. A little lamp on the worktop or a nearby side table softens the bar after hours. It lets the main lights go off while the corner still glows invitingly.
45. Candles in safe holders. Enclosed candle holders add flicker without open flames near bottles and cloths. Keep them on the serving tray’s quiet end, never beside the mixing action.
46. Ventilation for a fridge cabinet. If a small fridge sits within cabinetry, it needs the airflow its maker specifies. Check the manual before boxing anything in, and leave the recommended gaps.
47. A mat where you stand. A washable runner or mat in front of the bar cushions feet, catches drips and defines the host’s spot. Choose a pattern that hides the odd splash gracefully.
7. Seating and Compact Layouts
A single-wall bar needs somewhere for the audience. Even two stools change it from a storage wall into a social place, so plan knee space, stool storage and a route behind seated guests from the start.
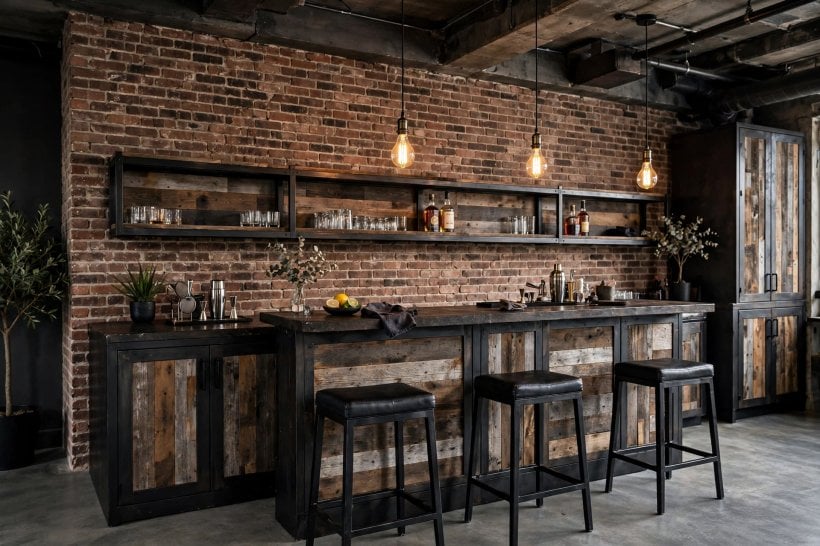
48. Backless stools that tuck away. Backless stools slide fully under an overhang or against the wall when the party ends. In a compact room, that disappearing act is worth more than armrests.
49. A shallow worktop overhang. Extending the worktop slightly beyond the cabinets creates knee room without a breakfast-bar build. Even a modest overhang makes sitting at the bar feel natural, not perched.
50. Stools in the room’s accent colour. Upholstered or painted stools are the easiest place to add colour to a calm cabinet wall. They can be re-covered when the room’s palette changes, unlike the cabinets.
51. One bench instead of stools. A low bench along the wall seats squeezable extra guests and doubles as a side seat the rest of the week. It suits family rooms where flexibility beats formality.
52. A fold-down table leaf. A hinged flap on the end of the run gives occasional extra serving or seating space. Folded away, the bar returns to its slim single-wall footprint instantly.
53. Keep the walkway behind stools clear. Measure the room with stools occupied, not empty. If people must squeeze past sideways, shrink the seating, not the guests’ comfort, and the bar will get used more.
54. A nearby side table for overflow. A small movable table beside the bar catches extra glasses and snacks during gatherings. The main worktop stays a working surface instead of becoming a buffet.
55. Seating that matches the living area. In an open-plan room, echo the sofa’s fabric family or timber tone in the stools. These tiny house living room ideas show how shared materials make small spaces feel joined up.
8. Styles, Colours and Finishes
Because a single-wall bar is basically a dressed wall, its style must agree with the room it lives in. Decide whether it should blend like panelling, glow like a jewel box, or stand apart as the room’s one dramatic moment.
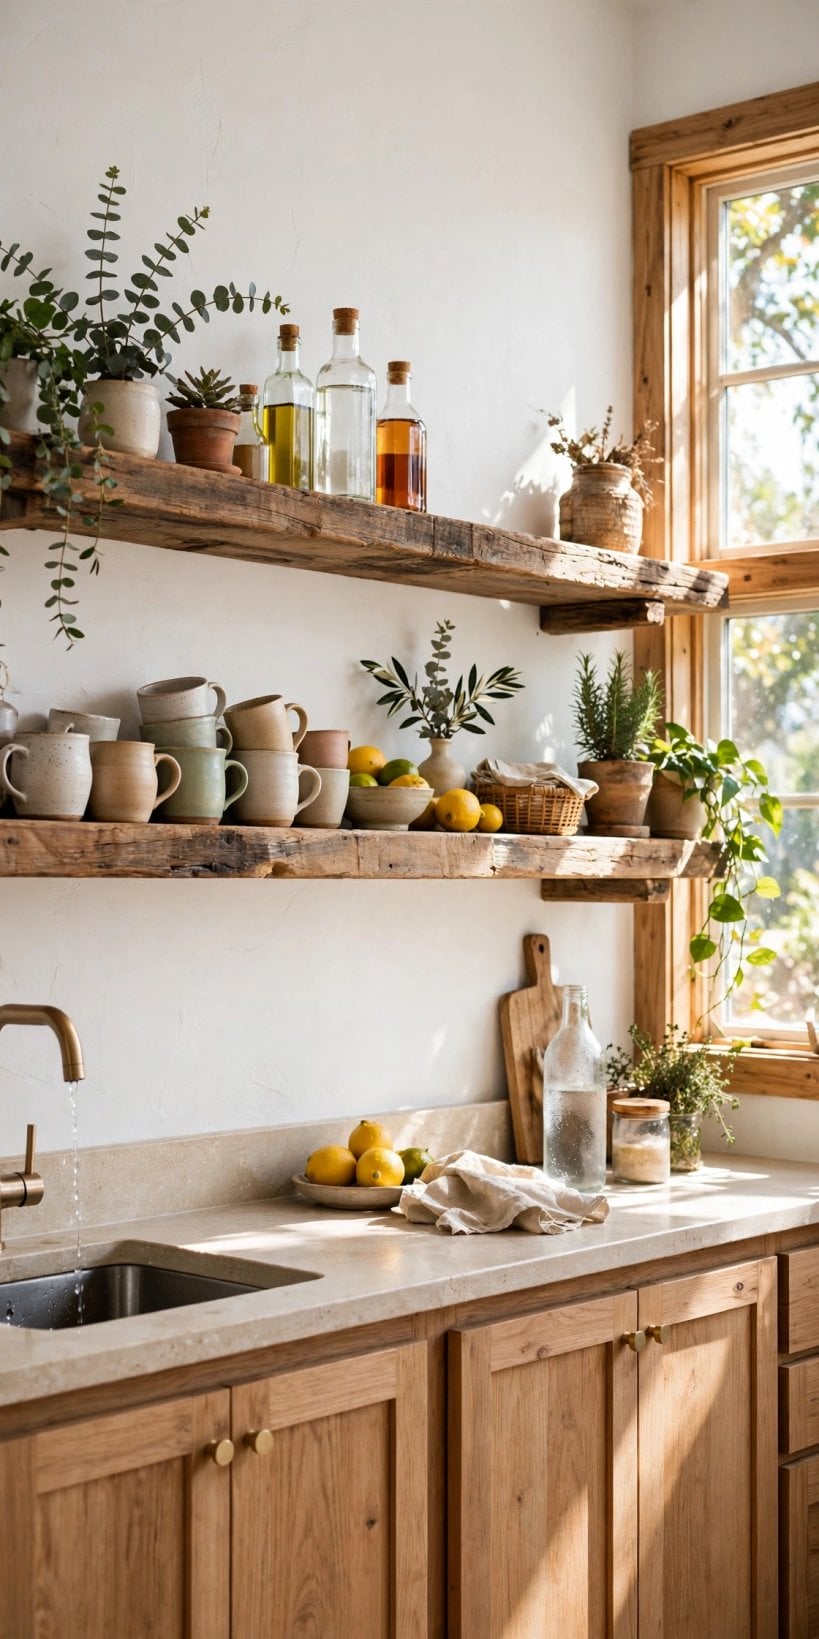
56. Deep green cabinets with brass. A rich green run with warm metal handles feels classic, cosy and forgiving of evening light. Pair it with a pale worktop so the serving zone reads clearly.
57. Navy and natural timber. Navy lower cabinets with timber shelves soften formality and suit family rooms. The wood warms the blue, and the blue makes the wood look richer in return.
58. All-black for a cocktail mood. Black cabinets, black shelves and warm lighting create a small-hours atmosphere in one wall. Keep glassware plentiful in the display, because sparkle is what stops black feeling flat.
59. Pale oak and white for brightness. In a small or north-facing room, pale finishes bounce what light there is and keep the bar feeling like daytime furniture. Add texture, fluting, woven stools, so pale does not mean plain.
60. Painted to match the walls. Colour-drenching the bar in the wall colour makes it recede beautifully. Guests discover it when the lights and glassware catch their eye, which is a lovely party trick.
61. A wallpapered or panelled splashback. The strip between worktop and shelves is your one patterned moment. Choose a wipeable finish or protect it, and keep the pattern scale in proportion to the short run.
62. Two-tone cabinets. Darker bases with lighter uppers keep a tall run from feeling heavy. The horizon line at the worktop makes the two-tone split look natural and easy.
63. Vintage touches in the styling. A second-hand decanter, an old tray or framed print above the shelves gives a new bar a past. One or two pieces are character; a shelf of them is a theme.
9. Small Rooms, Corners and Tiny Homes
The single-wall idea was born for small spaces: a living-room wall, a dining-room recess, the end of a studio. Shrink the depth, edit the kit and let the bar share duties with bookshelves or a desk. A dual-purpose wall is exactly the spirit of this home office and guest room tiny house thinking.
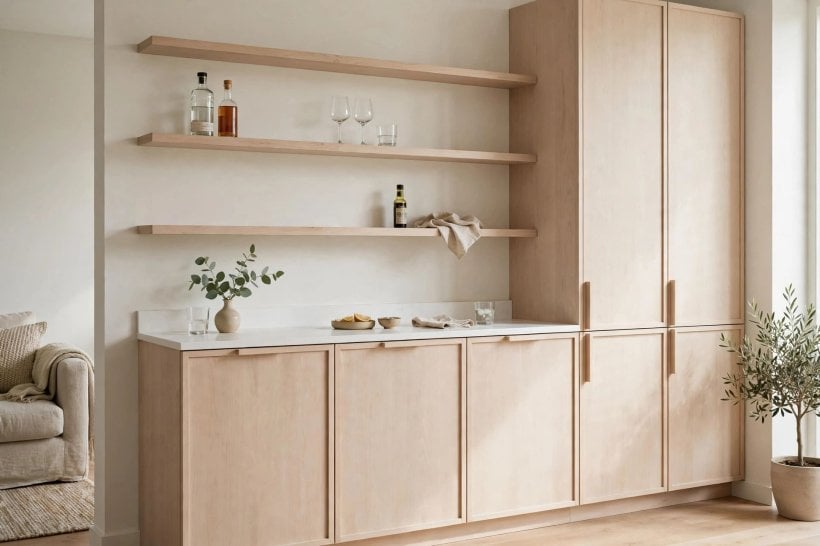
64. A shallow-depth bar. Reducing cabinet depth by a few centimetres can rescue a tight room while still holding bottles upright. Test your tallest, widest items against the planned depth before ordering anything.
65. A bar in an alcove. Alcoves beside fireplaces or under stairs are natural bar homes, already framed by the room. Fit cabinets to the recess and the installation looks original to the house.
66. A curtain-fronted mini bar. In the smallest spaces, a linen curtain instead of doors softens a shelved recess and never needs swing clearance. It is a charming, low-commitment way to hide or reveal the bar.
67. A bar that shares with books. Let one end of the run hold books, a plant and a lamp, with drinks at the other. Shared walls feel lived-in and stop small rooms fragmenting into single-purpose zones.
68. A fold-away serving board. A hinged board that folds down for parties and up for weekdays gives tiny homes a bar that appears on demand. Fit a secure catch and keep the folded face finished.
69. Wheels on a slim trolley partner. A narrow trolley beside a fixed cabinet wall adds flexible serving without building work. Park it in a hallway or beside a sofa when the bar is not in use.
70. One shelf, done beautifully. If space allows nothing more, a single shelf, a small cabinet and a tray can still be a bar. Style it carefully and it will feel like a choice, not a compromise.
10. Care, Restocking and Hosting Well
The best bars are maintained in five-minute passes: wipe, restock, edit. Build those habits and your single wall will always look one minute away from ready, which is the real luxury of a home bar.
71. Wipe the worktop the same night. Citrus, sugar and red wine all punish surfaces left until morning. A warm cloth pass after guests leave keeps finishes sound and the morning-after view pleasant.
72. Wash glassware before it shelves. Glasses put away cloudy make the whole display look tired. A quick polish with a lint-free cloth as you unload keeps shelves sparkling without a special session.
73. Restock from a simple list. Keep a running note of what ran low, mixers, garnishes, napkins, candles, inside a cabinet door. Shopping from the list stops the classic three-bottles-of-one-thing problem.
74. Edit the display seasonally. Swap a few bottles, add a small plant or change the art above the shelves a few times a year. Tiny edits keep a fixed wall feeling fresh, as any fan of tiny house decorating ideas will recognise.
75. Set up an hour before guests. Ice in the bucket, glasses out, tray stocked, music on: a calm host is the bar’s best feature. Preparation turns a pretty wall of cabinets into an evening people remember.
Final Considerations
The strongest wall bar cabinet designs share three habits: they use the full height of one wall, they hide the working clutter behind calm doors, and they keep one clear, welcoming serving surface. Get those right and the style, green, black, pale or navy, is simply the dressing.
Measure honestly, check fixings and any local rules for plumbing or electrical changes before you begin, and spend your effort where hands and eyes land: handles, worktop and lighting. A single wall, well planned, will host as gracefully as a whole room.


0 Comments