

A kitchen island earns its floor space; an island with a dining table attached earns it twice, replacing a separate dining set and keeping the cook at the centre of the conversation.
This guide walks through layouts, heights, colours, honest cost factors and the practical details, from legroom to lighting, that make the combination work beautifully every day.
1. Kitchen Island With Table Attached at a Glance
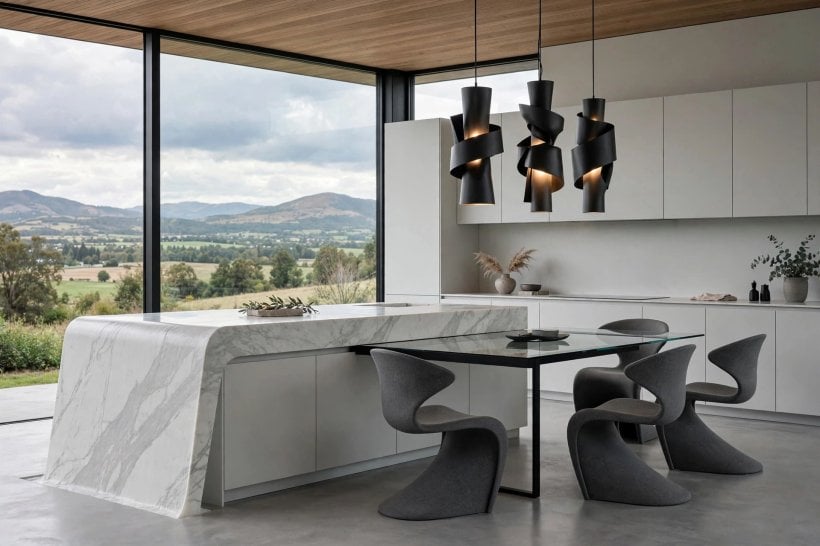
A kitchen island with table attached is a single combined unit: a working island for preparation, cooking and storage, with a dining-height table joined to one end or one side. The arrangement suits open-plan kitchens especially well, because it replaces two large pieces of furniture with one planned centrepiece, and it keeps eating, homework, laptops and lingering guests in the warmest room of the house. Done well, it feels like a farmhouse kitchen table grew out of a modern workstation, because that is roughly what it is.
The design succeeds or fails on measurements. The island half wants worktop height and storage; the table half wants dining height, knee space and room for chairs to push back. The table below summarises the decisions that shape the project, from the layout you choose to the services you need to plan before anything is built.
| Element | Typical choices | What to check first |
|---|---|---|
| Layout | Table at the end, along one side, T-shaped, or L-shaped | Walking routes around the unit and door swings |
| Heights | Single worktop height, or a stepped-down dining section | Chair height, knee clearance and who eats there daily |
| Island size | Long enough for prep plus a sink or hob zone | Clearances to surrounding units on every side |
| Table size | Seats two to eight depending on length and width | Space per person and room for chairs to pull out |
| Materials | Stone or timber worktop, painted or oak table, metal legs | Heat, stains and which surface hosts hot pans |
| Storage | Drawers and cupboards in the island, none under the table | Keeping the knee space completely clear |
| Services | Sockets at the island ends, pendants above both zones | Cable routes and lighting planned before fitting |
| Budget drivers | Worktop material, cabinetry, bespoke table, electrics | Which parts are standard units and which are custom |
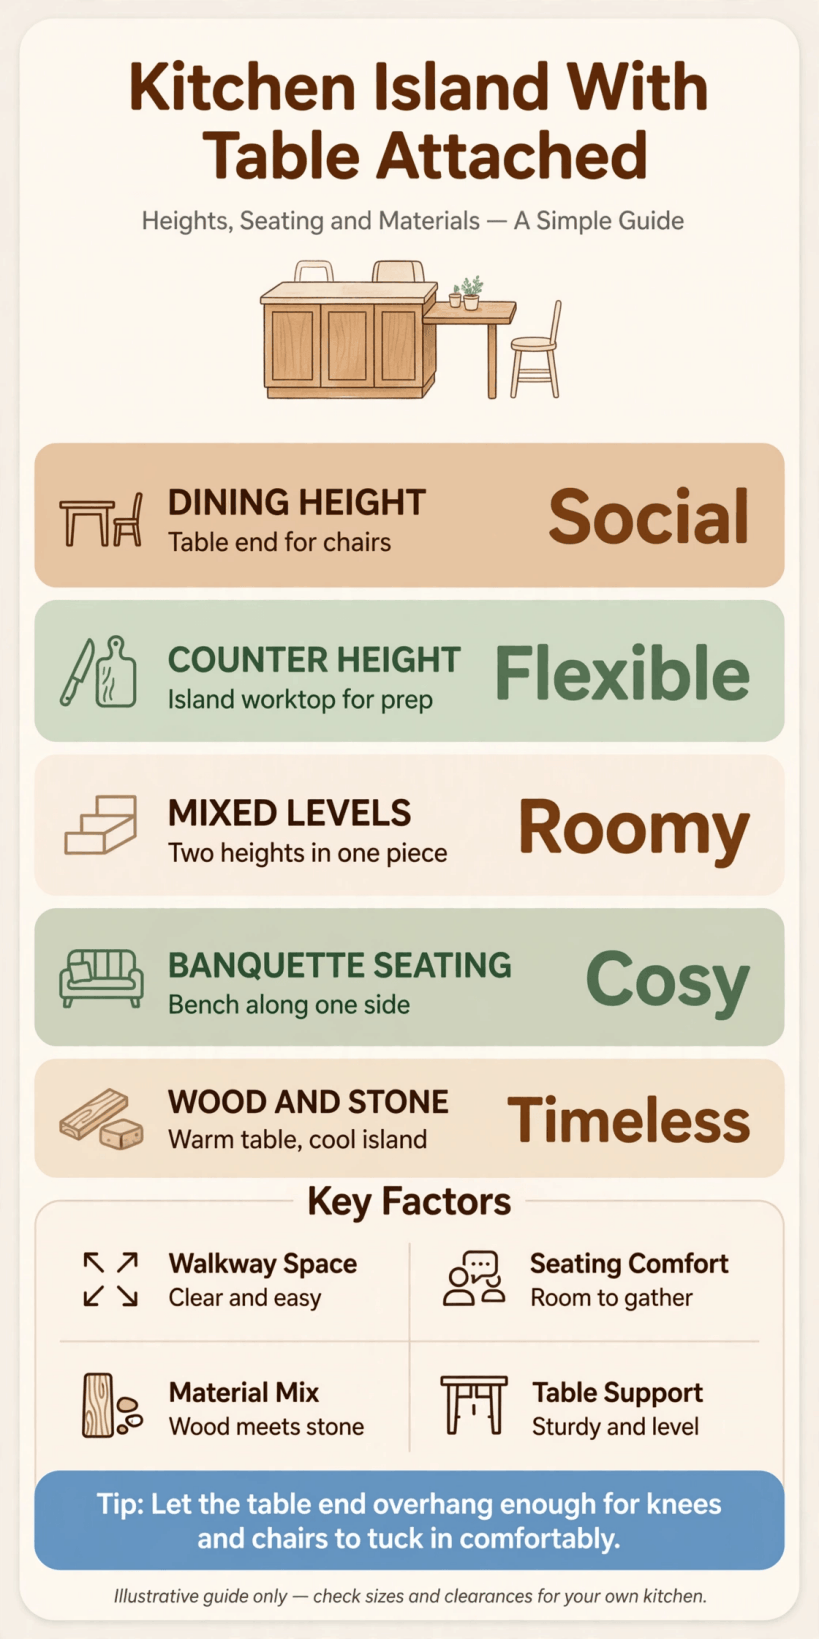
The essentials at a glance: plan the working island and the dining table as one piece, with heights, knee space and walkways measured before you choose finishes.
That measuring-first rule runs through everything that follows. A combined island and table is furniture, architecture and plumbing in one object, so the prettier decisions — colours, handles, pendants — should only be made after the tape-measure decisions are settled.
2. Layouts: End-On, Side-By-Side, T-Shaped and L-Shaped
The most popular arrangement is end-on: the table extends from the short end of the island, continuing its line. It suits long, narrow kitchens, keeps the working sides of the island completely clear and gives diners a view down the length of the room. The trade-off is seating: people sit along both sides and at the far end of the table section only, because the island blocks the near end.
Side-by-side layouts run the table along one long side of the island, parallel to it. This creates a sociable, cafe-like row where diners face the cook across the island’s edge, and it works beautifully in wide open-plan spaces. T-shaped designs place the table across the island’s end like the top of a T, maximising seats at the cost of the most floor space, while L-shaped combinations turn a corner and can define a dining nook within a larger room.
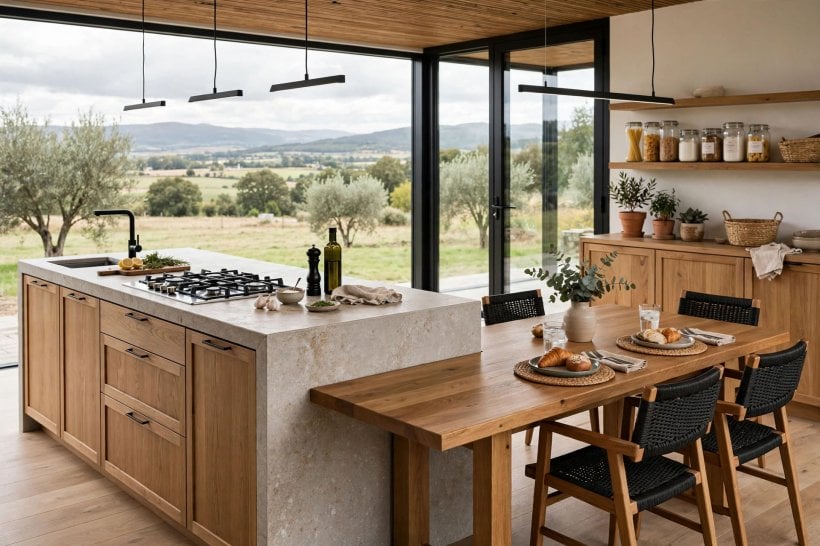
Whichever layout you choose, walk the routes around it in your head: fridge to sink, oven to table, dishwasher to cupboards, and the path a guest takes to a chair without squeezing past the cook. In open-plan rooms the unit also zones the space, much like the furniture-led zoning in these tiny house living room ideas, where one well-placed piece quietly organises everything around it.
3. Two Heights or One? Worktop and Table Levels
The defining question of the whole design is height. A kitchen worktop sits higher than a dining table, because standing work and sitting work ask different things of your body. Designers answer in two ways. The stepped design keeps the island at worktop height and drops the attached table to dining height, which is kinder for long meals, children and anyone who dislikes perching. The single-level design runs one generous surface at worktop height throughout, with taller stools or chairs at the table end, giving a sleek, unified look and extra prep space when the table is not set for eating.
Stepped designs need a junction detail: the table can meet the island’s side, tuck under a worktop overhang, or connect with a small bridging piece that hides the level change gracefully. Single-level designs need honest thought about seating comfort — dining for two hours on a stool is a different proposition from breakfast for twenty minutes, so try heights at a showroom with the actual chairs you intend to use.
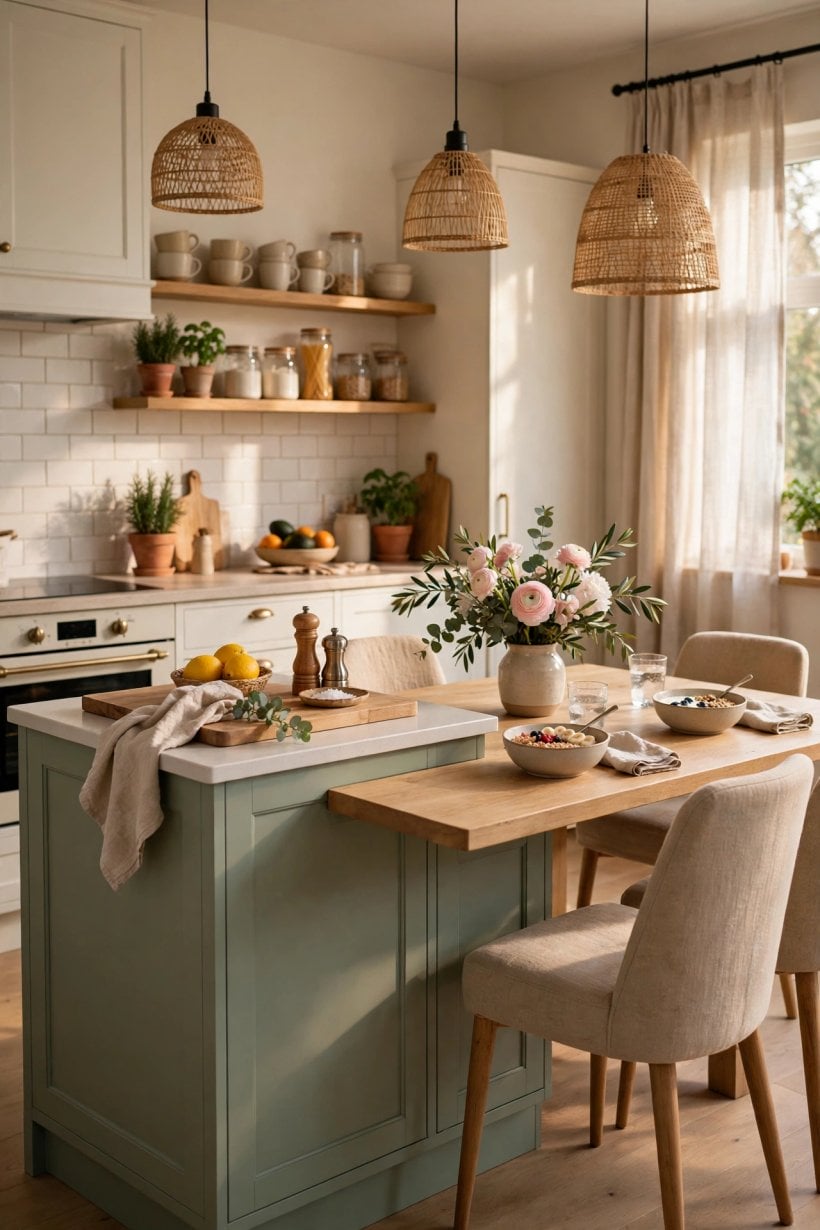
Knee space is the hidden half of this decision. A dining section needs clear, comfortable legroom with nothing stored beneath it, and enough depth that taller diners are not braced against a panel. Measure with your own household in the chairs, not with a catalogue figure, because the success of this entire idea is judged at knee height every single day.
4. Shapes and Sizes That Seat People Comfortably
Generosity at the table is measured per person. Each diner needs a comfortable width of table edge and enough depth in front of them for a place setting, a glass and elbows that do not negotiate with neighbours. Rectangular tables are the most space-efficient and the easiest to attach cleanly; round or oval table ends soften the junction, remove corner knocks on the walking route and feel welcoming, but they complicate the joinery where the shapes meet.
Think about the island’s share of the footprint too. The working section must still hold its own: a run of worktop for preparation, a sensible position for sink or hob if they live on the island, and storage that serves the cook. Squeezing the island to enlarge the table, or the reverse, produces a unit that does both jobs grudgingly. If the room cannot give both halves their due, a smaller table for two or four, honestly sized, beats a cramped six-seater nobody enjoys.
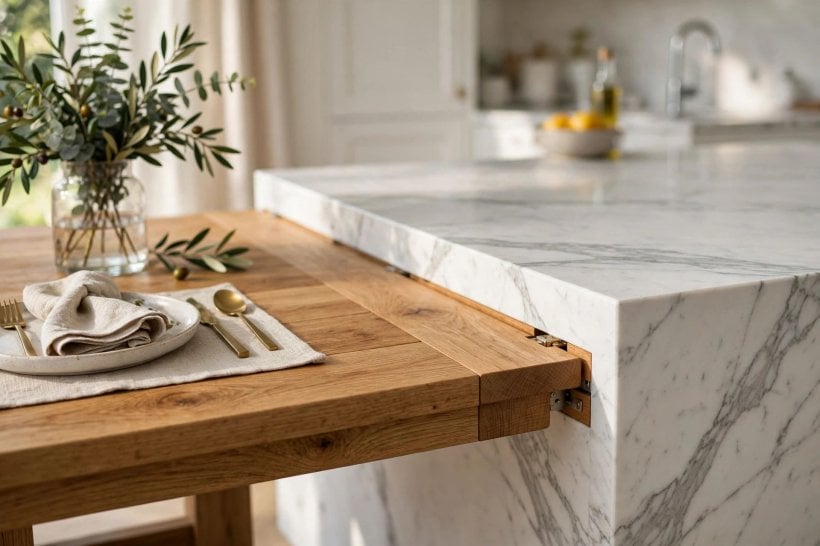
Chairs are part of the footprint, not an afterthought. Allow room behind seated diners for someone to pass, and check that chairs tuck under the table or against the island when the meal ends, so the unit’s outline stays walkable in a busy kitchen. Bench seating along one side tucks away best of all and suits families, with chairs opposite for guests.
5. Colours and Materials That Join Two Pieces as One
Because the island and table are one object, their finishes must agree. The classic partnership is a painted island — deep green, navy, inky blue or warm grey — with a natural timber table that brings warmth and forgives daily knocks. An all-timber combination feels rustic and cohesive, while a stone worktop that waterfalls down the island’s end and meets a matching stone-topped table is the sleek, contemporary route.
Colour can also separate the zones on purpose. A darker island with a pale table reads as two pieces in conversation; matching colours read as one sculpture. Handles, legs and pendant finishes are the stitching: repeat the same black, brass or chrome across both halves and the eye accepts them as a set, whatever the cabinet colours do.
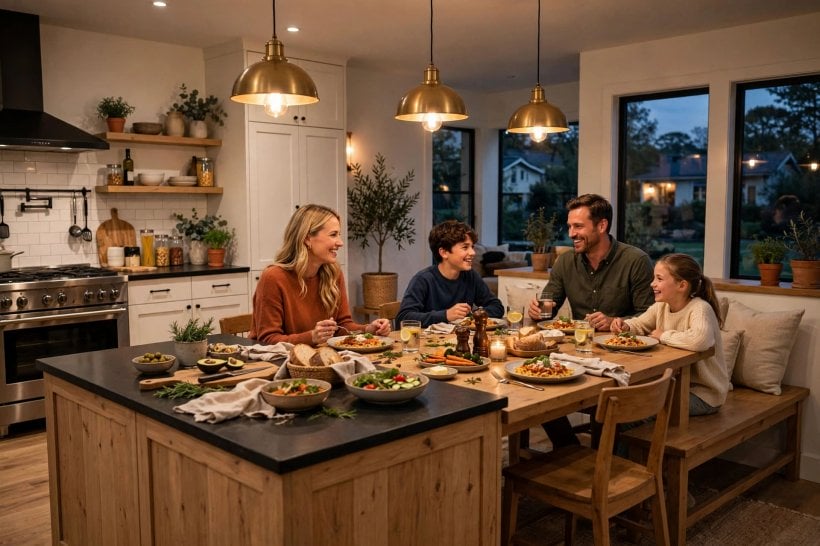
Choose the table’s material for the life it will lead. Timber warms to homework, laptops and long lunches, and can be sanded back when it tires; stone and composites shrug off heat and spills but feel cooler and harder under elbows and glassware. If you enjoy colour confidence, the playful palettes in these colourful tiny house interior ideas show how one bold choice, like a painted island, can carry a whole scheme when everything else stays calm.
6. Structure, Storage and Services
An attached table must be attached properly. Depending on the design, it is supported by legs, a panel end, brackets fixed to the island carcass, or a cantilevered frame, and the right answer depends on the table’s size, material and how much knee space must stay clear. Heavy stone tops need engineered support, not optimism, so involve the kitchen fitter or a structural eye at the drawing stage rather than on fitting day.
Storage belongs in the island half: deep drawers for pans and crockery near the table, a cutlery drawer within reach of the setting places, and perhaps a bookcase or wine storage on the dining side of the island, where it serves the table without invading legroom. Keep the under-table zone sacred; the moment a bin or a box colonises it, diners notice.
Services need the same foresight. Sockets at the island ends serve mixers, laptops and chargers; if the island carries a sink or hob, its plumbing and electrics run through the floor or a service void, which must be planned before flooring. The sequencing mindset in this guide to how to build your own tiny house applies directly: services first, finishes second, and never box in anything you cannot later reach.
7. Small Kitchens: Scaling the Idea Down
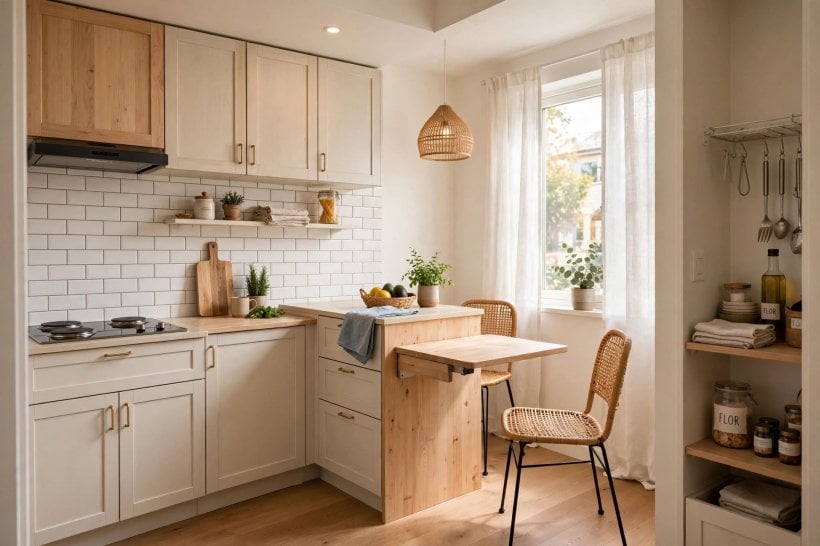
Small kitchens benefit most from furniture that does two jobs, which makes the island-and-table combination a natural tiny-space strategy. The scaled-down version might be a compact island on castors or slim legs with a table for two or three attached at its end, replacing both a worktop run and a separate dining set. Peninsula versions, where the island joins the wall or a unit run on one side, deliver the same combination where a true island will not fit.
Discipline matters more than size. Keep the working triangle tight, choose a table width that seats people without swallowing the walkway, and consider a drop-leaf or extending table section that opens for guests and folds for weekdays. Light colours, open space beneath the table and seating that tucks fully away keep the unit feeling like furniture rather than a roadblock.
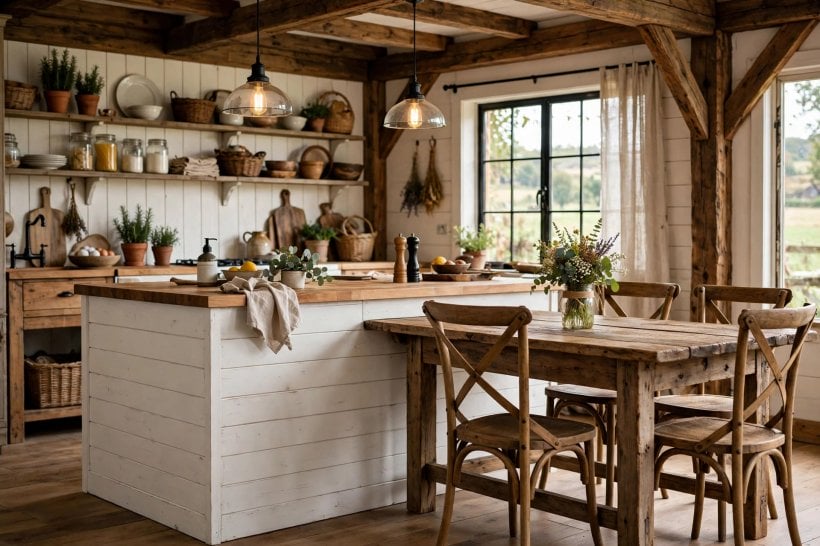
The rustic, space-wise spirit of a tiny barn house interior is a good model here: honest materials, nothing oversized, and every piece earning its place twice. In a small kitchen the combination also removes the daily friction of carrying meals to another room, which is a quality-of-life upgrade no photograph captures.
8. What It Costs and Where the Money Goes
The honest way to budget this idea is as two projects sharing one footprint. The island half costs what islands cost: cabinetry, worktop, any appliances, sink or hob it carries, and the services it needs. The table half ranges from a modest timber top on legs to a bespoke piece in matching stone, and its price follows materials and joinery complexity rather than size alone. The combination usually costs less than a separate island and a good dining set bought independently, and it saves the floor space both would have used.
The junction and the services are where quotes diverge, so interrogate them. A stepped-height junction in stone, cantilevered supports, sockets in awkward places and pendant wiring all add skilled labour. Standard cabinetry with a simple, well-made timber table is the value sweet spot; bespoke everything is the luxury end, and both can look excellent.
Phasing helps budgets breathe: fit the island and a simple table now, and upgrade the table top or add fitted bench seating later. What you should not phase is the structural support or the electrics, because retrofitting either means opening finished work. Spend first on the skeleton, then on the surfaces you touch, in that order, every time.
9. Seating, Lighting and Living With It
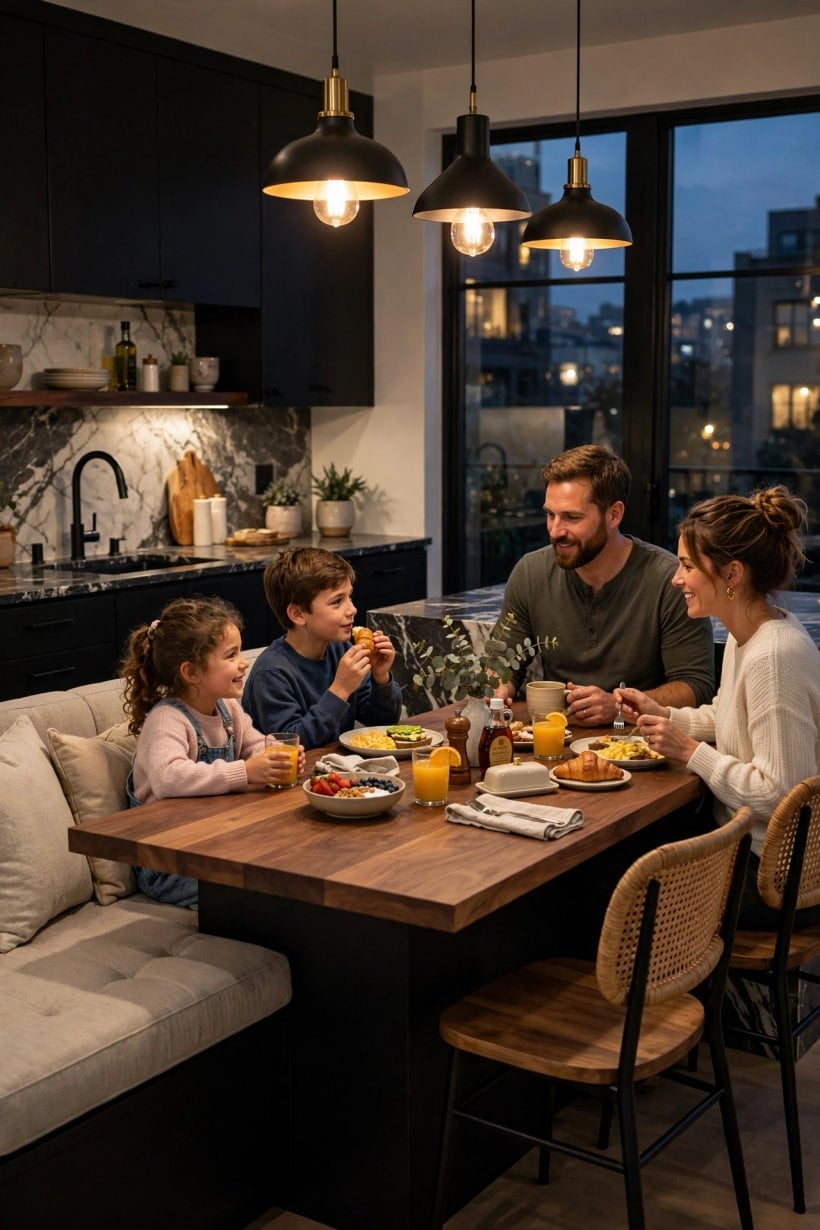
Daily life at the combined unit is choreographed by light. Pendants over the island serve the cook; a pendant or a small group over the table makes the dining end feel like a destination rather than an overflow. Put the two zones on separate switches or dimmers, because food preparation wants bright, even light while dinner wants a pool of warmth, and the same room must do both within the hour.
Seating comfort decides whether the table becomes the household’s default seat, which is the whole point. Chairs with backs beat stools for meals; a bench on one side handles children, crowds and homework sprawls. Cushions, a runner and a washable rug beneath the table soften acoustics in hard-surfaced kitchens, where one big unit can otherwise make the room echo.
Plan the small services with the same care as the big ones — a shelf or drawer for chargers, a hook rail for aprons and cloths, a spot for the fruit bowl that is not the prep zone. Compact service planning is a transferable skill: the space discipline in these tiny house bathroom ideas shows how even the smallest zone works when every item has a deliberate home, and a kitchen island deserves the same rigour.
10. Care, Repairs and Keeping It Looking Good
Two materials meet at the junction, and they age differently, so care is a tale of two halves. Timber tables want coasters, prompt wiping of spills and occasional re-oiling or re-sealing to keep their finish alive; stone and composite worktops want gentler cleaning and respect around their edges, where knocks concentrate. The junction itself — a shadow gap, a silicone line or a timber bridge — should be inspected occasionally, because it absorbs the unit’s small movements and the table’s daily knocks.
Chairs are the main source of wear: felt pads on feet, checked and replaced, protect both floor and tempers. Stools and chairs that bang the island’s panels will mark them, so position the table section so chair backs clear the cabinetry, and touch up paint on the island’s dining side as part of normal decorating rather than as a crisis.
Seasonally, check what daily use loosens: bracket fixings, leg bolts, pendant heights after any bulb change, and the seals around an island sink. None of this is burdensome, and all of it is easier because everything lives in one serviced piece of furniture rather than scattered around the house.
If the kitchen opens to a terrace or garden, the table end is also the natural bridge to outdoor eating, so keep the route from table to door as clear as the indoor walkways; the outdoor thinking in these tiny house landscaping ideas helps the inside-outside flow feel like one plan rather than two accidents.
Final Considerations
An island with an attached table works when it is planned as one honest piece of furniture: measured walkways, a deliberate answer to the height question, clear knees, joined-up colours and services thought through before fitting. Get those right and the unit becomes the room’s engine and its hearth at once — prep space by day, dining table by night, and the seat everyone chooses in between. For the rooms it connects to, browse these tiny house bedroom ideas and keep the same comfort-first thinking running through the home.



0 Comments