

Few garden upgrades change a home’s welcome like a stone path, and bluestone, with its blue-grey tones and naturally grippy surface, is the classic choice for good reason.
This guide covers layouts, patterns, colours, honest cost factors and the unglamorous base work that decides whether your walkway still looks crisp in ten years’ time.
1. Bluestone Walkway at a Glance
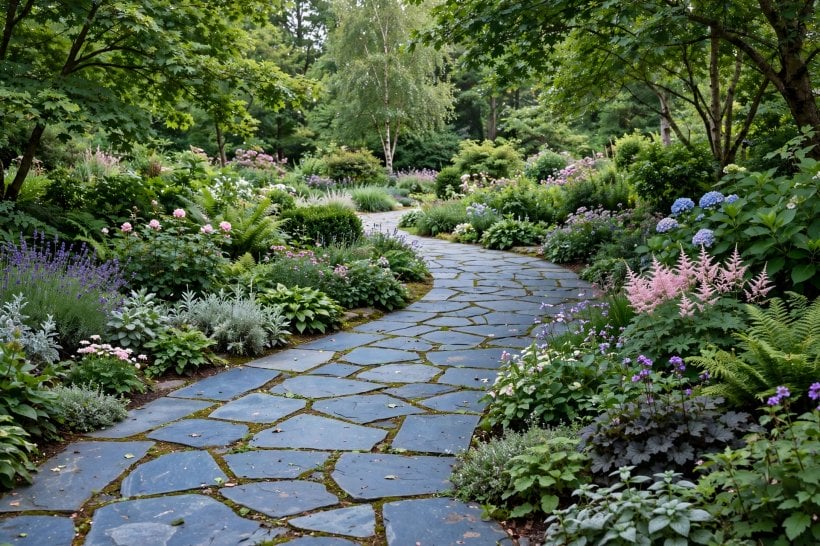
A flagstone bluestone path walkway is a paved route built from flat slabs of bluestone, a dense sandstone known for its blue-grey colouring, fine grain and split, slightly textured surface. It is used for front paths, garden routes, pool surrounds and terraces because it looks settled and traditional while coping well with foot traffic and weather. The stone can be cut into neat rectangles or left in irregular shapes, and that single choice changes the whole character of the path.
Before choosing a pattern, it helps to understand the parts of the job. A lasting walkway is mostly invisible work: excavation, a compacted base, accurate levels and sound drainage, with the handsome stone as the final layer. The table below summarises the decisions to make, in the order you will meet them on site.
| Element | Common choices | What to decide first |
|---|---|---|
| Layout | Straight, gently curved, or stepping-stone | The route people actually walk, and the width they need |
| Stone format | Regular ashlar rectangles or irregular flagstones | Formal or relaxed character, and cutting waste |
| Colour range | Full-range blue-grey, lilac and brown tones, or selected blue | How the stone sits with your brick, render and planting |
| Finish | Natural cleft, thermal (flamed), or honed for covered areas | Grip outdoors versus smoothness underfoot |
| Base | Compacted crushed stone with a levelling bed | Soil type, load and local frost and drainage conditions |
| Joints | Sand, gravel, mortar, or planted joints | Maintenance appetite and the look you want |
| Edging | Stone set on edge, steel, brick, or a planted edge | How the path meets lawns and beds |
| Budget drivers | Stone thickness and format, excavation, base depth, edging | Which costs are one-off and which return as maintenance |
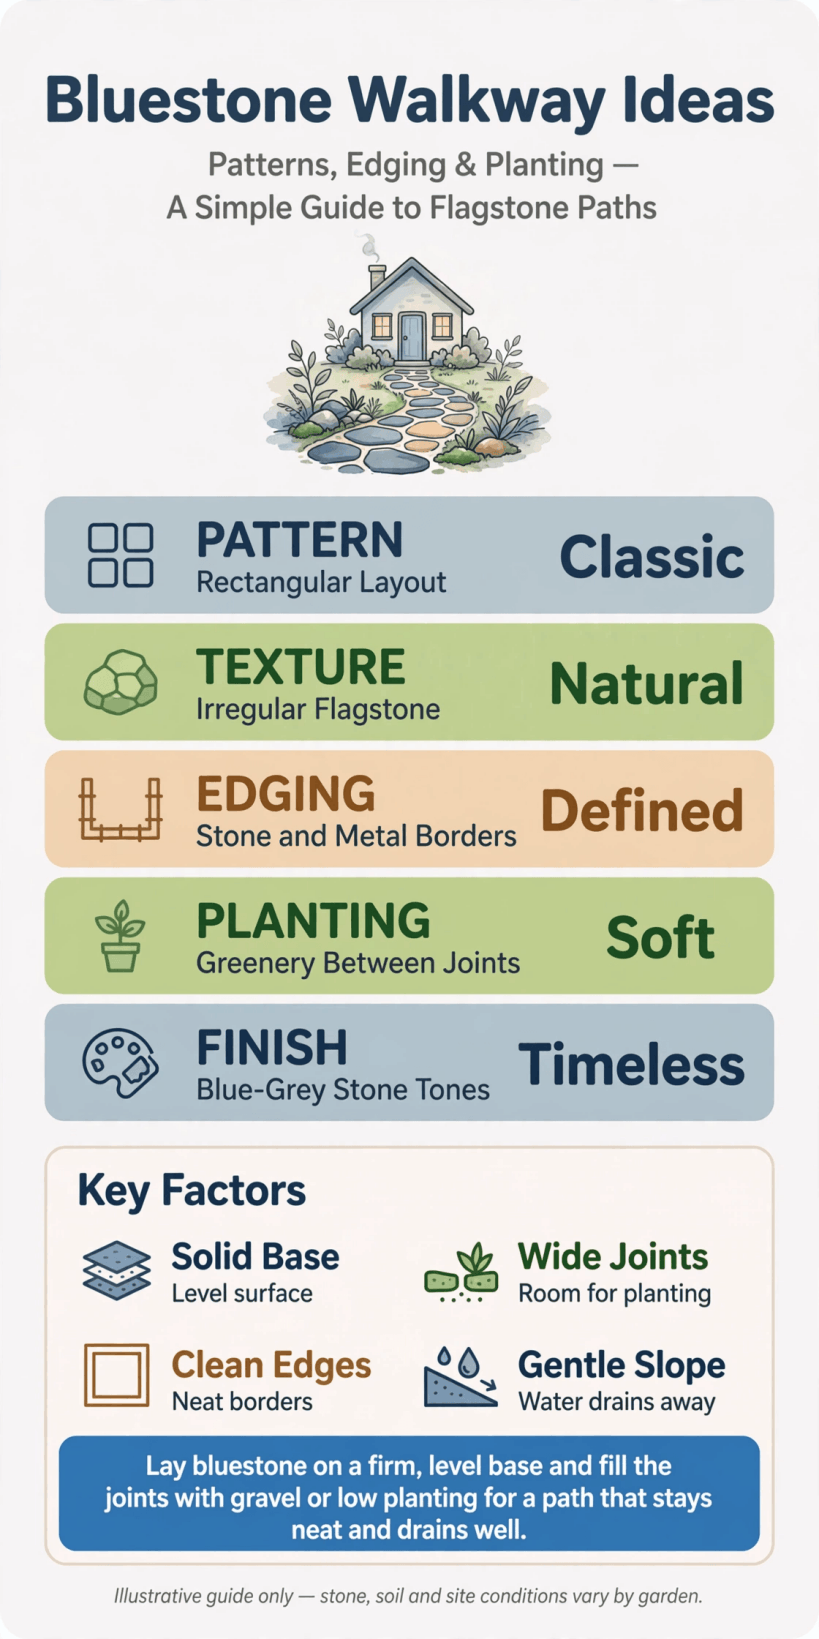
The essentials at a glance: choose the layout and pattern first, then build the base properly, because the stone can only be as level as what lies beneath it.
One more point before the details: bluestone is a natural material, so expect variation. Slabs differ in tone, surface and thickness, even within one delivery. Good layers treat that variation as the appeal of the material and grade the slabs as they lay them, keeping faces even and joints consistent rather than chasing an impossible uniformity.
2. Layouts: Straight, Curved and Stepping-Stone
Start with the route, not the stone. Watch where people actually walk between the gate, the door, the bins, the garden and the car; a path poured into the wrong line will be ignored in favour of a muddy shortcut across the lawn. Straight paths suit formal front gardens and short distances, and they make cutting and laying simpler. Gentle curves feel natural in larger or cottage-style gardens, but every curve adds cuts, so keep the radius generous and the line deliberate rather than wavy.
Width is the second decision. A main front path should let two people walk side by side or pass with shopping, while a secondary garden path can be a comfortable single file. Stepping-stone layouts, where individual slabs sit in lawn or gravel with gaps between, use far less stone and suit informal routes to a shed, studio or vegetable patch, but they are less kind to heels, prams and anyone unsteady, so keep them for secondary routes.
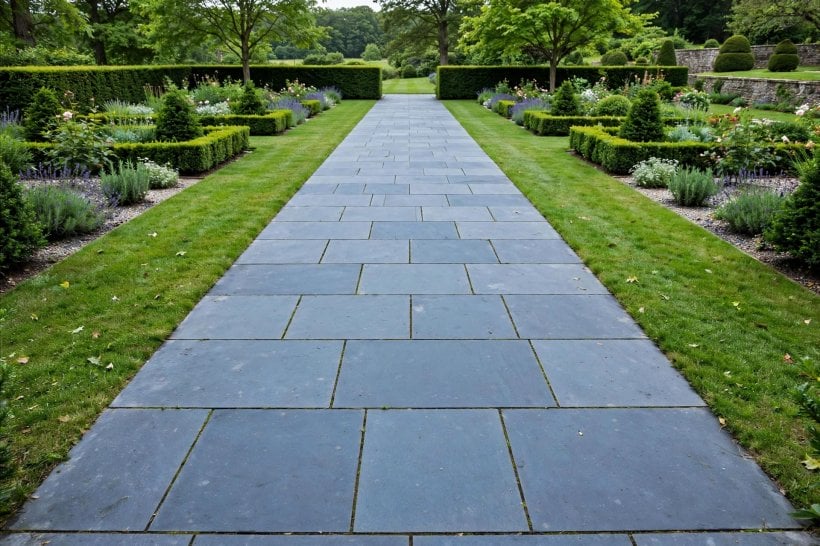
Plan the path and the planting together, because borders soften stone edges and lawns need a mowing strip where they meet the path. The structured approach in these tiny house landscaping ideas works at any plot size: settle levels, routes and edges on paper first, and the path becomes the backbone the rest of the garden hangs from.
3. Patterns: Ashlar, Irregular and Mixed Layouts
Pattern is where bluestone shows its range. A regular ashlar layout uses rectangular slabs in a grid or running bond, giving a crisp, architectural path that suits porches, terraces and modern or formal houses. Irregular flagging uses natural, uneven shapes fitted like a jigsaw; it looks relaxed and rural, hides minor level differences more forgivingly, and wastes less stone if the layer is patient. A mixed approach, regular slabs with an irregular border, or a neat path that loosens into stepping stones, bridges the two.
Whichever pattern you choose, dry-lay a section first. Stone that looks harmonious on a pallet can clash once tones sit side by side, and a dry run lets you spread the strongest colours evenly instead of clustering them. Keep joints consistent: tight, even joints read as quality in regular work, while irregular work wants joints of similar width even though the stones differ.
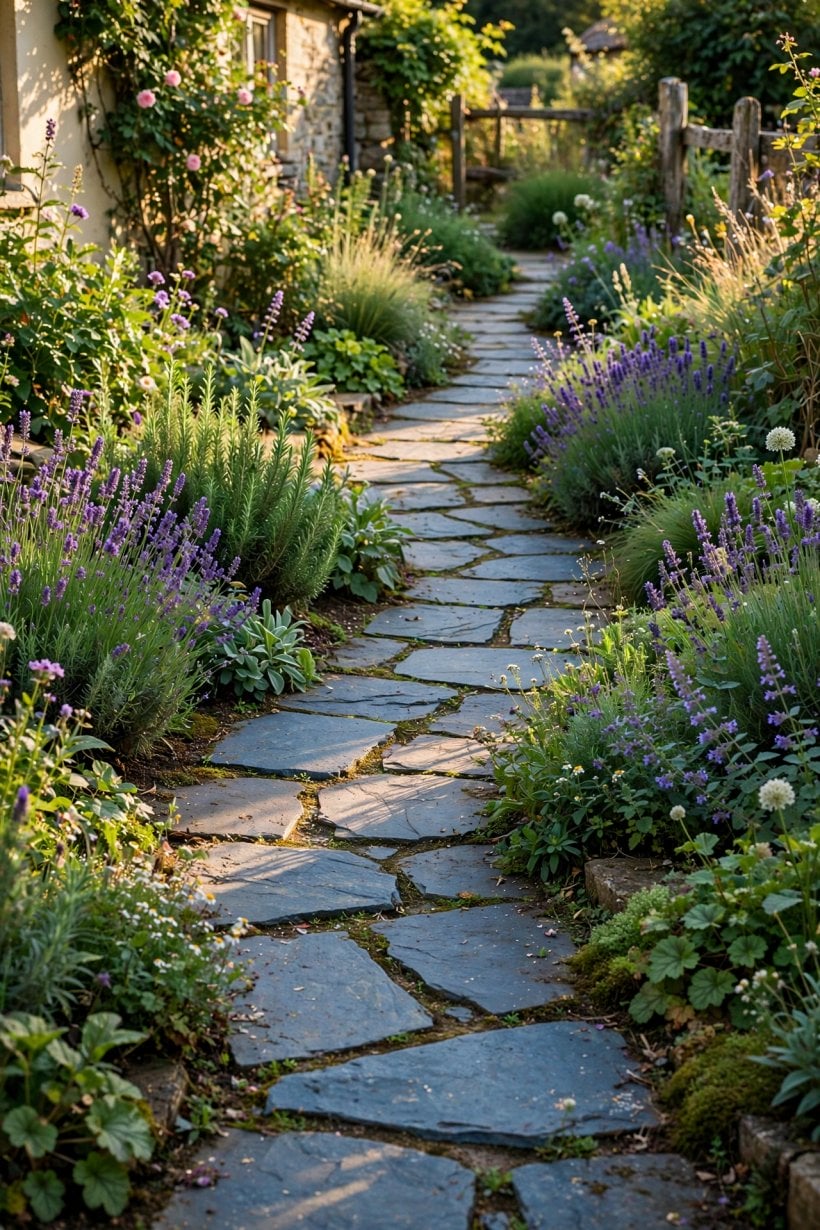
Think about direction too. Long rectangular slabs laid lengthways along the route make a short path feel longer; slabs laid across widen a narrow one visually. At turns and junctions, plan a small landing or a fan of cuts rather than a cluster of awkward slivers, which are the first pieces to rock, crack or lift.
4. Colours and Finishes of Bluestone
Despite the name, bluestone is not one colour. Full-range stone mixes blue-greys with lilac, sage, buff and rusty brown, giving a lively, variegated path. Selected or “blue-blue” stone is graded for a tighter, more uniform blue-grey, which looks smarter and more formal but usually costs more and shows dust and leaves more readily. Neither is better; the question is what sits happily beside your house walls, roof and planting.
Always judge samples wet and dry, because rain deepens bluestone dramatically. A path that looks pale grey in the merchant’s yard may turn rich slate-blue in a shower, and that wet look is how it will spend the winter. Lay sample slabs against the house in both states before ordering, and photograph them at different times of day.
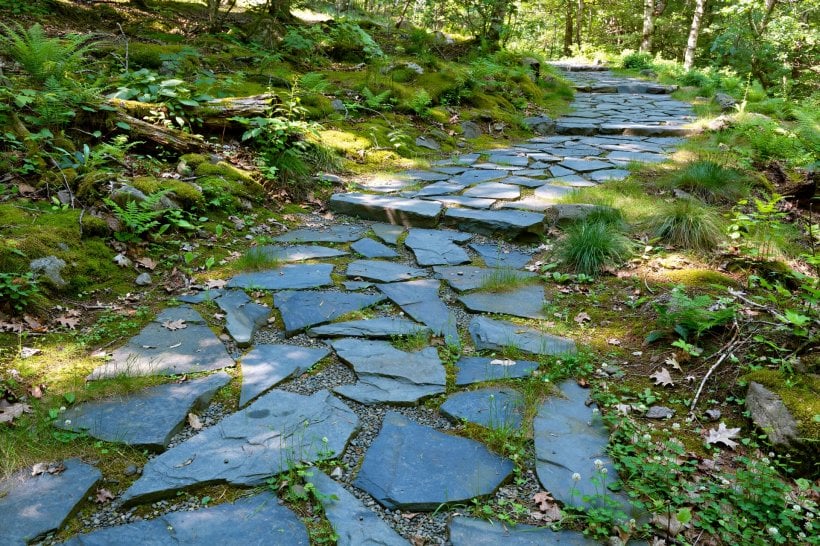
Finish matters as much as colour outdoors. Natural cleft stone has a split, subtly ridged face with excellent grip, which is why it dominates walkways. Thermal or flamed finishes are smoother and more even, pleasant underfoot and popular on terraces and pool edges, but check grip expectations in wet weather. If you love playing with colour outdoors, the spirit of these colourful tiny house interior ideas applies in the garden too: let one strong element lead, in this case the stone, and keep edging, planting and furniture in supporting roles.
5. The Base: Digging, Levels and Compaction
Every failed stone path failed underground first. The build-up is simple but non-negotiable: excavate to a depth that fits the base, any bedding layer and the stone’s thickness, finishing flush with the surrounding ground; lay a compacted crushed-stone base in layers, compacting each; then a thin levelling bed on which the slabs are set and tapped level. Skimp the excavation and the path sits proud and trips people; skimp the compaction and it settles into puddles and rocking slabs.
Set levels with a string line and a long straightedge, and build in a slight fall so water sheds off the surface rather than sitting on it or running toward the house. Levels at thresholds need particular care: the path should meet doors and steps neatly without creating a lip, and it must not bridge any damp-proofing or ventilation details on the house wall.
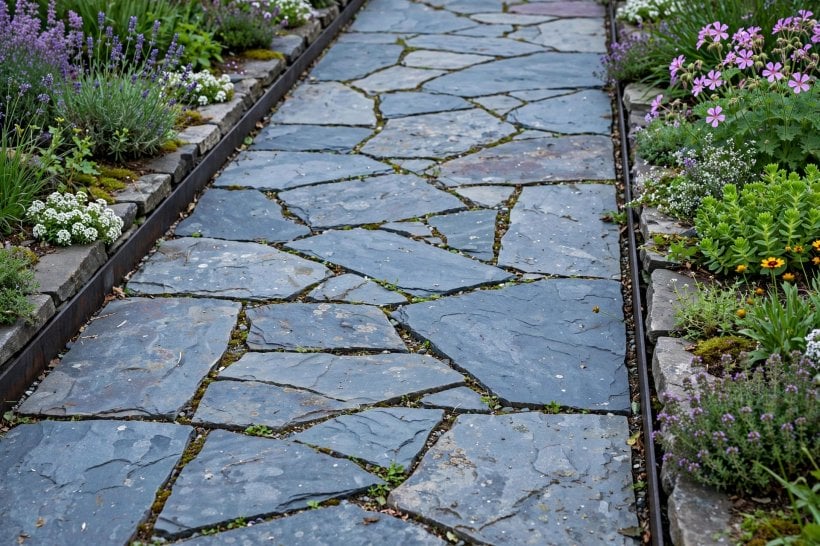
This is the stage where a methodical approach pays. The sequencing discipline in this guide to how to build your own tiny house translates directly: prepare fully before the skilled finish work starts, because with stone, as with a build, most of the quality is decided before the visible layer goes down. If your soil is heavy clay or the route carries vehicles, take local advice on base depth rather than copying a neighbour’s garden path.
6. Edges, Joints and the Details That Finish It
Edges keep a path honest. Without restraint, outer slabs creep, joints open and the whole layout slowly relaxes into the lawn. Stone set on edge, a soldier course of brick, galvanised steel edging or a haunched concrete edge all work; choose by look and by how the path meets its neighbours. Against lawn, a firm edge doubles as a mowing strip and keeps grass out of the joints. Against beds, a slightly raised edge holds mulch back from the stone.
Joints are the other half of the finish. Sand or fine gravel joints are traditional with irregular stone, cheap to top up and kind to drainage, but they need periodic replenishment and weeding. Mortar joints give a formal, low-maintenance surface, though they demand a rigid, well-built base and skilled pointing, and repairs are more visible. Planted joints, with low creeping plants in wider gaps, soften wide paths and stepping-stone layouts beautifully, at the price of some tidiness.
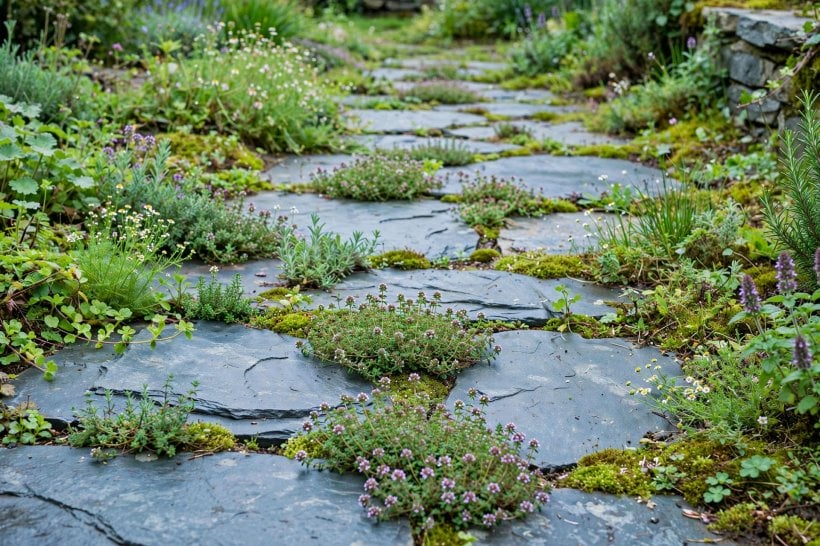
The rustic end of this detailing suits rural plots especially well, where a path links the house to a studio, workshop or barn conversion; the same honest material palette runs through a tiny barn house interior, so indoor and outdoor spaces feel like parts of one property rather than separate projects.
7. Drainage, Slopes and Grip Underfoot
A walkway is a small piece of civil engineering, and water is its examiner. Give the surface a consistent fall away from buildings, avoid low spots where puddles announce themselves after the first rain, and think about where the shed water goes: into beds, a gravel strip or a proper drain, not across a neighbour’s path or into the base of your own wall. On sloping plots, a path that runs straight downhill can become a stream in a storm; a route that traverses the slope in gentle sections, with steps where the gradient demands, behaves far better.
Steps deserve their own care. Make treads deep and even, keep risers consistent, and consider a handrail on long or steep flights, especially where the path is the main route to the door. Bluestone’s natural cleft face is a genuine safety asset here, offering grip that smooth sawn stone cannot match in the wet.
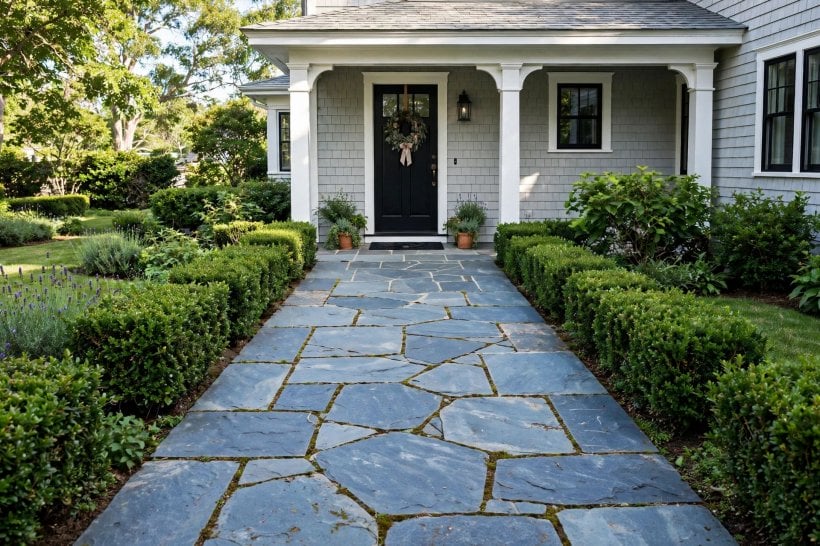
Finally, think seasonally. In frosty climates, standing water in joints and on surfaces freezes, so falls and drainage protect both pedestrians and the path itself. In hot climates, pale planting and nearby shade keep the stone comfortable for bare feet between house and pool or garden room.
8. What It Costs and Where the Money Goes
There is no single price for a stone path, because the total is a stack of individual choices. The stone itself varies with format and grade: regular cut rectangles and selected uniform colour generally cost more than irregular full-range flagstone, and thicker slabs cost more than thin ones. Then come the groundworks: excavation and spoil removal, the crushed-stone base, bedding material, edging, jointing and the labour of laying, which rises with pattern complexity and the amount of cutting a curve demands.
Price the job in layers, as you will build it. Get the route measured, then cost the excavation and base separately from the stone and laying. That breakdown shows you where savings are safe — a simpler pattern, a slightly narrower secondary path — and where they are not, which is anywhere underground. A cheap base under expensive stone is the classic false economy of hard landscaping.
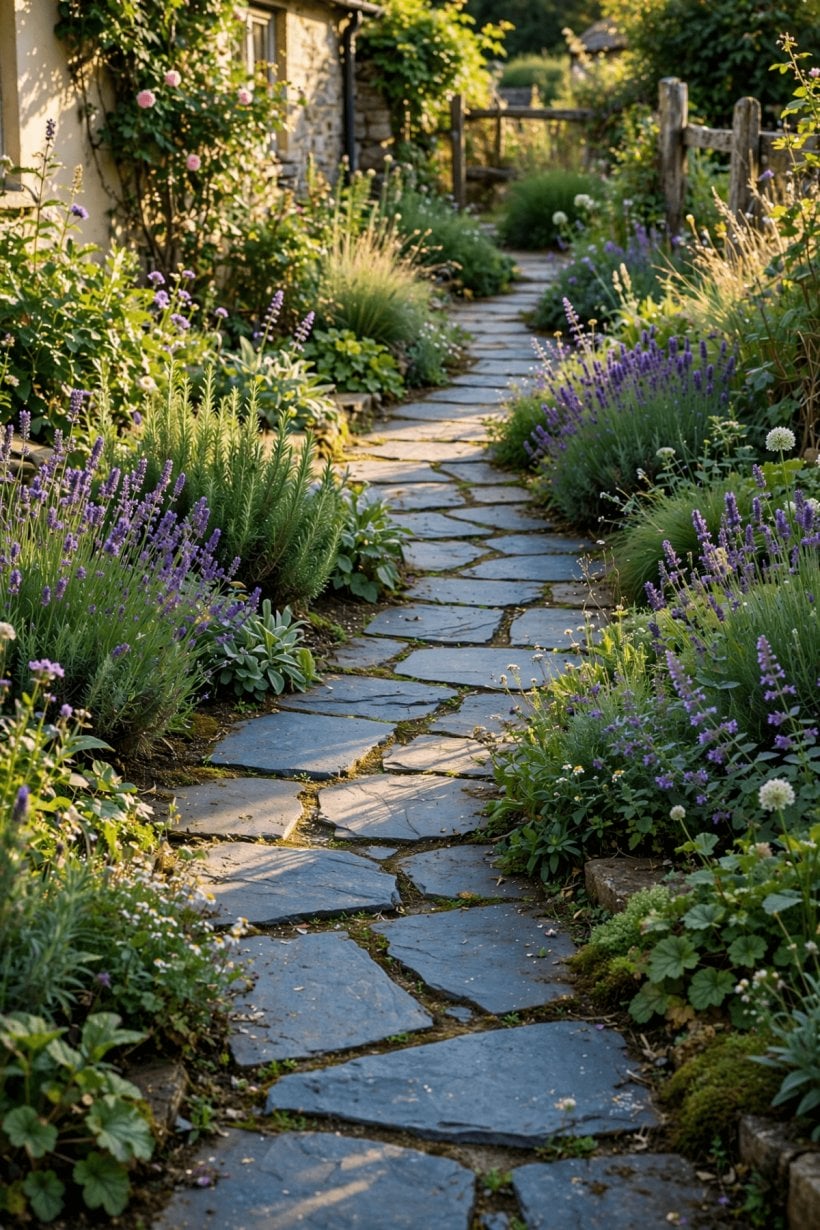
Remember the value side too. The front path is the handshake of the house, the surface every visitor uses and the frame for the entrance and the rooms beyond it; the welcome it creates pairs with the first impressions formed inside, much as the welcoming layouts in these tiny house living room ideas show for interiors. Spending a little more on the main route and economising on secondary paths is usually the right balance.
9. Lighting, Planting and Finishing Touches
A path earns its keep after dark, so plan lighting as part of the build, while trenches are open and cables are easy to run. Low, shielded lights that wash the surface rather than glaring into eyes are safest and most flattering; solar stakes are a simple retrofit but vary in quality and brightness. Light the changes of level, gates and the doorstep first, and keep the middle sections subtle.
Planting finishes what lighting starts. Low mounds and soft grasses at the edges blur the line between stone and garden, while a disciplined scheme — one or two species repeated — keeps a formal path looking deliberate. Keep vigorous plants out of the joints unless you have chosen planted joints on purpose, and give every plant its mature size, not its nursery size, when you space it.
If the route serves a garden studio, pool house or outdoor bathing space, coordinate the hard and soft details with what happens at the end of the walk; compact, well-planned service spaces such as those in these tiny house bathroom ideas often sit at the end of a garden path, and a bench, a tap and a boot scraper placed where the path arrives will be used daily and loved quietly.
10. Maintenance, Repairs and Long-Term Care
Bluestone asks little, but not nothing. Sweep or blow leaves off regularly, because wet leaf litter stains stone and makes any surface slippery. Wash the path occasionally with water and a stiff brush; algae on shaded, damp sections responds to prompt attention far better than to annual heroics, and pressure washing should be used gently, since aggressive jets can damage jointing and softer stone faces.
Joints are the recurring task. Sand and gravel joints need topping up as they settle and wash; planted joints need trimming and the occasional replacement plant; mortar joints should be inspected for cracks that let water under the slabs, and repointed before a small crack becomes a lifted edge. Keep a few spare slabs from the original batch if you can, because matching natural stone years later is guesswork, and one cracked slab swapped early prevents a patchwork path.
Winter care is mostly about water and salt. Keep falls and drains clear so meltwater escapes, and be cautious with de-icing salts on natural stone; sand for grip is the gentler option where you need it. Rocking slabs should be lifted and re-bedded rather than shimmed or ignored, since a rocking slab worsens its own base every time it moves.
Looked after this way, a bluestone path is one of the longest-lived elements of a garden. The stone itself will outlast fashion, planting schemes and probably the fence; it is the base and joints that decide whether it still looks crisp, and both reward small, regular attention.
Final Considerations
A successful bluestone walkway is decided by an honest route, a pattern that suits the house, colours judged wet and dry, and a base built as if the stone deserved it — because it does. Choose the details in order, spend underground before you spend on show, and the path will repay you every single day you use it. When the walkway brings you home, let the comfort continue indoors with these tiny house bedroom ideas for the rooms at the end of the journey.

0 Comments