
Knotty pine can make even a generous room feel dark, busy and dated, no matter how sound the wood is underneath.
Paint changes the mood quickly. It softens the knots, lifts the light and turns heavy boards into a calm, textured backdrop you can actually style around.
1. Painted Wood Paneling at a Glance: What Painting Knotty Boards Changes
| Detail | What to know |
|---|---|
| Best for | Dark living rooms, bedrooms, hallways and small homes where knotty wood feels heavy |
| Main change | Colour and light improve first; the grooves and board rhythm stay visible |
| Prep that matters most | Cleaning, light sanding, filling deep knots and sealing shiny old finishes |
| Primer | A stain-blocking primer suited to wood, checked against the existing finish |
| Forgiving sheens | Matte, eggshell and satin hide minor ripples better than high gloss |
| Colour direction | Warm whites, soft creams and pale greys lift a room without feeling stark |
| Cost note | Mostly paint, primer and time; keeping sound paneling is usually kinder than replacing it |
| Upkeep | Wipeable finishes, a labelled touch-up pot and gentle cleaning keep it fresh |
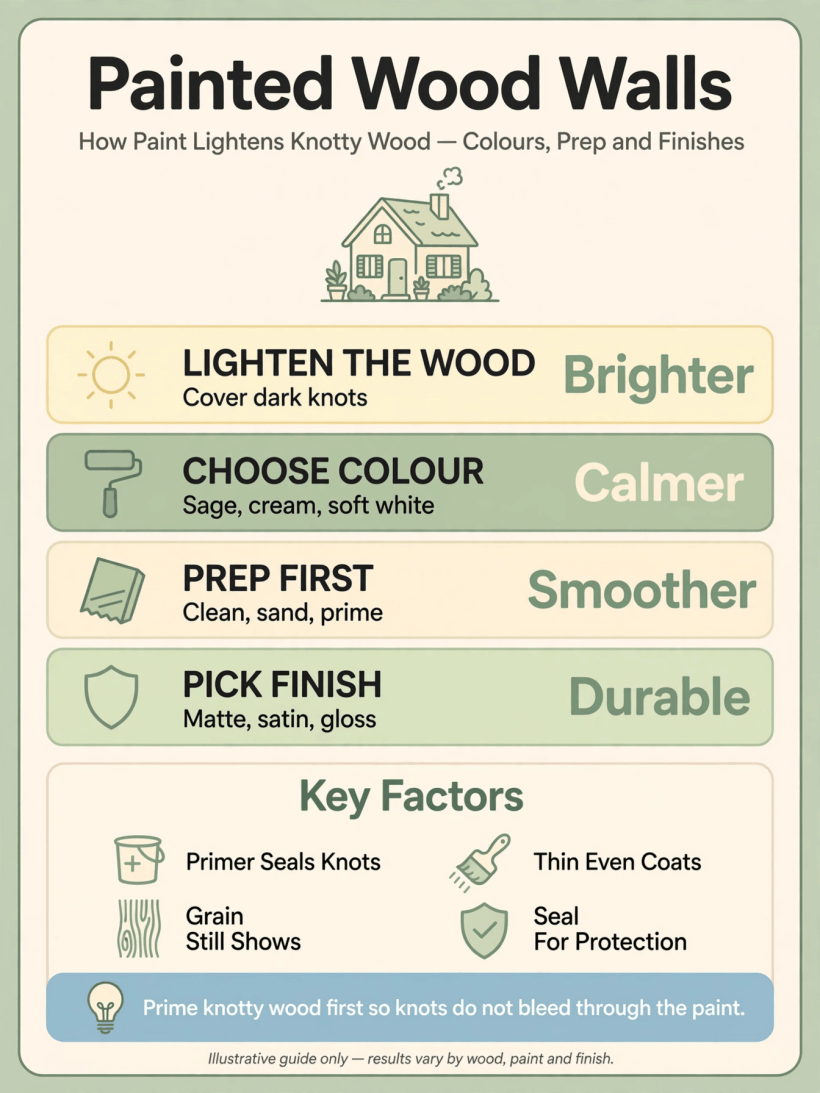
A quick visual guide to prepping, priming and painting knotty paneling for a lighter, calmer finish.
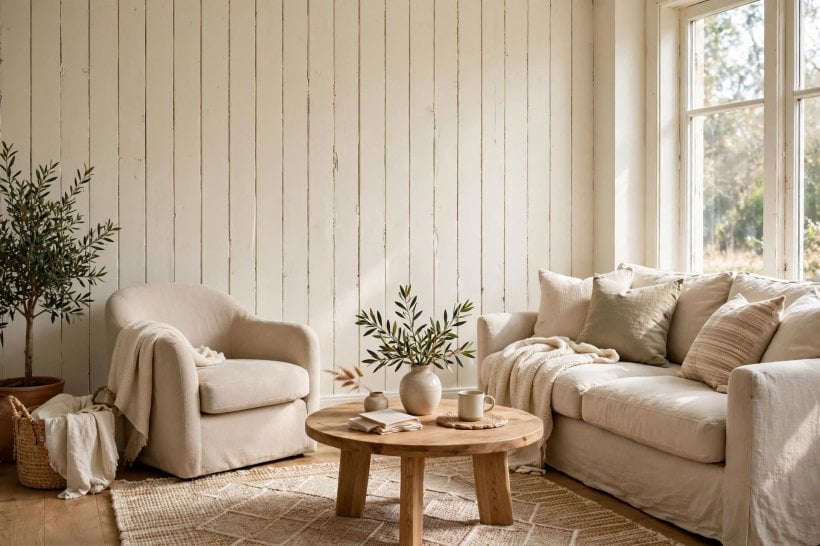
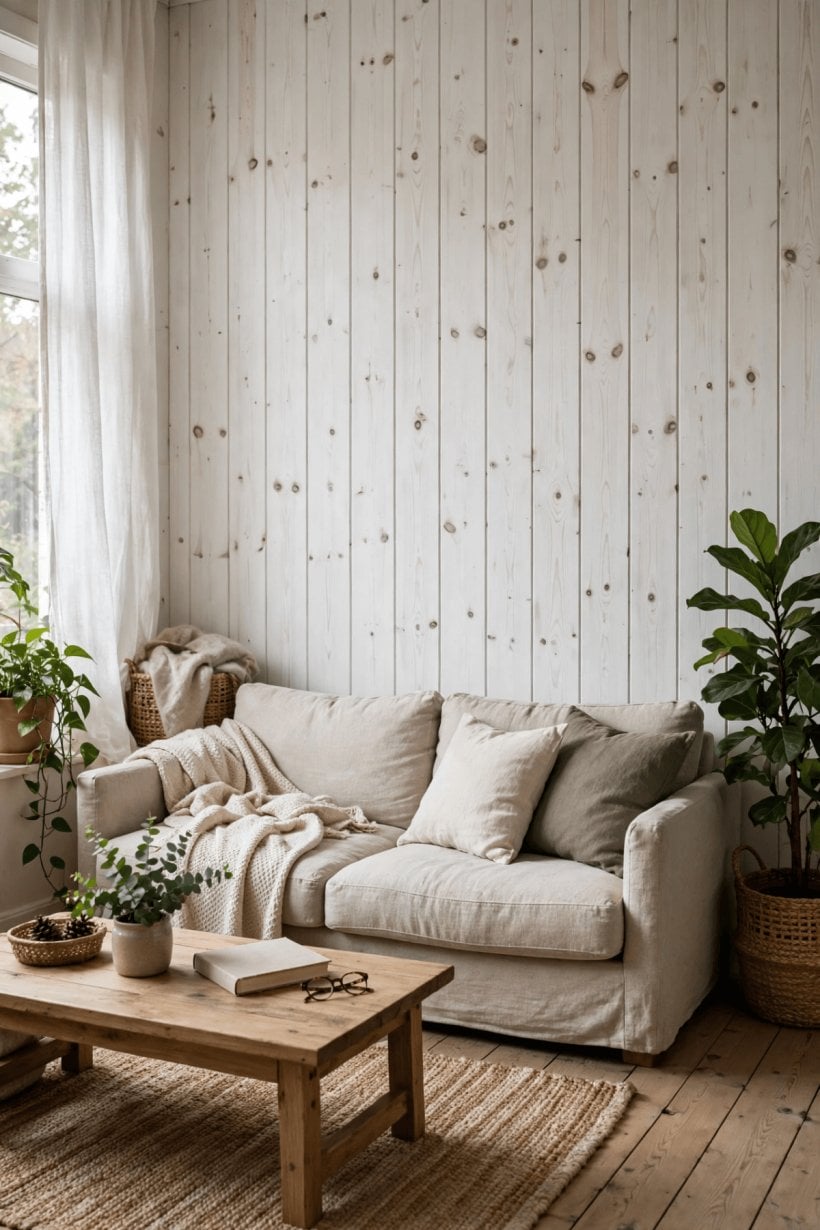
Paint does not erase paneling, and that is the point. The vertical grooves, the gentle shadow lines and a hint of grain still give a wall movement, while the orange-brown glare that once dominated the room quietly disappears. Done well, painted wood walls keep the rhythm of the boards and lose only the heaviness, which is exactly why the change suits small homes so well. Spaces planned around tiny house interior design ideas often need one calm surface to let furniture, textiles and daylight do the talking.
What changes most is the light. A pale finish bounces window light back into corners that varnished pine used to swallow, so lamps can be softer and fewer, and the ceiling feels a little higher by association. Colour choice still matters, though: a bright, blue-leaning white can look chilly against warm flooring, while a creamy white can turn yellow beside north-facing glass. Testing large swatches, as you would when comparing tiny house interior paint colors, prevents the classic mistake of choosing from a tiny chip under shop lighting.
2. Assessing the Wood: Knots, Grooves and the Old Finish
Start by looking, not painting. Walk the room in daylight and again under lamps, and note where knots cluster, where boards have shrunk enough to open dark gaps, and where the old finish looks shiny, flaky or sticky. Sound paneling with a dull, intact surface is a straightforward candidate. Soft, damp or crumbling boards are not, and any musty smell, staining that keeps spreading or spongy patches deserve a closer look for moisture before paint seals the evidence away.
Test the existing finish in a hidden corner. A light sand and a small patch of primer will tell you more than guesswork: if the primer sits evenly and hardens, adhesion is probably fine; if it beads, wrinkles or scratches off with a fingernail the next day, the old coating needs more sanding or a bonding approach. Glossy varnish and old oil-based finishes are the usual troublemakers, so treat that test patch as a cheap rehearsal rather than an optional extra.
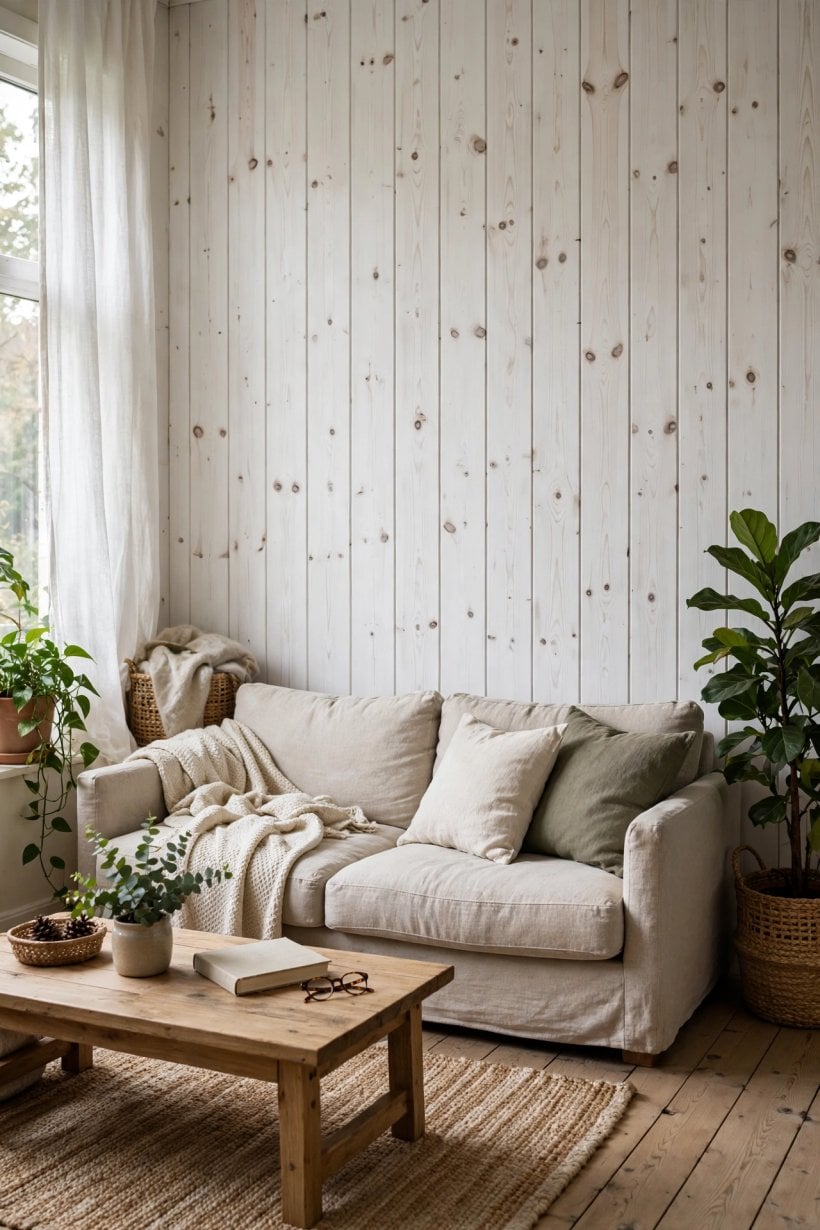
Decide how much character you want to keep. Painting every knot flush and filling every groove gives a smoother, more formal wall, but it also removes the very texture that makes paneling interesting. Many people prefer a middle path: fill only the deepest, darkest knots and any cracked joints, leave shallow grain alone, and let the grooves read as soft stripes. Photograph the walls before you start, because after the first coat it is surprisingly hard to remember which boards needed extra attention.
3. Cleaning, Sanding and Filling Before You Prime
Paint sticks to clean surfaces, and paneling is rarely clean. Years of cooking vapour, wood-stove dust, handprints around doorways and furniture polish collect in the grooves, so wash the walls with a suitable degreasing cleaner, rinse well and let everything dry completely. Work top to bottom, change the water when it clouds, and use a soft brush or an old toothbrush along the grooves where a cloth simply skates over the dirt.
Sanding comes next, and the goal is to dull the shine, not to remove the wood. A medium-fine abrasive on a sanding sponge follows the grooves without rounding their edges, while flat areas can be worked with a block for an even scratch pattern. Tackle waxy or very glossy patches a little more firmly, vacuum the dust, then wipe with a slightly damp cloth and allow the surface to dry. Rushing this stage is how people end up with paint that peels away in ribbons months later.
Fill sparingly and deliberately. Press filler into deep knots, nail holes and open joints, slightly overfilling because most fillers shrink a touch, then sand flush once fully dry. Caulk is better for long, flexible gaps where boards meet skirting or ceiling, since rigid filler can crack as the house moves with the seasons. Prime a filled test area if the filler feels very porous, because thirsty filler can flash through the topcoat as dull patches that no amount of extra paint quite hides.
4. Priming Knots So Stains Stay Hidden
Knots are the part of this project that punishes optimism. The resin and colour inside a knot can migrate through ordinary paint and reappear as a yellow-brown shadow weeks after you have put the furniture back. A stain-blocking primer, applied generously over each knot and then across the whole wall, is the quiet insurance policy. Spot-prime the worst knots first, let that coat dry, and add a second spot coat where the colour still grins through.
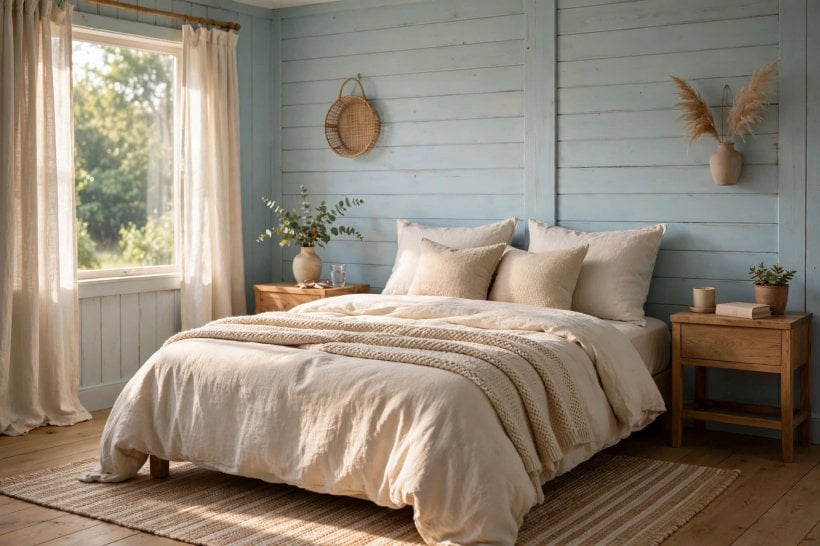
Coverage technique matters as much as the product. Cut in around ceilings, skirting and corners with a brush, push primer into the grooves rather than skimming across them, and roll the flat boards while the brushed edges are still wet so the texture stays even. Thin, rushed primer leaves holidays in the grooves that show as dark pinstripes later. Follow the drying guidance on the tin rather than the clock in your head, because recoating too soon can trap solvents and soften the seal you are trying to build.
When the primer is dry, inspect with a raking light from a lamp held low. Missed grooves, filler edges and stubborn knots are easy to spot at this stage and tedious to fix after two topcoats. A light sand between coats knocks down raised grain and brush marks, and a quick vacuum and wipe removes the dust that would otherwise seed a gritty finish. If bleed-through appears on several knots, another full primer coat is still cheaper, in time and temper, than repainting the room.
5. Choosing Colour: Whites, Creams and Soft Neutrals
White is not one colour, and paneling makes undertone differences louder because every groove holds a little shadow. Warm whites and soft creams flatter wood floors, leather and woven textiles, and they keep a north-facing room from feeling grey and tired. Cooler whites suit bright, sun-filled rooms and pair crisply with black hardware or deep blue accents. Paint generous swatches across several boards, including a knotty section, and live with them through a full day of changing light before committing.
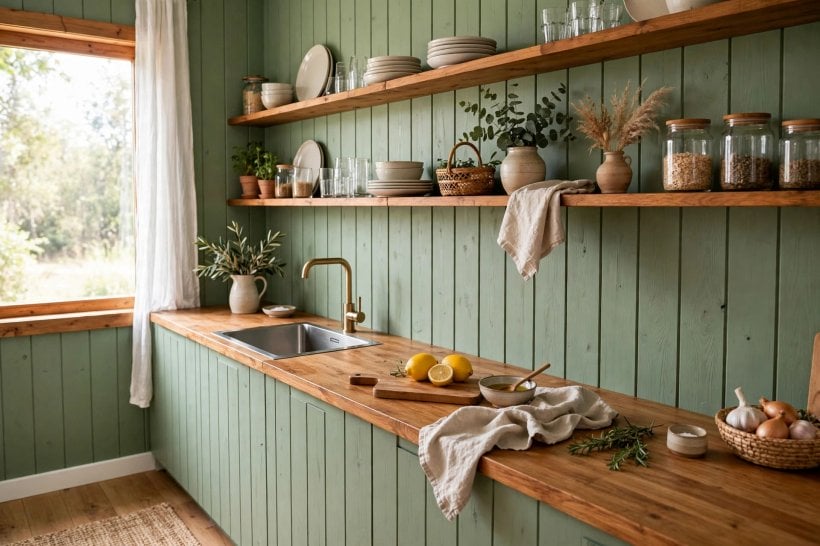
Neutrals beyond white deserve a look. Pale sage, putty, stone and the softest grey-green can lighten a room while feeling more forgiving of scuffs and dust than brilliant white. These mid-pale tones also bridge old and new, letting a painted wall sit comfortably beside natural wood beams, a stone hearth or vintage furniture. The same layering logic behind good tiny house decorating ideas applies here: choose the wall colour to support the room you already own, not to copy a photograph taken in different light.
Think about how far the colour travels. Painting one panelled wall and leaving the rest plain can look deliberate in a large room, while wrapping all four walls suits small, boxy spaces that need cohesion more than contrast. Ceilings usually look best in a cleaner, lighter version of the wall tone, and woodwork can either match the walls for a calm, wrapped effect or contrast gently for definition. Whatever you choose, buy enough paint from the same batch for the whole room and keep a labelled jar for touch-ups.
6. Sheens That Flatter Painted Paneling
Sheen decides how honest a wall looks. High gloss throws every ripple, filler edge and brush mark into relief, which is why it rarely flatters older boards. Matte finishes hide a multitude of sins and feel soft and chalky, but they can mark easily in hallways and behind sofas. Eggshell and satin sit in the useful middle: enough glow to feel fresh and to wipe clean, not so much shine that the grooves look like plastic stripes under evening light.
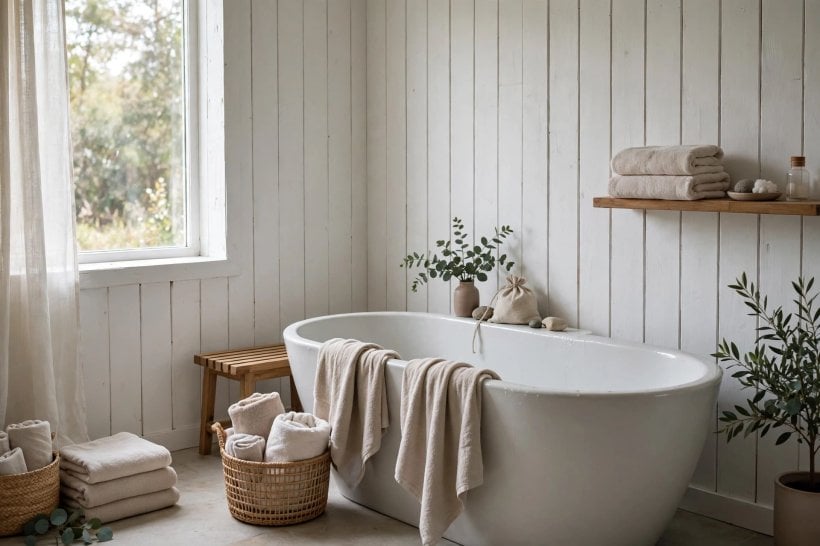
Match the sheen to the room’s workload. A family living room, a mudroom entry or a rental property will thank you for a washable, slightly higher sheen that survives sticky fingers and dog noses. A quiet bedroom or a reading corner can carry matte beautifully, especially in a pale colour where scuffs are less visible anyway. Bathrooms and kitchens add moisture to the equation, so choose a finish the manufacturer rates for humid rooms and make sure the fan actually gets used.
Keep sheen consistent across a connected space. Painting the panelled wall in satin and the adjoining plain wall in matte, even in the same colour, can look like a mistake because the two surfaces catch light differently at the doorway. If you love the contrast, make it obvious rather than accidental, perhaps by deepening the colour as well. Sample pots in the exact sheen you plan to use are worth buying, because the same pigment reads darker and cooler as the finish gets flatter.
7. Brushing, Rolling and Spraying the Grooves
Tools shape the finish more than technique videos suggest. A quality angled brush cuts clean edges and pushes paint into grooves, a short-pile roller lays an even coat on flat boards without spraying texture everywhere, and a small foam roller can help behind radiators and in tight corners. Spraying gives the smoothest result but demands serious masking, ventilation and practice; overspray finds every unprotected surface in the room, including the ones you were certain were covered.
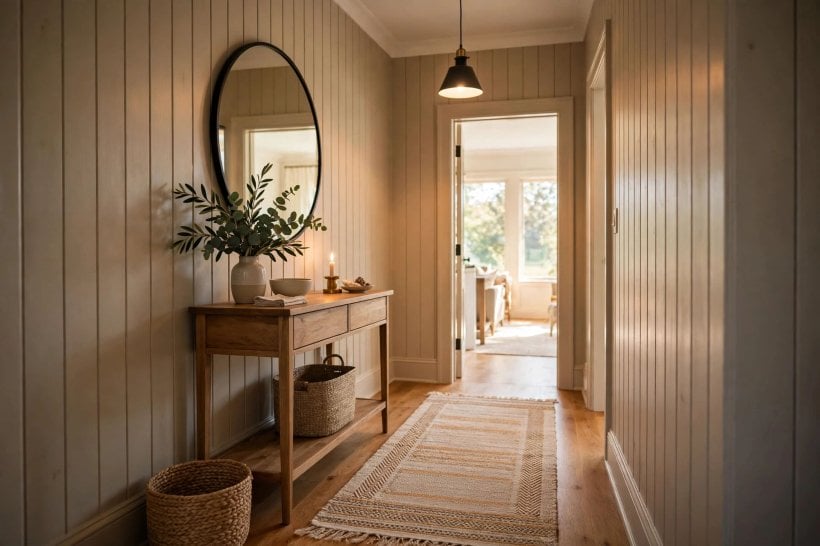
Work in board-sized sections and keep a wet edge. Brush the grooves first, then roll the flats while that paint is still fresh, tipping off lightly with the roller to remove stipple clumps. Do not stretch a roller load too far: thin, starved coats look tidy while wet and patchy when dry, especially over primer that has slightly different absorbency over knots. Two honest coats beat one thick coat that sags into the grooves and dries with curtains.
Plan the order of the room before the first dip. Start at the corner least visible from the doorway, work away from the light so you can see misses in the wet sheen, and paint behind furniture only after moving it properly rather than reaching around it. Protect floors with canvas rather than slippery plastic sheeting, keep a damp cloth for drips, and remove tape while the final coat is still slightly tacky so the edge tears cleanly instead of lifting flakes of new paint.
8. Two-Coat Rhythm, Drying Times and Honest Touch-Ups
Paneling usually needs primer plus two topcoats, and occasionally a third over very dark stain or stubborn knots. Judge coverage in dry daylight, not while the paint is wet, because most colours deepen and even out as they cure. Resist the urge to spot-paint only the thin patches between coats; that creates overlapping rectangles with slightly different texture. A full, even second coat, rolled in the same direction as the first, is what makes the wall read as one continuous surface.
Drying and curing are different things. Paint may feel dry to the touch in hours yet stay soft enough to stick to picture frames, books or cushion backs pressed against it for days. Ventilate the room, keep the temperature steady and avoid extremes of cold or damp that slow curing, and give the walls a gentle life for the first week. Hanging art with small spacers and delaying heavy furniture against the wall are small kindnesses that prevent the heartbreak of peeling a perfect finish away with a sofa.
Touch-ups go best when they are boringly systematic. Stir the stored paint thoroughly, use the same applicator type as the original coat where possible, and feather the edges so the repair fades into the surrounding texture instead of ending in a hard line. Note the colour name, sheen and batch on the tin and in a note on your phone, because ‘the white in the hall’ will mean nothing in three years. Small scuffs often wipe away with a damp microfibre cloth, so try cleaning before reaching for the brush.
9. Styling a Lighter Room Around Freshly Painted Walls
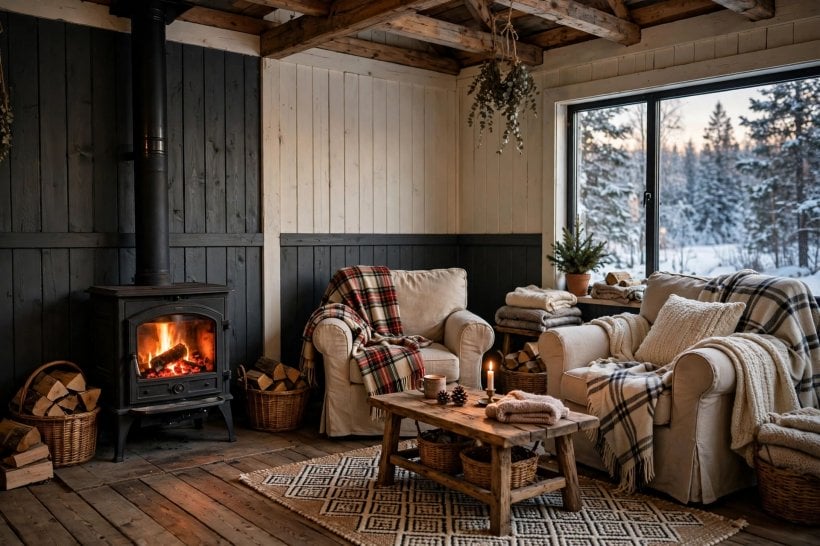
Once the walls lighten, the room usually asks for less, not more. Edit first: return only the furniture and objects you genuinely like, because pale paneling exposes clutter that dark wood used to camouflage. Warmth now comes from texture rather than colour, so layer a woven throw, a jute or wool rug, linen cushions and a piece of natural wood to stop the room feeling washed out. Ideas borrowed from tiny house living room ideas work especially well, since both rely on a calm shell and a few well-chosen layers.
Art and mirrors earn their place on a painted wall. A mirror opposite a window doubles the light you worked for, while artwork with deep or saturated colour gains drama against a pale ground. Keep nail holes thoughtful: paneling grooves can sometimes take a picture hook discreetly, and planning a grouping on paper first prevents a constellation of abandoned holes. A scheme such as a blue and white tiny house interior shows how a limited palette can stay interesting when pattern and texture do the varying.
Lighting deserves a second pass after painting. Rooms that needed strong lamps against dark wood may now feel overlit, so swap to warmer bulbs, add a dimmer where practical, and let one low lamp create evening softness against the grooves. Plants also read differently: glossy leaves look sculptural against matte paint, and a trailing plant along a high shelf breaks the vertical lines pleasantly. Live with the room for a fortnight before buying anything new, because your eye needs time to stop comparing it with the old, dark version.
10. Mistakes That Make Painted Paneling Look Flat or Patchy
The commonest failure is skipping the unglamorous stages: painting over dust and polish, hoping ordinary paint will seal active knots, or rolling one hopeful coat over glossy varnish. Each shortcut shows up later as peeling, bleed-through or a patchwork of sheens, and fixing it then means sanding back through your own work. The second failure is choosing colour and sheen from photographs alone, without swatches on the actual boards, in the actual light, next to the actual floor.
Overworking the texture is another quiet trap. Filling every groove, sanding every board glass-smooth and choosing a dead-flat colour can leave a wall that looks like featureless plasterboard, only with more effort behind it. The same applies in fitted rooms: panelled walls in a cooking space need the washable finish discussed in many tiny house kitchen design guides, not a delicate matte that absorbs every splash. Keep some shadow in the grooves, let a little grain whisper through, and remember that character was the reason for keeping the wood.
Finally, respect the maintenance you are signing up for. Pale walls show marks sooner, paneling grooves collect dust that needs a soft brush attachment rather than a soaking mop, and steam, candle soot and wood-stove smoke will dull any finish over time. None of this is a reason to keep a room dark and gloomy. It simply means choosing washable paint where life is messy, cleaning gently and often, and keeping that labelled touch-up jar somewhere you will actually find it again.
Final Considerations
Painting knotty paneling is one of the most satisfying changes you can make without altering a room’s bones. The boards stay, the texture stays, but the light, mood and styling options all open up. Take the prep seriously, seal the knots properly, test your colour in real light and give each coat the time it asks for, and painted wood walls will reward you every single morning the sun comes into the room.
Work room by room, photograph your progress and keep notes on products and colours as you go. If a wall turns out to be damp, damaged or coated in something you cannot identify, pause and check with a local decorator or your city housing guidance before sealing it in. Sound wood, honest prep and a colour you have truly tested are the whole secret, and none of them requires tearing out a wall that still has decades of life in it.


0 Comments