
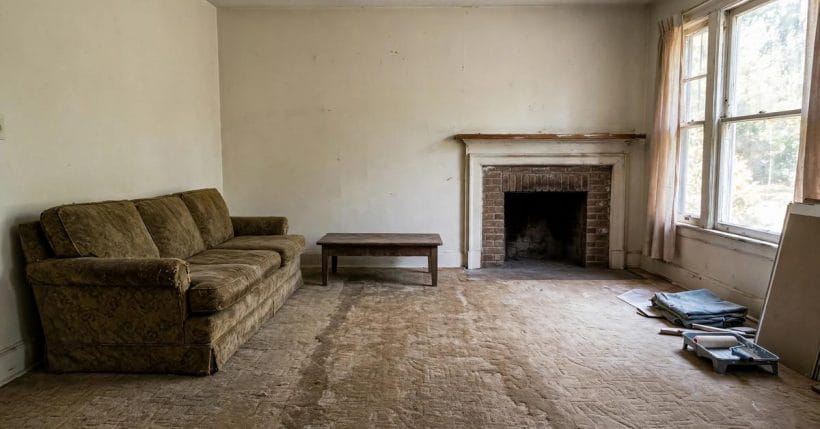
Most renovations go wrong long before any work begins — in the weeks when decisions are made from memory, guesses and a hopeful look around the room. A calm hour spent planning, camera in hand, prevents nearly all of that.
This guide treats home renovation planning as a photographic job first: photograph your own rooms properly, scope the work from the pictures, and only then sequence the trades. No projects are invented here — just a method any household can use.
1. Home Renovation Planning at a Glance
Renovation pictures found online can inspire, but they cannot plan your house. Your own photographs can. Taken slowly and in order, they show what is actually there — every wall, corner, socket and stain — and the wider whole-house examples in the remodeled ranch homes collection were each planned, in their own way, from a truthful look at an existing building. That truthful look is home renovation planning in its simplest form.
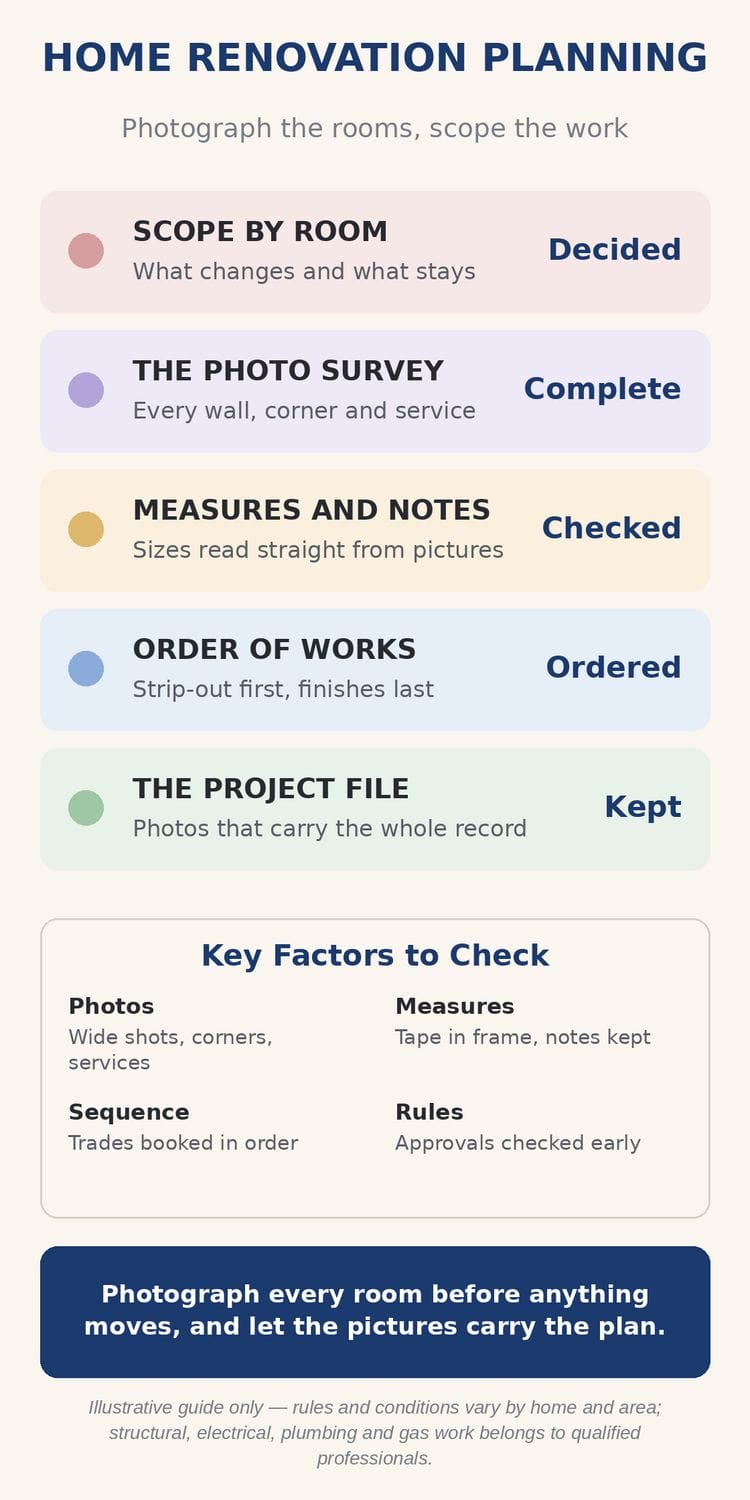
The five habits in the table below carry the whole method. Work through them in order and the plan mostly writes itself, room by room, photograph by photograph.
| Family | Character | What it means |
|---|---|---|
| Scope by Room | What changes and what stays | Decided |
| The Photo Survey | Every wall, corner and service | Complete |
| Measures and Notes | Sizes read straight from pictures | Checked |
| Order of Works | Strip-out first, finishes last | Ordered |
| The Project File | Photos that carry the whole record | Kept |
One honest note: a photograph is not a shortcut around professional judgement. It is how you arrive at every conversation — with a builder, a plumber or an electrician — already knowing your own rooms, able to show rather than describe what you mean.
2. Decide the Scope, Room by Room
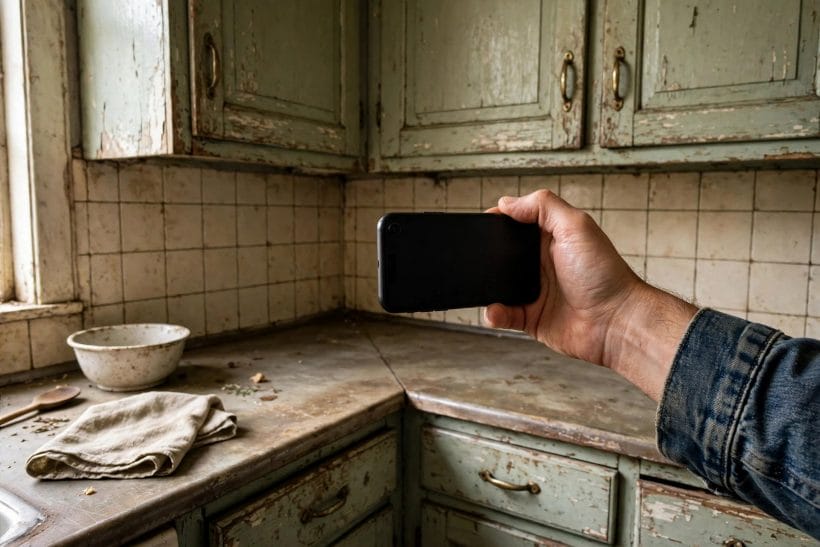
Scope is the plainest decision in the whole job: what changes, and what stays exactly as it is. Make it room by room, standing in the room, photograph in hand — never for the house as a blur. A settled scope is what every later measure, order and booking hangs from.
What Changes, What Stays
Sort each room’s parts into two honest lists. One holds what genuinely needs to change — the worn, the broken, the layout that no longer serves the household. The other holds what stays: sound floors, good doors, features with character. Renovations grow beyond their scope when the second list is never written and everything drifts into the first.
Walk the House in a Fixed Order
Walk the house the same way every time — hall, living rooms, kitchen, bathrooms, bedrooms, then any basement, loft or outbuilding — and keep the photographs in that order too. A bathroom scoped early shows why the bathroom remodel cost guide treats that small room as a job in its own right: more trades meet there than anywhere else in the house. A basement is scoped with the same honesty, as the basement remodel cost guide treats below-ground rooms as jobs with their own hidden conditions. A fixed walking order means no room is scoped from memory at the end.
Write the Scope Down Simply
Under each room’s photographs, write the scope in plain sentences: this wall stays, this floor goes, this window is repaired rather than replaced. Plain sentences are contracts with yourself. When a tempting extra appears halfway through the works, the written scope — and the photograph beside it — is what you check it against.
3. The Photo Survey: Photograph Every Room First
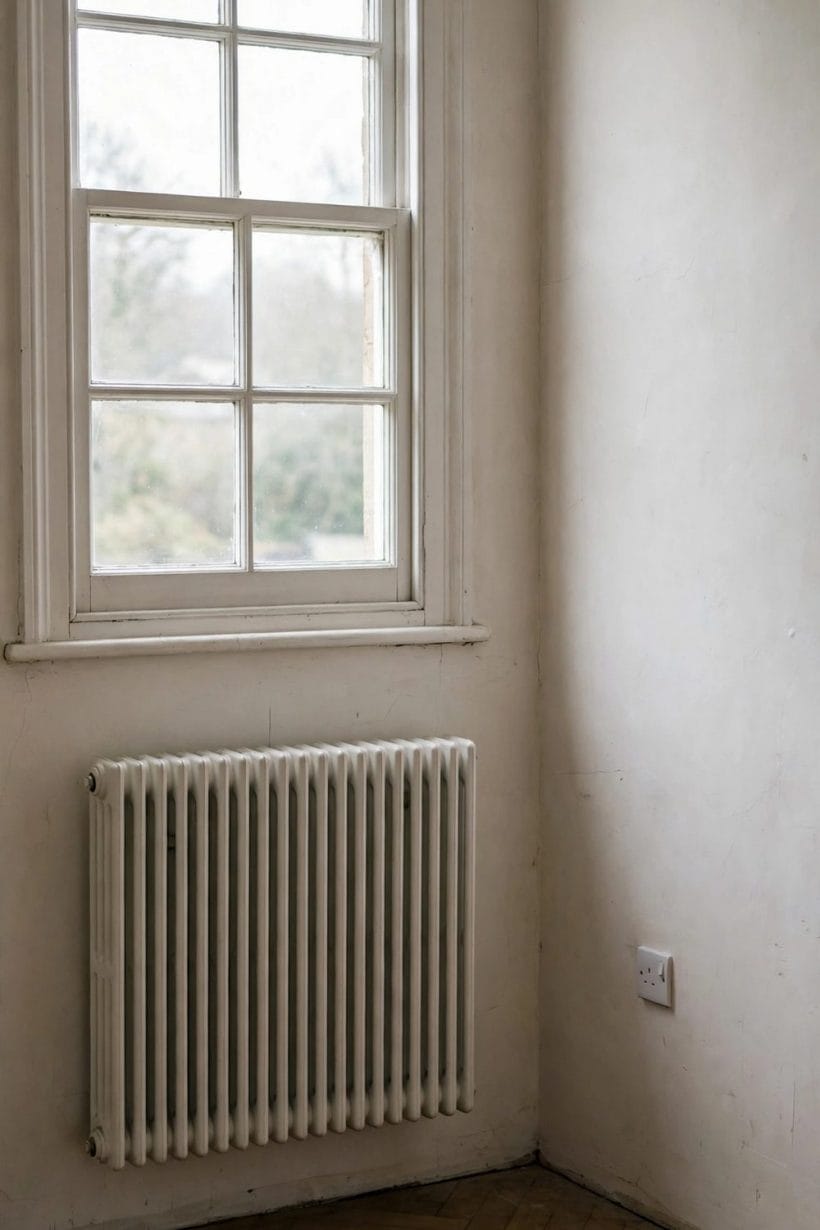
The photo survey is the heart of the method, and it happens before anything is moved, stripped or ordered. Its rule is completeness, not beauty: you are making a record to plan from. Take far more photographs than feels necessary; storage is patient, and demolition is not.
Wide Shots Before Close-Ups
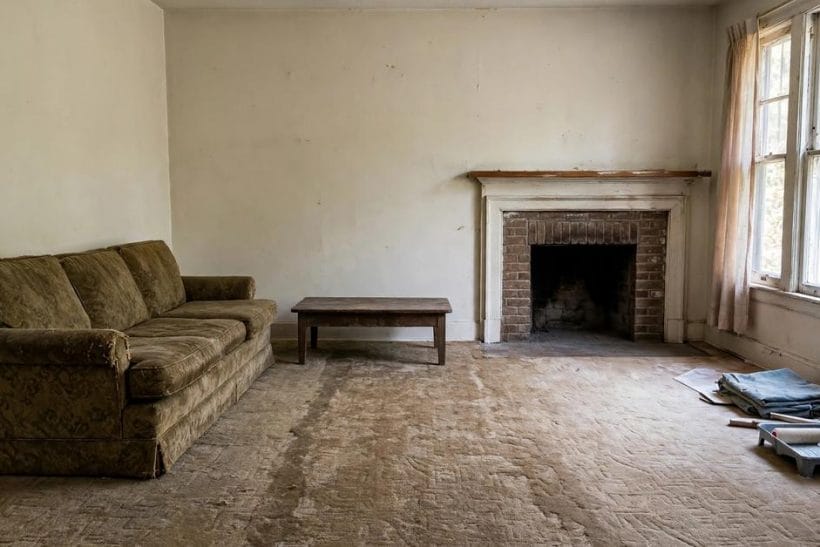
Start every room from its doorway with a wide shot, then from each corner looking across. Wide shots hold the relationships — window to door, hearth to seating, stairs to hall — that close-ups lose. A fixed fireplace, for instance, only makes sense in the wide view of its wall, which is why the fireplace remodel ideas collection always shows the whole chimney breast in the room, never the surround alone.
Corners, Ceilings and Floors
Then work the room methodically: every corner, the ceiling with its fittings and any marks, and the floor from above at several points. Corners are where rooms confess — cracks, damp shadows, pipes turning, floors meeting unevenly. Photograph them without tidying first. A survey taken after a hopeful clean-up is a portrait; a survey taken as found is evidence.
Sockets, Radiators and Services in General Terms
Record where the services meet the room, in general terms: sockets and switches on each wall, radiators and their pipe runs, stopcocks and meters where they can be seen, and where water arrives and leaves. You are not surveying to do that work yourself — you are recording positions, because every later decision starts from these unglamorous photographs.
4. Measure and Note From Your Photographs
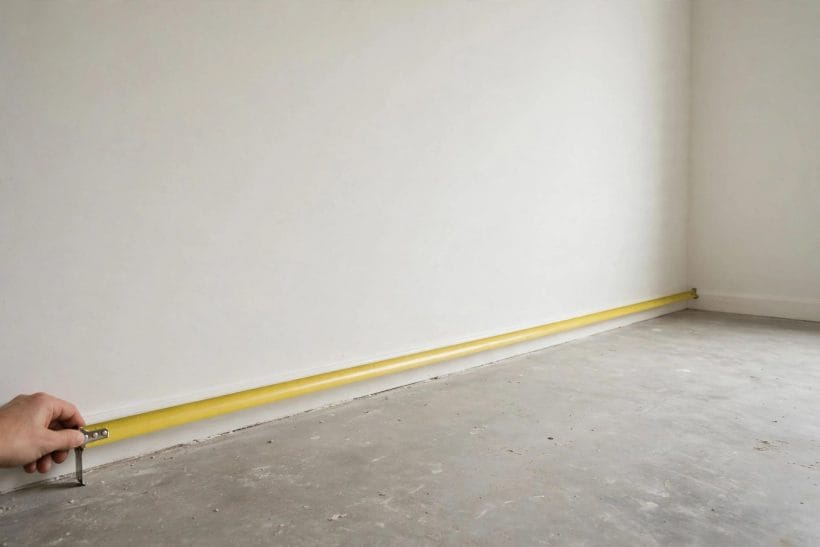
Photographs become a plan when measures join them. A measure recorded beside its photograph can be checked by anyone, months later, without revisiting the house at all.
Put a Tape Measure in the Frame
For the measures that matter most, photograph the tape itself in place — stretched along the wall, across the floor, up the height of the ceiling. A tape in the frame cannot be misread or misremembered, and it settles arguments kindly: the picture is simply there. Take the matching plain measure as well, written down, because two records of one fact are a kindness to your future self.
Measure Twice, From Two Pictures
Important sizes deserve two photographs from two positions. A doorway measured from the hall and again from inside the room catches the frame, the swing and the step that a single view hides. Collections such as the bathroom remodel before and after set are built on this same habit — the second photograph answers the first, taken from a matching spot, and the pair together can be trusted in a way single pictures cannot.
Keep Notes Beside the Photographs
Notes and photographs belong together, in one folder per room, named the same way. A measure without its picture invites doubt; a picture without its note invites guesswork. Write notes the same day, in plain words — which wall, which direction, what the tape was hooked on.
5. Read the Constraints Your Pictures Reveal

Read the survey photographs again slowly and they begin to list the job’s constraints — the fixed facts that no enthusiasm can move, and that the plan must be built around rather than against.
Access for Materials and Waste
Trace the route everything must travel: street, gate, path, door, hall, stairs. Photograph each pinch point. Materials arrive whole and waste leaves in pieces, and both use the same narrow places. The ground outside matters too — the thinking in how to prepare land for a tiny house about firm standing, clear access and turning room applies just as honestly to a delivery at an ordinary house.
Narrow Doors, Turns and Stairs
Stairs and turns decide what can be carried where, and photographs from the half-landing show the truth better than any description. A bath or long worktop that cannot make the turn is a discovery to make on paper, not on the day with the item wedged in the stairwell.
What Sits Behind Walls and Floors
Your survey photographs of sockets, radiators, pipes and old fittings are also a map of what probably sits behind the surfaces — in general terms, and never as a promise. Note it, and treat any opening-up as a staged discovery rather than a surprise. What is hidden decides the job, so record everything visible before a single surface is disturbed.
6. Build a Simple Order of Works
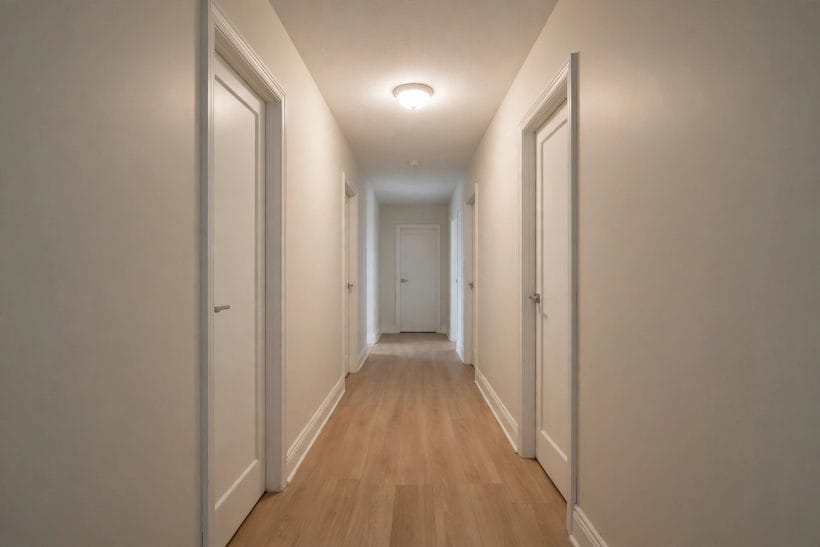
With scope, measures and constraints in the file, the order of works almost arranges itself. Stated generally, nearly every renovation moves through the same broad stages, and writing them down turns a pile of decisions into a sequence.
Strip-Out Comes First
The first stage removes: coverings, fittings and finishes the scope has marked to go, in an order that keeps the house safe and the remaining rooms usable. Photograph each room emptied. The strip-out photographs are the ones most often skipped and most often missed, because they show the bare bones every later stage is judged against.
First Fix, Plaster, Second Fix
In general terms, the hidden work comes next — the first fix of services within walls and floors — then the making-good of surfaces, with plaster the familiar example, and only then the second fix that sets visible fittings onto finished surfaces. A fireplace altered or renewed sits inside this same rhythm, its masonry belonging to the heavy middle of the job. Each stage waits for the one before it to be complete, dry and photographed.
Finishes and Final Checks Last
Paint, paper, flooring finishes and the final fitting of handles, covers and trims close the sequence — deliberately last, because finishes laid early are finishes damaged by everything that follows. End with a slow walk through the finished rooms, survey in hand, photographing each from its original doorway. The pairs of pictures, start and finish, are the job’s own verdict on itself.
7. Sequence the Trades in a Sensible Order
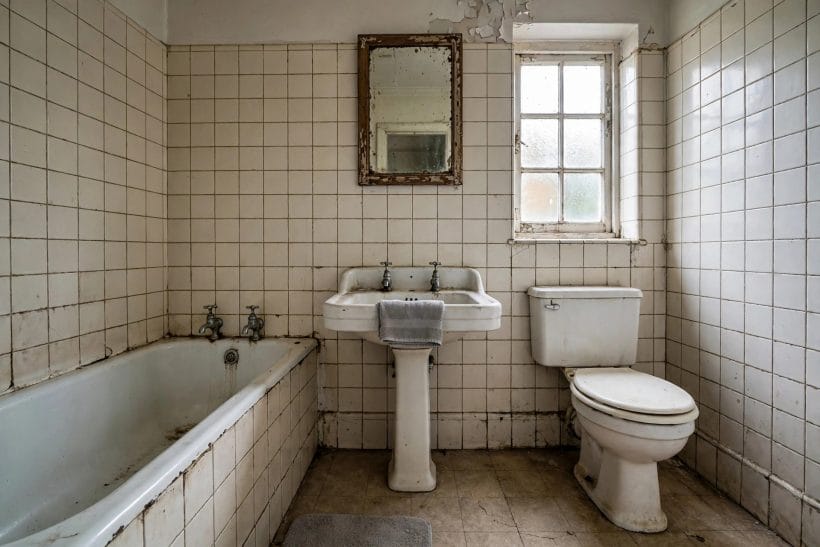
Trades follow the order of works, and the order is mostly common sense made visible. Each trade inherits the room the previous one left, so sequencing is really a promise you make on everyone’s behalf: nobody will be asked to work over, under or through a stage that should have come later.
Who Follows Whom, and Why
In general terms, the heavy and hidden work leads — building work where needed, then the services — and the surface trades follow, with decorators nearly always last. The logic lives in the photographs: a wall cannot be plastered before what runs inside it is placed. When in doubt, ask which photograph each trade needs to see completed before they start.
Booking Around the Gaps
A sequence on paper needs breathing room in the diary. Stages dry, cure, settle and occasionally wait for an inspection or a delivery, and a plan that ignores the gaps collapses at the first one. Book in sequence order, tell each trade who comes before and after them, and share the survey photographs with the booking — trades plan better from pictures than from adjectives.
One Trade at a Time in Small Rooms
Small rooms hold one trade at a time, whatever the diary wishes. In bathrooms and small kitchens the order within the room matters as much as the order of rooms. Your photographs of those tight spaces, tape in frame, are how a sensible sequence gets agreed before five toolboxes arrive to dispute the doorway.
8. Approvals, Permissions and Paperwork First

Before the first stage of work, there is a quieter sequence of checks, and it belongs at the front of the file. Approvals are not the enemy of a renovation; discovered late, they are simply its longest delay — discovered early, they are a few calm enquiries and a folder of answers.
Check the Local Rules Early
Rules for building work and alterations vary by place and by property, and they are checked, not assumed. In general terms: ask the local authority what needs permission or formal approval before work starts, and ask early, while the answer can still shape the scope. The authority for your own house is always your own council or equivalent body, in writing.
Party Walls, Landlords and Shared Buildings
Some homes share their bones with neighbours. Work touching a party wall, a shared roof or a common structure can carry its own notices and agreements, in general terms, and flats and rented homes add a landlord whose written agreement may be needed first. Photograph the shared parts during the survey, so every conversation starts from the same pictures.
Keep Every Approval With the Photos
File every letter, consent and agreement in the project file beside the photographs it refers to. Paperwork separated from pictures becomes hard to interpret within a year; paperwork filed with dated photographs explains itself. When a question arises mid-works — and one usually does — the file answers it in minutes rather than in a week of telephone calls.
9. Living in the House While Work Goes On
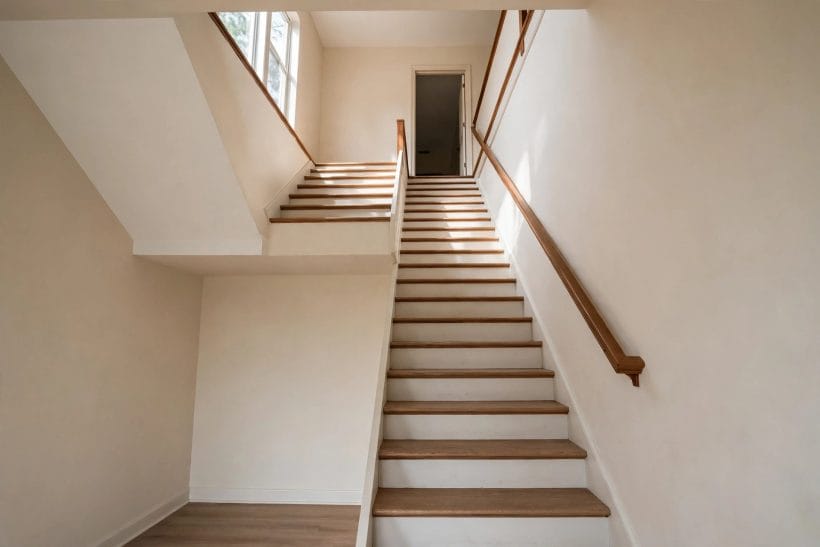
Many households stay in the house through a renovation, and whether that is bearable is decided at the planning stage, not discovered during it. Your survey photographs — of the rooms, the routes and the services — are exactly the evidence this decision should be made from.
Which Rooms You Can Keep Using
From the scope and sequence, mark the rooms that stay live throughout: somewhere to sleep, somewhere to wash, somewhere to make a hot drink and a simple meal. As stages move, the live set moves with them, and the photographs make the shuffle plannable. Households cope well with almost anything rehearsed on paper.
Dust, Water and Power, Stated Plainly
Works interrupt things. In general terms, expect dust to travel further than promised, water and power to be off for stretches while services are altered, and noise to set the timetable on working days. Agree the interruptions in advance, in writing, stage by stage, and photograph the protections — sealed doorways, covered floors — that were agreed.
A Daily Routine That Still Works
Households that renovate happily protect one small routine: a clear path from bed to bathroom to kettle that survives every stage. Check that path in your survey photographs against each stage. If a stage blocks it, the stage or the path changes on paper — not at six in the morning with the landing stripped.
10. Keep the Photographs as the Project File
By now the photographs are no longer preparation — they are the project’s memory, and they keep working long after the last trade has left. Treat the file as part of the house itself: stored safely, backed up, and handed on when the house changes hands.
Photograph Each Stage as It Happens
Keep the habit going through the works: strip-out, hidden work before it is covered, surfaces before finishes, and the finished room from its original viewpoints. The hidden-work photographs are the treasure — once walls and floors close over services, those pictures are the only map of what lies beneath.
The Mistakes Good Photographs Prevent
Read the file once more and its protective value is plain. Ordering before measuring cannot survive a tape measure photographed in the frame. Forgetting what sits behind a wall cannot survive the survey picture taken before it was closed. Ordering the right thing in the wrong size, booking a trade before its predecessor stage, disputing what was agreed — the file answers each one quietly, with a picture and a date rather than an opinion.
When the File Answers the Question
Years later, the file still earns its shelf. A leak is traced from a hidden-work photograph; a matching fitting is identified from a finish photograph; a future alteration is scoped in an evening because the measures already exist. What began as a planning habit ends as the house’s own biography — the most useful renovation pictures you will ever own, because every one is of your rooms.
Final Considerations
Planning a renovation this way asks for no special talent — a phone, a tape measure, an unhurried afternoon and the discipline to photograph before touching. In return it gives you a scope you can defend, a sequence trades can follow, and a record that outlasts the works themselves.
Begin with the survey, and let every later decision answer to it. If you later shrink the plan towards a smaller home or a new plot, the same measured habit carries over — the tiny house floor plans collection shows how much honest planning a simple measured drawing, honestly made from real rooms, can hold. Photograph first, and the renovation has already begun well.


0 Comments