

Lifting old sheet flooring often reveals a far tougher job underneath: a stubborn layer of old adhesive gripping the boards below. Worked patiently, with heat, moisture and gentle scraping, most of that residue can be softened and lifted without harming the wood.
This step-by-step guide explains how to assess the floor first, soften glue safely, scrape without gouging, and clean and care for the boards once the residue is gone.
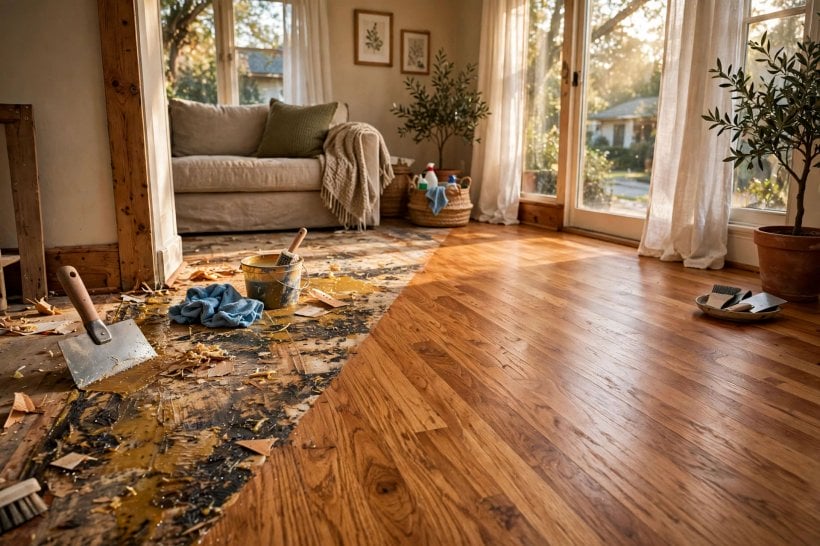
1. Assess the Floor and Put Safety First
| Question | Key Point |
|---|---|
| Is the flooring pre-1980s? | Stop and get professional advice — asbestos-era materials may be present in old flooring and adhesives. |
| Where should I test first? | Always test in a hidden spot first, such as inside a cupboard or under an appliance. |
| Which products are safest? | Start with warm water and patience; avoid harsh solvents on old finishes. |
| What is the gentlest tool? | A plastic scraper held at a low angle is far kinder to wood than a metal blade. |
| How long does it take? | Allow plenty of time; softening in stages is slower but protects the boards. |
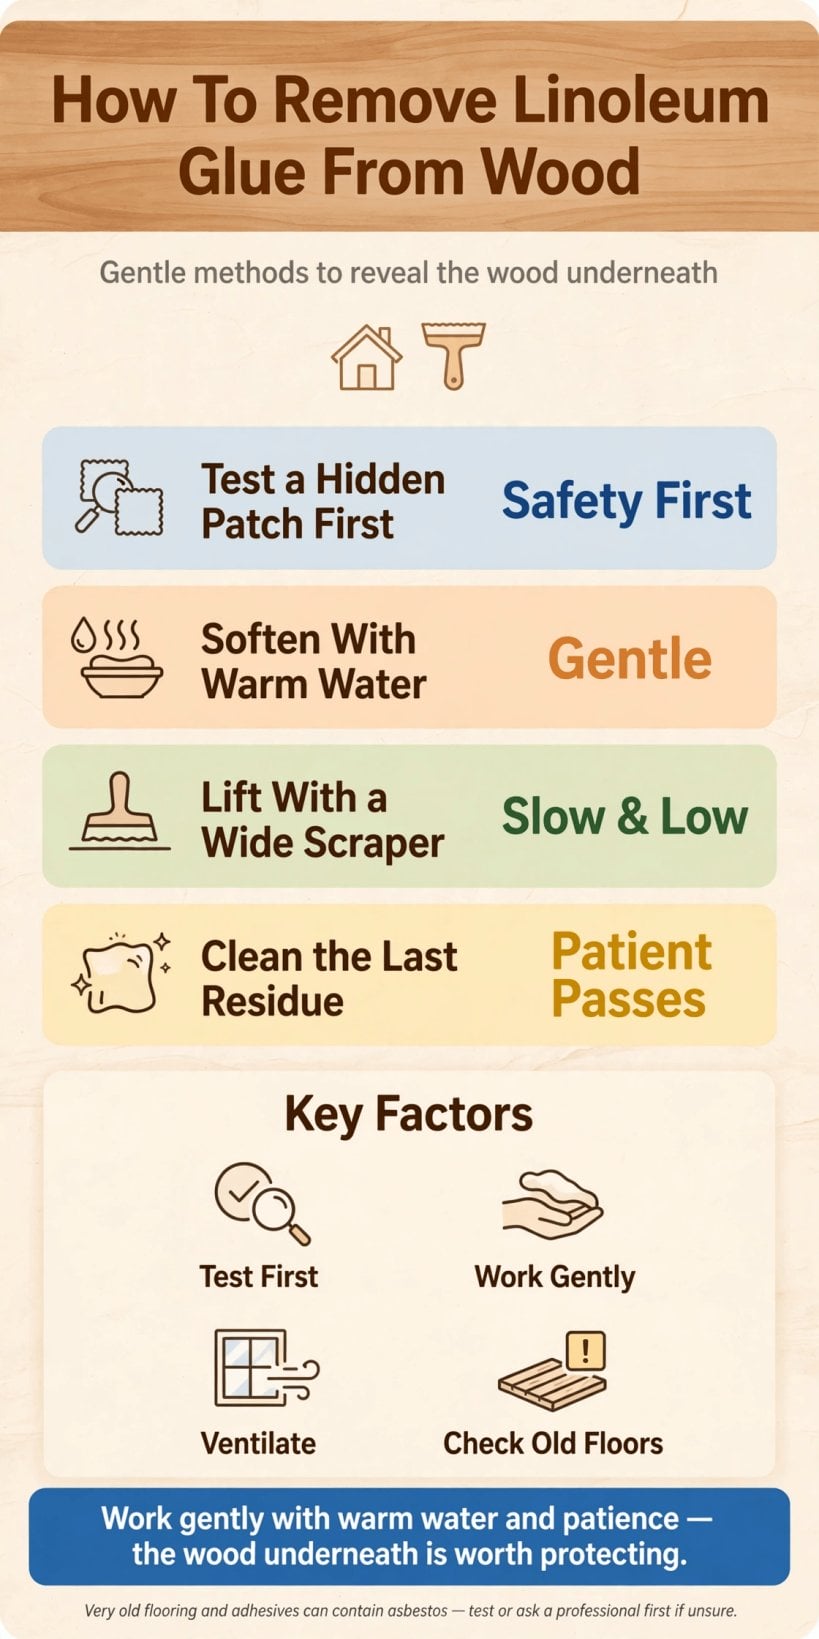
The safe sequence at a glance: check the age of the flooring, test a hidden spot, soften, scrape gently, then clean and inspect.
Before any scraping begins, settle the most important question in this whole project: how old is the flooring you have lifted, and how old is the adhesive beneath it? If you suspect the materials date from before the 1980s, stop if asbestos-era materials are suspected and get professional advice before disturbing anything further. Old sheet flooring and some old adhesives from that era can contain hazardous fibres, and no floor is worth disturbing material you cannot identify. If the age is genuinely uncertain, treat that uncertainty as your answer and ask a qualified professional to look first.
Next, study the wood itself. Note where the finish survives, where boards are already damaged, and whether the glue sits in a thin film or in thick ridges. Always test in a hidden spot first — inside a cupboard, beneath an appliance, or in a corner that furniture will cover — so any change in colour or finish stays out of sight. That cautious, test-first mindset is the same one recommended across these interior design ideas for homes: understand the surface before you commit to a treatment across the whole room.
2. Gather Tools and Protect the Room
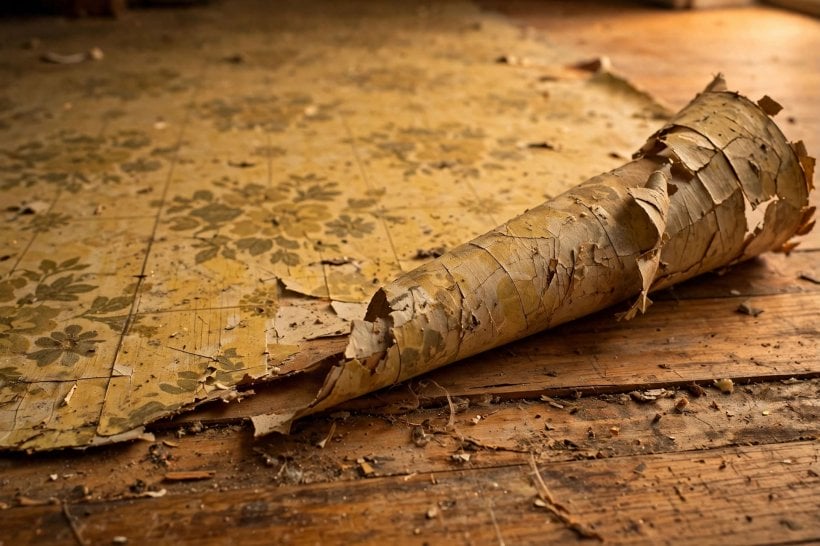
You do not need a van full of equipment for this job. A kettle or a large pan for warm water, old towels or cloths, a spray bottle, plastic scrapers in a couple of widths, a soft brush, a bucket, mild washing-up liquid, fine sandpaper or a sanding block for later tidying, gloves, and knee protection will cover most floors. Add a wallpaper steamer or a heat gun only if you already own one and are confident using it gently; neither is essential, and both demand care around old finishes. Keep a bin bag within reach so lifted residue goes straight in rather than back onto clean boards.
Protect everything that is staying. Move furniture out if you can, cover what must remain, and tape over socket outlets low on the wall if you will be working with much water. Open a window for ventilation, especially if you later try any commercial remover, and keep children and pets out of the room until the floor is dry and clear. Working in small homes, as these small home interior design ideas often show, means one room out of action affects the whole household, so staging your tools neatly in one corner genuinely helps the day run more smoothly.
3. Soften the Glue With Warm Water and Time
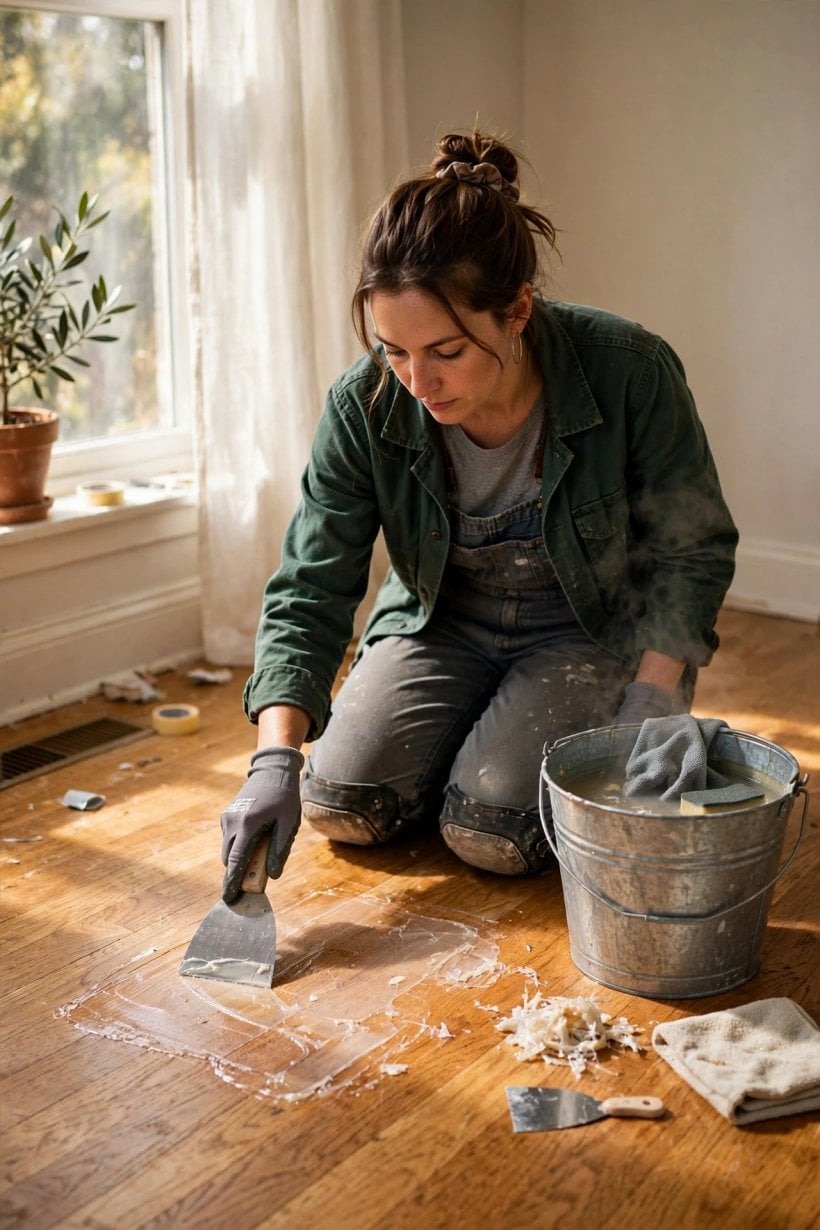
Warm water is the safest softener you own, and for many water-based old adhesives it is surprisingly effective. Lay a towel soaked in warm — not boiling — water over a small patch of glue and leave it in place long enough for the moisture and warmth to work into the residue. Check every few minutes by lifting a corner of the cloth and testing the surface with a plastic scraper: softened glue feels tacky or gummy and begins to move, while hard glue needs more time rather than more force. Work on one patch at a time so no area sits soaked for hours, because standing water is itself unkind to wood and to the joints between boards.
Resist the urge to flood the floor. The goal is a damp, warm compress on the glue, not a puddle soaking into the timber. Wring cloths out well, refresh them with warm water as they cool, and move steadily across the room in a grid you can remember. This is unhurried work, well suited to a podcast and a free afternoon. If a patch refuses to soften after repeated warm compresses, note its position and move on; you can return to stubborn areas later with the additional methods described below, in the same order, rather than escalating everything at once.
4. Use Gentle Heat Carefully on Stubborn Patches
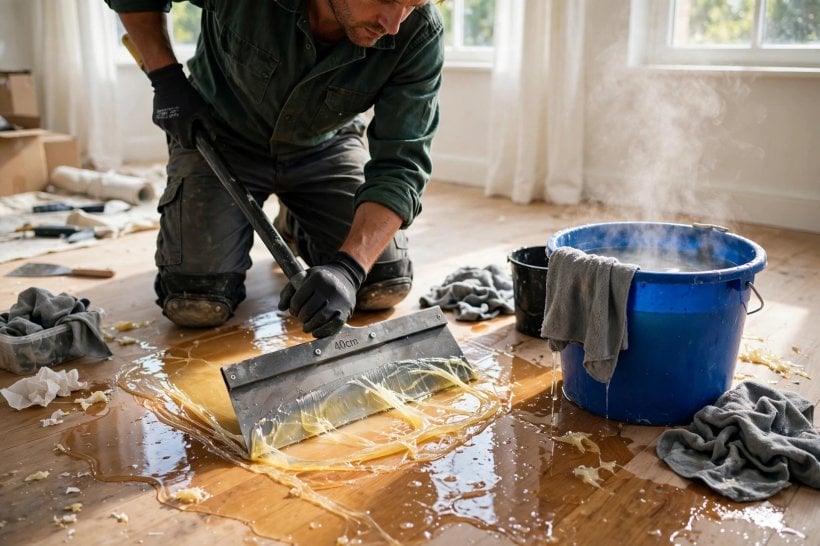
For patches that warm water alone will not shift, gentle heat can help soften old adhesive so it releases more willingly. A hairdryer on a moderate setting, kept moving a short distance above the surface, is the most forgiving option for beginners. A heat gun demands more respect: use its lowest setting, keep it moving constantly, and never linger on one spot, because concentrated heat can scorch wood, bubble old finish and damage the very surface you are trying to save. Test any heat method in your hidden spot first, exactly as you did with water, and watch how the finish responds before using it in the open.
Work heat and scraper together in a rhythm: warm a small area until the glue looks slightly softer and more pliable, set the heat source down safely, then scrape while the residue is still warm. Never leave a hot tool resting on the floor, and keep it well away from towels, paper and any cleaning products. If the glue smells strongly, smokes, or the wood begins to discolour, stop, let everything cool, and return to the water method. Heat is an assistant here, not the main event, and patience will protect an old floor far better than speed ever will.
5. Scrape at a Low Angle and Protect the Wood
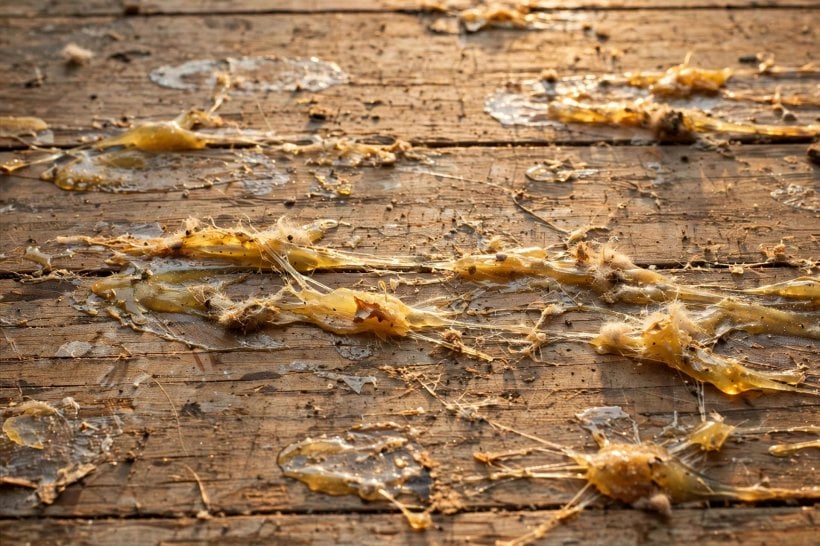
Scraping technique matters more than strength. Hold a wide plastic scraper at a low, shallow angle and push it gently along the board, working with the grain wherever you can, so softened glue rolls or lifts ahead of the blade. Short, controlled strokes beat long heroic ones: you can feel the moment the scraper starts to catch on wood rather than glide over glue, and that feeling is your signal to stop, re-soften, and only then continue. Wipe residue off the scraper frequently so you are not simply spreading a thin film of adhesive back across clean boards.
Save metal tools for nothing at all, if you can. A metal scraper or chisel in tired hands will gouge soft old boards in a second, and those scars telegraph through any new finish. If an edge of thick glue will not lift, soften it again rather than prising harder. The careful, grain-aware approach here mirrors the respect for timber you will see in these bedroom interior ideas for tiny houses, where original boards are treated as a feature worth keeping rather than a problem to hide. When in doubt, less pressure and more softening is always the right trade.
6. Deal With Thick Ridges, Edges and Corners
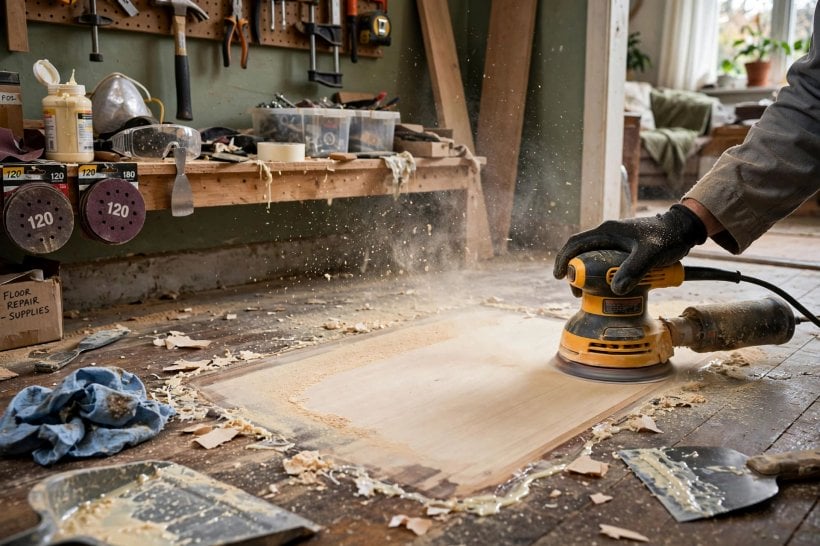
Glue is rarely spread evenly. Expect thick ridges where sheets overlapped or were pressed down hardest, stubborn lines along the edges of the room, and fiddly residue in corners and around door frames. Thick ridges respond best to repeated cycles: soften, scrape the top layer away, soften the newly exposed layer, and scrape again, rather than one deep attempt that risks the wood beneath. A narrower plastic scraper gives you control in corners, and an old toothbrush or stiff brush helps work warm water into textured residue that a flat blade cannot reach.
Around skirting boards and thresholds, slow down further and protect adjacent surfaces with a piece of card or low-tack tape. Residue often hides in the shadow line where floor meets wall, so run a fingertip — gloved — along the edge when you think you are finished; your hand will find tacky spots your eyes missed. Doorways deserve a final check too, because a thin ridge left there will collect dirt and show as a dark line within weeks. Treat these edges as the detail work of the project: unglamorous, time-consuming, and the difference between a floor that looks rescued and one that merely looks improved.
7. Clean Off the Remaining Film and Tackiness
Once the bulk of the glue has lifted, most floors still carry a thin, tacky film that grabs dust and leaves footprints looking grubby. Wash the surface with warm water and a very small amount of mild washing-up liquid, using a well-wrung cloth rather than a soaking mop, and rinse with a second cloth dampened in clean water. Work in sections and dry as you go, so you can see which areas are truly clean and which need another gentle pass. A soft brush helps along board joints where residue settles, but keep even here to a light touch.
If a commercial adhesive remover seems necessary for a persistent film, choose carefully, read the label fully, and avoid harsh solvents on old finishes, which can soften, cloud or strip the very coating you hope to preserve. Test any product in your hidden spot first, ventilate the room well, and follow the maker’s guidance rather than improvising. The same restraint applies in other wet, hard-working rooms, as these bathroom interior design ideas underline: gentle products, tested first, protect finishes that stronger chemicals would quietly ruin. When the cloth comes away clean and the floor no longer feels sticky under a dry palm, you are ready to inspect your work honestly.
8. Inspect, Dry and Prepare the Boards
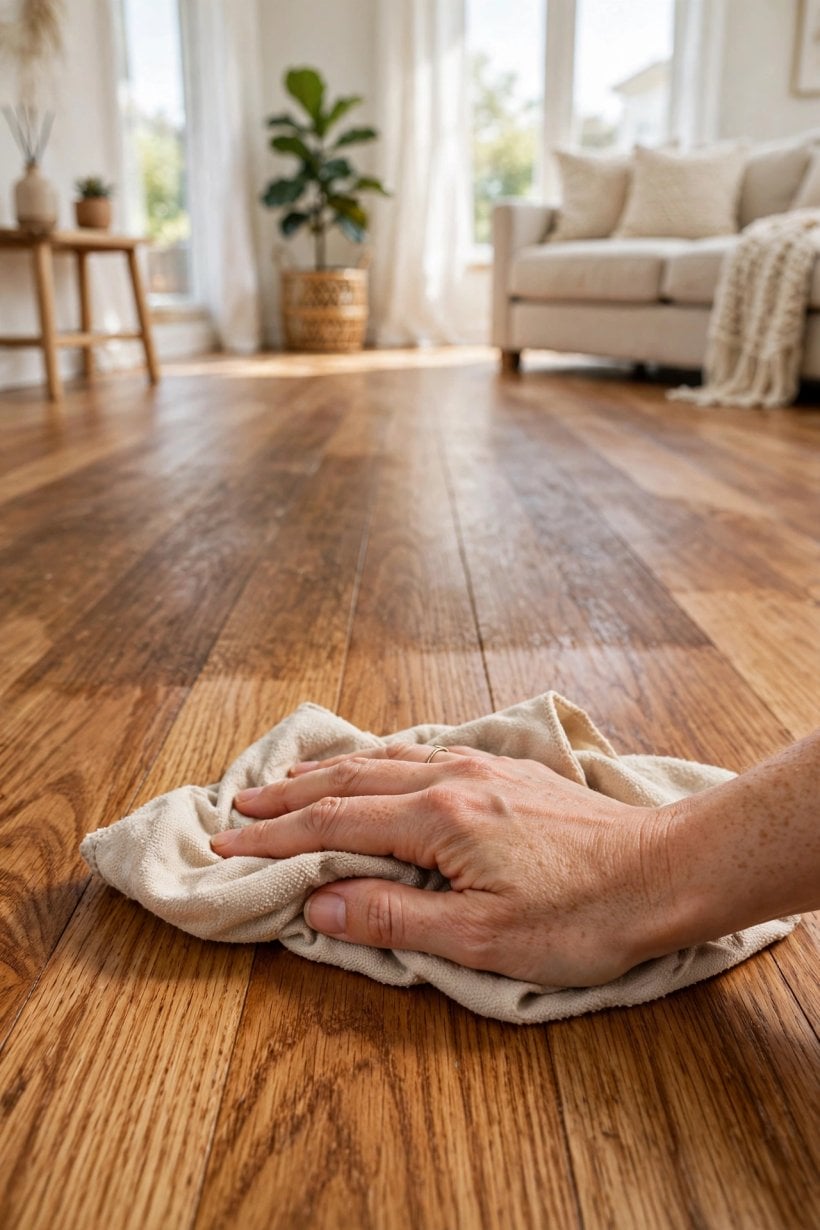
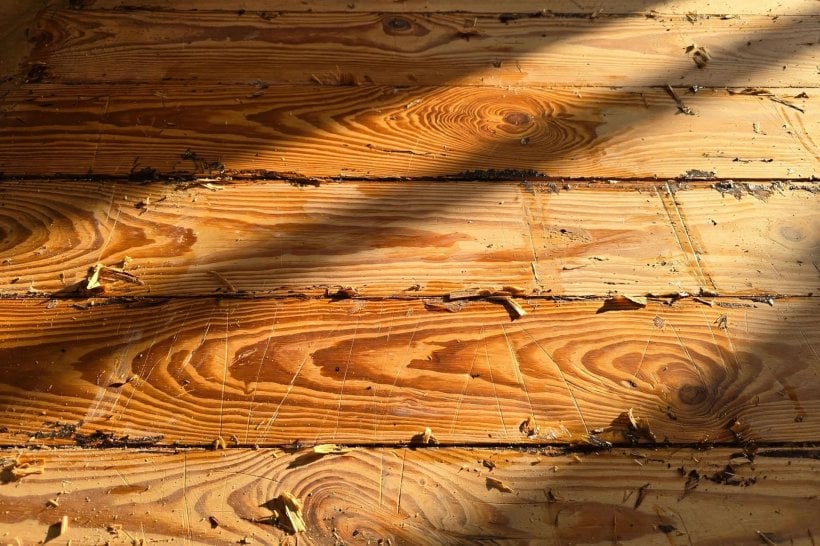
Good light is your best inspection tool. Look across the floor at a low angle, ideally with daylight coming from the side, and remaining patches of glue will show as dull or slightly raised areas among the cleaner boards. Run your hand slowly over the surface as well; tackiness is often easier to feel than to see. Mark any problem spots with a small piece of low-tack tape, then treat just those areas again with the soften-and-scrape routine rather than redoing the whole room. Expect one extra round on the worst patches — that is normal, not a failure of technique.
Then let the floor dry thoroughly before deciding what comes next. Wood that has been worked with warm compresses needs time for moisture to leave the surface, and judging colour or finish on damp boards is misleading: patches that look alarming while damp often settle as they dry. Once dry, you can see the true condition of the finish. Some floors need nothing more than a careful clean and a feed or polish suited to their existing finish; others reveal worn areas that would benefit from professional sanding and refinishing advice. Decide based on the dry floor in front of you, not the wet one you remember.
9. Care for the Wood After the Glue Is Gone

Freshly rescued boards deserve a gentle routine while they settle back into service. Sweep or vacuum with a soft brush head to lift grit before it scratches, and use a barely damp mop for routine cleaning rather than soaking the floor. Place felt pads under furniture legs, lift rather than drag heavy pieces, and keep a mat at the door to catch the grit that does the most damage. If parts of the original finish look tired, a product made for that finish type, tested first in a hidden area, can even out the appearance without committing you to a full refinish.
Hold off on heavy rugs for a little while if you can, so you can keep an eye on the surface and catch any late-appearing tacky spots early. Households that enjoy maintaining older features, like those browsing these gift shop interior design ideas for display inspiration, know that rescued materials repay modest, regular care far better than occasional drastic treatment. Note what worked on your floor — which method softened your glue, and how long it took — and keep that note with your household paperwork. If another room hides the same surprise under its flooring, you will be glad of the record.
10. When To Stop and Call a Professional
Knowing when to stop is a skill in itself, and this project has clearer stop signals than most. Stop and get professional advice if you suspect pre-1980s, asbestos-era materials in the flooring or adhesive. Stop if boards are rotten, lifting, or far more damaged beneath the glue than the surface suggested, because structural repairs come before cosmetics. Stop if a large floor simply will not respond to water, gentle heat and patient scraping, since a professional with floor sanding equipment and experience of old finishes can often save in a day what would take a beginner a week of risky effort.
Asking for help is not giving up on the floor; it is protecting it. A good flooring specialist will assess the adhesive, the finish and the boards together, explain the options in plain terms, and tell you honestly if a full refinish is the sensible route. That wider, whole-project judgement is the same thinking behind guides like this one on how to build your own tiny house: some stages suit a careful beginner, and some are better handed to experience. Meanwhile, everything you have already done — the assessment, the testing, the careful notes — makes that professional conversation quicker, clearer and more useful.
Final Considerations
Work through how to remove linoleum glue from wood one patch at a time, and this job stays manageable: check the age of the materials first, test in a hidden spot first, soften with warm water and patience, scrape at a low angle with plastic tools, and avoid harsh solvents on old finishes throughout. If anything about the flooring suggests pre-1980s, asbestos-era materials, stop and get professional advice rather than pressing on. The reward for that restraint is considerable — sound, characterful boards brought back into use, cleaned without gouges or chemical damage, and ready for years more service. Take photographs as you go, keep your notes, and let the floor dry fully before you judge the result. Rescued slowly and carefully, an old wood floor is very often the best feature in the room.


0 Comments