

One fence, two good sides. The shadow box fence is the rare boundary that looks just as handsome from your neighbour’s garden as it does from yours — no “bad side”, no arguments, and privacy that still lets the breeze through.
This guide explains how a shadow box fence is built, the layouts and board patterns worth considering, the woods and finishes that suit it, and the costs and upkeep to plan for.
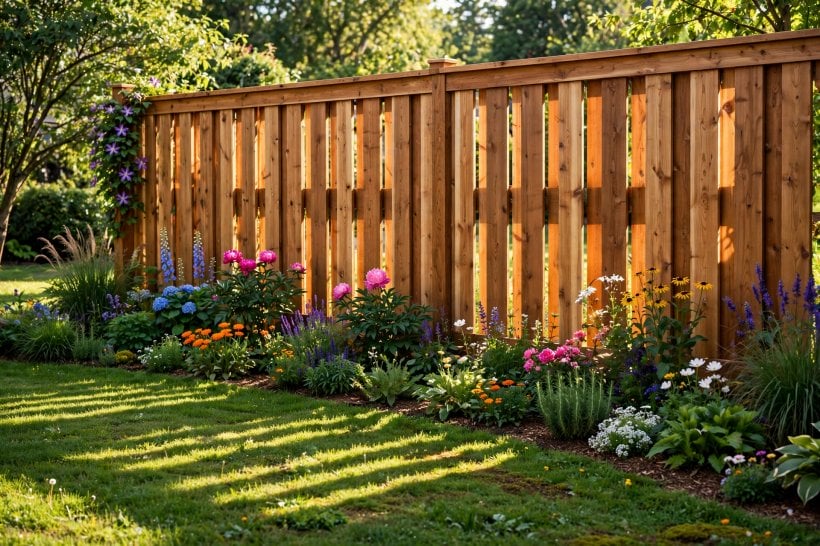
1. Shadow Box Fences at a Glance
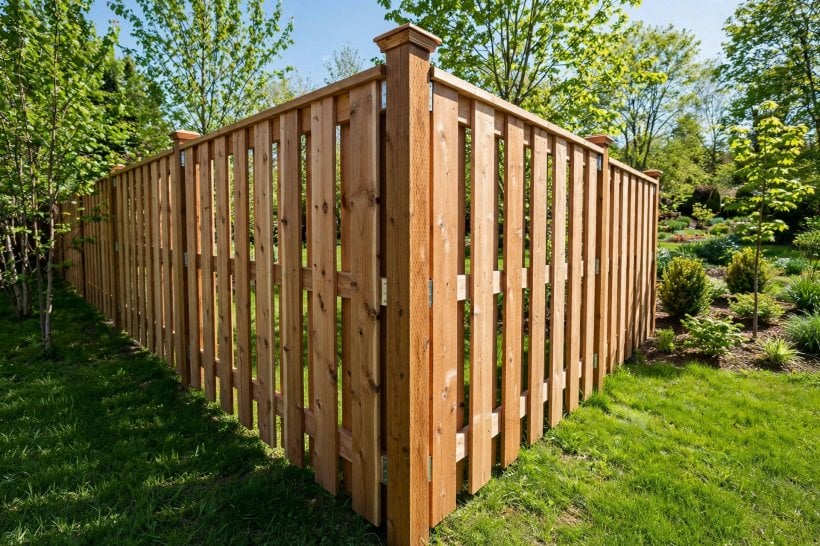
A shadow box fence is a wooden privacy fence built by alternating vertical boards on opposite sides of horizontal rails, so each board overlaps the gap between the two boards facing it. That single construction choice is the entity’s defining attribute: it produces a fence that is finished on both faces, blocks direct sight lines at eye level, yet leaves angled gaps that pass air and dappled light — the shadow effect that gives the style its name. Everything below follows from that overlap: layout, privacy, wind behaviour, materials, gates and maintenance.
| What makes it a shadow box? | Boards alternate front and back of the rails with a deliberate overlap, so the fence reads as solid from straight on but breathes at an angle. |
| Is it fully private? | At eye level and head-on, yes. At a low angle you can glimpse through the angled gaps — most owners count that as a feature, not a flaw. |
| Why is it called neighbour-friendly? | Both sides present the same board-and-rail face, so neither household gets the unsightly back of the fence. |
| How does it handle wind? | Better than a solid stockade panel — the offset gaps bleed off pressure instead of catching the full gust like a sail. |
| What does it cost to run? | It uses more boards than a flat privacy fence, so materials run higher; upkeep is the usual wood-fence cycle of cleaning, sealing and the odd board swap. |
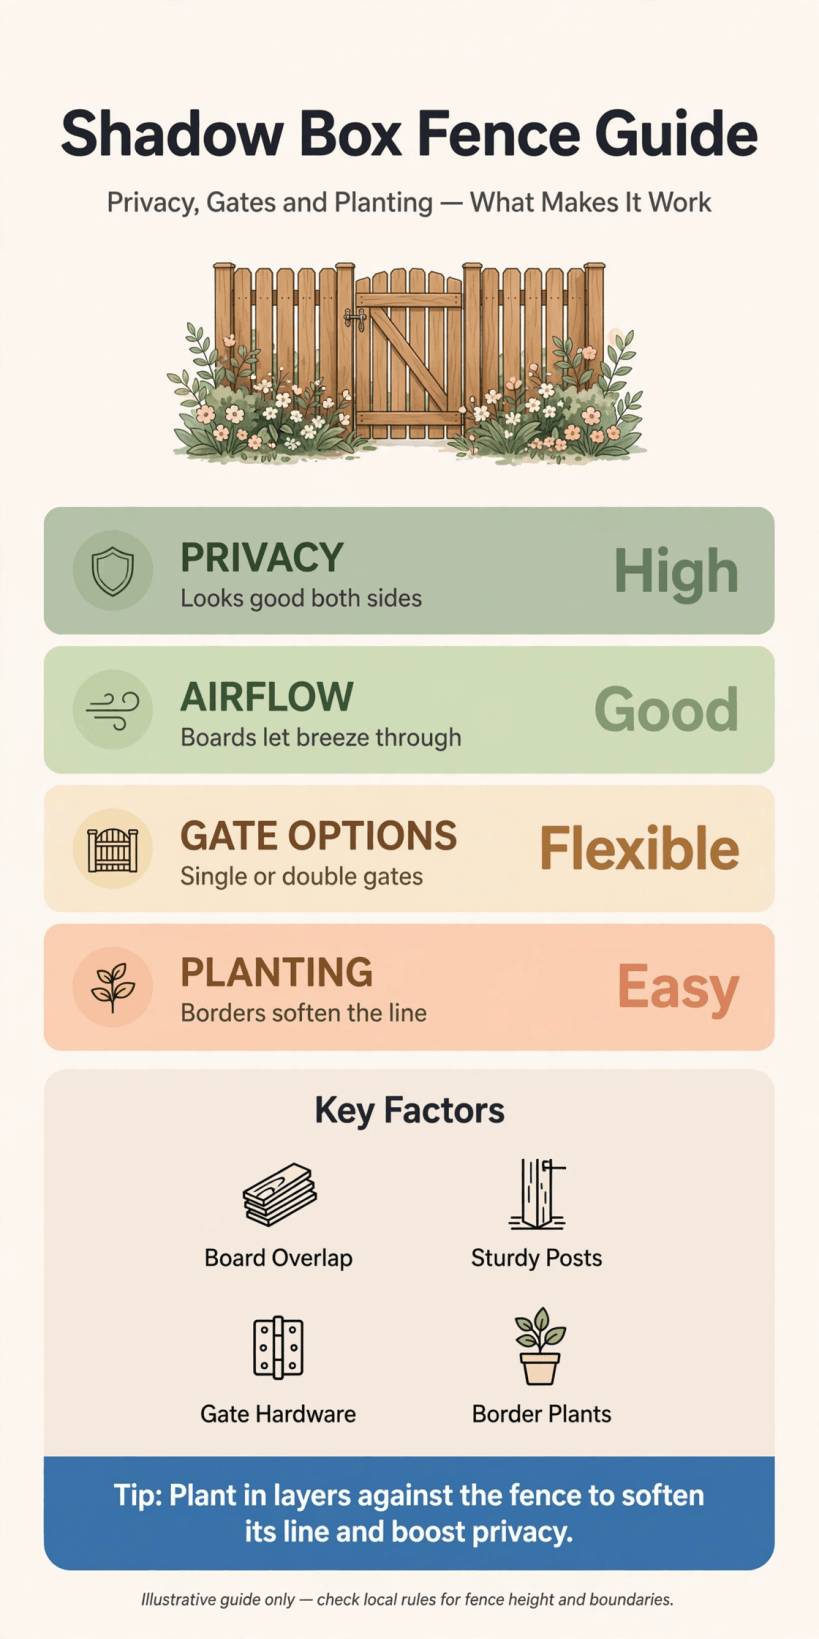
At a glance: alternating boards, overlapped on two rail faces — privacy with airflow, and a finished face on both sides of the line.
2. How a Shadow Box Fence Is Built
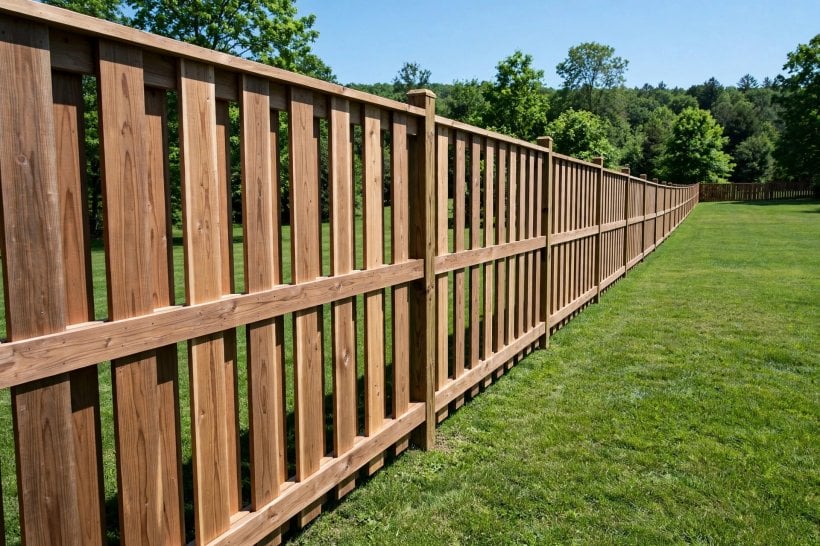
The structure is a conventional post-and-rail fence with an unconventional board pattern. Posts are set in a straight line at regular intervals, two or three horizontal rails run between them, and then the boards go on in two passes: the first pass fixes boards to one face of the rails with gaps between them, and the second pass fixes boards to the opposite face, each one centred over a gap from the first pass. The overlap is what closes the sight line. If the second-pass boards are too narrow or the first-pass gaps too wide, the fence leaks views; if the overlap is generous, the fence reads solid while still passing air.
That two-pass construction is why the style rewards careful setting-out. The posts must be plumb and the rails level, because any wander shows twice — once in each board layer. It is also why both faces look “finished”: each side shows boards against rails in the same rhythm, rather than one side showing boards and the other showing the skeleton. Garden boundaries built this way sit comfortably alongside the structured planting in these tiny house landscaping ideas, where the fence is part of the design rather than an apology at the edge of it.
3. Layouts and Board Patterns
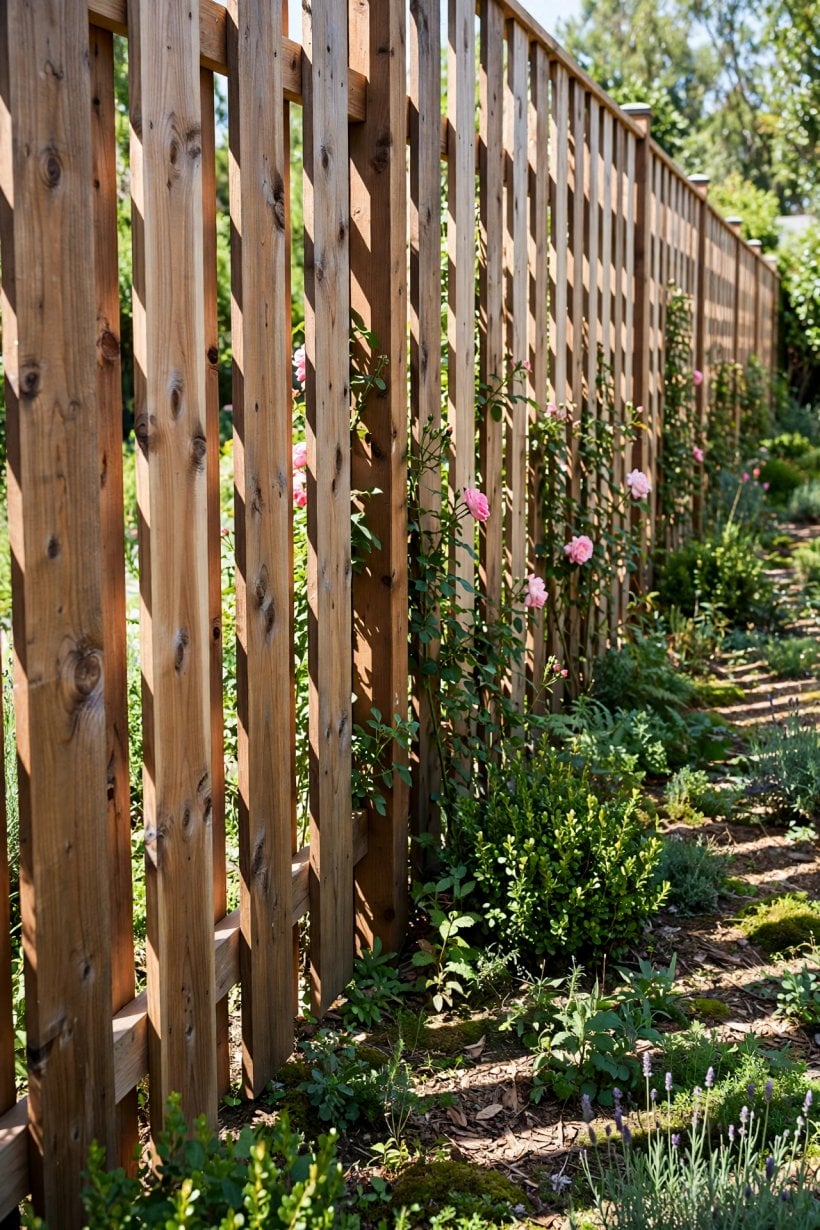
The classic layout is vertical boards with a flat top line, but the pattern takes variations well. A dog-ear top — each board’s corners clipped at an angle — softens the run and sheds water off the board ends. A cap rail laid flat along the top protects end grain and gives the fence a finished, almost furniture-like edge; it is the single detail that most lifts the style. Scalloped or arched top lines, where board heights rise and fall gently between posts, suit front gardens and cottage settings, though they complicate the overlap and are best kept to short runs.
Horizontal shadow box layouts exist too, with boards alternating above and below horizontal battens, and they read strikingly modern — but they are harder to keep private at eye level and harder to build true, so most installers steer household fences to the vertical pattern. Stepped layouts follow sloping ground in level panels that drop at each post; racked layouts angle the rails so the top follows the slope. On a gradient, stepping is usually the neater answer for this style, because the board overlap stays consistent within each bay. Whichever layout you choose, mock up one bay first and look through it at standing and crouching height — the overlap geometry is much easier to judge in timber than on paper.
4. Heights, Spacing and How Private It Really Is
Household shadow box fences are most often built around head height and above — tall enough that a standing adult cannot see over — but the right height is set by three things: local rules on boundary fences, which commonly differ for front and back gardens; the slope of the ground, which can make a compliant fence effectively taller or shorter on the neighbour’s side; and what you are actually screening. A fence meant to hide a seating area from one upstairs window needs its height checked from that window, not from the patio.
Privacy in this style is directional. Looked at square-on, the overlap closes the view completely. Walk along it at an angle and the angled slots open slightly — enough for light and air, rarely enough to identify more than movement. Planting in front of the fence closes even that: a staggered row of shrubs on your side turns the angled glimpse into foliage. If absolute visual sealing matters — screening a hot tub, for instance — a shadow box may not be the right pattern, and a board-on-board fence, which overlaps boards on the same face, closes the angle completely at the price of a plainer back side and more wind load. Judging the trade-off from your own garden, at your own angles, is the honest way to choose, and the same sight-line thinking runs through these backyard landscaping ideas: screen the view that exists, not the one in the catalogue.
5. Woods and Materials
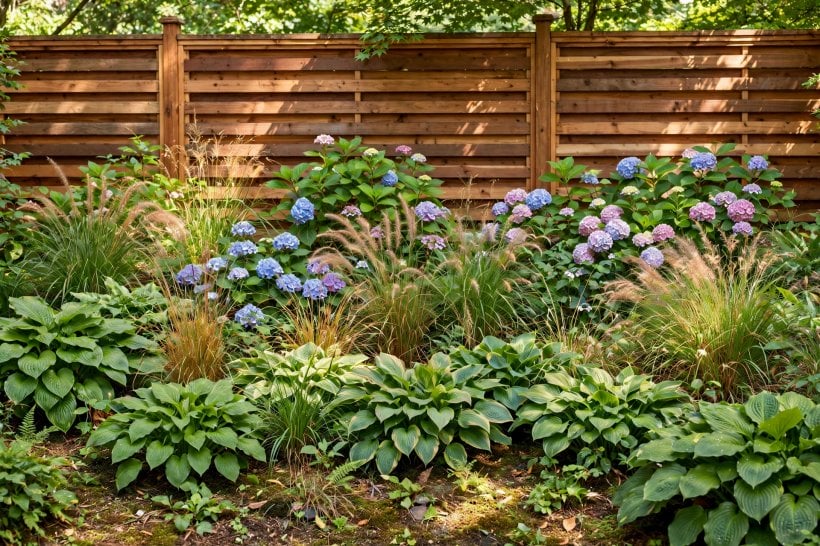
Pressure-treated softwood is the workhorse: affordable, widely available in the long, straight boards the pattern needs, and treated against rot and insects for ground-adjacent use. Its weaknesses are movement — treated boards can twist as they dry, which matters in a pattern built on consistent overlap — and a greenish tint that weathers to grey unless stained. Cedar is the upgrade most owners choose when the budget allows: naturally rot-resistant, stable, light to handle, and a warm colour that suits the style’s shadow play. It costs more per board, and this pattern uses a lot of boards, so the premium is real.
Redwood, where it is regionally available, behaves much like cedar at a similar premium. Composite and vinyl shadow box kits exist, trading wood’s warmth and repairability for very low maintenance; they suit owners who never want to stain again, though individual damaged boards can be harder to match and replace than timber. Posts deserve separate thought: they carry the whole structure and sit in the ground, so use the best ground-rated timber you can, set them on gravel for drainage, and consider post caps — the end grain at the top of a post is where water starts its slow work. The material logic mirrors the choices in these tiny house siding options: cedar, treated softwood and composite each win on a different attribute, and the right answer depends on which attribute your household values most.
6. Colours, Stains and Finishes
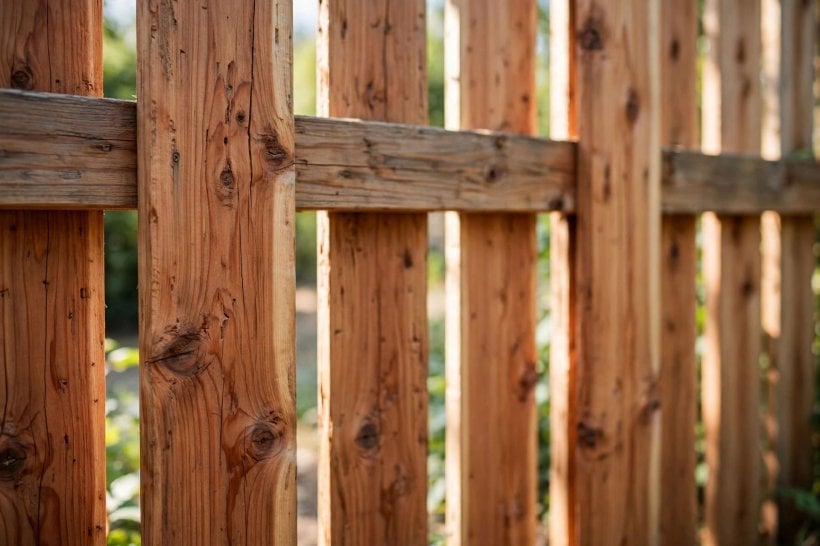
Untreated cedar and treated pine both weather to a silvery grey, which many gardeners love and which costs nothing to maintain — but the colour change is uneven in a shadow box, because the overlapped boards shade each other and weather at different rates. A penetrating stain evens the tone, feeds the timber and slows the checking and splitting that sun causes; clear and lightly tinted finishes keep the wood character, while deeper walnut, charcoal and near-black stains make the fence recede behind planting and look strikingly contemporary. Solid-colour paints give the crispest finish and the widest colour range, but paint films on exterior boards eventually peel and demand the most preparation to renew — most fence painters steer owners to stain for exactly that reason.
Whatever finish you choose, apply it to all faces of a board if you can — the pattern’s inner faces are visible through the angled gaps, and a board finished on one side only shows its raw face at every angle. Timing matters too: new treated timber usually needs to dry out before it takes stain evenly, and testing your colour on an offcut, viewed morning and evening, prevents the classic mistake of a fence that reads orange in real light. The stain-versus-paint trade-offs are the same ones weighed in this guide to paint vs stain for exterior wood, and the maintenance reality it describes applies board for board here.
7. Gates, Corners and Finishing Details
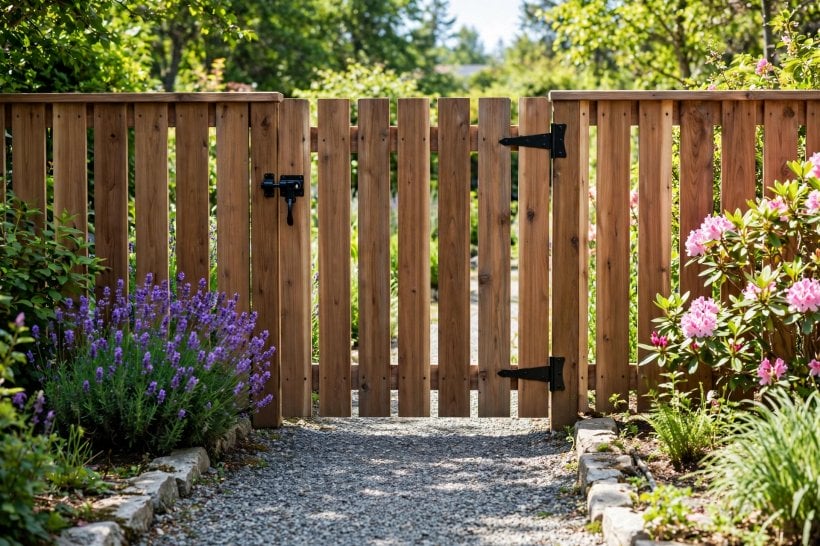
A shadow box gate should repeat the fence’s own pattern so the opening disappears into the run: same boards, same alternation, built on a rigid frame with diagonal bracing so it cannot sag into a parallelogram. Gates are where this style is most often botched — a framed gate is heavier than a single-face gate because it carries boards on both sides, so hinges and posts must be sized for the weight, and the gate post should be the stoutest on the run. Latches that operate from both sides suit a fence both households use.
Corners and ends want the same care. A corner post wrapped by boards from both directions keeps the pattern continuous; a run that simply stops shows its layered edge, which can be trimmed with a vertical cover board for a clean finish. Transitions — where the fence meets the house, a wall or a change of height — are the other tell of a thoughtful build: a short angled or stepped section reads deliberate, while a ragged gap invites both draughts and dogs. Kick boards along the bottom, sitting just above the soil, protect board ends from strimmer damage and standing water, and are cheap insurance on any timber fence. Hardware finishes follow the house: black iron-look hinges and latches are the safe classic, and they pair with the exterior detailing principles in these exterior trim material comparisons — consistency of finish is what makes separate elements read as one design.
8. Shadow Box vs Other Fence Styles
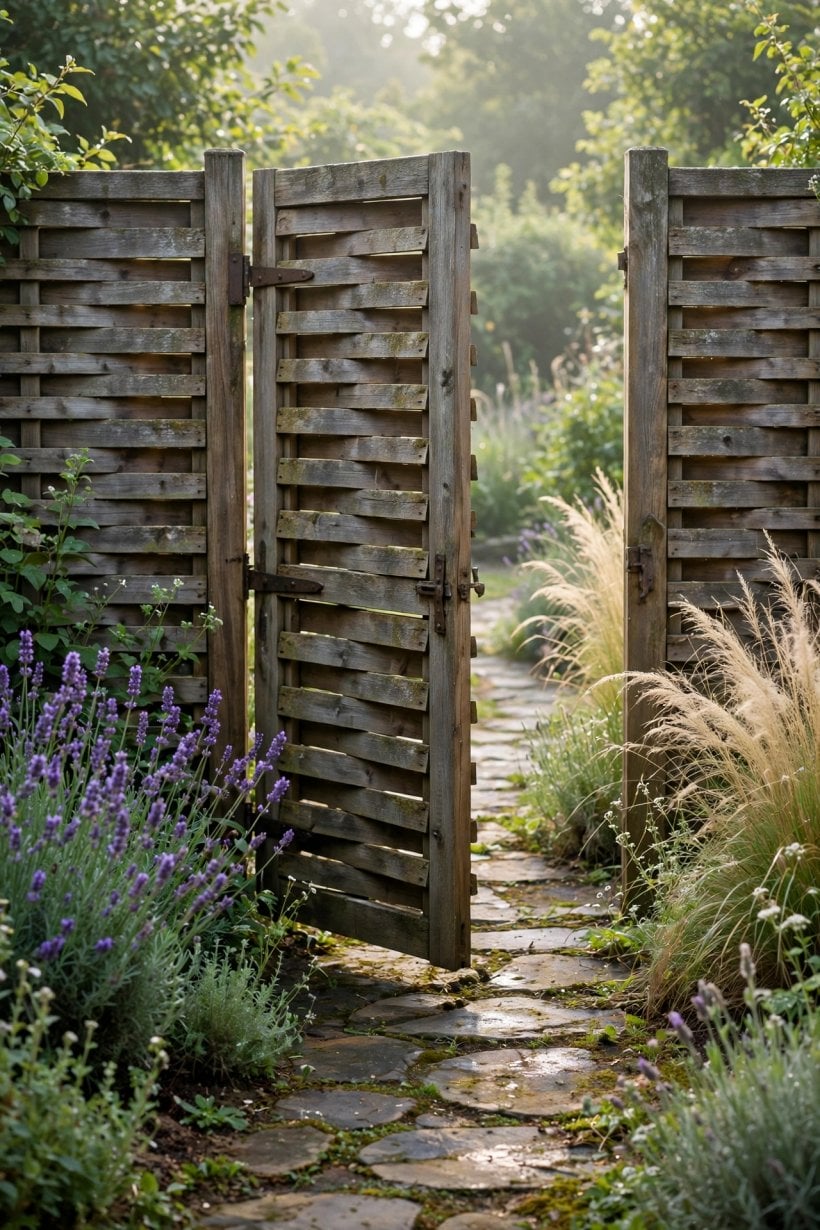
Against a stockade or close-board fence — boards butted edge to edge on one face — the shadow box wins on looks from the far side and on wind behaviour, and loses on material count and build time: expect roughly half as many boards again, and two passes to hang them. Against board-on-board, which overlaps boards on the same face for total privacy, the shadow box wins on symmetry and airflow and loses on absolute screening. Against a lattice-top or picket fence, it wins on privacy outright and loses on openness and light to the garden behind it. Against horizontal modern slat fences, it wins on traditional character and on hiding its fixings, and roughly ties on cost once the extra boards are counted.
The verdict most owners reach: choose the shadow box when the fence will be seen from both sides — shared boundaries, fences visible from the street, or a garden you view from inside the house as much as outside — and when you want privacy that does not feel like a wall. Choose a simpler pattern when the back of the fence will never be seen, when the budget is tight, or when total visual sealing is the whole point. It is the same attribute-by-attribute reasoning that shapes the choices in these front yard landscaping ideas: no style wins everything, so pick the one that wins what your plot actually needs.
9. Installation: Posts, Rails and Boards
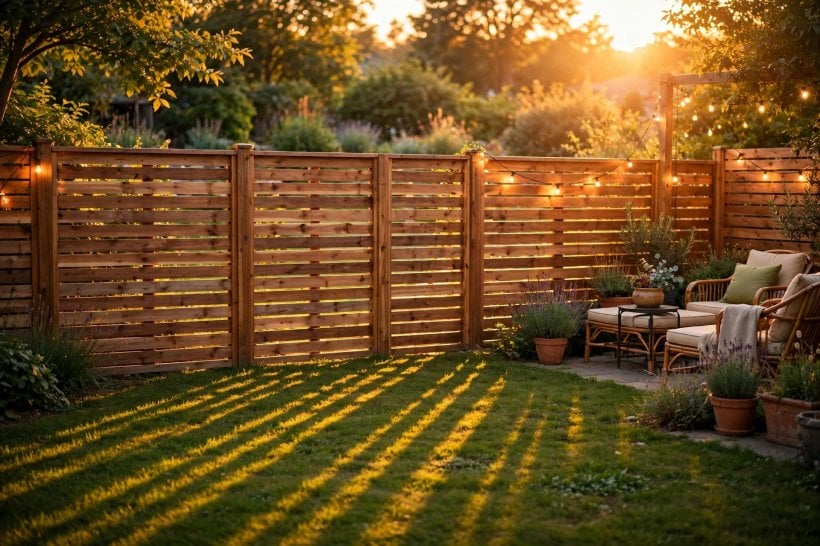
The build sequence is unforgiving in one specific way: errors compound. Check the boundary line and any rules or neighbour agreements first — a beautiful fence on the wrong line is a dispute with a finish on it. Set the posts plumb, at even spacing, in holes deep enough to hold the fence’s considerable wind area, with gravel at the base and concrete or compacted fill around them; the posts are the one part of the job that cannot be adjusted later, so they earn the slowest hour of the build. Fix rails level between posts, then hang the first board pass with consistent gaps — a spacer block cut to your gap width keeps the rhythm honest — and the second pass centred over those gaps with a consistent overlap.
Work in full bays and check sight lines as you go: crouch, stand, and look along the fence at an angle after each bay, because the overlap either closes or it doesn’t, and fixing it means moving boards while fixings are still fresh. Use exterior-rated screws or ring-shank nails that will not stain the timber, and leave a small gap between board ends and the ground or kick board so water is never trapped against end grain. Confident DIYers build this fence routinely; the honest cautions are its weight, its board count, and the setting-out discipline it demands. If your run is long, your ground slopes, or your boundary is disputed, a professional install prices in the posts and the pattern staying true — and on a fence designed to be looked at from both sides, “true” is visible from everywhere.
10. Costs and Maintenance
Costs follow the pattern’s appetite: more boards than a flat fence of the same height, two passes of labour, and posts and rails of standard spec. The big variables are timber choice — treated softwood at one end, cedar at the other — fence height and total length, the number of gates, and ground conditions for the post holes. Professional quotes should itemise posts, rails, boards and gates separately; if a quote for a shadow box comes in at flat-fence money, ask which attribute was quietly dropped, because something was. DIY shifts the cost to materials and time, with the board count the figure to measure twice before ordering.
Maintenance is the standard timber rhythm with one addition. Wash or brush down the boards as needed, renew stain or finish on the cycle your product and climate dictate, and walk the line yearly looking for the specific shadow box issues: a board that has twisted enough to open the sight line, fixings working loose where the two layers move differently, and vegetation forcing the layers apart. Individual boards swap out easily — an advantage of the pattern’s screwed, layered construction — so keep a few spare boards from the original batch, already finished, and repairs disappear into the run. Looked after this way, a shadow box fence is a decades-long boundary, and its two good faces keep the peace on both sides of it — much as the structures in these garden shed ideas earn their place by being considered from every angle, not just the owner’s.
Final Considerations
The shadow box fence is a compromise that behaves like a luxury: privacy that breathes, a finished face for both households, and wind behaviour a solid panel cannot match. Its costs are honest ones — more boards, more care in the setting-out, and privacy that is directional rather than absolute.
Choose it when both sides of your boundary are on show and you want the fence to be part of the garden’s design. Build one true bay first, check the sight lines at every height and angle, and the rest of the run is simply repetition.


0 Comments