

A glued-down laminate top rarely fights you because it is strong. It fights you because one hidden screw, one uncut bead of sealant or one rushed pry is enough to split a cabinet side or crack the substrate you were hoping to reuse.
Work in order — diagnose, disconnect, unfasten, soften, then lift — and the top comes away in sections while the cabinets underneath stay square, level and ready for whatever surface comes next.
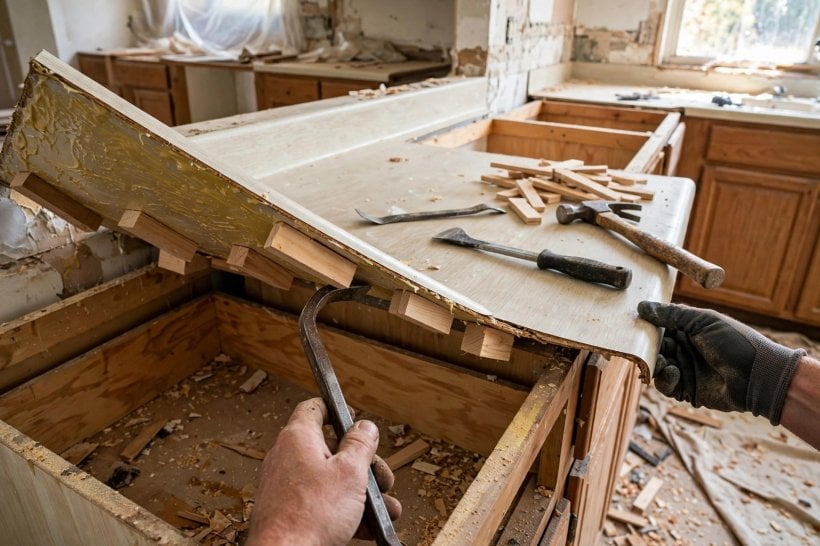
1. Removing Laminate Countertops at a Glance
A laminate countertop is a thin decorative sheet bonded to a particleboard or plywood substrate, and that assembly is then fixed to the cabinets below it — mechanically, with adhesive, or with both. Learning how to remove laminate countertops safely therefore means defeating two separate attachments in the right order: first the fixings you can release cleanly, such as screws and sealant, and only then the glue line, softened and separated gradually so the force never travels into the cabinet frames, faces or corner joints beneath.
| What holds the top down? | Usually screws driven up through corner blocks or rails inside the cabinets, construction adhesive along the cabinet tops, or a combination of both — plus sealant at every wall and sink edge. |
| What must happen first? | Shut off the water, disconnect the plumbing and appliances, and remove the sink and faucet before any lifting begins. |
| What releases the glue? | Patience, gentle heat to soften the adhesive, and wide putty knives and shims worked slowly along the glue line — never a single hard pry in one spot. |
| What gets damaged most often? | Cabinet faces levered against during prying, substrates cracked by lifting from one end, and cabinet sides split by a screw run nobody found. |
| When should you stop and call a pro? | If gas or electrical work is involved, the top is unusually heavy, or opening things up reveals structural or extensive water damage. |
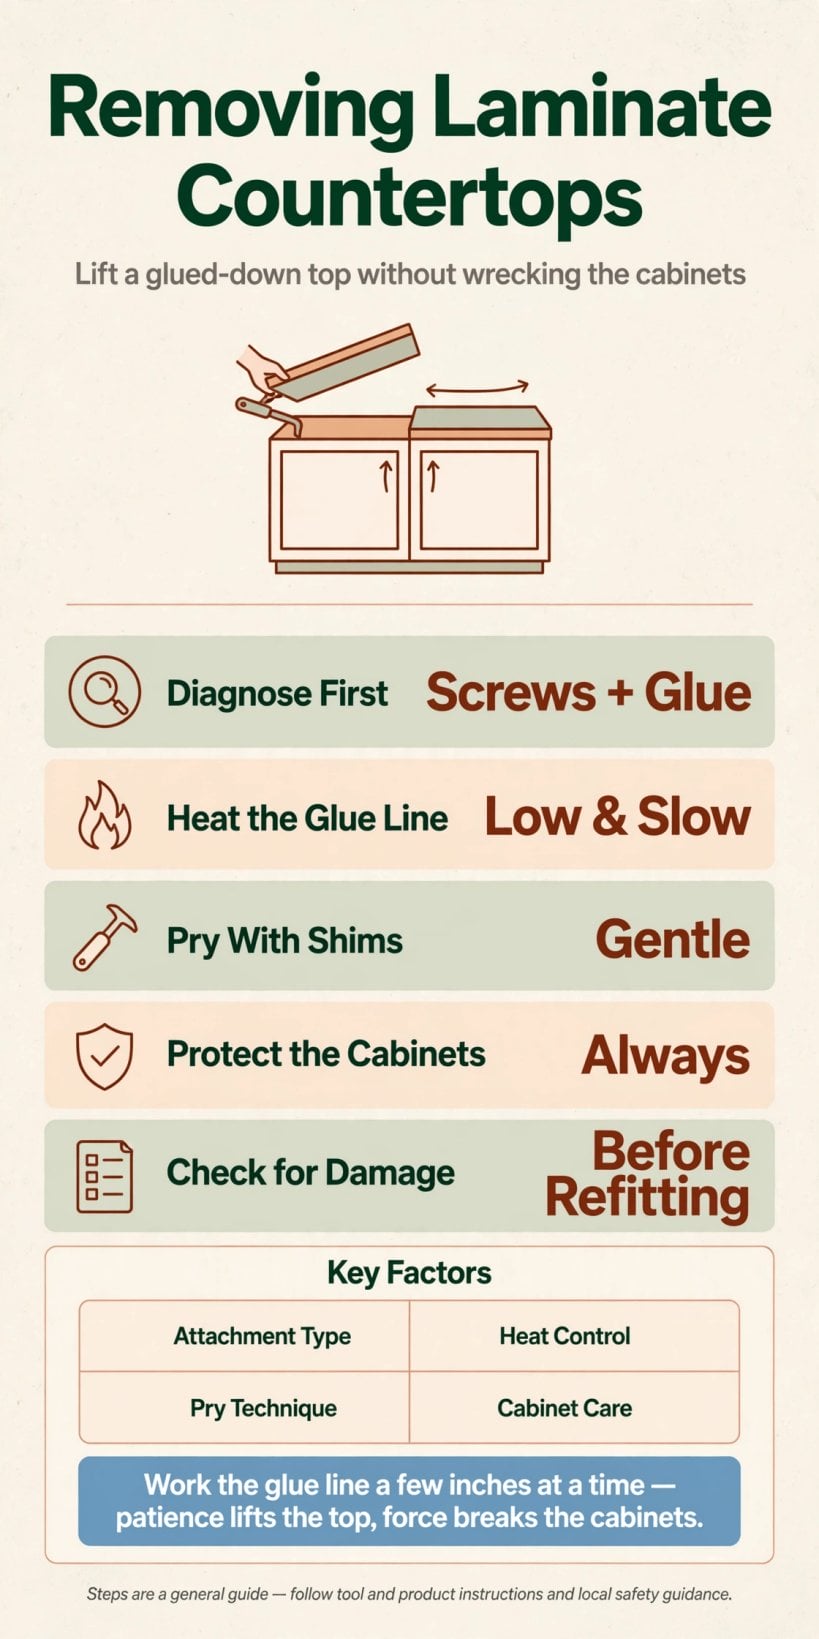
At a glance: release every mechanical fixing first, soften the glue line second, and lift last — in sections, with the load shared, so the cabinets never take the strain.
2. Diagnose How the Top Is Attached
Do not pick up a pry bar until you know exactly what is holding the top down. Empty every base cabinet, remove the drawers, and get inside with a torch and your phone camera. Look up at the underside of the top and study the fixing pattern cabinet by cabinet, because installers often mixed methods along a single run — screws at the ends, adhesive in the middle, and an extra bracket wherever a joint needed help.
Step 1: Look for Screws Through Corner Blocks
The most common fixing is a screw driven upward through a corner block — a small triangular or square block glued and stapled in the top corner of the cabinet — or through a horizontal mounting rail. Run your hand along the top inside edge of each cabinet and note every screw head you find. Mark each position on masking tape stuck to the top surface above it, so later you can confirm every single one has been removed before you apply any lifting force at all.
Step 2: Test for Adhesive-Only Fixing
Some tops sit on beads of construction adhesive or silicone alone, with no screws at all. If a cabinet has no corner blocks and no screw heads, assume adhesive. A gentle upward push on an overhanging edge — hand pressure only — tells you a lot: a screwed top feels dead rigid everywhere, while an adhesive-only top may flex or creak very slightly at a corner. Note which cabinets fall into which category on a simple sketch of the run.
Step 3: Check the Seams, Joints and Edges
Finally, map the top itself. Find every mitred corner joint, every butt seam, and the backsplash arrangement — a separate applied strip, or laminate wrapped up the wall as one piece. Note where the top meets appliances, tall units and walls, and where sealant lines run. This map decides your lifting sequence later, and it is the same kind of measure-twice thinking that good layouts in these tiny house kitchen floor plans rely on: in a small kitchen, every piece connects to two others, and the order you free them in matters.
3. Tools, Materials and Preparation
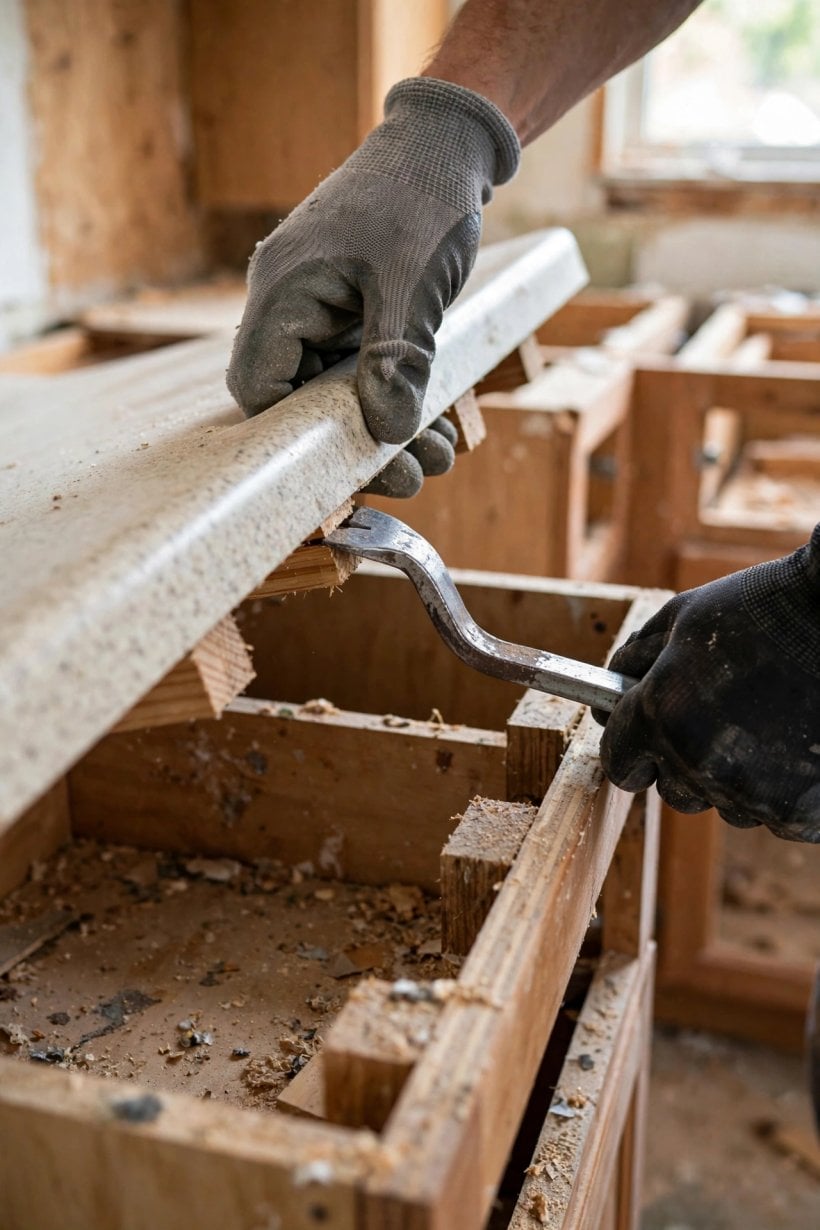
Gather everything before you start, because the middle of a lift is the wrong moment to discover a missing shim. You will need, qualitatively: a utility knife with spare blades for scoring sealant, wide flexible putty knives in a couple of widths for working the glue line, a flat pry bar for controlled leverage once the line is open, wooden or plastic shims to hold your progress, a hammer for tapping knives and shims gently, a screwdriver or driver with the bits your cabinet screws need, a heat gun for softening adhesive, work gloves and eye protection, masking tape and a marker for labelling, and drop cloths or old blankets to protect floors and cabinet faces.
Prepare the room as carefully as the tool kit. Clear the top completely, including anything stored in the sink cabinet. Protect the floor along the whole run — a dropped section of substrate is heavy, sharp-edged and unforgiving. Tape cardboard or blanket over the cabinet door and drawer fronts below your working area, because nearly every accidental scrape in this job lands on a face you intended to keep. Open a window or set up ventilation now rather than later, since you will need it for heat and any fumes once the glue line work begins. If the new surface is going onto these same cabinets, photograph the run from several angles too; the pictures are a useful record of levels, overhangs and gaps when you plan the replacement, much like the reference photos recommended throughout this tiny house kitchen design guide.
4. Disconnect Plumbing, Sink and Appliances
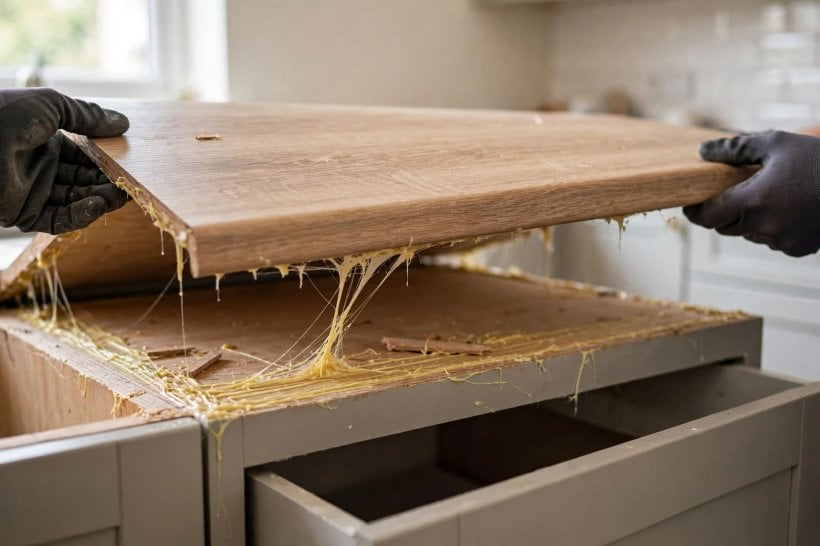
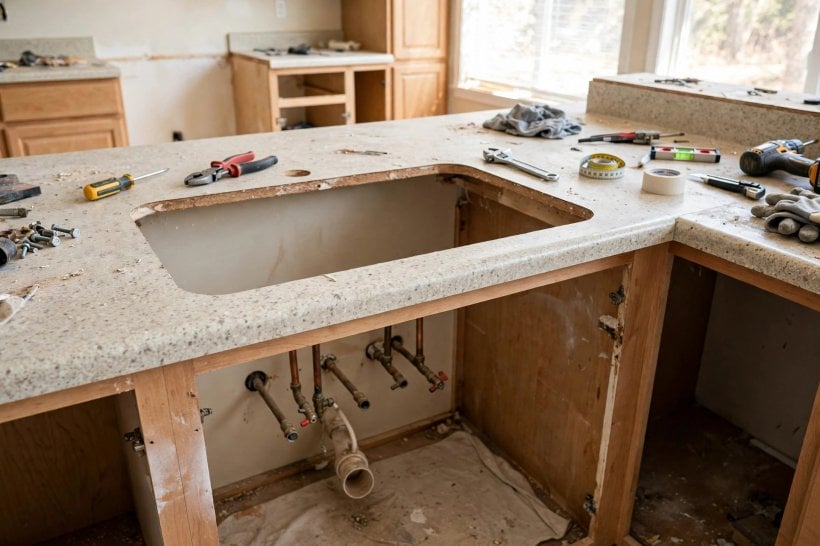
Nothing attached to the top can stay attached to anything else. Start with the water: close the shut-off valves under the sink, open the faucet to drain pressure, and disconnect the supply lines and the waste trap, keeping a bucket and old towels ready for the water that always remains in the trap. If there are no local shut-offs and you must close the main supply, do so — and if any part of the plumbing is corroded, seized or outside your confidence, that is a plumber’s task, not a persuasion task.
Next, free the sink itself. A drop-in sink is usually held by clips underneath and a bead of sealant at the rim; release the clips, cut the sealant, and lift the sink out once the faucet and any attached fittings are disconnected or removed with it. An undermount sink is supported from below and fixed to the underside of the top, so support it before releasing anything — it must never hang from its sealant alone. Lift the sink clear of the opening entirely rather than working around it; a sink left sitting in its cut-out will shift, bind and crack the surrounding laminate the moment the top moves.
Then deal with the appliances. Slide out a freestanding range or dishwasher far enough that the top clears it, or remove it from the run altogether. A slide-in cooktop set into the top must be disconnected and lifted out first — and if that disconnect involves a gas line, stop: gas work belongs to a qualified professional in almost every jurisdiction, full stop. The same caution applies to hard-wired electrical points in or under the top. Compact kitchens pack services tightly together, as the appliance sizing in these compact kitchen appliances for tiny houses shows, so allow extra time for disconnection in a small space and never assume a fitting is free until you have seen it move.
5. Remove Screws and Brackets From Below
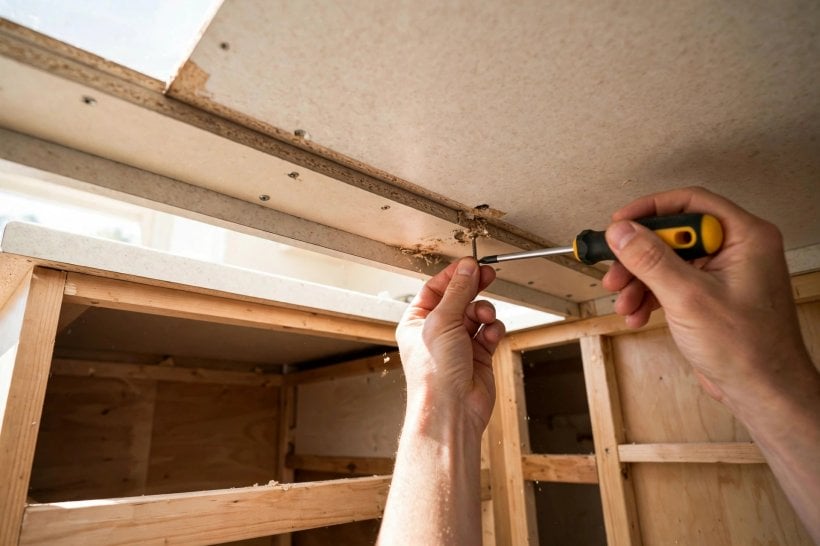
With the services disconnected, work through your taped map from Section 2 and remove every mechanical fixing. Get back inside the cabinets with the driver, support your arm comfortably — these screws are overhead, at arm’s length, and often painted over or partly corroded — and back each one out fully rather than loosening a few turns. Keep a magnetic tray or a pocket for the screws; a screw dropped inside a cabinet carcass has a talent for being forgotten, and a forgotten screw is exactly the one that tears a cabinet side apart during the lift.
Expect variety. Most screws pass through corner blocks or rails, but also look for L-brackets along the back rail, screws driven through the top drawer runner area, fixings hidden behind the false front panel under the sink, and brackets tying the top to a supporting end panel or a dishwasher fixing point. Dishwasher retaining brackets screwed up into the underside of the top are a classic missed fixing. So is the short screw run inside a narrow filler cabinet that nobody opens.
When your map says you are done, verify rather than trust. At each cabinet, press up firmly on the top from inside with the flat of your hand. A released section gives a fraction — a tiny movement or a change in sound. A section that feels cast in concrete still has a fixing, adhesive or both, and it goes back on the list. This check costs two minutes and prevents the single most common cabinet injury in the whole job: the split side panel caused by prying against one live screw.
6. Soften the Glue Line With Heat
Adhesive lets go far more willingly when it is warm and softened than when it is cold and brittle, and the difference decides whether the glue line separates cleanly or tears chunks out of the cabinet tops. Work on one cabinet-length section at a time. Using a heat gun on its low setting, warm the area just above the glue line — the edge banding and the first part of the underside you can reach — keeping the nozzle moving constantly in slow passes rather than holding it on one spot. The goal is a warmed, pliable bond, not heat for its own sake: overheating can scorch or blister the laminate, damage the cabinet finish below, and soften things you did not intend to soften.
The cautions here are general but non-negotiable. Heat and any solvent fumes involved in this kind of work need real ventilation — the window you opened during preparation, and a break outside if the air gets heavy. Keep the heat gun and its hot nozzle away from anything flammable: drop cloths, paper, cleaning products and the adhesive itself once it is exposed. Never leave a hot heat gun resting on the top or the floor; set it down only on a heatproof surface, or hold it. If you use any adhesive-softening product at any point, follow that product’s own instructions exactly rather than improvising, and keep its container closed and away from the heat work. Warm a section, test it with a putty knife, and only move on when the knife slides into the bond line with steady hand pressure rather than hammer blows.
7. Pry and Lift the Top in Sequence
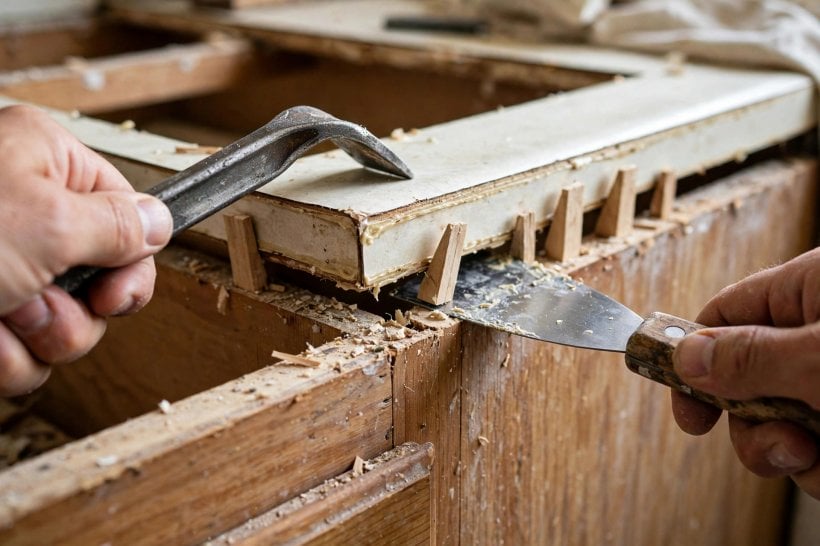
Now the actual separation — and the technique is width, not force. Start at the section you warmed, ideally at a free end or the front edge of a straight run. Slide a wide putty knife flat into the glue line between the underside of the top and the cabinet top edge, working it along with light taps if needed. Once the first knife is seated, insert a second one a short distance along, then tap a shim into the opened gap so the section cannot close back down. You are walking the bond apart, knife by knife and shim by shim, and each gain is small, held, and permanent.
Three rules protect the cabinets throughout. First, never pry against a cabinet face, door or drawer front: your leverage must always bear on the underside of the top or on a shim stack, never on finished cabinetry. A pry bar used directly against a frame edge will dent or split it long before a stubborn glue line yields. Second, spread the load: if one spot resists, add knives on either side of it and warm it again instead of prying harder at that spot. Third, keep the substrate supported as it frees — a long section released at one end but still bonded at the other will flex, and laminate substrate cracks across its width with very little warning once it is bending under its own weight.
As each section releases fully, lift it clear with two people wherever the length justifies it, one hand near each end, keeping the piece level as it comes up and away. Set sections down on a protected surface, laminate side up, well clear of the work area. Work along the run in sequence rather than hopping between spots, so the still-attached parts of the top are always the parts you have not yet stressed. In a compact galley layout — the kind of tight run common in the kitchens in this tiny house kitchen and small-space design guide — short sections and a helper in the doorway beat one heroic long lift every time.
8. Free the Backsplash and Mitred Corners
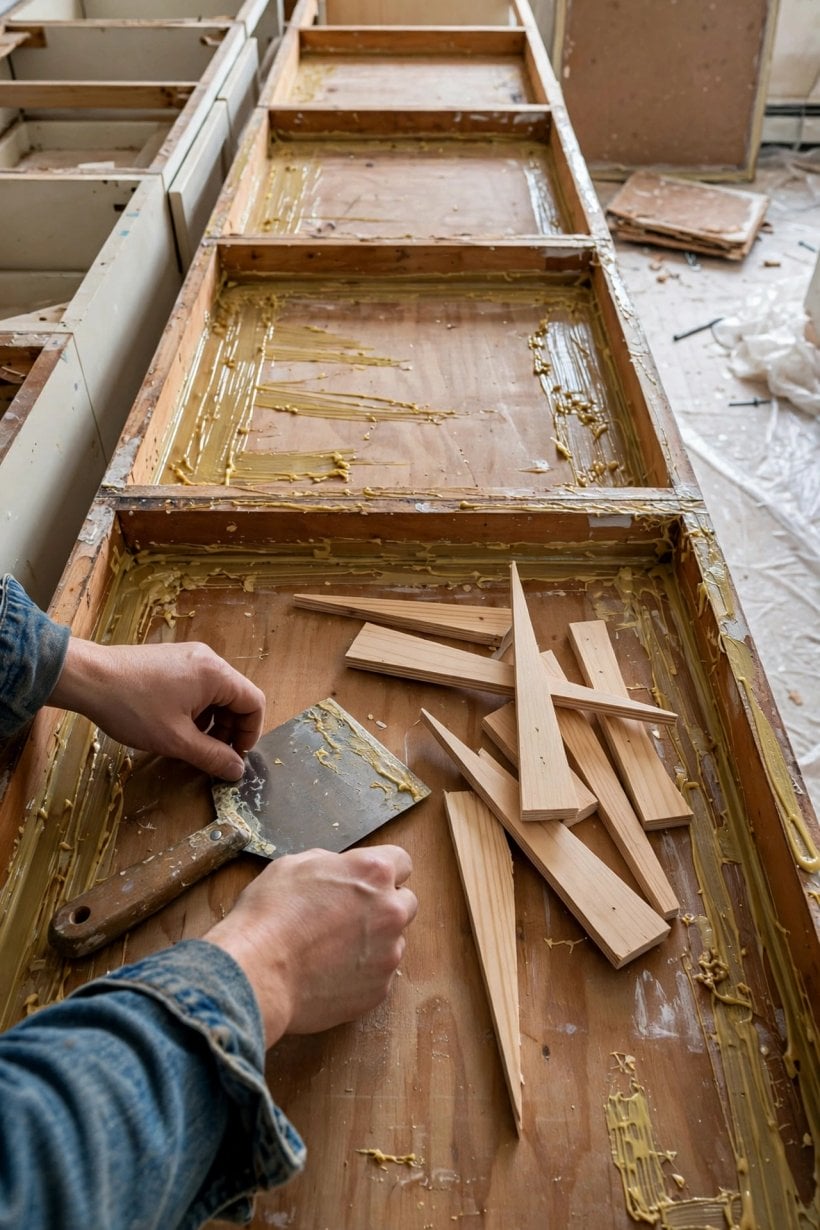
Backsplashes and corners are where tops refuse to leave, because they are attached in two directions at once. Deal with the backsplash first if it is a separate applied strip: score every sealant line along its top edge and at the wall with the utility knife, cutting fully through the bead rather than scratching it, then warm and work a putty knife behind it from one end, shimming as you go, until the strip releases from the wall. Expect paint and sometimes a whisper of plaster to come with it; that is a decorating repair, not damage, but a rushed pull can tear a much larger patch, so keep the same slow pace you used below.
If the backsplash is an integral upstand — the laminate and substrate rolled or joined up the wall as part of the top itself — it lifts with its section, which means the wall sealant must be completely cut along the whole length first, and the lift must come up and slightly forward so the upstand clears the wall rather than scraping up it. Have your helper watch the wall line and call a stop the moment anything binds.
Mitred corners need their own discipline. The two legs of a mitre are often joined underneath by bolts, plates or a glued seam, and the joint will not separate by lifting one leg alone — lift against a still-bolted mitre and the substrate cracks diagonally, usually into the leg you wanted to keep intact. Reach underneath, find and release any joining hardware, cut the sealant in the seam itself, and free both legs along their glue lines before attempting the corner. Then lift the corner section squarely, supporting both legs. Corner sections are the heaviest and the most awkward in the run, and in the generous L-shaped layouts shown in these tiny house kitchen ideas they are also the pieces most likely to be hiding an extra bracket at the angle — check for one before the lift, not during it.
9. Remove Residue, Inspect and Repair the Cabinets
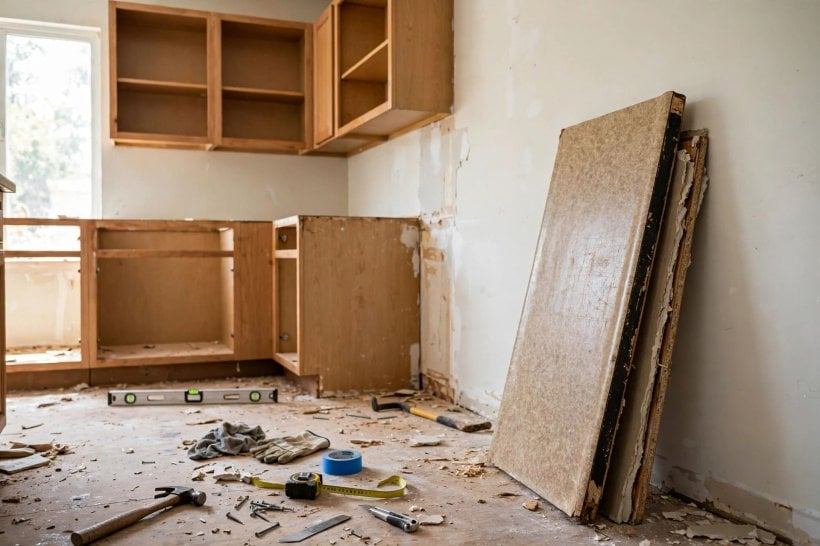
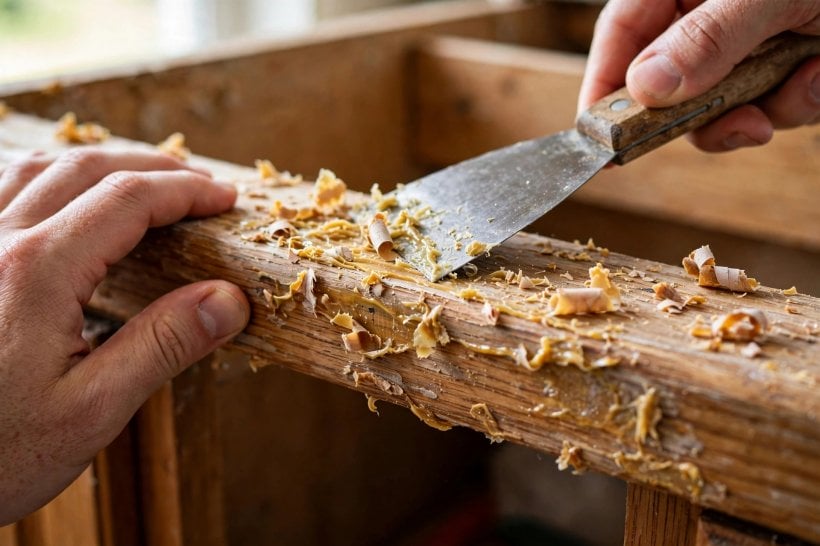
With the top off, the cabinet tops tell the truth about the kitchen’s last decade — and your new surface will only ever sit as well as this surface allows. Start with residue: scrape old adhesive beads and sealant from the cabinet top edges with a putty knife or scraper held at a low angle, working along the wood rather than digging into it. Stubborn patches yield to gentle warmth and patience. The aim is a flat, clean bearing surface along every rail and side panel, because a lump of old adhesive under a new top becomes a high spot, a rock, and eventually a crack in the new surface above it.
Then inspect, slowly, with the torch again. Water damage is the headline finding, especially around the sink cabinet: look for swollen, soft or crumbling particleboard, dark staining, delaminated rails and rusted fixings. Press suspect areas with a screwdriver tip — sound material resists, rotted material gives way like cork. Check, too, that the cabinets are still level and square along the run, that corner blocks are intact, and that no side panel split or screw tore out during the lift despite your care. Small findings are fixable now and expensive later: a softened rail can be cut out and replaced with sound timber, a split can be glued and clamped, a missing corner block can be remade. Extensive rot through a cabinet floor or side is a bigger conversation about repair versus replacement, best had before the new top is ordered — the planning mindset in these kitchen ideas for elevating your home’s style applies here too: the hidden structure decides how good the visible finish can be.
Finish by preparing for what comes next. Sweep and vacuum the cabinet tops and interiors, wipe the bearing surfaces clean, and confirm your level line one more time across the whole run, noting any shimming the new surface will need. Refit drawer boxes and doors you removed, but leave the sink cabinet empty and accessible — the new installation and reconnection will need the room.
10. Dispose of the Old Top, Avoid the Classic Mistakes and Know When to Call a Pro
Old laminate sections are bulky, heavier than they look, and edged with sharp laminate and exposed fixings. Cut long sections down to manageable lengths if needed — supporting the piece properly while you do — tape or remove protruding screws, and wrap sharp edges before carrying anything through the house. Check your local rules for disposing of bulky household waste or construction debris, since a countertop often cannot simply go in household refuse; a skip, a waste transfer site or a collection service are the usual routes, and laminate bonded to particleboard is rarely recyclable in practice, so do not promise it a second life it cannot have. If the top came out intact and sound, though, it makes an excellent workshop or garage bench surface, which is the one genuinely easy reuse.
The mistakes to avoid are, by now, a checklist of everything this guide has warned against in passing. Prying against cabinet faces instead of the underside of the top. Lifting from one end and cracking the substrate across its width. Forgetting a hidden screw run — behind the sink’s false front, in the dishwasher brackets, inside the narrow cabinet nobody opens — and splitting a side panel against it. Skipping the sealant cut at the wall and tearing the backsplash away with the paint attached. Leaving the sink in its cut-out during the lift. And rushing: almost every injury to cabinets in this job happens in the last half hour, on the last section, with tired arms. The low-waste mindset of zero-waste kitchen systems makes the same point from the other side — the greenest, cheapest outcome is a top removed whole enough to reuse and cabinets undamaged enough to keep.
Finally, know the honest limits of the job. Call a professional when a gas line or hard-wired electrical work must be moved, when the top turns out to be an unusually heavy stone-look or solid construction rather than standard laminate on substrate, when lifting reveals structural damage to cabinets or floor that goes beyond a rail or a block, or when asbestos-containing materials are a possibility in a very old installation — in that last case, stop work entirely and get the material assessed before disturbing it further. A pro’s fee for one of those situations is small compared with the cost of the accident it prevents, and recognising the boundary is part of doing the job properly, not a failure of it.
Final Considerations
Removing a laminate top without damaging the cabinets is not a strength contest; it is a sequence. Diagnose the fixings, disconnect everything the top touches, remove every screw, soften the glue line, and walk the bond apart with wide knives and shims — and the cabinets underneath emerge clean, square and ready to work for the next surface, which is the whole point of choosing removal over demolition.
So give the job its unglamorous hours: the torch work inside empty cabinets, the taped map of screw positions, the second check for the brackets you almost missed. Homeowners who do that groundwork lift their old tops off in calm sections. Homeowners who skip it write the cautionary tales — usually about a split cabinet side, in the last half hour, on the last section.


0 Comments