

A tiny kitchen makeover budget does not have to mean a small result. In a compact kitchen, almost everything is visible at once: the cabinets form the walls, the backsplash is the artwork, the lighting is the ceiling’s whole story, and the worktop is judged every single day. That concentration is good news for anyone spending carefully, because a handful of surface changes reach every sightline in the room. Paint the cabinets and you have changed the walls. Renew the hardware and every door feels new. Add light where hands work and the whole kitchen starts behaving like a bigger, calmer place.
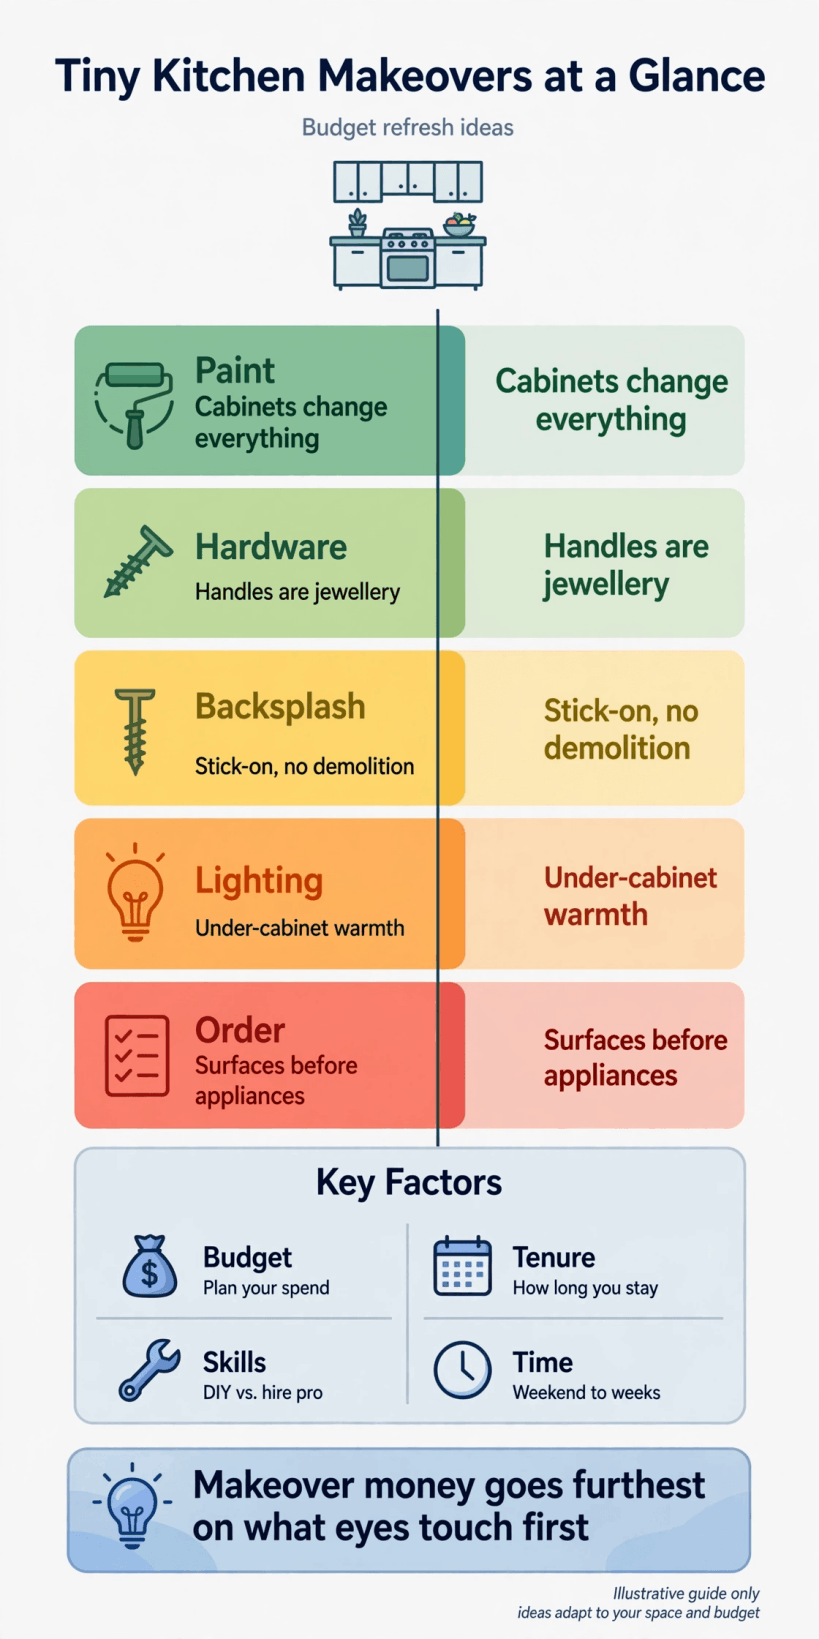
This guide works through twelve affordable changes in the order a sensible project would actually use them. It starts with cleaning and editing, moves through cabinet paint, hardware, a stick-on backsplash and under-cabinet lighting, then finishes with surfaces, storage and styling. The governing rule is simple and saves more money than any single product: refresh the surfaces before you even think about replacing appliances. Appliances are the most expensive line in any kitchen, and in a small space they are often the least visible problem. Follow the order, and each modest spend lands where it will be seen, touched and appreciated daily.
Tiny Kitchen Makeover Budget at a Glance
| Step | The Change | Why It Earns Its Place |
|---|---|---|
| 1 | Deep clean and edit | Reveals the kitchen you actually have |
| 2 | Cabinet paint | The largest visible change for the least spend |
| 3 | Hardware swaps | Every door feels newly fitted |
| 4 | Stick-on backsplash | Pattern and protection without tiling |
| 5 | Under-cabinet lighting | Worktops stop shadowing your hands |
| 6 | Worktop refresh | The most touched surface looks cared for |
| 7 | Tap and sink refresh | The hardest-working corner feels new |
| 8 | Floor refresh | Grounds the room and softens sound |
| 9 | Storage inside cabinets | Doors open onto order, not avalanches |
| 10 | One open shelf, edited | Display without visual noise |
| 11 | Textiles and small styling | Warmth, colour and a finished feeling |
| 12 | Surfaces before appliances | The order that protects the whole budget |
1. Start With a Clean, Empty Canvas
The first change costs nothing and reveals everything. Take every item off the worktops, empty one cabinet at a time, and clean the room as if it were being handed to a new owner: degrease the cabinet fronts, scrub the grout lines, wash the window, and clear the top of the fridge, which in a small kitchen is prime visual territory. Then be honest about what earns its place. Appliances used twice a year, duplicate utensils and novelty gadgets are consuming the very space this makeover is trying to win back.
A clean, edited kitchen changes the maths of everything that follows. You may discover the cabinets only need paint because the fronts were simply filmed with cooking grease, or that the worktop was never stained, just crowded. Keep a box by the door for things leaving the kitchen, and live with the cleared surfaces for a few days before spending anything. If the editing stage is the hard part, our piece on tiny house living and decluttering works through the keep-or-release decisions gently. Photograph the empty room: that is the honest starting point every later change will be judged against.
2. Cabinet Paint: The Biggest Change for the Least Spend
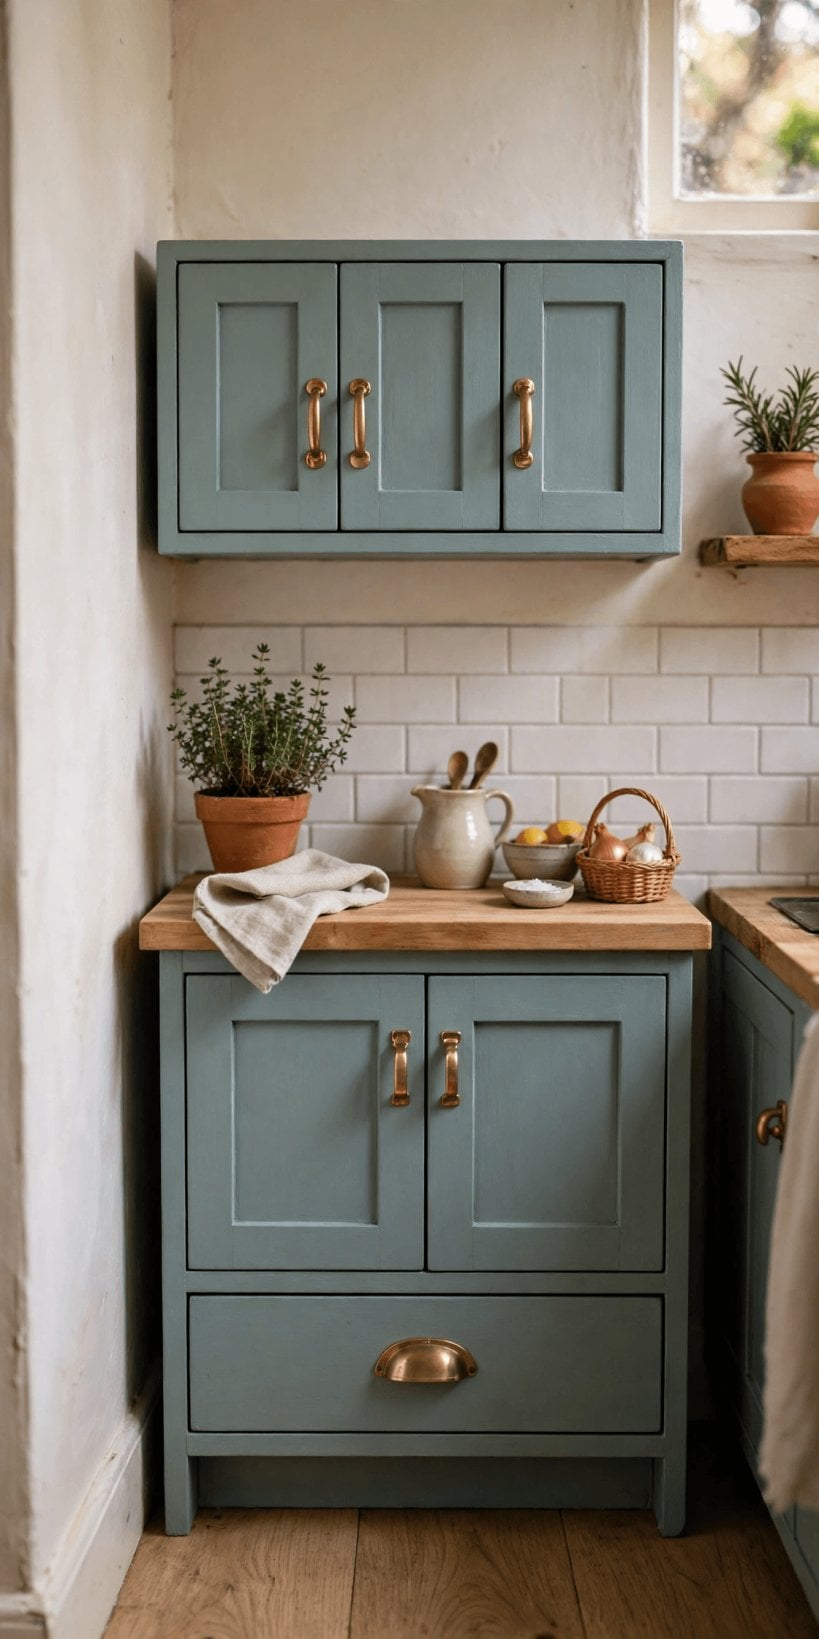
In most small kitchens the cabinets are the room, so painting them is not a detail, it is the makeover. Sound doors and carcasses in a tired colour, a dated wood tone or a patchy previous paint job can be cleaned, degreased, lightly sanded, primed and painted in a finish made for cabinetry. Take the doors off, label each one and its hinges, paint them flat where dust cannot settle into the finish, and work in thin coats rather than one thick one, because drips and brush marks are exactly what a close-up kitchen cannot hide.
Colour choice carries the whole scheme. A pale, warm colour on every front makes a windowless or single-window kitchen feel larger and calmer, while a deeper colour on the lower cabinets with a light colour above grounds the room without darkening it. Keep the palette tight and repeat it in the textiles later. The trade-off to state honestly is time, not money: preparation and curing take days, and rushing the coats is the difference between a finish that lasts and one that chips at every handle. If you are weighing layout questions alongside the paint, our collection of tiny house kitchen floor plans shows what small layouts can and cannot do.
3. Hardware Swaps: Handles, Hinges and the Feel of a Door
Handles are the jewellery of a small kitchen, and they are touched more than any other single element. Swapping a mixed set of dated knobs and pulls for one consistent style in a single finish instantly makes painted cabinets look newly fitted rather than refreshed. Measure the existing fixing centres before ordering anything, because matching the old holes saves filling, drilling and visible mistakes, and choose a size that suits the door: long pulls on wide drawers, simple knobs on small cupboards.
While the doors are off, deal with the moving parts too. Hinges that squeak, droop or slam make a kitchen feel tired in the hands before the eye notices anything, and soft-close replacements or a simple clean and adjustment change the daily experience out of proportion to their cost. Fit one door completely and live with it for a day to check the finish against the paint in real light. Keep the old handles in a labelled bag until the project is finished, tighten every screw a week later once the paint has fully hardened, and buy one spare pull in case a style is discontinued.
4. A Stick-On Backsplash That Behaves Like Tile
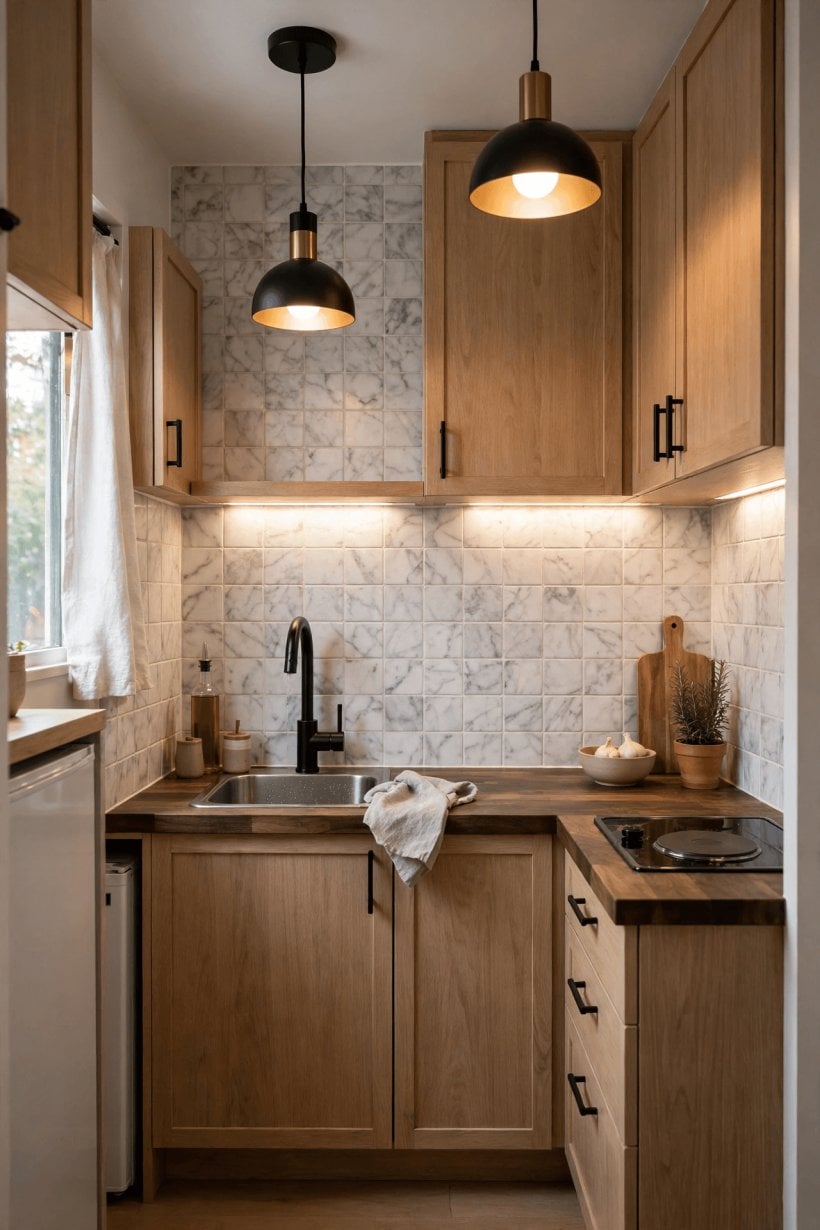
The backsplash is the band of wall everyone looks at, and peel-and-stick tiles or panels give it pattern, colour and a wipeable surface without wet trades, tile cutting or grout. Preparation is the whole job: the wall must be clean, dry, degreased and as smooth as you can make it, because adhesive products faithfully telegraph every bump beneath them. Work from the most visible corner, keep the pattern level with the worktop rather than the ceiling, and cut around sockets with the power off and the template made from paper first.
Choose the material for the zone it will live in. The area directly behind a hob takes heat and steam, and some stick-on products are not suited to it; check what the maker allows, and where heat is a concern, a simple sheet material rated for that position or a properly tiled section is the honest answer. Elsewhere, stick-on finishes are forgiving, removable and ideal for rented or first-project kitchens. Our guide to lightweight interior wall finishes for tiny houses explains how thin finishes behave on small-house walls. Order a sample first, stick it where cooking steam will test it, and live with it for a week before committing the whole wall.
5. Under-Cabinet Lighting: Light Where the Work Happens
A single ceiling light stands behind you while you cook, which is why small kitchens so often feel gloomy at the worktop even when the room itself is bright. A simple strip or a row of small fittings under the wall cabinets fixes the geometry: light falls directly onto the boards, knives and pans, colours look truer, and the backsplash you just fitted finally shows itself. Battery and rechargeable options suit kitchens where wiring is awkward, while wired strips give the most even result; either way, keep the colour temperature consistent with the rest of the room.
Fit the light toward the front edge of the cabinet underside rather than against the wall, so it washes the whole worktop instead of making a bright stripe at the back. A diffuser softens the dots of individual bulbs into a calm line, and a switch you can reach with wet or floury hands, or a simple sensor, matters more than clever features. This is usually the change visitors comment on without identifying: the kitchen simply feels professional. Clean the underside of the cabinets properly before sticking anything to them, because adhesive pads fail on grease, and plan where the cable or charging lead will run before the first fitting goes up.
6. Worktops and the Sink Corner: Surfaces That Take the Wear
Worktops in a small kitchen are never background; there is too little of them, and every centimetre is used. Before replacing anything, try the refresh ladder: a proper clean and re-seal, oil for timber tops that have gone pale and thirsty, careful sanding of light marks, or a heat- and food-appropriate resurfacing product made for the material you have. A tired top often looks tired because its finish has failed, not because the surface itself has. Keep chopping boards and trivets in the routine afterwards, because the refreshed finish deserves the same protection a new top would get.
Give the sink corner the same attention. Replacing a stained, dripping tap with one clean-lined model, renewing the sealant lines, and fitting a sink tidy that lifts sponges and brushes off the surface changes the hardest-working square in the kitchen. Before any tap work, read our overview of the tiny house plumbing layout so you understand what sits behind the cupboard, turn the water off, and keep the old fittings until the new ones are proven watertight. Honest limit: a swollen, water-damaged worktop or a cracked sink is a replacement job, not a refresh job, and money spent disguising damage is rarely money saved.
7. The Floor: Clean, Cover, Soften
Kitchen floors in compact homes take traffic from every other room, so they age faster than any other surface. Start with the unglamorous win: a deep clean, grout refreshed or re-coloured where it has gone dark, and loose or lifting edges made safe and sound. Very often the floor that looked finished is simply a clean floor wearing years of dullness, and the room lifts before anything new is bought at all.
Where the surface really has gone, cover rather than replace where you honestly can: a low-pile, washable runner along the working run softens sound, warms feet on cold mornings and hides a multitude of sins, provided it lies flat and cannot trip anyone or catch a drawer. Choose a length that respects the galley, a backing that grips, and a colour that echoes the cabinets so the floor joins the scheme instead of starting a new one. Keep the area in front of the hob and sink practical and easy to lift for cleaning, and remember that anything underfoot in a kitchen must tolerate water, heat and dropped knives. A floor that is clean, flat and quiet underfoot does more for the room than an expensive pattern that fights everything else in it.
8. Storage Inside the Cabinets You Already Own
A small kitchen rarely needs more storage; it needs the storage it has to stop wasting space. Inside deep cabinets, a simple riser shelf doubles the usable layer, a turntable ends the archaeology at the back, and a rack on the inside of a door holds lids, wraps or cleaning things where the hand already goes. Under the sink, a small caddy or a tension rod for spray bottles turns the most chaotic cupboard in the house into an ordered one. Measure every interior before buying organisers, because small cabinets punish optimistic guesses.
Then edit one display moment, and only one. A short open shelf or a cleared section of worktop with the everyday things you genuinely love (the good boards, the daily mugs, a plant that tolerates steam) gives the eye somewhere pleasant to land, while everything else lives behind doors. Too many open shelves in a tiny kitchen become visual noise and dust collectors. For more display and layout inspiration that stays realistic, browse our roundup of tiny house kitchen ideas and steal the arrangements, not the shopping lists. Review the storage after a month of cooking, and move anything that has not been touched to the question box from step one.
9. Textiles and Small Styling: The Warmth Layer
A refreshed kitchen can look a little clinical until textiles arrive, and in a small space they are the cheapest warmth there is. A curtain or blind in a fabric that repeats the cabinet colour, two good towels rather than five tired ones, a washable rug already doing duty on the floor, and one plant or a pot of herbs on the sill soften every hard surface in the room. Because the kitchen sits inside the living space of most small homes, choose these pieces as part of the whole interior, not as a separate kitchen scheme shouting across the room.
Style in layers and then stop. Group what stays on the worktop in odd numbers, keep one section of surface completely clear on purpose, and let the daily objects be the decoration: a wooden board against the new backsplash, the kettle you actually like, a bowl for fruit. If you are building a lower-waste kitchen as part of the refresh, our guide to zero-waste kitchens covers refill, storage and reuse habits that suit small spaces well. Washable, replaceable textiles are the honest luxury here, because a kitchen that gets cooked in will mark its fabrics, and pieces you can simply wash never become a source of guilt.
10. The Order That Protects the Budget: Surfaces Before Appliances
The final idea is the sequence itself, and it is the one that makes the other eleven affordable. Surfaces first: paint, backsplash, lighting, worktops, floor. Storage and styling next. Appliances last, and only the ones that have genuinely failed or genuinely fight the layout. The reason is partly visual (new appliances in a tired room still look like a tired room) and partly practical: once the surfaces are done, many older appliances look perfectly acceptable, their fronts cleaned and their surroundings calm, and the budget survives intact.
When an appliance does need replacing, small kitchens reward compact, honest machines over statement ones, and our roundup of the best compact kitchen appliances for tiny houses is the place to compare sizes and formats. Measure the route into the kitchen as carefully as the space it will occupy, because the narrowest door decides what can live in a small home. Keep a simple written order of work on the fridge door, tick each stage off as the paint cures and the deliveries land, and resist the mid-project temptation to upgrade everything at once. A budget makeover succeeds by finishing, not by expanding.
Final Considerations
A small kitchen does not need a large budget; it needs its budget spent in the right order, on the surfaces that fill every sightline. Cabinet paint changes the room, hardware changes how it feels in the hand, a stick-on backsplash gives it a finished face, and under-cabinet lighting makes it work after dark. Storage that respects the cabinets you already own keeps the result alive on ordinary days, and textiles warm the whole arrangement into a place you want to cook in.
Be honest about the limits as you go: paint will not repair damage, stick-on finishes have heat limits, and a failed appliance is a replacement, not a styling problem. Work through the stages, let each one cure, set and settle before judging it, and keep the receipts and spare paint labelled for the touch-ups every real kitchen eventually needs. The prize at the end is not a photograph. It is a compact kitchen that feels calm at breakfast, works at dinner, and cost a fraction of the refit it resembles.


0 Comments