

A good cove does its work in the last few inches of a wall, where it turns a hard corner into a soft curve and gives hidden light somewhere graceful to land. It is a small architectural move with an outsized effect.
Done well, it lifts a plain box and softens the light. Done badly, it just collects dust. These ideas separate the two.
1. Cove Ceilings at a Glance
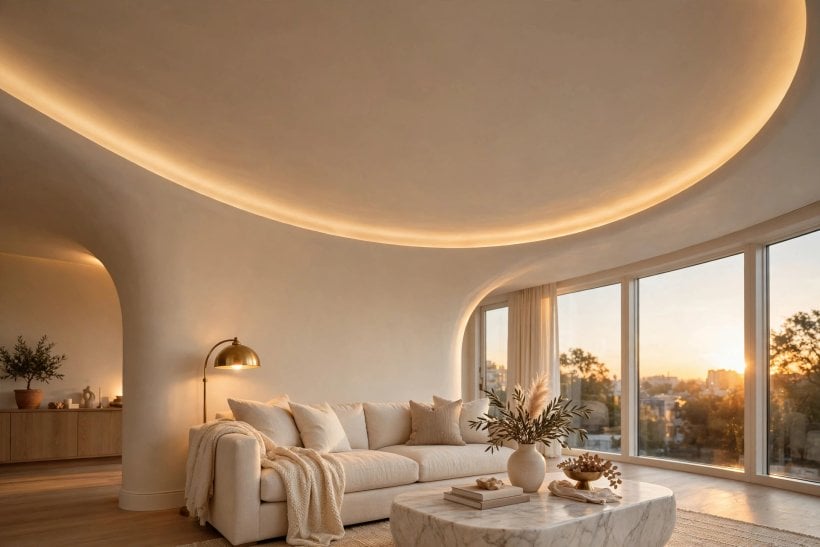
A coved ceiling replaces the sharp ninety-degree junction between wall and ceiling with a curved, stepped or angled transition called the cove. That transition is the whole subject here — not the flat ceiling field beyond it. The cove can be a gentle quarter-round sweep, a series of steps, or the softened edge of a tray, and its hidden channel is often where indirect lighting lives.
| What is a cove, exactly? | The curved, stepped or angled strip where a wall meets the ceiling. Instead of a hard corner, the surface rolls, steps or slopes from one plane to the other, changing how light and the eye move around the room. |
| Which profiles are there? | The main families are the smooth quarter-round curve, the stepped cove built from stacked flat bands, the shallow angled cove, and the tray ceiling finished with a coved edge instead of a square one. |
| What is cove lighting? | A light source — usually an LED strip — concealed inside the cove channel, aimed up or across so the ceiling glows indirectly. You see the wash of light, never the fitting, which is why the effect feels calm rather than glary. |
| Where does a cove work best? | Living rooms and bedrooms benefit most, then hallways and open-plan spaces where one continuous cove can tie zones together. It needs enough ceiling height to read as a curve rather than a squeeze. |
| Is it decoration or structure? | Both, in layers. A shallow decorative cove can be added over an existing corner, while a deeper lit cove is a small construction project involving a ledge, a channel, wiring and a finish planned together. |
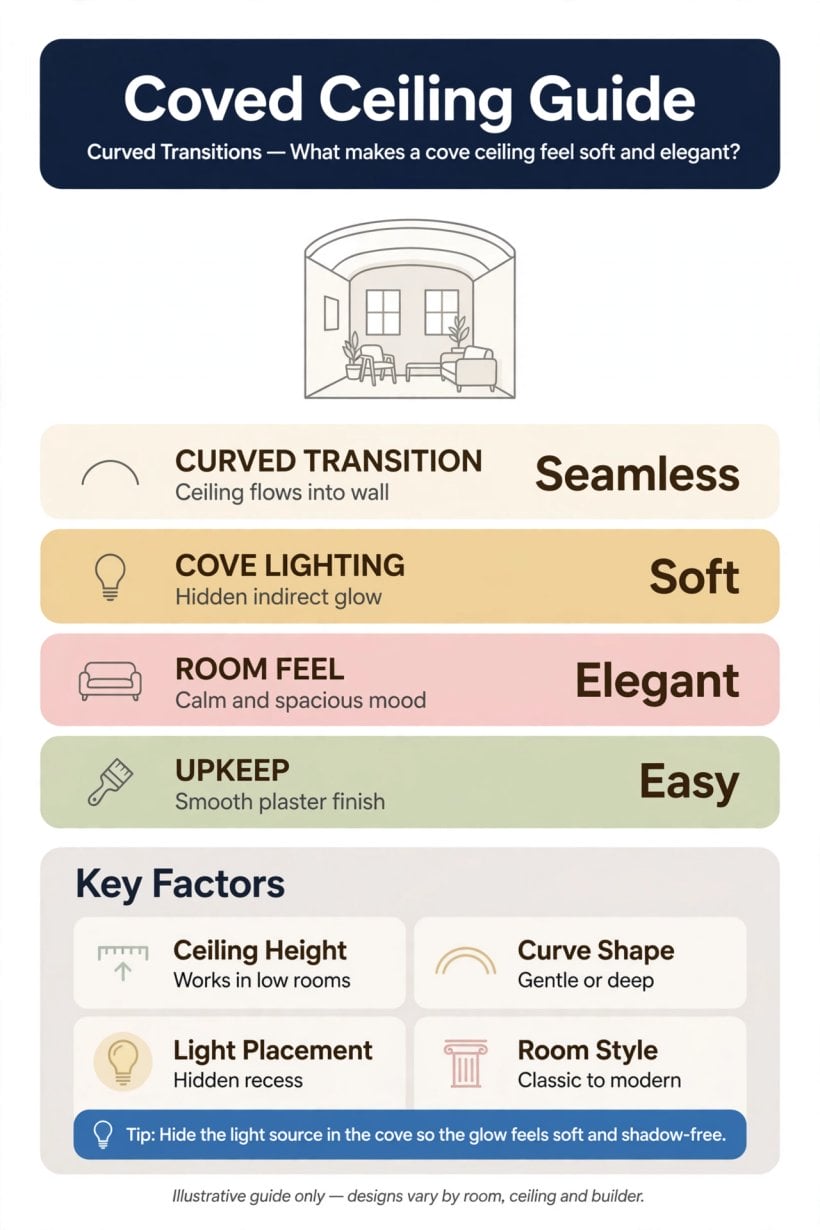
At a glance: a curved wall-to-ceiling transition, in quarter-round, stepped or tray profiles, usually carrying hidden indirect light and finished to soften the whole room.
2. Profiles: Choosing the Shape of the Curve
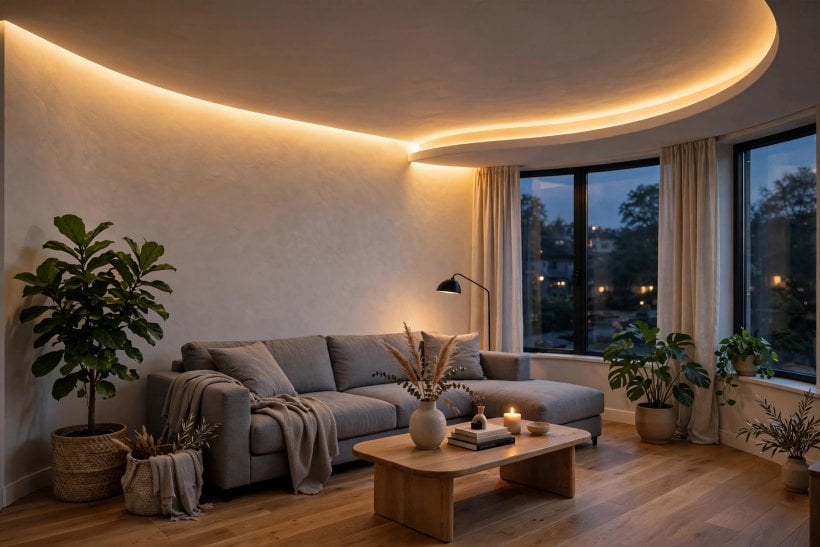
Profile comes first, because lighting, finish and cost all hang off the shape you choose. A smooth curve softens, steps sharpen, and an angled cove sits between the two. Judge profiles against ceiling height, as tiny house plans with high ceilings show: overhead detail only works when it is scaled to the height available, never copied from a grander room.
1. Start with the Classic Quarter-Round Curve
The quarter-round is the purest cove: one smooth concave sweep carrying the wall up and over into the ceiling, with no ledge, step or break. It suits period rooms and any space that wants softness rather than geometry. Light travels evenly across the curve, shadows stay gentle, and the room feels taller because the eye never finds a hard line where the wall stops.
2. Step the Cove for a Sharper, Built Look
A stepped cove replaces the single curve with two or three stacked flat bands, each setting back slightly as it rises. The result reads more architectural and modern, and throws fine shadow lines that give a plain room quiet definition. Steps also hide minor unevenness better than a curve, because each band is a separate, controllable plane rather than one continuous surface.
3. Finish a Tray Ceiling with a Coved Edge
A tray ceiling raises the centre of the ceiling and usually leaves a square step where the raised field begins. Softening that step into a cove changes the character completely: the raised centre feels floated rather than boxed, and the coved edge becomes a natural home for hidden lighting that outlines the tray over a table, a bed or a seating group.
4. Keep the Cove Shallow on Low Ceilings
Low ceilings cannot spare the height a deep sweep consumes, so scale the profile down: a shallow curve or a single gentle angle that turns the corner without dropping the ceiling line noticeably. The softening effect survives at small scale, especially with uplighting. What fails is imitation at full size — a deep cove squeezed into a low room reads as a sagging corner.
5. Go Deep and Generous Where Height Allows
With genuinely high ceilings, a deep cove earns its space. A broad sweep can carry a wide lighting channel, soften the echo tall rooms often have, and give large walls a graceful ending instead of an abrupt one. Match the generosity with proportion elsewhere — taller doors, longer curtains — so the cove feels part of one tall, coherent room, not an isolated flourish.
3. Cove Lighting: Light You See, Never the Source
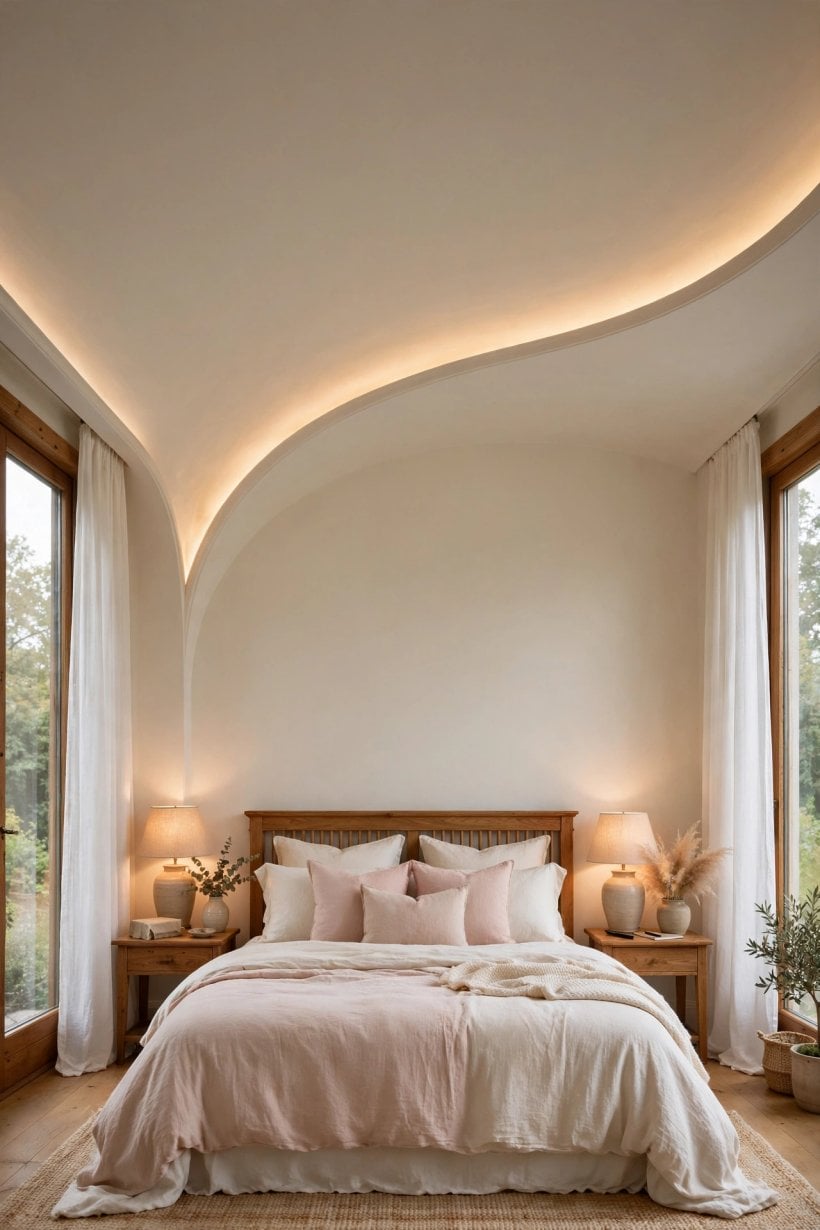
Cove lighting is the reason most coves are built today. A concealed strip throws light across the ceiling, the ceiling becomes a soft reflector, and the room is lit without a visible fitting or point of glare. As small home interior design ideas for tiny houses and small spaces show, indirect light also makes small rooms feel larger, because boundaries blur instead of being spotlit.
6. Hide an LED Strip in the Cove Channel
The standard method is a continuous LED strip mounted in the cove’s hidden channel, on a small ledge built into the profile, aimed upward so its output strikes the ceiling first. Strip, fixings and wiring stay invisible from normal standing and sitting positions — test that sightline before fixing anything. Choose closely spaced diodes and a diffuser where needed, so the ceiling shows an even wash, not a dotted scallop.
7. Use the Cove Wash as the Room’s Ambient Layer
Let cove light do the general work of the room: the soft, even background brightness you live under, rather than task light for reading or cooking. Because it bounces off the ceiling, it arrives from everywhere and nowhere, shadows stay faint, and faces look relaxed. Plan brighter, focused light separately where work happens, and let the cove set the mood those task lights sit within.
8. Dim It Warm for Evenings
A cove on a dimmer is two features in one. At full output it lifts the room for gatherings and grey days; dimmed low, it becomes a gentle glow that outlines the ceiling and settles a room down. Warm-toned light suits a dimmed cove best — cooler light at low levels can feel grey and clinical. Put the control by the door or the bed, so it actually gets used.
9. Layer Cove Light with Downlights and Lamps
Cove lighting alone can leave the middle of a room feeling flat, so layer it deliberately. Pair the ambient wash with focused downlights over work surfaces, a reading lamp where a chair lives, and a low table lamp for warmth at eye level. Each layer should switch separately, so the room can go from bright and practical to mostly cove-lit in one move.
10. Plan Drivers, Access and Heat Before Closing the Cove
The unglamorous details decide whether cove lighting stays a pleasure. LED drivers need a ventilated, reachable home — a cupboard, an access panel or the end of the channel — not a spot sealed permanently inside plaster. Strips generate modest heat, so follow the maker’s guidance on mounting and clearance. Agree all of this with your electrician before the cove is built, because retrofitting access through a finished curve is slow and expensive.
4. Room by Room: Where a Cove Earns Its Keep
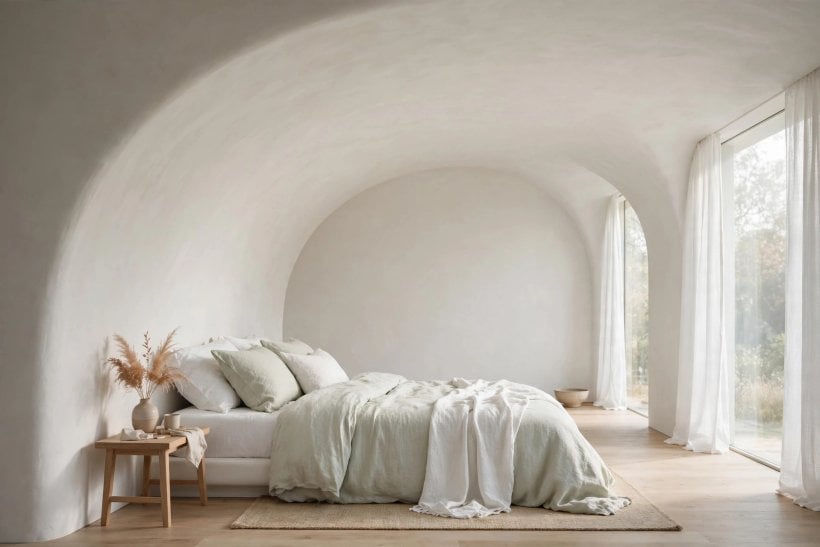
The same profile behaves differently in every room, because rooms ask different things of light and height. Start from how each room is actually used in the evening, when a lit cove does most of its work — the approach taken in modern living room interior design ideas for tiny houses, applied here room by room.
11. Run a Full Cove Around the Living Room
The living room is the cove’s natural home. A continuous cove on all four walls, softly lit, gives the room a calm perimeter glow that suits conversation, films and gatherings, and makes the ceiling feel like a gentle canopy rather than a lid. Keep furniture and artwork below the cove line uncluttered so the curve stays readable, and let this be the light you switch on first and off last.
12. Keep the Bedroom Cove Low, Warm and Dimmable
In a bedroom the cove should whisper. A shallow profile, warm light and a dimmer within reach of the bed turn the ceiling into the softest light source in the house — enough to move around by, never enough to wake you fully. A cove only behind the bed can also work as a glowing backdrop to the headboard. Avoid bright, cool strips here; success is how little you notice it.
13. Use a Cove in the Kitchen with Care
Kitchens can take a cove, but the details change. Cooking sends grease and steam upward, exactly where the cove sits, so choose smooth, wipeable finishes over textured plaster, keep the lighting channel protected and easy to clean, and treat cove light as background only — worktops still need direct light. A stepped profile often suits a kitchen best, because its flat bands are simpler to wipe down.
14. Carry a Slim Cove Through Hallways and Landings
Hallways are often windowless, narrow and ignored, which makes them ideal for a slim lit cove. The wash of light removes the tunnel feeling, and a continuous line draws you through the home. Keep the profile small so the passage loses no height, and carry the same detail through doorways and turns, so the route reads as one connected piece of architecture rather than a series of leftovers.
15. Loop One Cove Around an Open-Plan Tiny Home
In an open-plan compact home, a single cove looping the whole space can do the unifying work that walls do elsewhere. It runs over kitchen, dining and seating as one line, its light tying the zones together while rugs and furniture mark the differences. Keep the profile modest, repeat it without interruption, and let it break only at real structural changes, so the whole home reads as one calm volume.
5. Finishes and Colour on the Curve
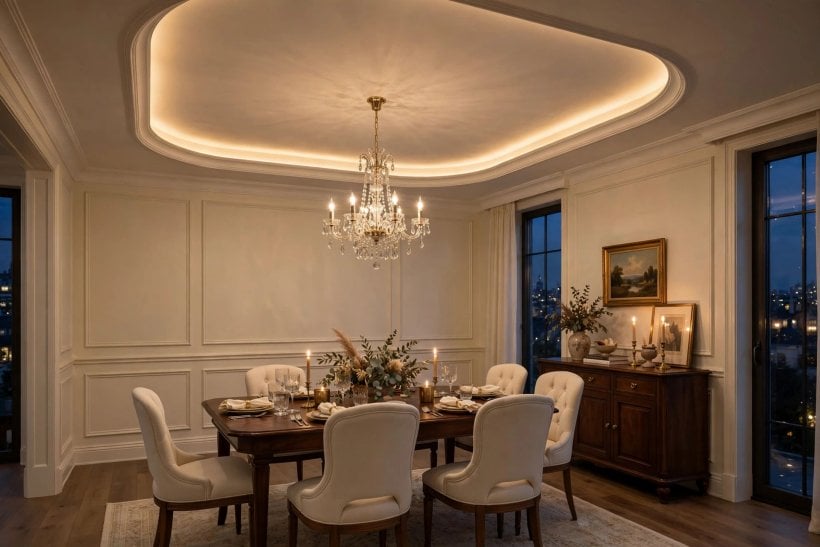
Finish decides whether a cove reads as architecture or as decoration applied afterwards. Because the surface is curved and usually grazed by light, it shows everything: trowel marks, brush lines and colour shifts. Matte finishes forgive, gloss exposes, and colour can either dissolve the cove into the ceiling or make it the room’s quiet headline. Decide with a light test, not a paint chart.
16. Paint Cove, Walls and Ceiling as One for a Seamless Look
The calmest treatment carries a single colour from wall, through the cove, and across the ceiling. With no colour break, the curve reads purely through light and shadow, the room feels taller, and the cove disappears as a separate element while still doing its softening work. Warm whites and pale neutrals suit this best, and it is the most forgiving choice in older rooms with wobbly lines.
17. Pick Out the Cove in a Soft Contrasting Tone
Painting the cove a shade deeper or warmer than the walls turns it into a deliberate band that frames the ceiling. Keep the contrast gentle — a step or two within the same colour family — so the effect stays architectural rather than striped. This suits stepped profiles especially well. Test the contrast under the actual cove light, because uplight deepens colours noticeably.
18. Try Limewash or Fine Plaster for a Soft, Lived-In Curve
Limewash and fine plaster give a curve a gentle movement flat paint cannot: faint clouding, a chalky depth, and a surface that changes subtly as light moves across it through the day. They suit a quarter-round profile and relaxed, traditional rooms. The trade-off is maintenance — these finishes mark more easily and patch less invisibly — so keep them for living rooms and bedrooms, not steamy or greasy spaces.
19. Keep the Finish Matte Where Light Grazes the Surface
Uplight rakes across a cove at a shallow angle, and raking light is merciless: every bump, joint and trowel ridge casts a tiny shadow. Matte and low-sheen finishes minimise that and keep the wash smooth, which is why they are the safe default for lit coves. Save any sheen for unlit decorative coves — and even there, prepare the surface as if it were going to be lit.
20. Reserve Timber and Dark Finishes for Deliberate Drama
A cove does not have to be pale. A deep-toned cove — in a rich paint colour or, in a larger build, a timber-lined channel — lowers the visual ceiling, concentrates the glow in the centre of the room and feels intimate and evening-focused. It suits dining rooms, media rooms and bedrooms better than bright daytime spaces. Balance it with lighter walls below, so the room feels cocooned, not simply dark.
6. Details That Make a Cove Feel Built, Not Added

Beyond profile, light and finish sit the small decisions that separate a convincing cove from a stuck-on one: how corners turn, what the channel hides, and how the detail meets doors, curtains and beams. As collections of tiny house interior design ideas keep showing, in a small home every junction is visible — so junctions are where quality has to live.
21. Turn Corners Cleanly and Keep the Line Continuous
A cove lives or dies at its corners. The profile must turn each internal and external corner at the same height and radius as the straight runs, with no flattening or change of level. Breaks for door architraves, tall cupboards or ceiling changes need a planned answer — a neat return into the wall, for instance. Walk the whole perimeter on the drawing before work starts and resolve every junction in advance.
22. Add a Shadow Gap for a Crisp Modern Edge
Where a smooth traditional curve feels wrong, a narrow shadow gap can end the cove with a clean, modern line: a slim recessed channel separating cove from ceiling with a fine dark slot. It hides tiny imperfections at the junction and suits stepped and angled profiles. Keep the gap consistent in width and depth all the way round, or the crispness that justifies it disappears.
23. Hide Curtain Tracks and Services Inside the Cove Zone
The band the cove occupies is useful territory. A curtain track tucked just below or within the cove line lets full-height curtains hang from an invisible source, so fabric appears to fall from the ceiling itself. The same zone can discreetly carry cabling, planned from the start. It should never become improvised storage for services added later, which quickly turns a clean profile into a lumpy one.
24. Match the Profile to the Room’s Architecture
Let the house vote on the profile. A smooth generous curve belongs with older, softer architecture; steps and shadow gaps belong with plainer, contemporary rooms; a mid-century space often suits a shallow angled cove best. Mixing languages can work as deliberate contrast, but it should look chosen, not accidental. When in doubt, simpler profiles clash with less, and age more quietly alongside the rest of the room.
25. Mock Up the Cove and Test the Light Before Committing
Before the full build, mock the cove up in one corner: a short length of the chosen profile, a temporary strip of light, and the intended paint. Live with it for a few evenings. You will see the true wash, the real colour shift and whether the strip stays hidden from chairs and beds — things no drawing shows honestly. Adjusting at mock-up stage costs almost nothing; adjusting after plastering costs a great deal.
7. Construction: How a Cove Is Actually Built
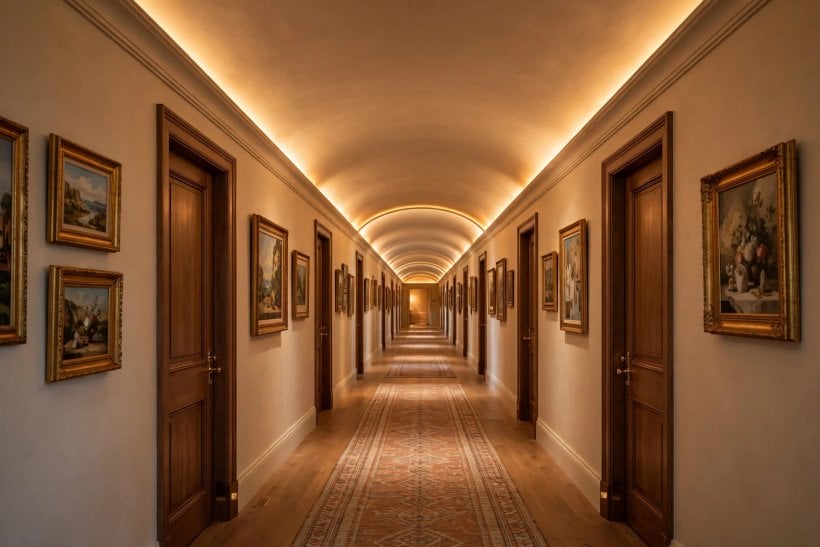
Most modern coves are built, not carved. The common routes are a framed and boarded construction — timber or metal framing fixed at the wall-ceiling junction, covered in plasterboard and skimmed to the profile — a plasterer’s built-up cove formed over a shaped support in traditional work, or a preformed lightweight profile fixed and filled as a simpler decorative option. The framed route gives most control and the roomiest lighting channel; the preformed route is least disruptive in a finished room.
Sequence matters as much as method. Structure, lighting channel and ledge, the electrician’s first fix and driver access all happen before the final skim and paint, with every trade working from the agreed profile drawing. Inspect the bare profile in raking daylight before it is painted, because paint hides colour problems but never shape problems. In older homes, expect the existing corner to be out of level, and decide early whether the cove follows the room or corrects it.
8. What a Cove Costs — and Where the Money Goes
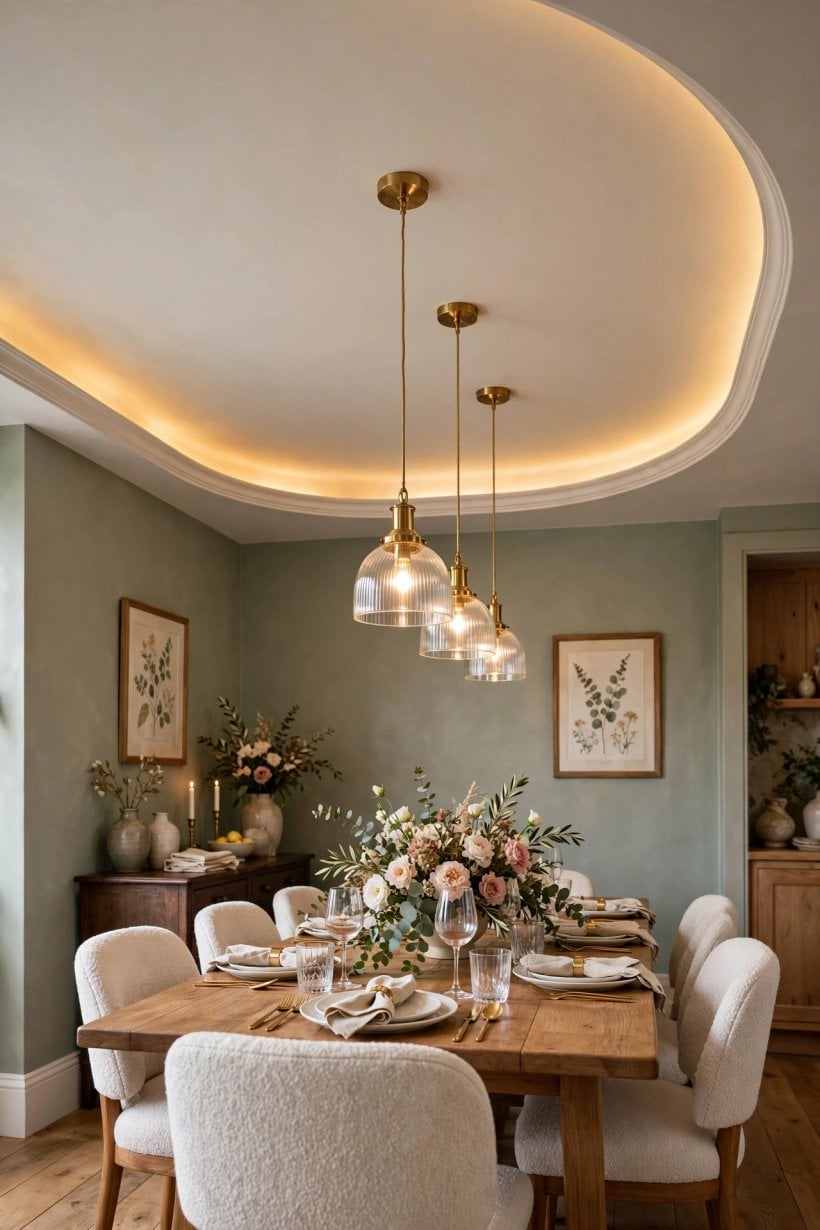
There is no honest single figure for a cove, because cost sits in the variables: the profile’s size and complexity, the length of the runs and number of corners, the construction route, and whether lighting, dimming and electrical work are included. A simple preformed decorative cove in one room is a modest finishing job; a deep, lit, framed cove through an open-plan space is a small building project with several trades involved.
Budget by element rather than by room: the profile work per run, the lighting as its own package — strips, drivers, dimmers, electrician’s time — and making good, since walls and ceiling around the cove usually need repainting as one surface. The reliable savings come from simplification, not cheap materials: fewer corners, a shallower profile, one lighting type throughout. Get the full sequence quoted as one agreed scope, because the expensive surprises are nearly always interfaces between trades nobody quoted for.
9. Checks Before You Commit — and Care Afterwards
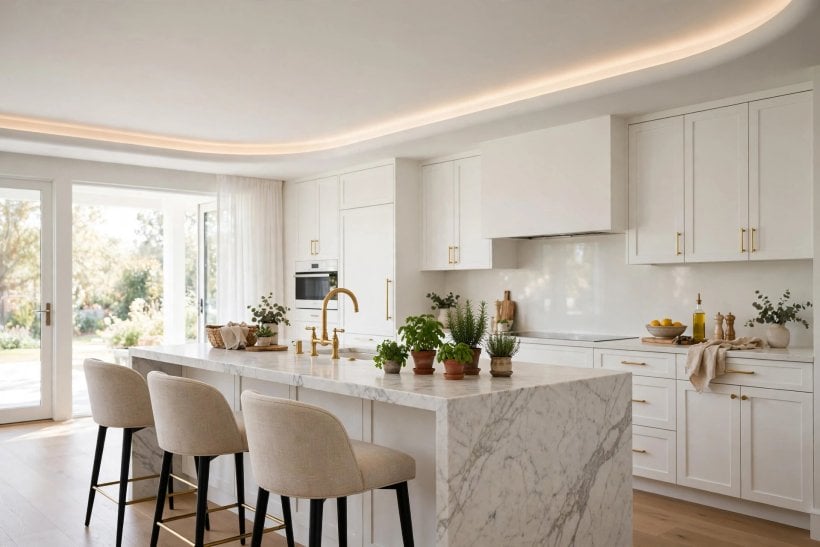
Run the practical checks before the build, not after it. Confirm the ceiling height can spare the profile’s depth at the room’s lowest spot, check that the cove will not collide with door swings, tall furniture, window heads or curtain runs, and stand and sit in the room to verify the strip will stay hidden from real sightlines. Confirm driver access, dimmer compatibility with the chosen strip, and how the cove meets any beams, slopes or changes of level already present.
Care is simple but real. A cove channel is a ledge, and ledges collect dust that slowly dims the light and shows against a lit ceiling, so plan a gentle vacuum or long-handled duster pass as part of normal cleaning — easier if the channel is smooth and reachable by design. Keep spare paint in the exact finish for scuffs, clean kitchen coves more often, and check strips occasionally so a failing section is replaced while its match is still available.
10. Pulling It Together in Small and Tiny Homes
In a small home the cove earns its place by doing three jobs at once: it finishes the room like a cornice, hides the main ambient light source, and softens the one junction small rooms cannot escape — the ceiling pressing close overhead. The planning logic in modern interior design ideas for tiny houses is the same: choose details that work in several ways, then keep them consistent.
So keep the profile shallow, run it continuously, light it warmly and finish it as one surface with walls and ceiling. Borrow the discipline shown in home interior design ideas for a tiny house and in broader interior design ideas for homes, from tiny houses to small-space living: one good detail, repeated well, beats five features competing. A coved ceiling done that way does not announce itself — the room simply feels softer, taller and better lit than visitors can explain.
Final Considerations
The cove is a reminder that ceilings are designed at their edges, not in their middles. Choose the profile for the height and architecture you actually have, hide the light properly, finish the curve for raking uplight, and resolve corners, access and cleaning before anyone picks up a tool. Get those right and the detail looks inevitable — as if the room was always meant to turn into its ceiling that way.
Start with one room, live with its light through a few evenings, and let the result argue for the rest of the home. A well-made cove asks for little afterwards beyond dusting and the occasional glance upward, and it repays that small care every evening, in the softest light in the house.

0 Comments