

An open plan gives you light, space and togetherness — until cooking, conversation and television all compete in the same undivided room. The answer is rarely a full wall.
Good separation is lighter than that: a shelf, a step or a shift in light can divide kitchen from living room while keeping the openness you chose the plan for in the first place.
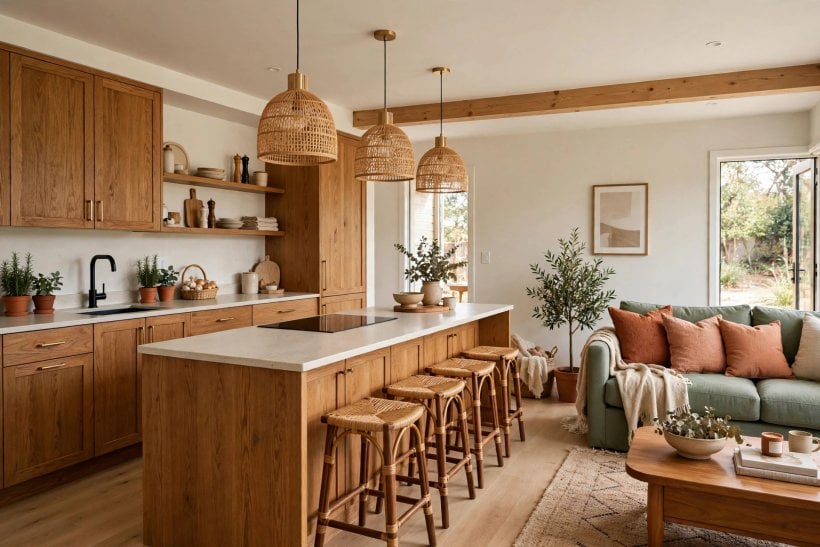
1. Open Floor Plan Separation at a Glance
Open-plan zoning marks where one activity ends and another begins without closing the space off. The tools range from built work — half walls, islands and level changes — to moves anyone can make in an afternoon, such as turning a sofa, laying a rug or adding a screen. The aim is the same however you divide kitchen from living room: clearer sightlines, calmer sound, contained smells and rooms that still share daylight.
| What does separation actually need to do? | Give each zone a clear edge and a clear job — cooking, dining, sitting, working — so furniture, storage and daily routines stop drifting across the whole plan. |
| What is the lightest way to start? | Furniture and floor-level moves first: a rug under the seating group, a sofa turned with its back to the kitchen, or a low open shelf that marks the line without blocking light. |
| How do you keep light and air moving? | Favour open, low or transparent dividers — shelving without backs, glass, curtains and half-height walls — and keep tall, solid pieces away from windows and the main path of daylight. |
| How do you handle sound and cooking smells? | Soft surfaces absorb sound, so rugs, curtains, upholstery and plants help; smells need extraction at source plus a partial screen or door-like barrier that slows their drift into soft furnishings. |
| What if you rent? | Most zoning is reversible: freestanding shelves, screens, curtains on tension or track systems, rugs, lighting and furniture placement all separate rooms without drilling, building or repainting whole walls. |
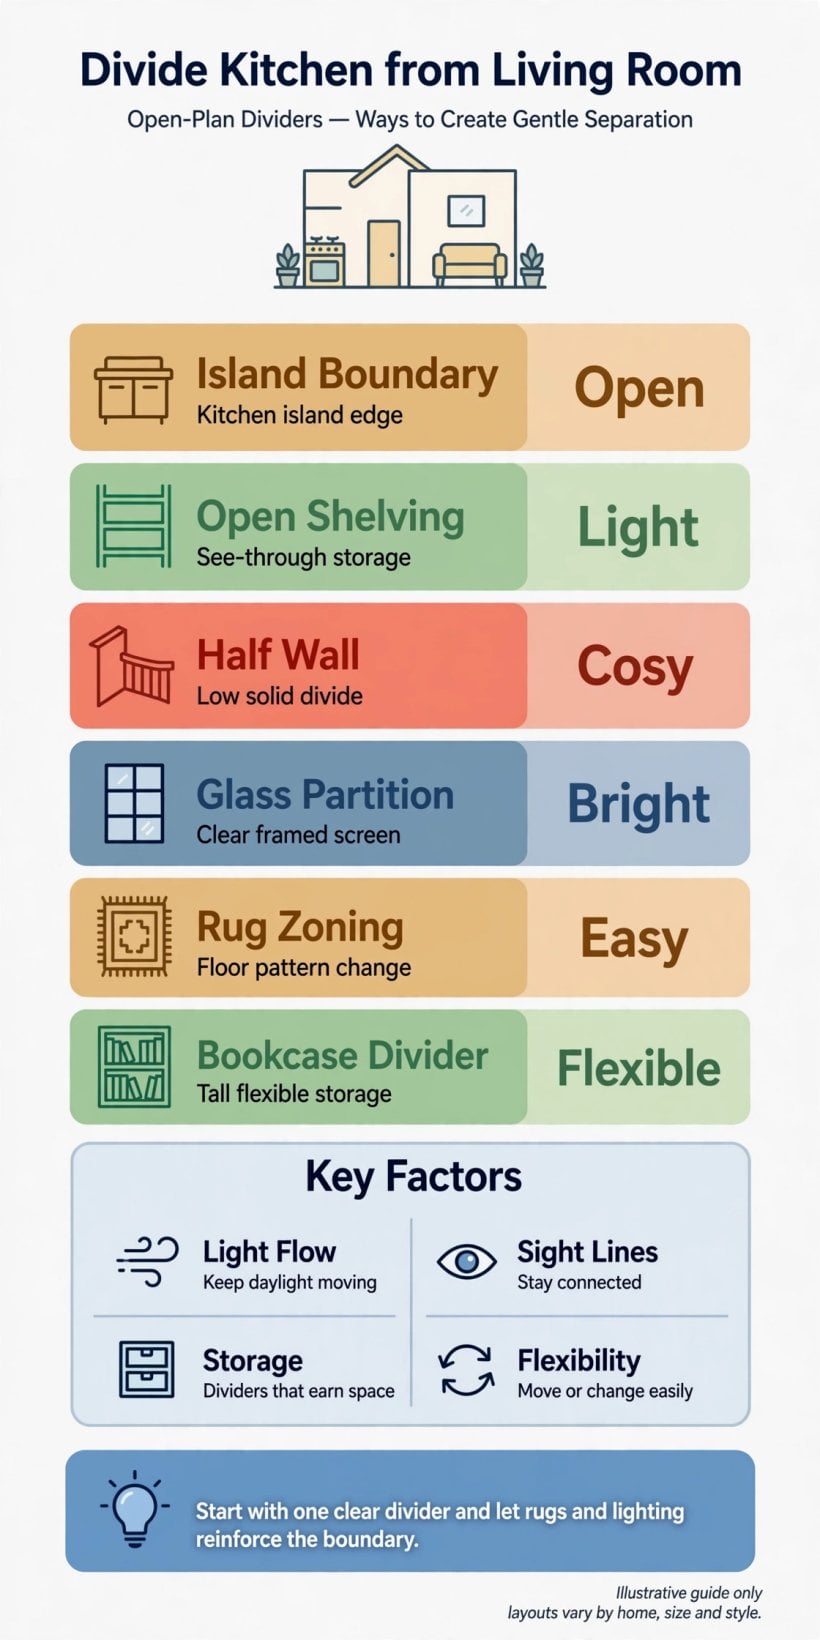
At a glance: mark the edge, keep it low, open or transparent, soften sound with textiles, and choose the lightest divider that does the job.
2. Built Dividers That Still Breathe: Shelving, Fire and Half Walls
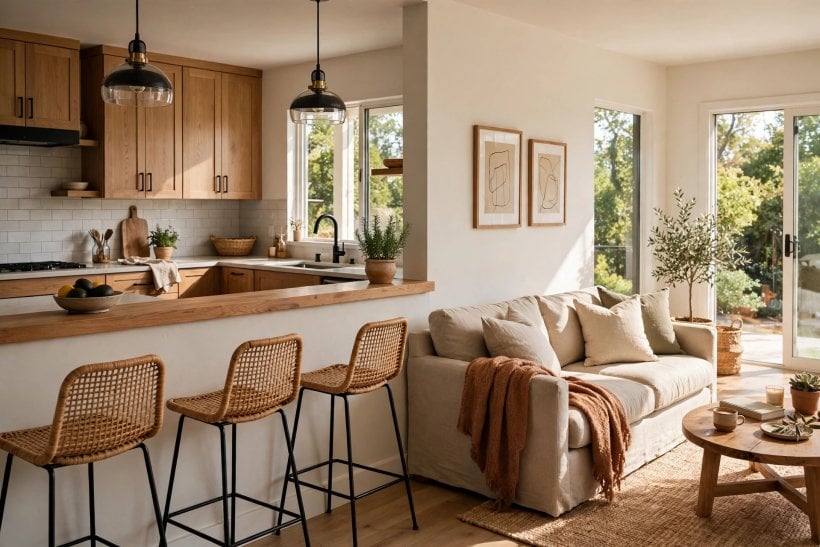
The strongest dividers earn their floor space twice — they separate and they store, warm or display at the same time. Built pieces work best kept below full height or left partly open, so the zones read as connected rooms rather than a corridor and a box. As in small-space interior design ideas and tricks from tiny houses, every element should do more than one job.
1. Stand Freestanding Shelving Across the Line
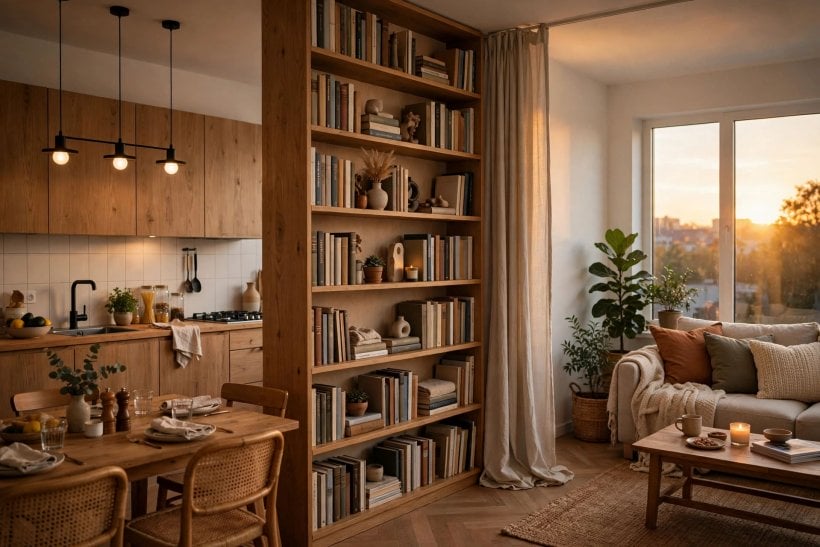
An open-backed shelving unit placed across the boundary is the classic first divider, and it still earns that place. Books, baskets and a few plants filter the view between zones without sealing it, storage arrives exactly where both rooms can reach it, and light passes through the gaps. Choose a unit low enough to see over when standing, anchor it safely, and leave some shelves half-empty so it reads as a screen, not a wall of objects.
2. Let a Double-Sided Fireplace Anchor Both Rooms
A double-sided fireplace makes separation feel architectural rather than improvised. The hearth gives the living side its natural focal point, warms both zones, and marks the boundary with real mass while the opening for the fire keeps a visual connection between the rooms. It is a significant build needing proper flue and ventilation planning, so treat it as part of a renovation — but as a permanent divider it is hard to beat for atmosphere.
3. Build a Half Wall or Pony Wall
A half wall, sometimes called a pony wall, draws the firmest line short of a full partition. It hides worktop clutter from the sofa, gives seating something solid to sit against, and can carry power points or a narrow shelf cap on the kitchen side. Because it stops well below the ceiling, daylight and conversation still travel over it freely. Paint it with the cabinetry or the living-room walls, whichever zone needs the visual weight.
3. Kitchen-Side Boundaries: Islands, Ceilings and Levels
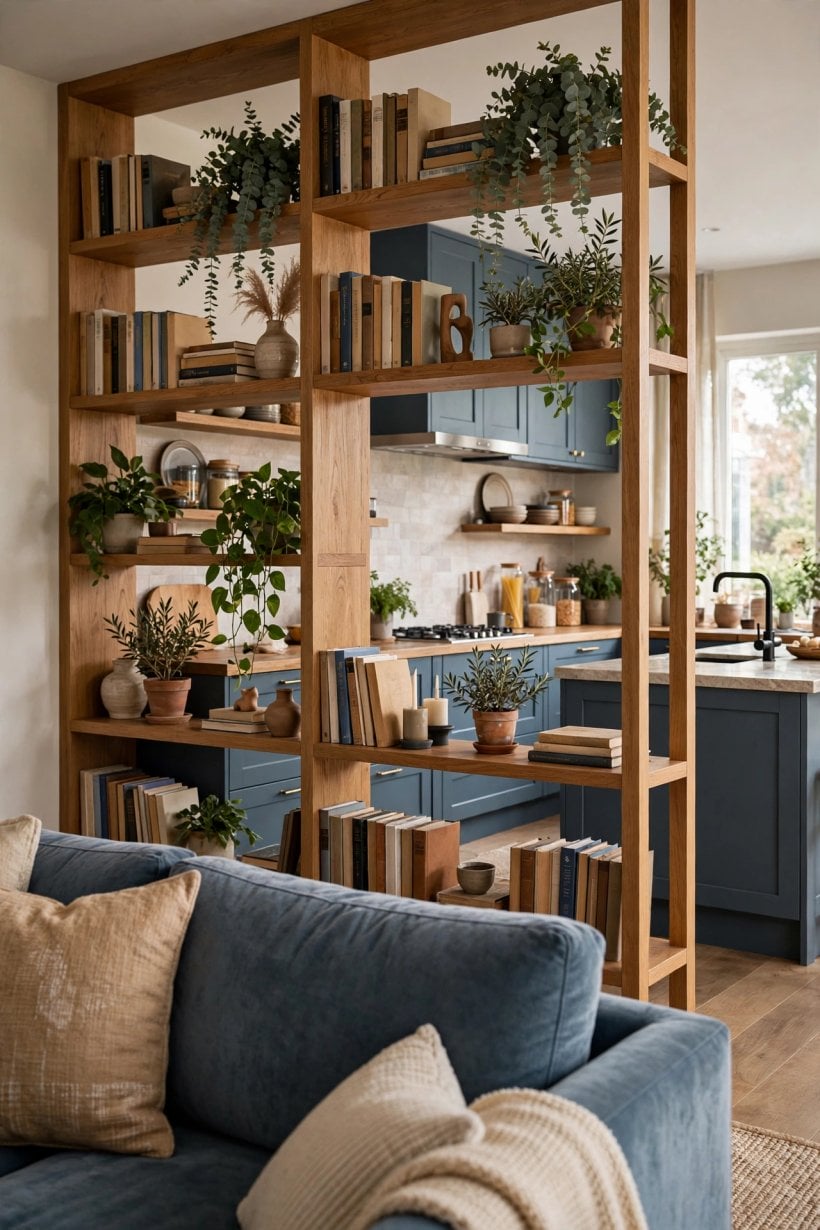
Some of the best separation never touches the floor between the rooms — it happens at the kitchen’s own edge, overhead, or underfoot. These moves suit plans where a divider would block the walkway, and they pair naturally with the layouts in tiny house kitchen floor plans, where the boundary works hard in little space.
4. Use the Kitchen Island as the Boundary
An island is a divider that also cooks, stores and seats people. Positioned on the line between the zones, it gives the kitchen a clear working edge, keeps guests and children out of the cooking triangle while still including them, and offers the living side a finished face of panelling, shelving or stools. Keep the living-side walkway clear, face stools outwards, and treat the top as a serving surface rather than a dumping ground, or the boundary blurs again.
5. Mark the Zones with Ceiling Beams or a Soffit
Overhead definition is the most underused zoning tool. A run of beams, a lowered soffit or a simple change of ceiling finish above the kitchen tells everyone where the room changes, without taking a centimetre of floor. Pendant lights hung from that line strengthen the effect after dark. This approach suits tall or awkward plans where floor dividers would crowd the space, and in rental homes a painted ceiling band can suggest the same break where beams cannot be added.
6. Step Between Levels
A single step up to the kitchen or down into a sunken seating area separates zones by level, the way traditional homes used a raised dining platform. The change underfoot is unmistakable, sightlines shift, and the lower room gains a feeling of enclosure without any wall at all. It is a structural move, so plan it with a builder, mark the step edge clearly for safety, and think honestly about pushchairs, mobility and carrying hot dishes across it daily.
4. Soft and Transparent Dividers: Floors, Fabric and Glass
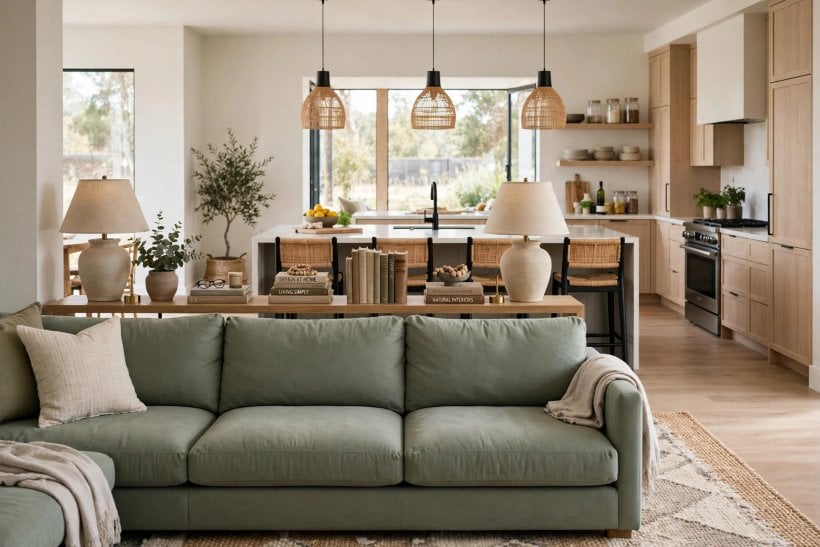
Not every boundary needs building. Floor finishes, fabric and glass can suggest or screen a division while staying flexible, reversible and kind to daylight — often the right answer in a rental or a plan you are still learning to live in. Collections of tiny living room ideas return to these soft moves because they cost little space and can be undone any day.
7. Change the Rug and the Flooring
The floor is the quietest place to draw the line. A large rug under the seating group instantly reads as the living room’s territory, while hard, washable flooring belongs to the kitchen side; where the two materials meet, the boundary is drawn. Running tile or stone in the kitchen into timber in the living area strengthens the split and handles spills sensibly. Keep rug edges flat, and size the rug so the seating’s front legs sit on it.
8. Hang Curtains or Stand a Folding Screen
Fabric is the fastest divider to add and the easiest to remove. A ceiling-track curtain can close off the kitchen during cooking, softening sound and slowing smells, then stack back almost invisibly; a folding screen does the same job with no fixing at all. Choose washable fabrics near cooking, keep panels away from hobs and open flame, and favour weights that hang straight and feel deliberate.
9. Install a Glass Partition
Glass gives you the separation of a wall with none of its darkness. A glazed partition — clear, fluted or framed in slim dark metal — contains cooking smells and much noise, keeps sightlines open from sofa to worktop, and lets daylight reach the middle of the plan. Fluted glass adds privacy for a worktop you would rather not display. It costs more than fabric, but for permanent plans it is often the most effective upgrade.
5. Furniture, Books and Light as Invisible Walls
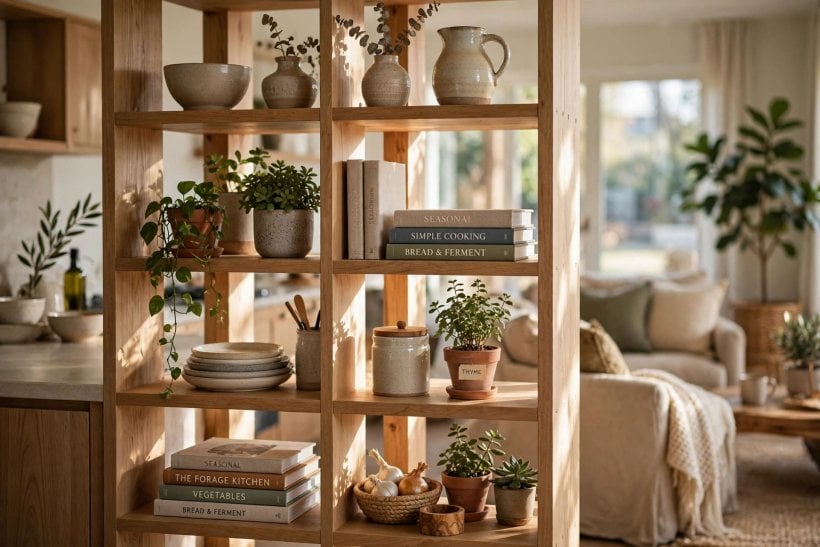
The subtlest zoning uses things the room needs anyway: storage, seating and light. Done well, visitors feel the boundary without being able to point to a divider. This is the approach behind most successful small living room ideas, where the furniture plan, not the architecture, decides how the space divides.
10. Build a Low Bookcase Wall
A run of low bookcases along the boundary stores books and media for the living side, baskets and kitchen overflow on the other, and its top becomes a display ledge or extra serving shelf when entertaining. Keep it at or below sofa-back height so the rooms still connect visually, style the top sparingly, and face the living side towards the seats it belongs to.
11. Turn the Sofa with Its Back to the Kitchen
Furniture placement is free, instant and surprisingly decisive. A sofa set across the plan with its back to the kitchen draws the living room’s edge in one move; add a narrow console table behind it and the line gains a surface for lamps, books and drinks that also hides the sofa’s back. Leave a clear walkway behind the console and angle nothing — straight, confident placement reads as architecture, while tentative angles read as clutter.
12. Zone with Lighting
Separate pools of light make separate rooms after dark. Give the kitchen bright, even task lighting over worktops, and the living area warmer, lower light from pendants, a floor lamp by the sofa and dimmers wherever possible. In the evening each zone glows on its own terms and the eye stops travelling between them. It is also among the most rental-friendly moves here — lamps and bulbs need no permission.
6. Colour, Greenery and Panels That Slide Away
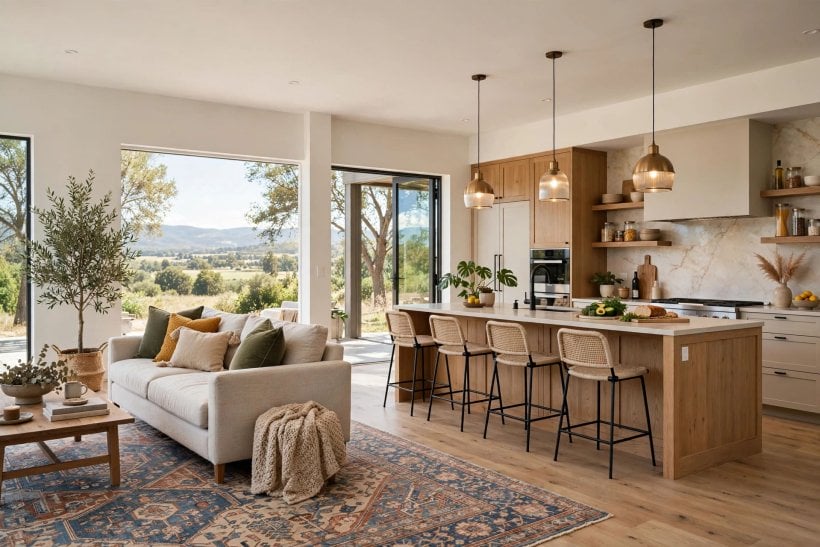
The final three ways work on perception and flexibility: colour tells the eye where one room stops, plants soften an edge without closing it, and sliding panels offer a real door on the days you want one. With the styling advice in how to decorate a tiny living room, the plan can change its degree of separation hour by hour.
13. Paint Colour Zones
Colour can draw a boundary no builder needs to visit. Paint the kitchen end wall and cabinetry in one tone, keep the living area in a related but distinct shade, or paint a single block of colour behind the seating to claim that territory. The trick is relationship, not contrast for its own sake: share an undertone across both zones so the split feels designed. In rentals, colour through textiles and art achieves a gentler version of the same effect.
14. Screen the Edge with Plants
A row of tall plants, a planter trough on the boundary or a cluster of pots at different heights makes a living screen that filters views, softens sound a little and improves the feel of both rooms. Plants suit edges where a solid divider would look harsh, especially beside dining areas. Keep them clear of hobs and high-traffic walkways, choose species that tolerate kitchen warmth and variable light, and group them as one deliberate green band rather than scattering single pots, which reads as clutter.
15. Fit Sliding Panels for a Door When You Want One
Sliding panels — timber, glazed or fabric-faced — are the flexible end of permanent separation. They slide aside to restore the full open plan, and close to give the kitchen privacy, contain a noisy appliance cycle or hide post-dinner disorder from guests. Running on a track rather than swinging, they suit tight plans where a hinged door would steal space. Plan the panels’ parking position carefully; a panel with nowhere elegant to rest will simply stay closed.
7. Planning Checks: Light, Sound, Smells and Sightlines
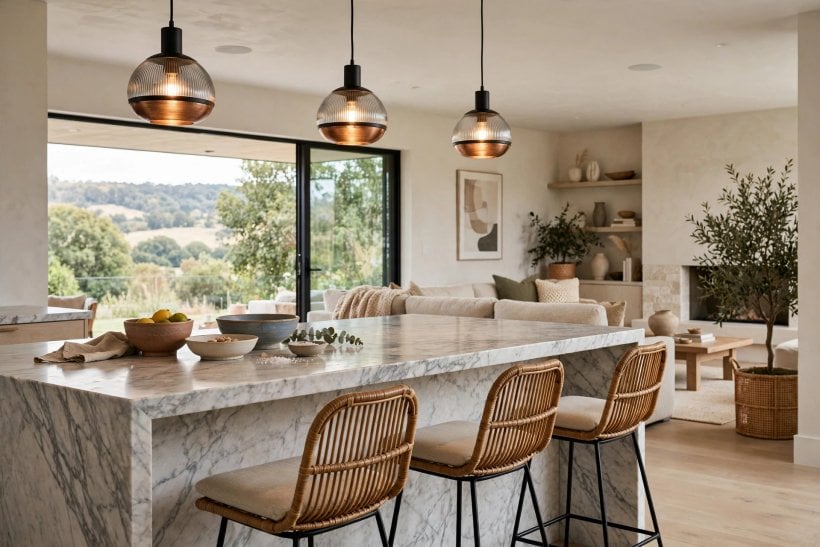
Before choosing any divider, name the problems in order. Is the real issue dishwasher noise during films, cooking smells settling into the sofa, worktop clutter seen from the main seat, or a dining table drifting into the kitchen’s working space? Each problem points to a different tool: soft surfaces and screens for sound, extraction and glass for smells, half walls and bookcase backs for sightlines, and floor or furniture moves for drifting territory.
Then check the flows a divider must not break. Keep tall or solid pieces out of daylight’s path from the windows, or the back zone turns gloomy, and keep the routes from entrance to kitchen and fridge to worktop clear enough for two people carrying things to pass. Finally, deal with cooking at source — a properly ducted extractor, lids on pans and an opening window do more against smells than any screen.
8. Small-Home and Tiny-House Versions
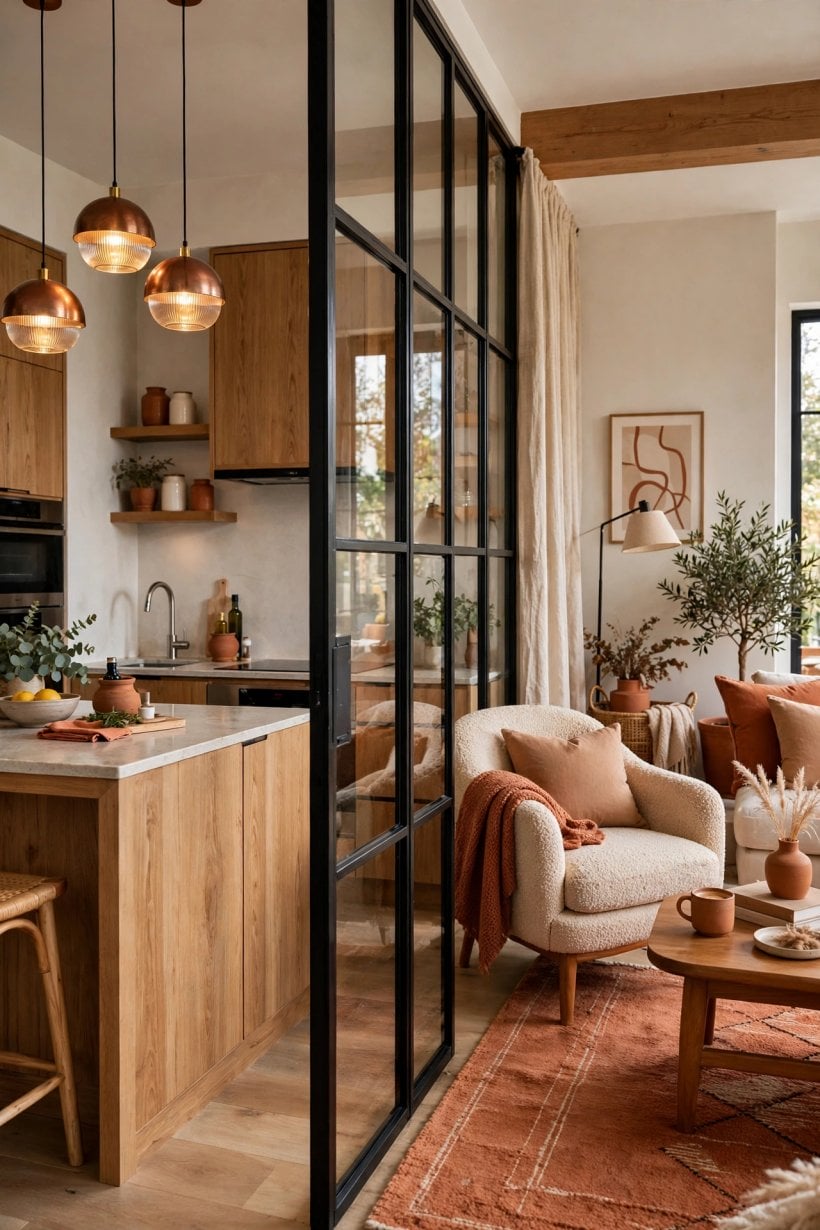
In a small or tiny home the same principles apply at a tighter scale, and the lightest tools usually win. A rug, a turned sofa and one low bookcase can zone a whole small plan, and a change of floor finish costs no space at all. The discipline behind kitchen design for tiny houses and small spaces is the right mindset: if a divider does not also store, seat, light or serve, it does not earn its footprint.
Keep everything below the sightline, choose dual-purpose pieces, and let one strong move do the work of three weak ones. As tiny house interior design ideas show at whole-home scale, a consistent palette across zones keeps a divided small plan feeling like one calm home. Test the layout with tape on the floor before buying anything, and live with the taped version for a week if you can.
9. Costs and Rental-Friendly Choices
Spending falls into three broad bands. At the low end sit the reversible moves — rugs, screens, curtains, plants, lamps and furniture rearrangement — which can move house with you. In the middle sit freestanding shelving, bookcase runs and ceiling-track systems: real purchases, but no building work. At the top sit the built options — half walls, islands, glass partitions, level changes and double-sided fireplaces — where materials, trades and making good dominate the bill. Get built work quoted as a complete installed job before comparing it with simpler options.
Renters should start, and may well finish, in the first two bands. Freestanding pieces, minimal-fix track systems, removable colour through textiles and lighting changes all separate convincingly without altering the property. Check your tenancy terms before fixing into walls or ceilings, and keep the landlord’s written agreement for anything beyond picture hooks. The reversible approach in modern tiny house interiors with clean lines for compact living shows how far movable pieces can take a plan without structural change.
10. Common Mistakes to Avoid
The most common mistake is over-dividing: stacking a shelf, a screen and a colour change on the same line until the plan becomes a maze of small, dark compartments. Choose one main divider per boundary and let it work. Close behind it comes blocking the light — a tall, solid bookcase on the window side, or a dark screen across the brightest axis, makes both zones feel smaller. If a piece is tall, give it an open back or a glass face.
Two quieter errors follow. One is ignoring practical flows: a divider that narrows the fridge-to-worktop route, hides the cook from guests entirely, or traps smells behind fabric that cannot be washed will be resented within a month. The other is visual mismatch — a divider unrelated in style or material to either room reads as an obstacle, not architecture. Repeat a material or tone from each side in the divider itself, and it settles into the plan.
Final Considerations
Separation in an open plan is a spectrum, not a switch: the best homes mark their zones clearly while keeping light, air and conversation moving freely between them. Start with the problem you actually have — sound, smells, sightlines or drifting furniture — pick the lightest divider that solves it, and let that single move set the boundary before you add anything else.
Work from free to built: rearrange the furniture and lay the rug first, live with the result, then add shelving, fabric or glass only where the line still feels weak. Keep every divider as low, open or reversible as your situation allows, and repeat a material or colour across the boundary so the zones still belong to one home.



0 Comments