

Anyone who bakes in a small kitchen has faced the same puzzle: a recipe lists flour in cups, yet the result changes from one attempt to the next. The honest answer to how much does a cup of flour weigh is that it depends on the flour and on the hand that fills the cup. This guide explains the typical reference ranges, the reasons behind the variation, and the simple habits that make cup measurements steadier.
1. At a Glance: Typical Weights for a Level Cup
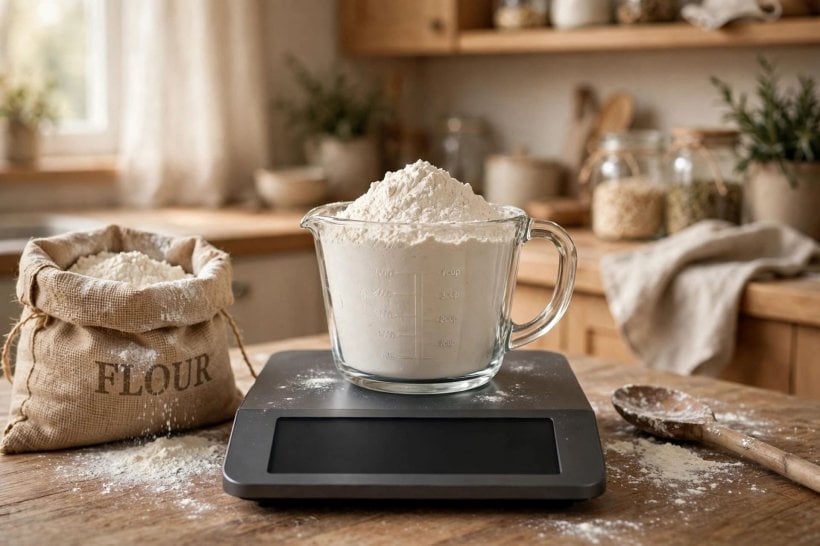
Before the detail, here is the short version. Most baking references treat a level cup of all-purpose flour as weighing somewhere around 120 to 125 grams. That figure assumes the flour was spooned loosely into the cup and levelled off, not scooped from the bag and packed down. Treat every number in the table below as a typical reference range rather than a fixed fact, because real kitchens, real flour, and real hands vary more than any chart can capture.
| Question | Typical reference answer |
|---|---|
| What is the usual reference weight for a level cup of all-purpose flour? | Commonly cited around 120 to 125 grams, roughly four and a quarter ounces. |
| Why do different charts give different numbers? | Flour type, milling, humidity, and measuring method all shift the result. |
| Which method gives the steadiest cup? | Spoon the flour into the cup, then level it off without packing or shaking. |
| When should you weigh instead of scooping? | Whenever accuracy really matters, such as bread doughs, delicate cakes, and scaling recipes up or down. |
| Do other flours match all-purpose? | Not exactly. Wholemeal, bread, and cake flours are each commonly listed at slightly different typical weights. |
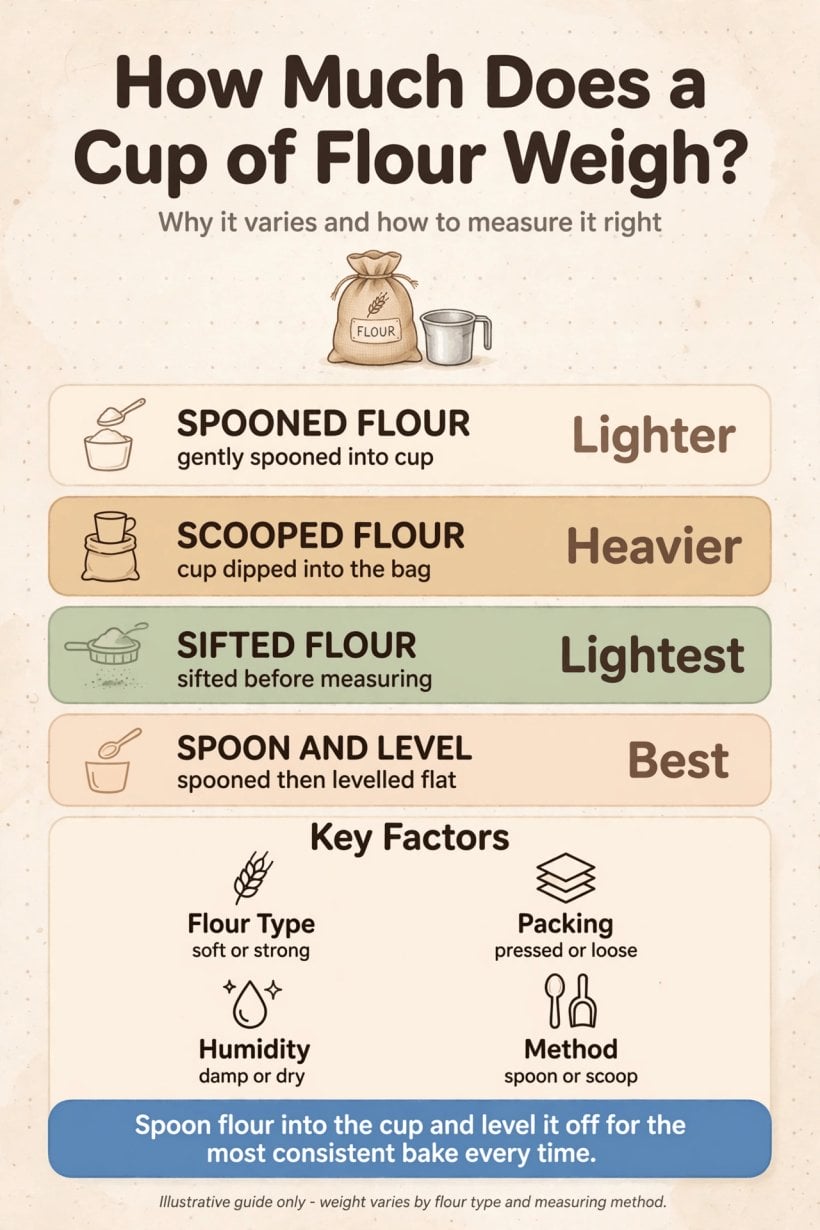
A visual summary of typical cup weights and the measuring habits that keep them steady.
The table also explains why arguing about one single correct number rarely helps a home baker. Two people can measure the same bag of flour on the same morning and honestly record different weights, simply because one spooned gently and the other dug the cup into the bag. Neither person made a mistake; they used different methods. Once you understand that the method is part of the measurement, the ranges in this guide stop looking vague and start looking realistic. The sections that follow unpack each cause of variation and show how to keep your own results consistent from bake to bake.
2. Why the Same Cup Gives Different Weights
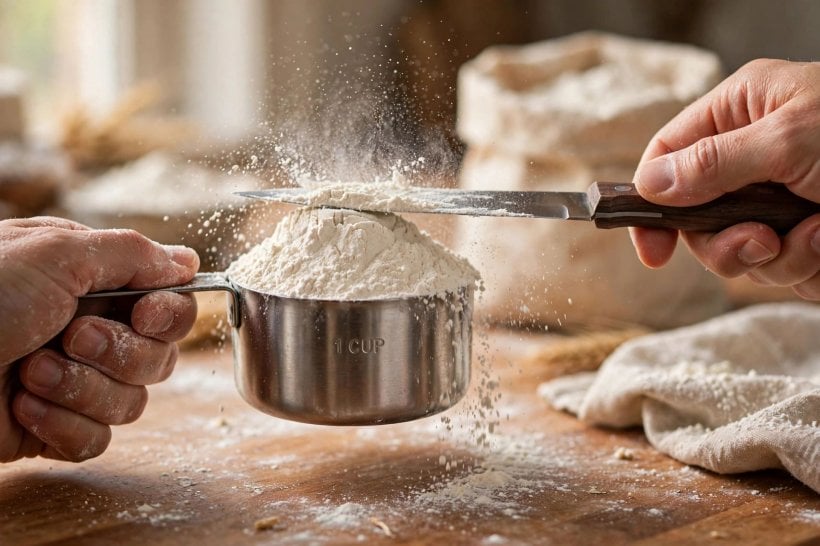
Flour behaves like a soft powder full of trapped air, and anything that squeezes that air out makes a cup heavier. When flour sits in a bag or jar, it slowly settles and compacts under its own weight. The top of the bag is loose and fluffy, while flour near the bottom is denser, so a cup taken from the bottom can outweigh one taken from the top of the very same bag. Tapping the cup on the counter, shaking it to settle the surface, or pressing flour down with the back of a spoon all push more flour into the same space.
This is why two bakers asking how much does a cup of flour weigh can both be right while giving different answers. Technique is the hidden ingredient in every cup measurement. In a compact kitchen the problem grows, because storage jars are refilled often and flour gets poured, scooped, and settled repeatedly. Readers planning small-space baking corners often borrow layout tricks from small home interior design ideas, and the same thinking applies here: keep the flour bin easy to reach, keep a spoon beside it, and the gentle method becomes the natural one. Awareness alone fixes most of the variation, because once you notice settling and packing, you automatically handle flour more lightly.
3. Spooned, Scooped and Sifted: Method Changes Everything
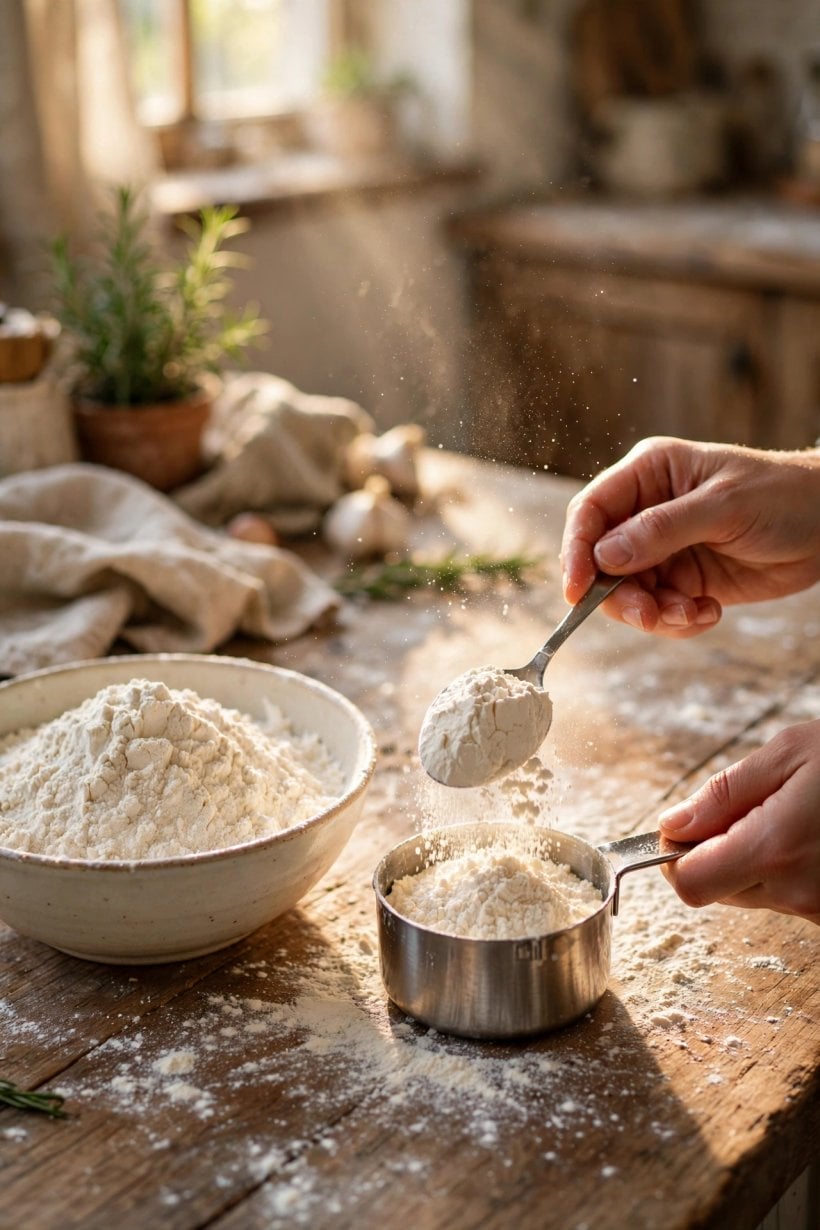
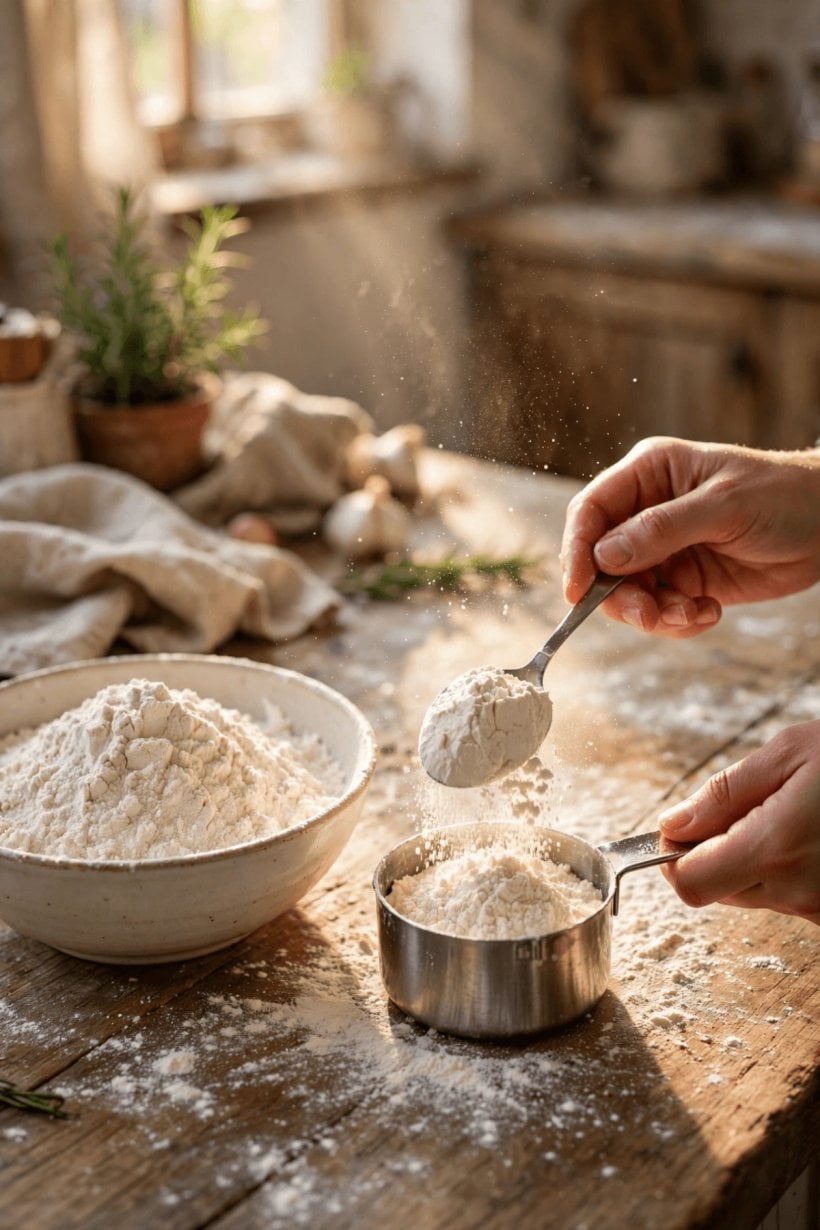
The spoon-and-level method is the reference technique behind most published cup weights. Stir the flour in its container to loosen it, spoon it into the measuring cup until it heaps above the rim, then sweep a straight edge across the top so the surface sits flat. Nothing gets pressed, tapped, or shaken along the way. Done carefully, this method is repeatable enough that your results from one week to the next will feel reassuringly similar, even though the exact gram weight still drifts a little with the flour itself.
Scooping is the opposite habit. Dragging the cup through the bag packs flour against the sides of the container and into the cup, so the same volume quietly holds noticeably more. Sifting changes things again, because sifted flour is airier; a cup measured before sifting is a different quantity from a cup measured after, which is why older recipes distinguish between the two instructions. None of these methods is wrong in isolation. Trouble starts when a recipe written for one method meets a baker using another. Pick the spoon-and-level approach as your default, note it in your recipe book, and your personal results will stay consistent even if they differ slightly from someone else’s kitchen.
4. Flour Types Compared in Plain Terms
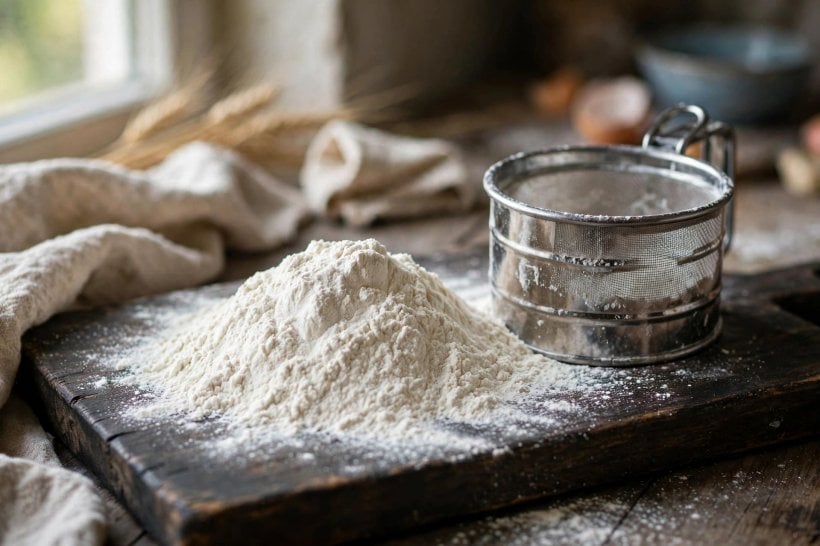
All-purpose flour is the benchmark most charts use, with a level cup commonly cited around 120 to 125 grams. Bread flour is often listed at a similar or slightly higher typical weight, because its grind and protein structure pack a little differently. Wholemeal flour is frequently listed close to all-purpose but can vary more between brands, since the bran in it changes how the flour settles. Cake and pastry flours, milled finer and softer, are commonly listed a touch lighter per level cup. Treat all of these as neighbourhoods rather than addresses: brand, batch, and storage push any of them up or down.
The practical lesson is to convert recipes using the reference weight for the specific flour in your hands, not a universal figure borrowed from another type. If a recipe was developed with one flour and you swap in another, weighing against each flour’s typical reference keeps the proportions closer to the original. Bakers browsing tiny houses for sale in Charlotte, NC sometimes daydream about bigger pantries, but flour type matters far more than cupboard size. A small, well-labelled set of jars, one per flour you actually use, beats a large cluttered shelf every time.
5. Grams, Ounces and the Conversions Between Them
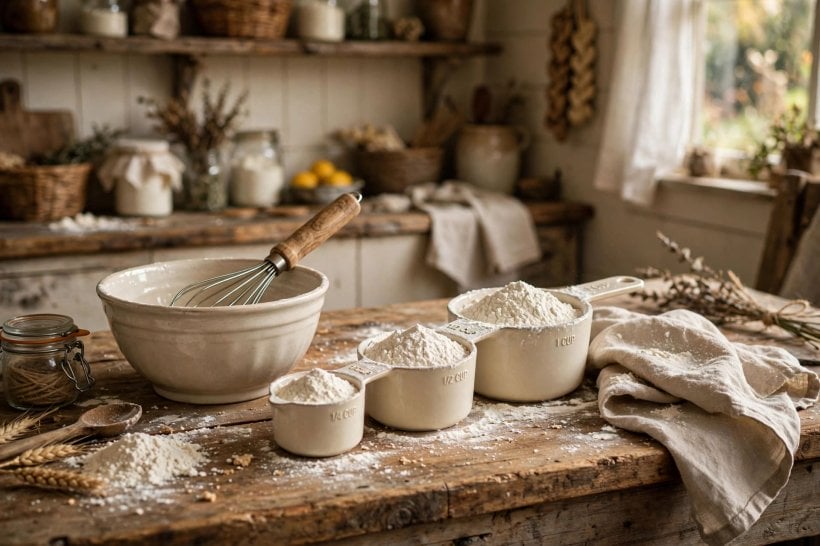
Grams and ounces describe the same reality with different rulers. A level cup of all-purpose flour at the commonly cited 120 grams works out to roughly four and a quarter ounces, while the top of the usual range, around 125 grams, is roughly four and a half ounces. Because the starting figure is itself a range, the ounce figure inherits that fuzziness, so treat ounce conversions as approximations too. When a recipe gives both units, they were probably rounded from each other, and small differences between the two columns are normal rather than a sign that one of them is wrong.
Dry ounces add one more trap: they measure weight, while fluid ounces measure volume, and the two only coincide for water. A cup measure is a volume tool, so filling it to the brim tells you nothing directly about weight until you apply a reference range like the ones in this guide. Readers converting measurements for a move or a new kitchen, perhaps while comparing tiny house listings in Dallas, Texas, will find grams the calmer unit to work in, simply because the numbers are rounder and the ranges are easier to remember. Whichever unit you choose, write it down and stick with it across a recipe.
6. How Humidity, Storage and Age Play a Part
Flour absorbs moisture from the air and gives it back again as conditions change. In a humid week, flour in an open bag can feel slightly heavier and clump more readily; in a dry, heated kitchen it can turn dusty and loose. These shifts are modest, yet they stack on top of method and flour type, which is why a cup weighed in a rainy month may not match the same careful cup measured in a dry one. The lesson is not to chase the weather, but to understand that small drift is built into the ingredient itself.
Storage habits decide how large that drift becomes. Airtight jars or bins protect flour from humidity swings, kitchen odours, and pests, and they keep the texture even from top to bottom. Wholemeal flour, which contains natural oils from the grain, keeps best in a cool spot and benefits from being used sooner rather than later, while white flours are generally more forgiving. Whatever the container, give the flour a gentle stir before measuring to reverse the settling that happens between bakes. That five-second habit removes one of the biggest hidden causes of cup-to-cup variation and costs nothing at all.
7. Setting Up a Small Kitchen for Steadier Measuring
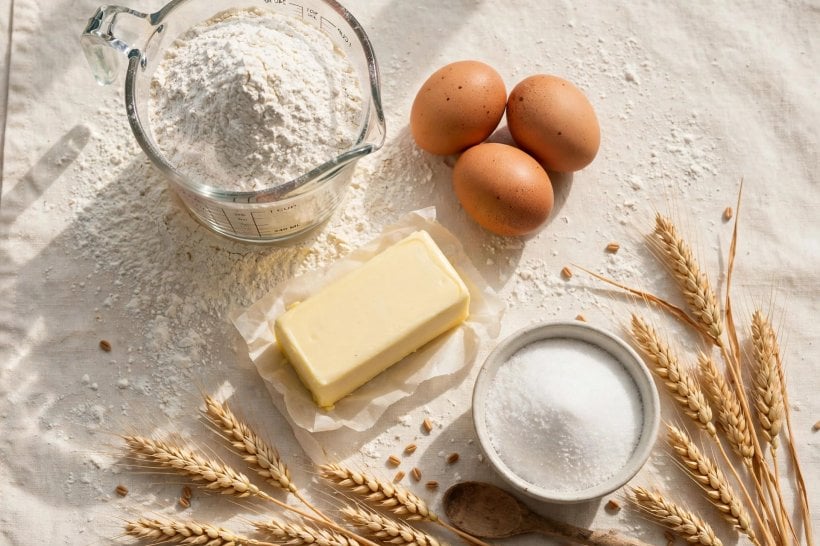
Consistency is easier when the workspace encourages it. Keep one dedicated spoon in or beside the flour container so the spoon-and-level method is always the path of least resistance. Store cups nested within reach rather than buried in a drawer, and keep a straight-edged knife or skewer nearby purely for levelling. A small tray under the measuring area catches spills, which quietly matters: bakers who fear mess tend to rush and tap the cup, while bakers with an easy-clean setup take the extra seconds to level properly.
Small kitchens reward this kind of deliberate arrangement. The same organisational thinking behind home interior design ideas for compact spaces applies to a single baking shelf: group items by task, label the jars with the flour type and its typical reference weight, and keep the scale, if you own one, in the same zone. People weighing up where to rent a tiny house often find the kitchens work beautifully once every tool has a fixed home. Your measuring routine will become muscle memory, and muscle memory is what turns a variable ingredient into a dependable one.
8. When a Scale Earns Its Place on the Counter
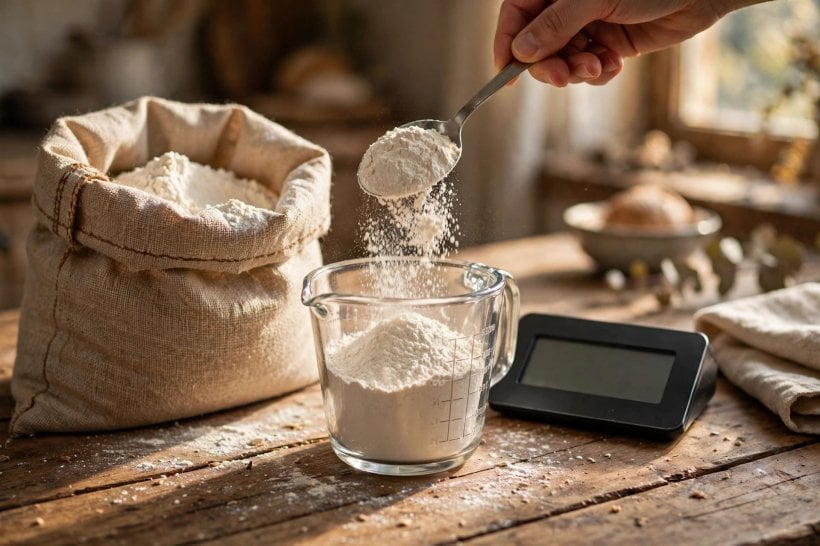
Cups are fine for everyday cooking, but some jobs repay precision. Bread doughs respond to small changes in flour, because the ratio of flour to water shapes the whole crumb. Delicate sponges and meringue-based bakes are similarly sensitive. Scaling a recipe up for guests or down for one person is also far safer by weight, since multiplying a range still keeps the proportions honest. In these cases a simple kitchen scale removes the guesswork entirely: place the bowl on it, zero the reading, and add flour until you reach the weight your recipe intends.
A scale also settles arguments with your past self. If a bake goes wrong, your notes can record the exact weight you used, not just the number of cups, so the next attempt can adjust deliberately. Compact models suit small counters well and slide into a drawer when not needed, a point worth noting for anyone reading about tiny houses for sale in Nashville, TN and wondering whether serious baking survives small living. It does, happily. The scale does not replace cup skills; it calibrates them, showing you what your own level cup of your own flour typically weighs, which is the most useful number of all.
9. Troubleshooting Bakes That Keep Going Wrong
When a familiar recipe suddenly turns out heavy, dense, or dry, flour quantity is the first suspect to check. A dough that feels stiff before any liquid adjustment often means the cups crept heavier, usually through scooping or settling. A batter that spreads too thin and bakes up fragile can mean the opposite: flour measured after vigorous sifting, or cups filled from a freshly stirred, very airy bag. Before blaming the oven or the recipe, repeat the bake once with spooned-and-levelled cups and compare. Method changes explain a surprising share of mystery failures.
Keep short notes as you troubleshoot. Record the flour brand, the method, the weather if your kitchen is prone to humidity, and how the result turned out. Patterns appear quickly: many bakers discover their problem was a single habit, such as storing the measuring cup inside the flour bin, which guarantees a packed scoop every time. Readers planning kitchen upgrades alongside tiny houses for sale in Augusta, GA can apply the same diagnostic mindset to any household puzzle. Change one variable at a time, note the outcome, and the ingredient that seemed unpredictable becomes the most predictable part of the bake.
10. Building a Personal Reference You Can Trust
Published ranges are a starting point, but your own kitchen deserves its own reference card. If you have a scale, weigh your spooned-and-levelled cup of each flour you use, a few times across different days, and note the typical result on the jar label. If you have no scale, consistency still counts: always stir, spoon, and level the same way, and your cup will land within a narrow personal range even if you never learn its exact weight. Either approach beats chasing a universal number that does not exist.
Share that reference with anyone else who bakes in your kitchen. Most household inconsistency is really two people measuring differently under the same recipe. A short note on the flour jar, reading simply with the method and the typical weight you use, aligns everyone without any fuss. Over months, your recipe book and your jars will tell the same story, and adjustments become calm and deliberate. That is the real destination of this whole topic: not a perfect number, but a repeatable routine that makes your baking taste like your baking, on purpose, every single time you tie an apron.
Final Considerations
A level cup of all-purpose flour is commonly cited around 120 to 125 grams, roughly four and a quarter to four and a half ounces, and every other flour sits in its own nearby typical range. Method, flour type, settling, and humidity all move the real figure, which is why ranges are more honest than single numbers. Spoon and level for steadier cups, weigh when the bake is delicate or the batch is scaled, and keep brief notes so your own kitchen builds its own trustworthy reference over time.
Above all, do not let the variation put you off. Generations of bakers produced wonderful breads and cakes with nothing more than a cup, a spoon, and attention. Use the ranges in this guide as your map, your own routine as your compass, and each bake as a small, delicious experiment that teaches the next one something useful.




0 Comments