

The garage floor disappears quickly. Bikes, bins, ladders and boxes creep inward until the car barely fits, yet the walls above them usually sit empty. Good wall storage turns that wasted vertical space into the hardest-working part of the garage.
This guide compares rails, panels, shelves, cabinets and hooks, explains weights and fixings honestly, and shows how to plan a layout that keeps everything reachable, tidy and off the floor for good.
1. Garage Wall Storage at a Glance
Begin with the shape of the system, not with individual products. The table below sums up the main ways to store things on a garage wall, what each does best and what to watch for. Most successful garages combine two or three of them: a flexible rail or panel system as the backbone, shelves and cabinets for bulk, and hooks for the tools you grab every week.
| Question | Quick Answer |
|---|---|
| Best first step | Empty one wall, group everything by how often you use it, then plan zones |
| Backbone options | Wall rails, track systems and slatted panels that accept movable hooks and shelves |
| For bulky items | Deep shelves, wall cabinets and heavy-duty brackets for bins and boxes |
| For tools | Hooks, clips and magnetic or pegged holders at comfortable reaching height |
| For bikes and ladders | Wall hooks, pulley-free hangers and flat brackets that keep walkways clear |
| Cost drivers | System type, wall length covered, cabinet quality, load ratings and installation |
| Key safety point | Fix into studs or solid masonry, respect load ratings, keep heavy items low |
| Maintenance | Re-sort seasonally, wipe shelves, re-check fixings on anything heavy |
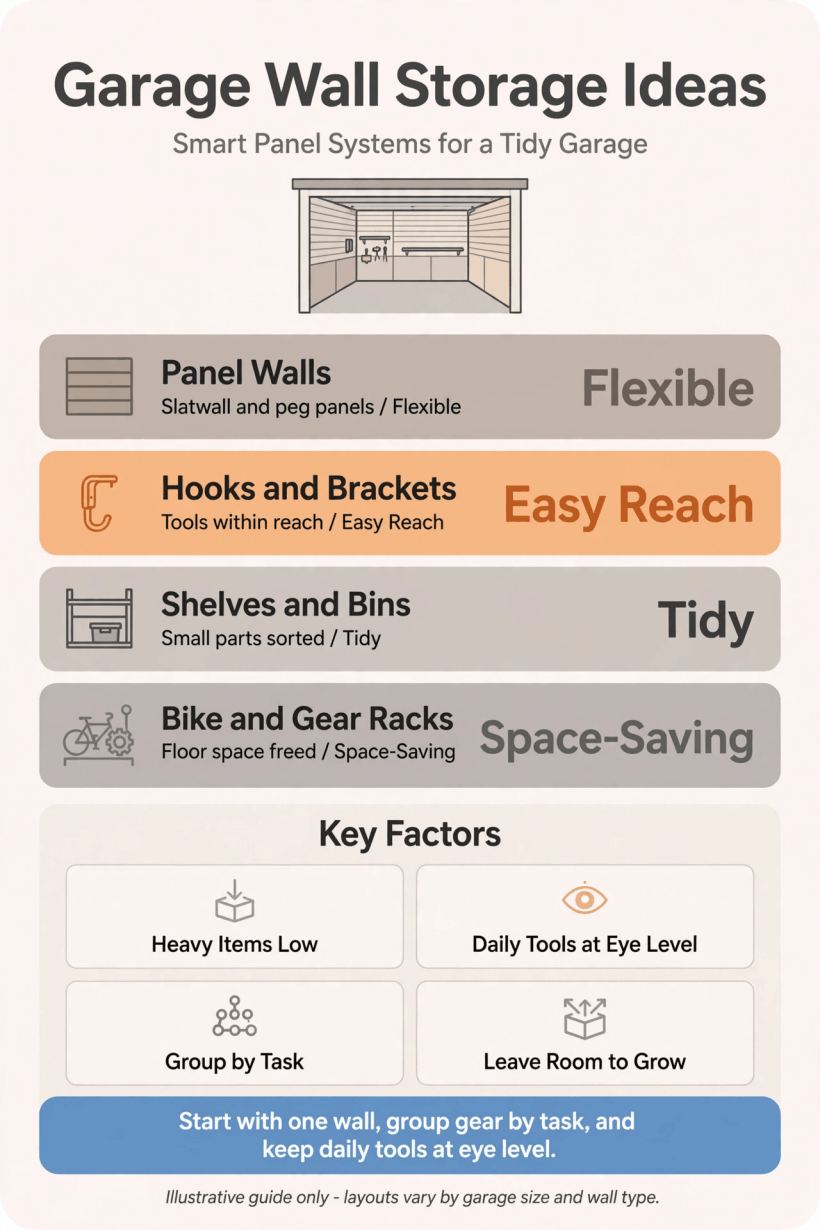
A visual summary of wall storage systems, zones and fixings to plan before you drill a single hole.
Think of the garage as another room of the house that happens to hold a car. The same zone-based thinking that organises the spaces in our tiny house living room ideas works here: one home for each category, everything visible, nothing stacked three deep.
2. Start With a Wall Plan, Not a Shopping List
The biggest mistake in garage organisation is buying storage before deciding what it must hold. Start by taking everything off one wall and sorting it on the driveway into groups: weekly tools, seasonal gear, sports equipment, car care, gardening, and the rarely used items that can live highest or deepest. Measure each group roughly, then sketch the wall and assign zones, keeping daily items between knee and shoulder height where they are effortless to grab and return.
Allow for how the garage is actually used. Keep a clear corridor from the car doors to the house door, leave room for bins to roll out, and check that stored items will not foul the garage door tracks or its swing. Note where power sockets, lights, windows and the consumer unit sit, because cabinets cannot cover them and you will want light over your main tool zone. A simple sketch with measurements prevents the classic problem of shelves that almost fit. If the garage doubles as a workshop or gym, plan those zones first and fit storage around them, the same priorities-first approach used in our guide to building your own tiny house.
3. Rails, Tracks and Slat Panels Compared
Flexible systems are the backbone of most garage wall storage because they let you rearrange hooks and shelves as your kit changes. Rail systems fix one or more horizontal rails to the wall, and accessories hang from them and slide along: simple, strong and easy to extend. Track systems use vertical channels or a grid, giving more positions for fittings and a workshop feel.
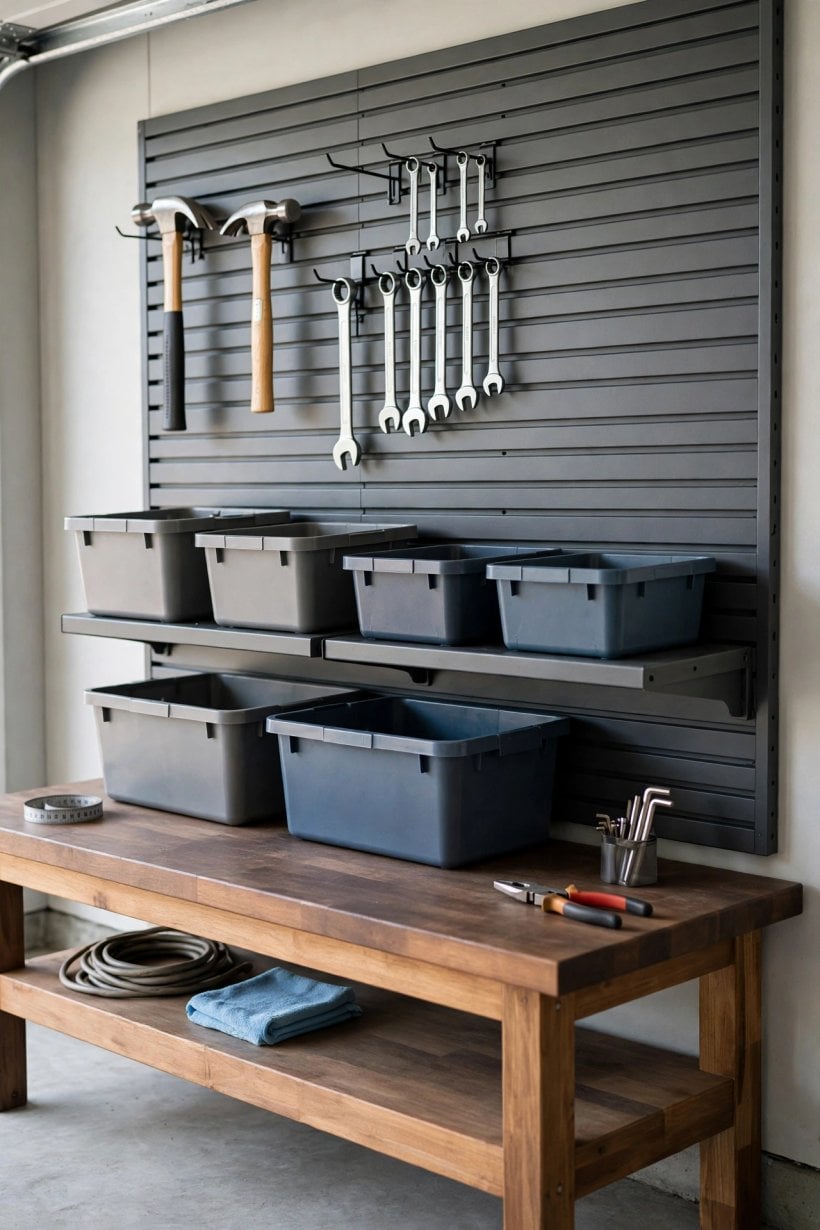
Slatted wall panels cover a whole section of wall with horizontal grooves that accept compatible hooks, baskets and shelves anywhere on the panel. They look the neatest and protect the wall behind, but you are buying into one system’s accessories, so check the range and load ratings before committing a whole wall. Peg-style boards suit light hand tools over a workbench rather than heavy storage. Plain timber battens with individual hooks are the budget route: less flexible, but strong and easy to repair. Whichever backbone you choose, confirm the fixings it needs for your wall type, and buy a few spare hooks at the start, because you will always find one more thing that deserves a home.
4. Shelving, Cabinets and Closed Storage
Shelves do the heavy lifting for boxes, paint tins, car supplies and the general clutter that has no natural hook. Wall-mounted shelves on strong brackets keep the floor clear for sweeping and parking, and adjustable shelf heights let you fit tall bottles on one run and flat boxes on another. Deep shelves suit storage bins; shallower ones keep smaller items visible so they actually get used.
Wall cabinets add doors, and doors add calm: behind them, mixed contents look tidy, dust stays off, and chemicals or sharp tools can be kept shut away from children. A run of cabinets above a workbench is the classic workshop wall, with open shelving at the ends for the things you reach for daily. Freestanding shelving units pushed against the wall are an option where you cannot drill, such as a rented garage, but they eat floor space and can tip if loaded top-heavy, so wall fixing is better where allowed. Combine open and closed storage honestly: if everything hides behind doors you will forget what you own, and if everything is open the garage always looks busy. The balance resembles the kitchens and storage walls in our tiny barn house interior ideas, where practical storage still looks considered.
5. Hooks, Brackets and Hangers for Tools
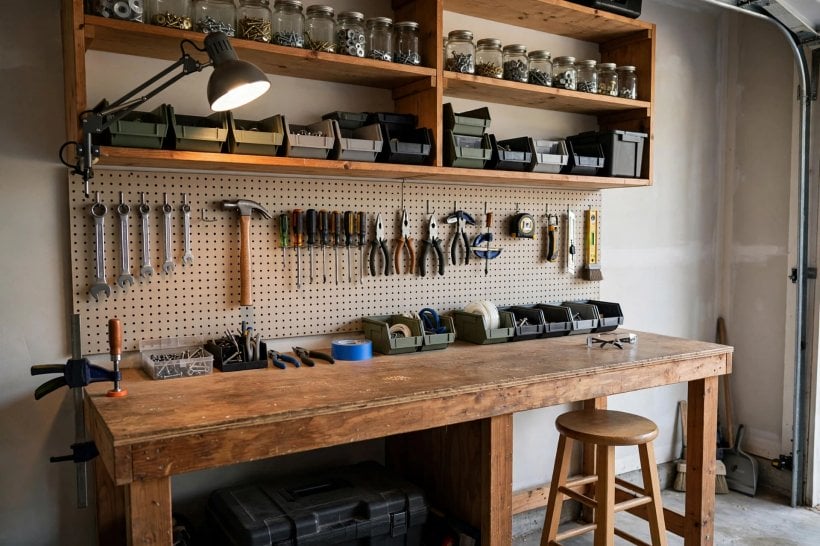
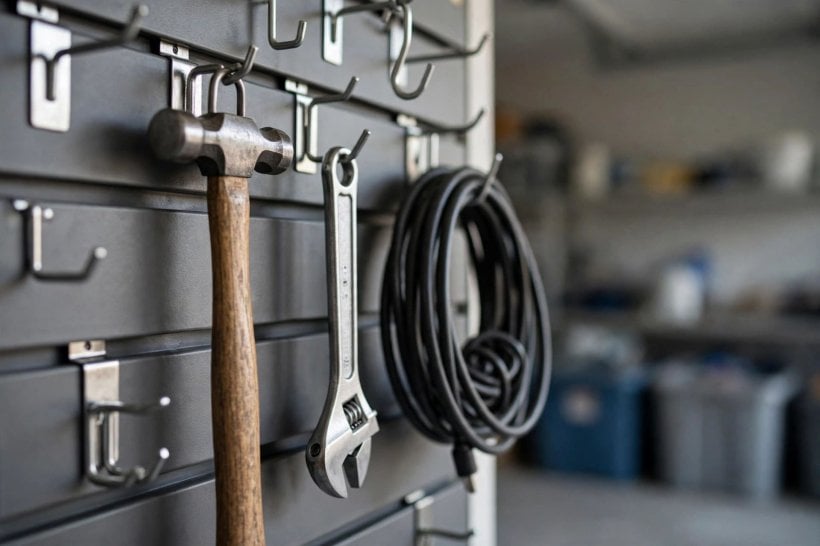
Tools are where wall storage earns its keep daily. Long-handled garden tools hang neatly from pairs of hooks or spring clips, grouped by job: digging, cutting, sweeping. Hand tools belong over the workbench on hooks or a board, laid out in the order you use them, with the most-used at the front. Power tools sit better on small shelves or in their cases on a shelf than dangling from a single hook.
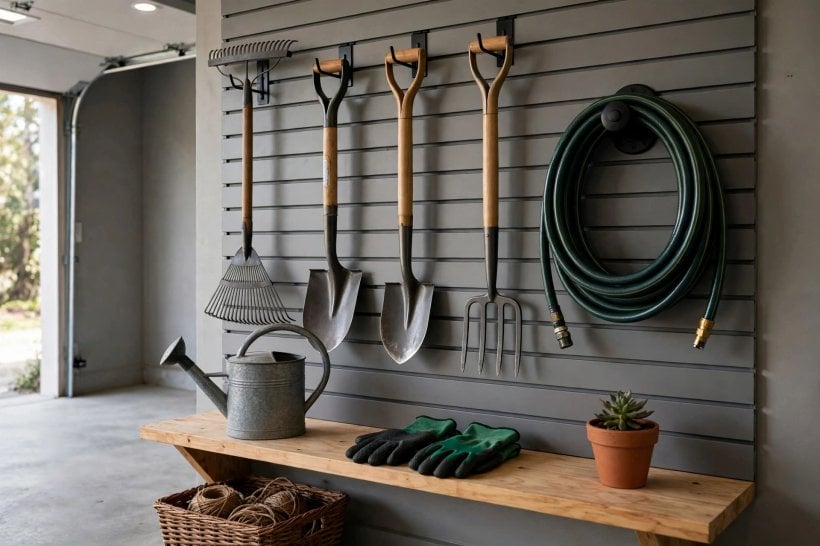
Choose hooks with a load rating comfortably above what they will carry, and prefer designs that cradle the tool rather than balancing it, so a knock does not bring a spade down on the car. Rubber-coated hooks protect handles and painted frames, and double hooks hold ladders and strimmers securely at two points. Leave breathing room between items: a wall where everything touches is a wall where taking one tool disturbs three others. Label or outline positions if several people share the garage, because a system only stays tidy when putting things back is obvious. It is the same principle that keeps small homes calm in our tiny house bedroom ideas: a defined place for everything, visible at a glance.
6. Bins, Baskets and Small-Item Storage
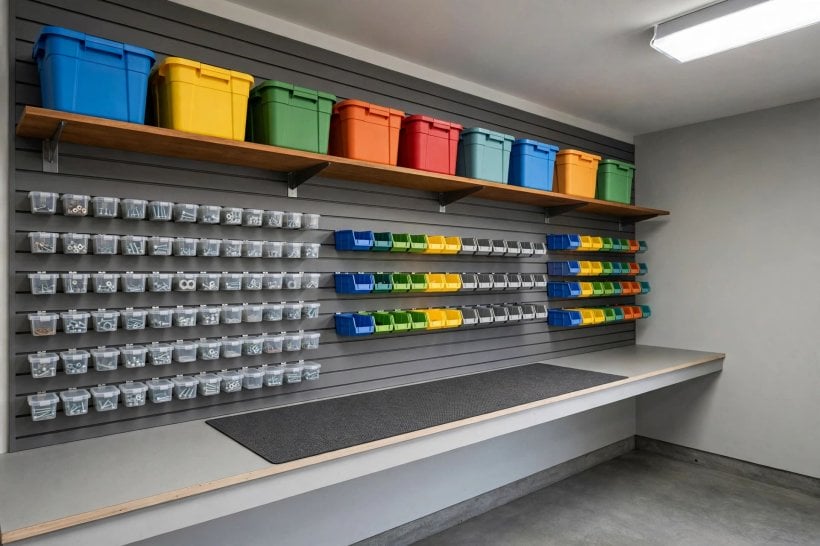
Small items are the downfall of most garages: screws, tape, chargers, gloves, balls and cables migrate into mystery boxes. Clear or labelled bins on shelves solve this, because you can see or read what is inside without opening three lids. Group by activity rather than by object type: one bin for bike maintenance, one for car cleaning, one for painting, each ready to lift down whole.
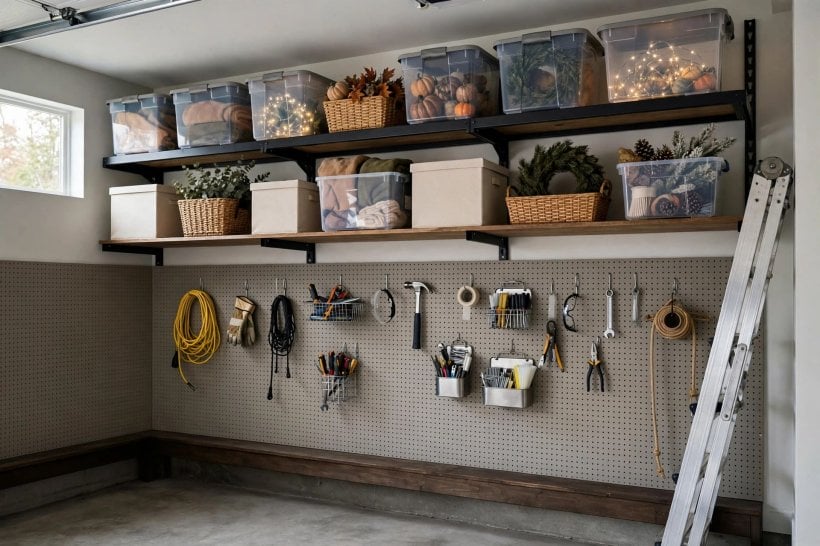
Wire baskets hung from a rail or panel suit balls, helmets and other bulky-but-light gear, keeping them visible and ventilated. Small-parts organisers with drawers belong on or above the workbench for fixings and fittings. For cables and hoses, wide hooks or a dedicated reel stop the tangle that wastes time on every job. Whatever containers you pick, standardise sizes where you can: matching bins stack and line up neatly, while a jumble of shapes wastes shelf space and looks untidy even when it is organised. Date or list the contents of any bin you store high, and keep a simple rule that a new bin means an old one is re-sorted, not that the system quietly expands into chaos again, a discipline familiar from the compact schemes in our bedroom interior design for tiny houses.
7. Bikes, Ladders and Bulky Gear on the Wall
Bulky gear is the strongest argument for wall storage, because a bike on the floor costs a parking space and a ladder underfoot is a trip hazard. Bikes hang well from a sturdy hook through the front wheel or from a horizontal hanger that holds the frame; check the wall and fixings can take the weight with a margin, and position hangers so handlebars do not clash when several bikes share a wall.
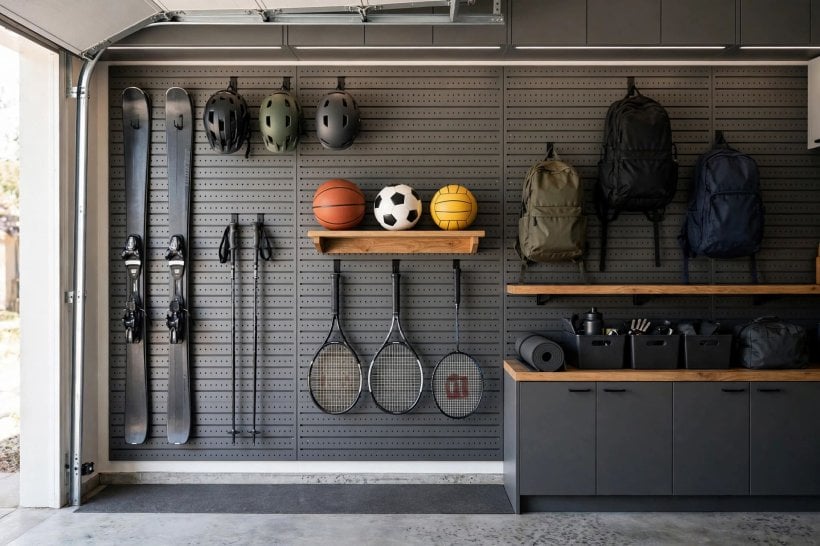
Ladders store flat on pairs of wide brackets, ideally along a side wall where their length does not block doors. Long, light items such as timber offcuts, skis or fishing rods rest on high brackets near the ceiling, out of the way but reachable with a step. Garden furniture cushions and seasonal items belong in large bins on the highest shelves, since you will only fetch them twice a year. Think about frequency honestly: the wall space at easy height is precious, so anything used weekly gets it, and anything used yearly earns the high or deep spots. That same frequency test organises the outdoor gear in our tiny house landscaping ideas, where everyday tools live closest to the door.
8. Colours, Finishes and a Tidy Look
A garage does not need to look like a showroom, but a coherent colour scheme makes it calmer to use and easier to keep tidy. Pale walls reflect light and make finding things easier, which is why many people paint garage walls a light, washable colour before fitting storage. Against that backdrop, storage in a single colour family, such as all-grey cabinets and shelves, or timber shelves with black brackets, reads as one system rather than a pile of purchases.
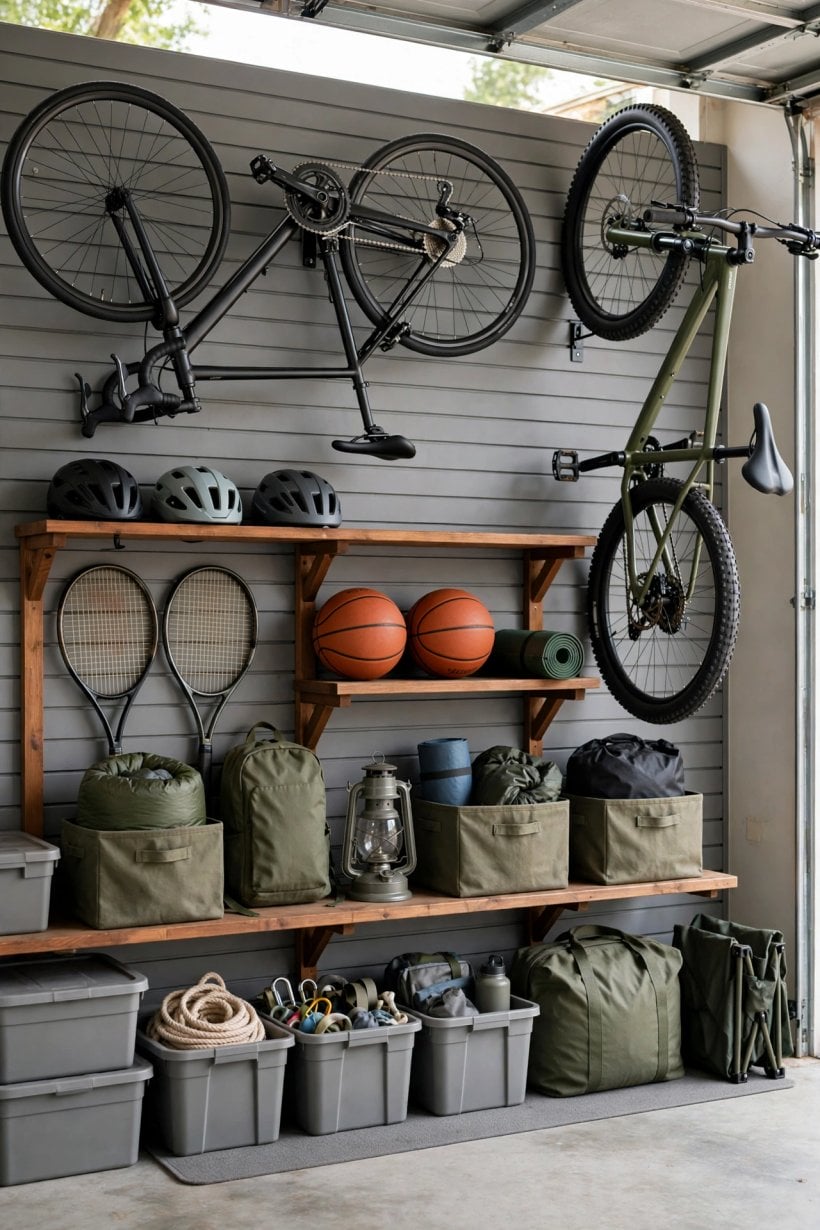
Powder-coated metal shelves and cabinets shrug off knocks and wipe clean, timber shelves warm the space up, and plastic bins in one colour keep open shelving looking ordered. Add light deliberately: a bright strip over the workbench and tool wall matters more than general ceiling light, and it makes evening jobs pleasanter and safer. Small finishing touches help more than expected: labels in one style, matching bins, a swept floor and a hook for the broom itself. If you enjoy colour, a single painted wall or coloured cabinet doors can lift the whole garage; the confident palettes in our colourful tiny house interior ideas show how one strong choice, repeated calmly, beats several competing ones.
9. Weights, Fixings and Wall Types
Everything in this guide hangs on one question: what is your wall made of, and what will the fixing hold? Solid brick or block walls take heavy loads with suitable masonry fixings. Timber stud walls are strong if you fix into the studs themselves, so find them reliably and plan rail positions around them. Plasterboard alone will not hold loaded shelves, and garage walls are often a single skin of block that can be damp, so allow air behind cabinets in a cold garage.
Respect the load ratings on rails, hooks and shelves, and spread weight across several fixings rather than trusting one heroic screw. Keep the heaviest items, such as full paint tins and toolboxes, on low shelves, and never hang heavy gear above where people walk or where a car door opens. Check for hidden pipes and cables before drilling, work methodically, and if a wall is crumbly, damp or simply unknown, get advice before loading it. Storage that falls down is worse than no storage, and an honest hour spent on fixings protects both your kit and your car. The same respect for structure runs through our tiny house bathroom ideas, where wall-hung fittings succeed or fail on what sits behind the tiles.
10. Costs, Layout Mistakes and Maintenance
Costs scale with ambition. A few battens, hooks and a shelf or two form a genuinely useful system for modest money, a mid-range setup of rails, panels and cabinets costs more, and a full wall of fitted cabinets is a significant project. The drivers are the length of wall covered, the number of cabinets, the load ratings you need, and whether you pay for installation. Because general systems are modular, you can start with one wall or one zone and add to it, which spreads cost and lets you learn how you actually use the space before covering every wall.
The layout mistakes repeat everywhere: shelves too deep, so items hide behind each other; heavy things stored high; walkways narrowed until the car door cannot open; and systems bought before measuring, leaving rails that clash with sockets or door tracks. Avoid them by planning on paper first and testing zones with boxes on the floor before drilling. Maintenance is light: a seasonal re-sort, a wipe-down of shelves, a check that heavy fixings are still tight, and a ruthless rule that anything unused for a couple of years is sold, donated or binned. A garage stays tidy because the system makes tidiness easy, not because anyone tries harder.
Final Considerations
Plan zones before products, fix storage properly into the structure of the wall, and give weekly tools the easy heights while seasonal gear goes high. Combine a flexible backbone of rails or panels with shelves for bulk, cabinets for calm and hooks for daily tools, and keep colours and bins consistent so the wall reads as one system. Start with a single wall, live with it, then extend what works. Do that, and the garage floor stays clear, the car fits, and everything you own out there has a place you can reach without a search party.



0 Comments