

There is a particular silence to a tiny home at dawn in January — snow on the roof, frost feathering the window corners, and one small room that either greets you warm or sends you straight back under the blankets. Winter comfort in a small space is never an accident. It is a system: a tight shell, the right heat source, and a few good habits repeated daily.
1. At a Glance: Winter Heating in Brief
A tiny home has very little air volume and very little thermal mass, which cuts both ways: a small heater raises the temperature quickly, but warmth drains away just as fast through the floor, the door seals or an uninsulated roof. That is why winter heating is best treated as one connected system with four attributes: the envelope that holds heat in, the appliance that produces it, the fuel or power supply that feeds it, and the ventilation that keeps the air safe and dry. Choose those four together — in that order — and a tiny home stays comfortable on a surprisingly modest heat source.
| Option | Fuel or power | Best for |
|---|---|---|
| Insulated shell, sealed draughts and skirting | None — passive | Every tiny home; the foundation every other option builds on |
| Small wood stove or pellet stove | Seasoned cordwood or wood pellets | Off-grid homes with dry fuel storage and time for daily tending |
| Vented propane heater | Propane from refillable outdoor tanks | Full-time homes that want steady, thermostat-controlled heat |
| Mini-split heat pump | Electricity — grid or a large solar system | Mild-to-cold climates and homes with reliable power |
| Electric resistance and infrared heaters | Electricity | Supplemental warmth, single zones and shore-power stays |
| Passive solar design with thermal mass | Sunlight, stored in floors and walls | Sunny winter sites; shrinks every other heat load |
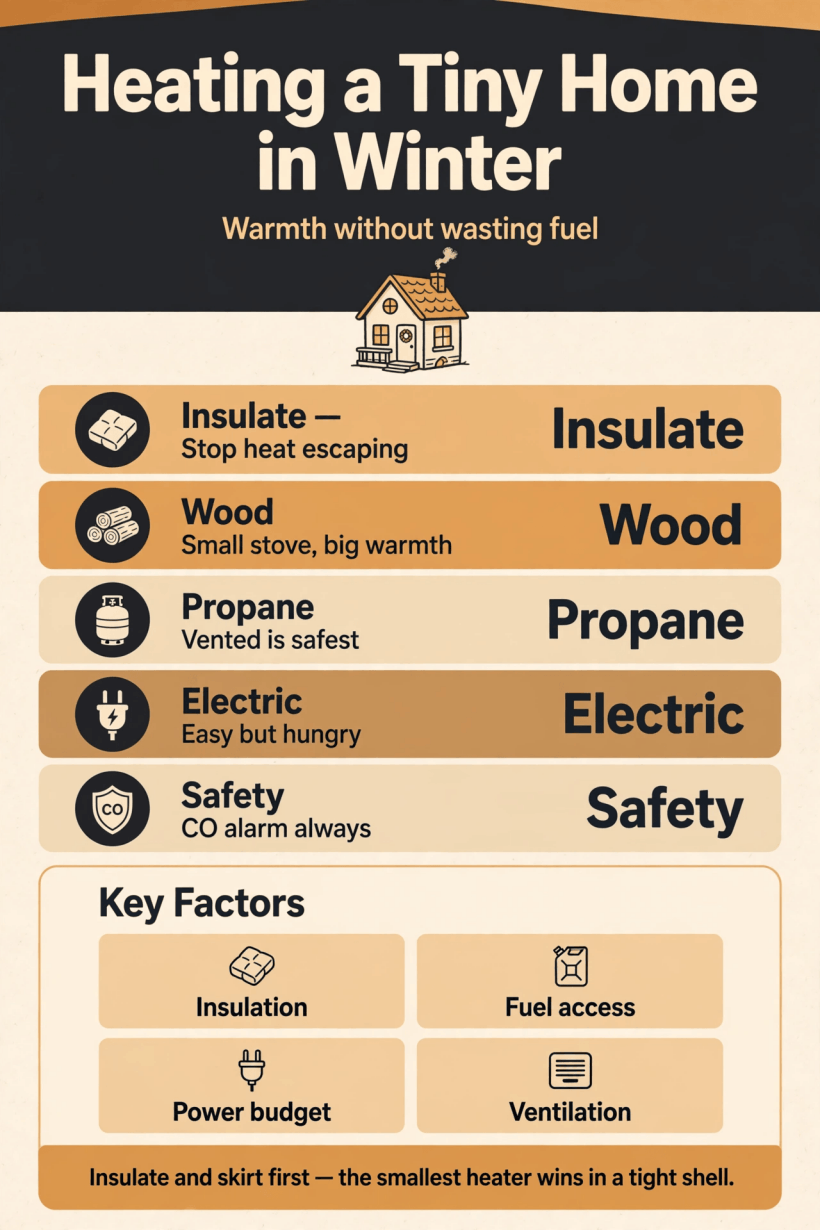
The winter heating system at a glance: hold heat in first, then match fuel and appliance to your power supply, climate and routine.
2. Heat Loss First: Insulation, Draughts and Skirting
Every heating decision starts with heat loss, because in a small building the envelope does more work than the heater. Walls, roof and floor are never far from the occupants, so any cold surface is felt immediately, and moving air strips warmth faster than conduction does. Seal the leaks first: foam tape on the door frame, sealed penetrations where pipes and cables pass through, and window film or lined curtains over single glazing. Then look at insulation quality. Spray foam gives an airtight, high-performing layer in thin wall cavities; sheep’s wool is a long-standing favourite in tiny builds because it buffers moisture as well as holding warmth; recycled denim and cellulose suit owners who want low-impact materials. The original version of this guide made the same point from experience: winters spent feeding electric heaters in a poorly insulated home teach you that insulation is not one option among many — it is the one that makes every other affordable.
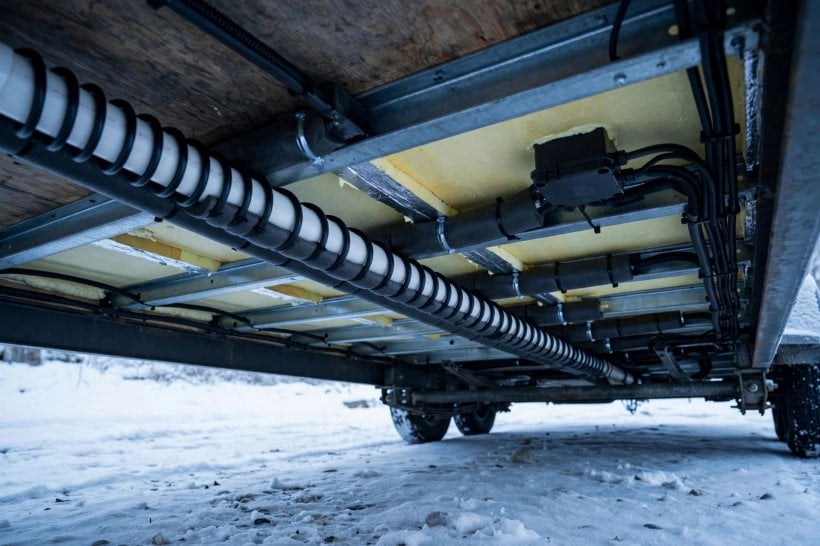
The floor deserves special attention in a home on wheels or piers. Cold air washing underneath chills the whole structure from below, so an insulated deck and a skirted base transform comfort before any appliance is upgraded. Our detailed comparison of spray foam, rockwool and sheep’s wool insulation for tiny houses walks through the materials in depth. Work the shell in that order, and the heater you need gets smaller, quieter and cheaper to run.

3. Wood Stoves: Small Heat with Real Clearances
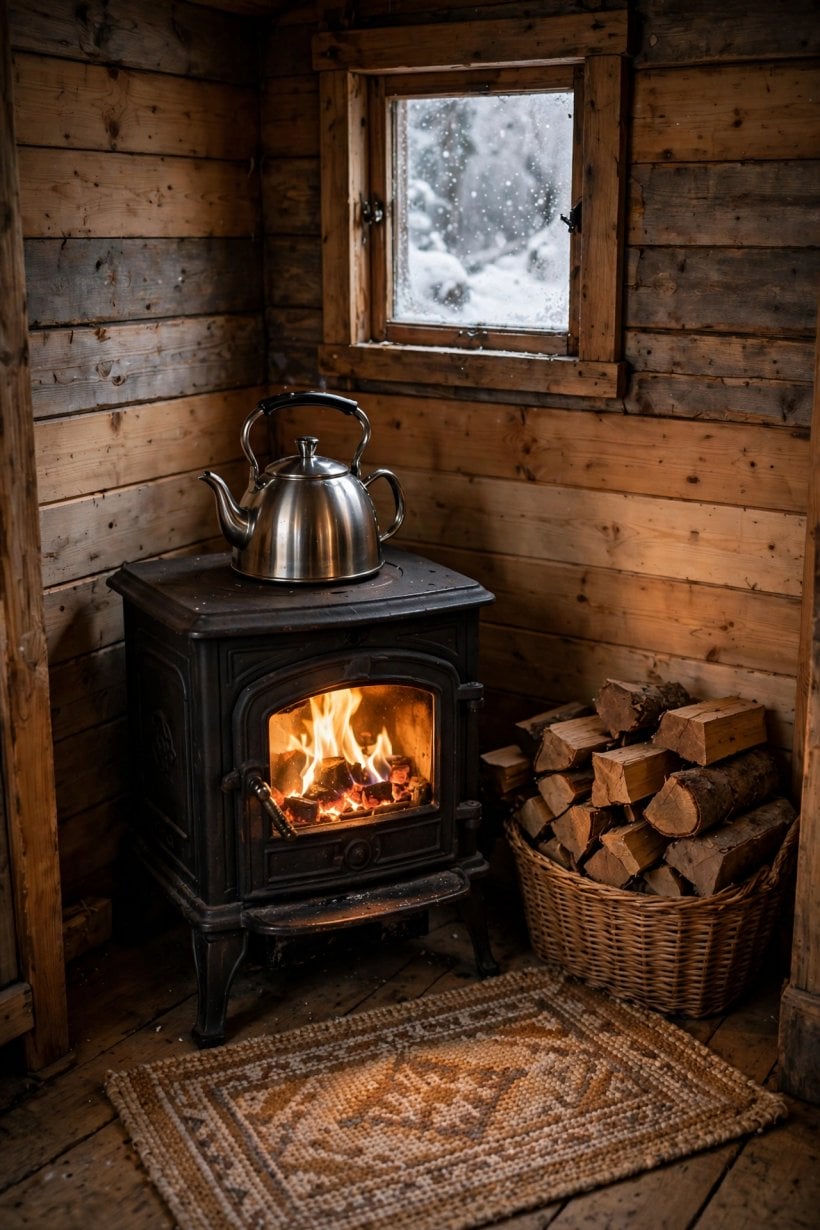
For many off-grid owners, heating a tiny home in winter still means a small wood stove, and it earns its place: it works without electricity, dries the air, and turns a local, storable fuel into fierce, radiant warmth. The discipline is sizing. A stove chosen for a farmhouse will roast a tiny room within the hour and spend the night cycling between sweltering and cold, so look for the smallest models, burn dry wood in smaller, hotter fires, and accept that a tiny stove needs feeding more often. Pellet stoves are the automated branch of the same family — an auger feeds compressed sawdust pellets on a thermostat’s command, buying steadier temperatures in exchange for a small electrical draw and dry indoor storage for the bags.
Installation is the non-negotiable part. The stove needs a flue that terminates above the roofline, a non-combustible hearth pad beneath it, heat shielding where walls sit close, and the clearances to combustibles that the manufacturer specifies — never guessed, never trimmed to fit the furniture. Use the wood stove clearance calculator to check safe distances before the first fire, keep a working routine for ash removal and chimney sweeping so creosote never builds up, and store the woodpile close, dry and off the ground.
4. Propane Heaters: Vented vs Unvented
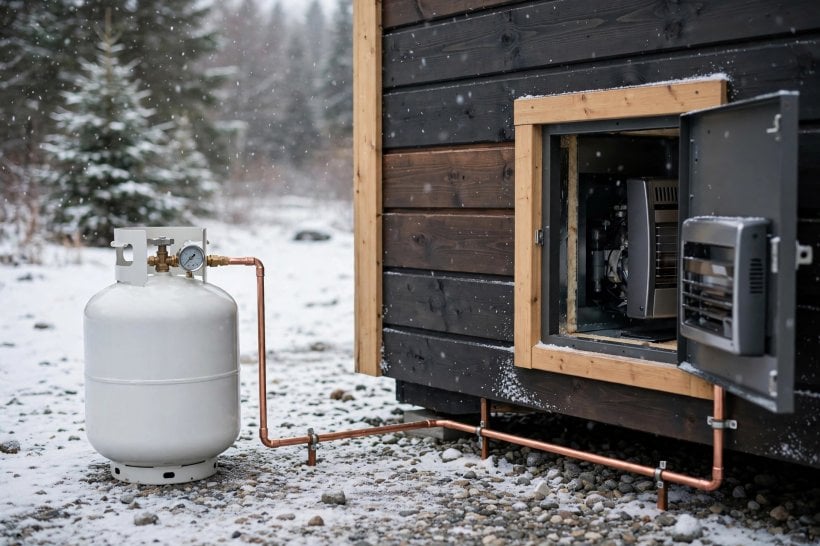
Propane is the quiet workhorse of tiny home heating: energy-dense, delivered almost anywhere, and happy to run a thermostat day and night. The important split is between vented and unvented appliances. A direct-vent heater draws its combustion air from outside and sends its exhaust straight back out through the wall, so the flame never touches your room air. It is the right default for a full-time tiny home — steady, dry, controllable heat. An unvented heater burns room air and releases everything it produces into the space, including a substantial amount of water vapour. In a small, tightly sealed volume that moisture condenses on windows and cold walls, and the combustion products have nowhere to go. Treat unvented units as short-duration backup only, never as overnight primary heat, and read the safety section below before using one at all.
Tanks live outside, sized to how often you want a refill through the snowy months, with regulator and lines protected from freezing and damage. Our breakdown of propane versus electric heating and tank sizing for tiny houses covers the storage maths. A vented propane heater paired with a small stove is a combination many cold-climate owners settle on — propane carries the baseline and the nights, wood carries the evenings and the power cuts.
5. Electric Heat and Mini-Splits
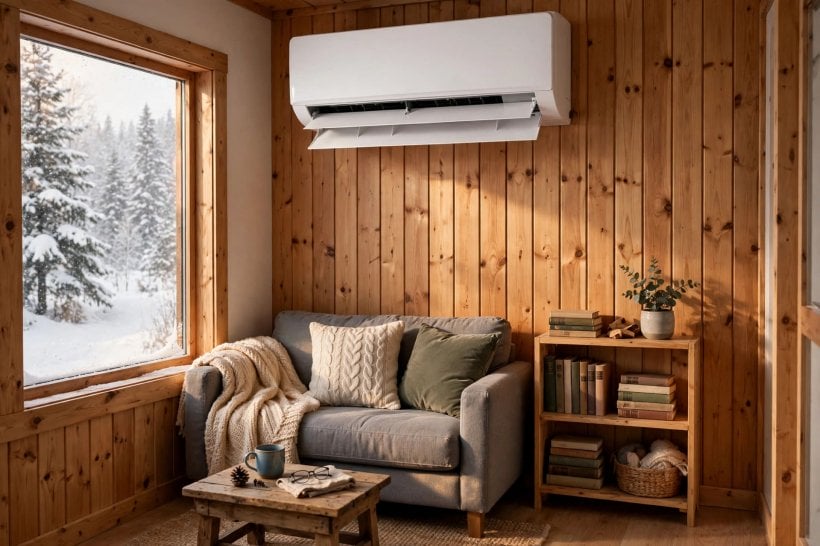
Electric heating splits into two very different families. Resistance heaters — fan heaters, oil-filled radiators, ceramic panels — turn every unit of electricity into one unit of heat: simple, silent and cheap to buy, but a heavy continuous draw that few off-grid systems can sustain. Infrared heaters and panels work differently, warming people, furniture and floors directly rather than heating all the air first, which is why they feel effective at lower settings in a small living zone. The second family is the mini-split heat pump — the air-source heat pump in its most tiny-friendly form. Instead of making heat, it moves heat from the outdoor air into the room, delivering far more warmth per unit of electricity than any resistance heater while the weather is mild to moderately cold. As outdoor temperatures fall hard, output and efficiency taper, defrost cycles kick in, and a backup source earns its keep — though cold-climate models work far lower.
Placement matters in one room: mount the indoor unit where its airflow washes the main living area without blasting the bed or desk, keep the outdoor unit clear of drifting snow, and plan where condensate drains in freezing weather. For the full landscape of appliances, our complete guide to tiny house heating options compares every major type side by side.
6. Heating on Solar and Off-Grid Power Budgets
Off-grid heating is an accounting problem before it is a technology problem. Space heating is the largest energy load a tiny home ever carries, and it peaks in exactly the weeks when a solar array harvests the least — short days, a low sun angle, panels possibly under snow. Running resistance electric heat from a typical tiny battery bank is therefore a short road to a flat battery by midnight. The designs that work flip the roles: combustion — wood or propane — carries the primary heat load, while the electrical system runs the efficient supporting cast of fans, pumps, controls and lighting. Electricity is too precious in winter to spend on raw heat.
Design shrinks the load before any fuel is burned: south-facing glass admitting low winter sun, paired with thermal mass — dark tile, stone or masonry floors that soak up the day’s warmth and release it after sunset — can carry a well-sited home through the sunny hours. A small wind turbine complements solar well off-grid — winter storms deliver wind when the sun is scarce — and on suitable sites a ground-source system feeding radiant floors is the higher-investment route. Whatever the array, keep an honest winter budget: harvest in the worst month, not the average one, decides what your system can promise.

7. Floors, Pipes and Freeze Protection
Frozen plumbing is the winter failure that costs real money, so the underside of the home gets its own plan. The skirt is the first line of defence: enclosing the space beneath the floor stops wind from stripping heat away and keeps the underfloor zone much closer to indoor temperatures. The tiny house skirting for winter calculator helps size and plan that enclosure properly. Inside it, water lines should run close to the warm floor, lagged with pipe insulation, with electric heat-trace cable on any run that must stay exposed — and a thermostat or plug routine so the trace only draws power when it is genuinely cold.
Inside the home, the habits are small: leave the cupboard doors under the sink open on hard nights so warm air reaches the pipes, let a tap drip slowly only when a freeze is truly imminent, and know exactly how to drain the whole system down if the home will sit empty in a cold snap. Comfort underfoot follows the same logic: an insulated floor and rugs layered over the coldest zones beat a bigger heater pointed at a freezing deck.
8. Ventilation, Moisture and Carbon Monoxide Safety
This section is general safety information, and it is the most important one in the guide. A carbon monoxide alarm is non-negotiable in any tiny home with a stove, a propane appliance or any other combustion device: fit a working alarm, test it regularly, replace it on schedule, and treat every activation as real. Carbon monoxide is colourless and odourless, and a tiny home’s small air volume means a fault that would dilute in a large house concentrates fast in yours. The same discipline applies to installation: always follow the manufacturer’s stated clearances and installation instructions for stoves, flues and heaters exactly — those distances are the difference between a warm home and a scorched wall — and never use outdoor cooking appliances as indoor heaters.
Moisture is the slower hazard. Cooking, showers and breathing load a small volume of air with water vapour, and unvented combustion heaters add significantly more, because burning gas releases water as well as heat. Warm moist air meets cold glass and cold wall corners, condenses, and quietly feeds mould. The countermeasures are boring and effective: run extraction when cooking and showering, crack a vent or window briefly each day even in deep cold, and wipe down window condensation on hard mornings. A well-ventilated tiny home feels drier and, counterintuitively, warmer — dry air and dry walls hold heat better than damp ones.
9. Running Costs in Typical Ranges and What Drives Them
There is no honest single figure for winter heating costs, because the drivers matter more than the appliance sticker. In typical ranges, the cheapest tiny homes to heat are the well-insulated ones on a stove or a heat pump — the fuel or electricity they consume is modest because the shell asks so little. At the expensive extreme sits the familiar trap: an uninsulated or unskirted shell kept warm with resistance electric heaters, where heat bought at full price escapes within the hour. Between those poles, your position is decided by four things: the quality of your envelope, the price and availability of your fuel where you actually live, how much of the heating your site gives you free in winter sun, and your own thermostat habits.
Hidden costs deserve a line too: chimney sweeping, stove servicing, filter cleaning, tank delivery charges in some areas, and fresh draught seals every few seasons. Set against them, insulation is the one spend that behaves like an investment — it pays back every single winter, in every fuel, for the life of the building — and in some regions grants, rebates or tax incentives for insulation, heat pumps and solar installations can soften the upfront cost, so local schemes are always worth checking before a big purchase. Homes designed from the start for this climate have fewer of these battles: these tiny house plans for cold climates build the envelope decisions in, and our guide to tiny house living in cold climates shows how daily costs settle once a routine is established.

10. A Layered Winter Routine and Common Mistakes
A dependable routine for heating a tiny home in winter is layered, like the clothing that inspires it. In the morning, open curtains on the sunny side and let passive gain do free work; at dusk, close thermal curtains to lock the day’s warmth in. Keep the primary heat source ticking at a steady, modest level rather than swinging between blasts and chills, layer rugs and textiles over the coldest floor zones, and finish the day with a two-minute moisture check — wipe the window condensation, confirm the alarm’s indicator light. Weekly, add a fuel and flue check; monthly, a look at seals, skirting and lagging. None of it is heroic. All of it compounds.
The common mistakes are the mirror image. Oversizing the stove, so the room roasts and windows open in January. Skipping the skirting to save a weekend, then paying for it in frozen pipes and cold floors all season. Sleeping with an unvented heater running. Ignoring condensation until mould announces it. Having no backup at all — no second heat source, no drain-down plan — when the primary system fails on the coldest night of the year. And the subtlest one: heating the home you wish you had, with a system sized for a bigger, leakier building, instead of fixing the small shell you actually live in.
Final Considerations
Warmth in a tiny home is a property of the whole system, never of one appliance. Seal and insulate the shell until the heat you make stays made, choose a primary source that matches your fuel logistics and your power supply, protect the plumbing as carefully as the people, and give the safety layer — clearances, alarms, ventilation — the same respect as the comfort layer. Do that, and winter stops being the season a tiny home endures. It becomes the season it was quietly designed for: one small, warm room, working exactly as intended, while the snow does what it likes outside.


5 Comments