

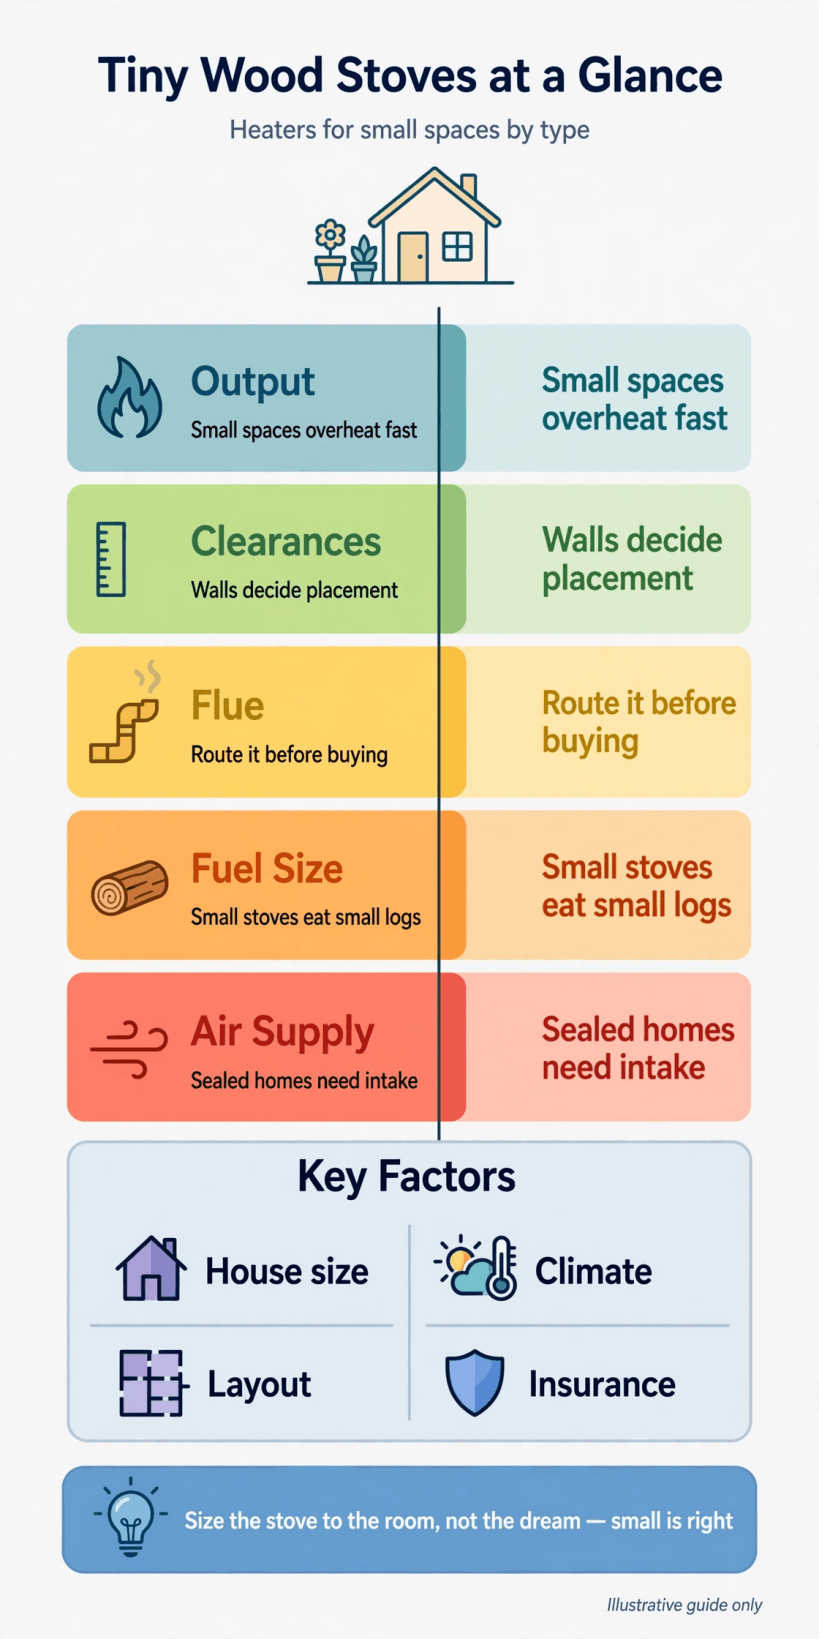
The best tiny wood stove for a small home is not the smallest box you can find, the prettiest flame window, or the heater a neighbour swears by. It is the stove whose heat output matches your floor area and insulation, whose clearances your room can actually provide, whose flue can leave the building by a safe, legal route, and whose firebox accepts the logs you can actually buy, cut, and store. In a large house a slightly wrong stove is an inefficiency. In a tiny house it is either a sauna you cannot sit in, a cold corner unit you feed all evening for little warmth, or, worst of all, a safety problem built into the only room you live in.
This guide names no brands and no models, deliberately. The ten heaters promised in the title are covered here as ten stove-type and installation entries, from compact primary-heat boxes to very small occasional burners, each judged by the same criteria: heat output sizing, clearances, flue route, fuel and log size, air supply in sealed homes, and the insurance conversation that should happen before installation, not after. Work through the criteria in order, because they are a chain. A stove that fails the flue route or the clearances is eliminated however well it scores on everything else, and a stove that passes everything still has to suit the way you live with fire every day.
| Option type | What it suits | What to verify |
|---|---|---|
| Compact primary-heat stove | Full-time tiny homes heated mainly by wood | Output sizing for the coldest weeks, not average days |
| Very small occasional burner | Shoulder seasons, cabins, and backup warmth | Short burn time and frequent refuelling honestly accepted |
| Stove with a cooking surface | Homes that want kettle and one-pot heat as a bonus | Usable flat area and safe clearance above for steam and pans |
| Stove with an integral small oven | Off-grid cooks who will genuinely bake with fire | Extra size, weight, and flue demand versus a hob-only type |
| Corner-installed type | Rooms where a corner is the only safe footprint | Corner clearances and hearth shape measured diagonally |
| Wall-facing type with heat shielding | Tight rooms where shielding is part of the design | That shields are approved for that stove and fitted exactly |
| Stove with heat-storage surround | Homes wanting slower, steadier heat release | Floor loading from the added mass, and total footprint |
| Short-flue cabin type | Low or sloped roofs with limited flue height | Minimum flue height for draw, stated in writing |
1. Size the Heat Output to the Space, Not the Other Way Round
Oversizing is the classic tiny-home mistake. A stove chosen for the coldest night of the year spends the other ninety per cent of its life damped down to a smoulder, which wastes fuel, dirties the flue, and still overheats the room in waves. Undersizing makes the opposite life: constant feeding, a stove worked at its limit, and a home that never quite warms its floor and corners. Start from the home itself, its floor area, ceiling height, insulation level, window area, and climate, and treat makers’ output figures as comparisons between stoves rather than promises about your room, because test conditions and real rooms differ.
Put wood in context before committing to it as the main source. Our comparison of how to heat a tiny house with propane, wood and electric options shows where a stove fits beside backup heat, and backup matters, because a correctly sized stove plus a small secondary source for extreme nights or illness is a more liveable system than one huge stove run badly. Households in severe winters should also read tiny house living in cold climates for the insulation and moisture background that decides how hard any heater must work.
2. Respect Clearances: The Space Around the Stove Is Part of the Stove
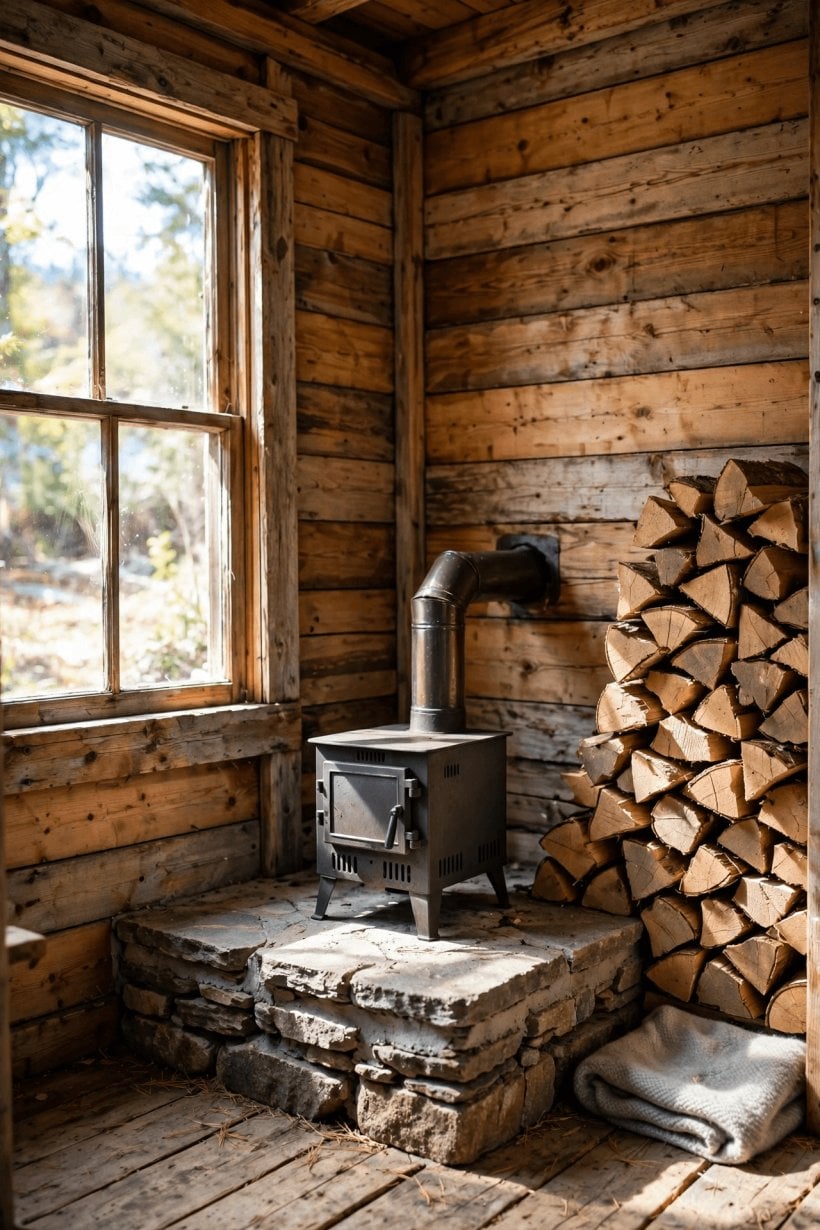
Clearance is not wasted space around the stove; it is part of the installation, as functional as the flue. Every stove has stated distances to combustible walls, furniture, and stored fuel, and in a tiny home those distances compete directly with your sofa, your wood basket, and your only walkway. Measure clearances from the stove body and the flue as the instructions direct, in three dimensions, including above the stove where heat rises toward a loft platform or a sloped ceiling. If the compliant position puts the stove in the middle of the room’s traffic, the stove does not fit your home, however charming the brochure photograph looked.
Heat shielding, hearths, and floor protection can be part of an approved installation for some designs, but they are engineering, not decoration, and they only count when fitted exactly as specified for that stove. This is where the insulation story meets the fire story: the materials behind and beneath the stove matter, and the principles in how to insulate a tiny house against cold and moisture help you understand what your walls are actually made of before you place a heat source against them. Never borrow clearances from a different stove, a forum post, or the installation you saw in a video. Your stove, your room, your stated distances.
3. Plan the Flue Route Before You Fall for a Firebox
The flue decides more than buyers expect. It must rise from the stove, leave the building, and finish at a height and position that draws reliably and clears the roof safely, while avoiding structural timbers, windows, and the loft edge inside. In tiny homes the flue often wants to pass exactly where a loft, a storage box, or a roof slope already is. Draw the route on paper, inside and out, before ordering anything: every bend, the support it needs, where it exits, and how you will reach it for sweeping. Straight and simple is not boring here. It is cheaper, safer, and easier to maintain.
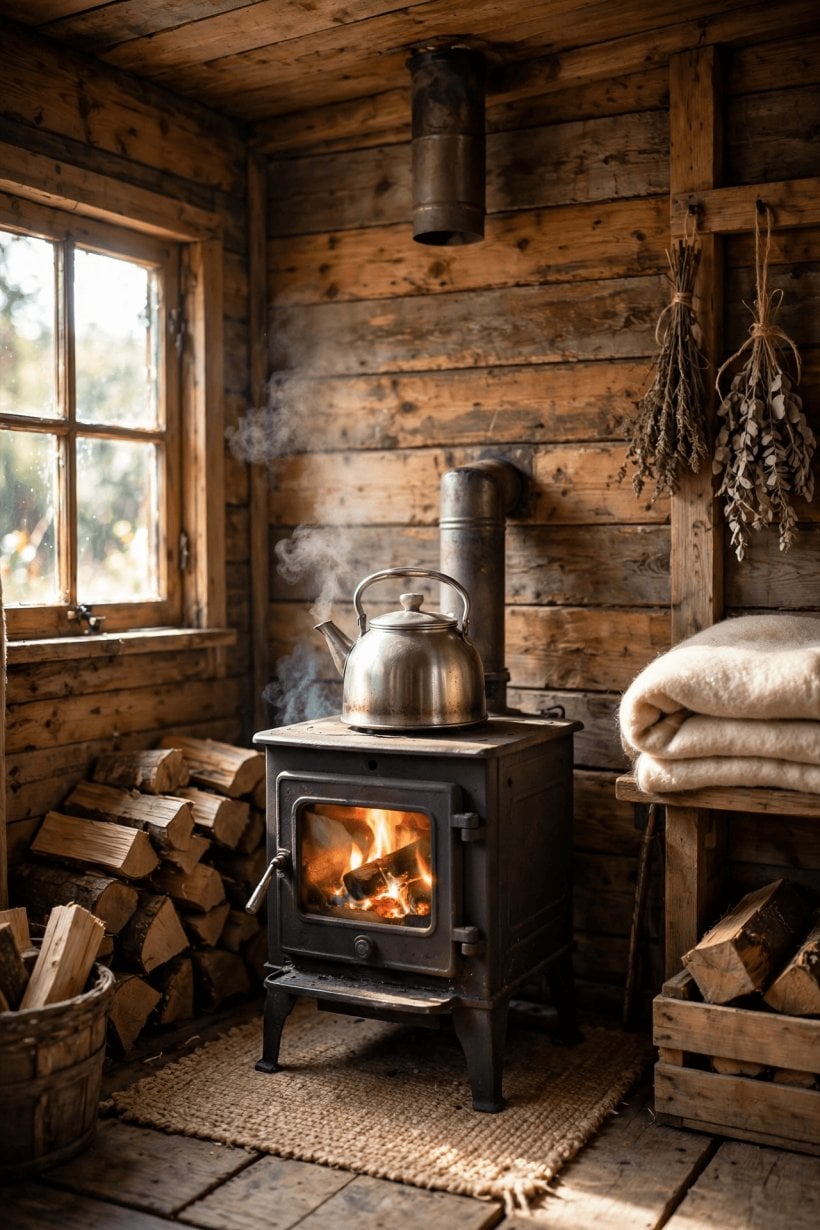
Roof work in a small home deserves special honesty. The exit point must be flashed and sealed against the weather for the life of the installation, the flue must be supported so its weight does not rest on the stove, and future access for inspection must exist after furniture is installed, not just on installation day. If your roof geometry forces offsets and long horizontal thinking, stop and take qualified advice before buying. Flue problems discovered after the stove is in the room become expensive redesigns, while flue problems solved on paper cost a pencil.
4. Match the Firebox to Your Log Length and Fuel Supply
A tiny stove eats tiny logs, and that single fact shapes your fuel life. Firebox dimensions decide the maximum log length and the realistic load size, which together decide burn time between refuelling and how much sawing, splitting, and stacking your supply needs. If local fuel arrives in lengths your firebox cannot accept, every load begins with a saw. Measure the door opening as well as the box, because logs enter at an angle, and ask how the stove behaves with the fuel you will really burn, including softer woods and offcuts, not only perfect hardwood rounds.
Fuel preparation is a system, not a shopping trip. Dry wood burns cleaner, lights easier, and leaves less in the flue, so storage under cover with airflow, a rotation habit, and a moisture-aware routine matter as much as the stove itself. Our guide to how to cure and dry wood logs and prevent cracks and rot covers the seasoning side in detail. Plan where a working stack lives near the stove without invading its clearances, where the main store lives outside, and how muddy boots and bark will travel between them in February. The best stove in the world cannot fix wet fuel or a woodpile on the wrong side of a field.
5. Provide Air Supply in a Sealed, Well-Insulated Tiny Home
Fire consumes air, and modern tiny homes are built tight. A well-sealed, well-insulated small home may not leak enough air to feed a stove comfortably, especially when extractor fans, cooker hoods, or bathroom vents compete for the same air. Symptoms of a starved stove include lazy flames, smoke spilling when the door opens, and a fire that perks up when a window is cracked, and none of those should be accepted as character. Discuss a dedicated external air supply where the stove design and local rules allow or require it, and treat that conversation as part of sizing, not an optional extra.
Air quality is the other half of the same system. A stove interacts with the whole ventilation strategy of the home, its fresh-air inlets, its moisture removal, and its carbon monoxide safety provisions, which must be fitted, positioned, and tested as their own instructions require. Our overview of tiny house ventilation, HRV and ERV choices and mould prevention explains why small homes manage air deliberately rather than by accident. In a space this small there is no spare room for smoke or fumes to go to. Get the air right and the stove feels effortless; get it wrong and every lighting becomes a negotiation.
6. Distribute the Heat: Corners, Lofts, and Cold Floors
A stove heats the air around it first and the far corners of a tiny home eventually, and the gap between those two experiences defines comfort. Warm air pools at ceiling and loft level while floors, especially over uninsulated bases or on cold ground, stay chilly. Position helps: a stove placed where its warmth can circulate through the main living volume, rather than into a dead corner or straight up a stairwell, gives a more even home. Small, quiet air movement, from the home’s ventilation or a suitable fan arrangement, can even out layers of warm and cool air without turning the room into a wind tunnel.
Think in zones and times, not just temperature. The sleeping loft may need less heat than the living area, or, in homes where the loft is the main bedroom, it may overheat first while the bathroom below stays cold. Compare the stove plan with the alternatives in underfloor heating in tiny houses, hydronic and electric, not because every home needs both, but because understanding how radiant floor heat and stove heat feel different helps you choose a primary source honestly. A home that is warm at the sofa, tolerable in the loft, and safe in the bathroom at 6 a.m. is a heating success, whatever the thermometer beside the stove claims.
7. Cooking Surface, Kettle Use, and Honest Multi-Tasking
Many small stoves offer a flat top that will keep a kettle warm, cook a slow pot, or dry gloves, and in an off-grid home that bonus can be genuinely useful during power cuts or expensive fuel weeks. Judge it realistically. A usable cooking surface needs flat area, a temperature you can moderate by moving the pot, and safe clearance above for steam, lids, and your hands. It is a secondary skill of the stove, learned over a season, not a replacement for a cooker, and meals that need precise heat will still belong to your main hob.
The multi-tasking argument also cuts the other way. A larger stove bought mainly for its oven or hob may be oversized as a heater, returning you to the smouldering problem of section one. Households weighing fuel flexibility should revisit propane versus electric systems in tiny houses and tank sizing to see how cooking and heating fuels interact across the whole home. Choose the stove as a heater first, enjoy the kettle as a dividend, and be wary of any purchase where the cooking feature is carrying the whole justification.
8. Daily Operation: Ash, Cleaning, and Chimney Care
Living with a stove is a rhythm of small jobs: bringing fuel in, taking ash out, cleaning the glass or door, checking the flue, and sweeping on schedule. In a tiny home each job happens in your living space, so ash handling needs a metal container, a route outside that does not cross bedding or rugs, and a cool, safe place for the container to stand away from combustibles. Ash can hide embers far longer than it looks, and small homes have no spare corners for careless buckets. Choose a stove whose ash system, door seals, and controls you can operate with cold hands in poor light, because that is when you will.
Flue and chimney care are scheduled maintenance, not emergencies to discover midwinter. Burning dry wood, running the stove properly hot when it is lit, and sweeping at the intervals your installation requires all work together to keep deposits down and draw strong. Keep a simple log of sweeping and inspections with dates, both for your own memory and because insurers and buyers both respect records. If access to the flue top requires a roof climb you cannot safely make, price professional sweeping into the running cost from day one rather than pretending you will borrow a ladder and courage each autumn.
9. Insurance, Certification, and Installation Records
Talk to your insurer before the stove is installed, not after the first fire. A wood stove changes the risk profile of a tiny home, and insurers, whether specialist or mainstream providers, will care about the stove’s certification, who installed it, clearances, flue specification, and whether the home is on wheels, on a foundation, or in a park. Some will insure an installed, documented stove without drama; others will set conditions or decline. That variation is exactly why the conversation comes first. Our tiny house insurance guide for homes on wheels versus a foundation explains how classification shapes cover across the whole home, and heating is one of the first places classification bites.
Keep the paperwork as carefully as the stove. Retain the stove and flue documentation, installation invoices or certificates where they apply, photographs of clearances and shielding before furniture crowds the view, and your sweeping log. Tell the insurer about changes too: a replacement stove, a moved flue, or a new use pattern such as letting the home. Honesty here is not bureaucracy for its own sake. If a fire ever happens, the difference between a documented, disclosed installation and an undocumented one can decide whether the claim is a process or a dispute.
10. Budget the Whole Installation, Not Just the Stove
The stove itself is often the smaller half of the bill. The full installation includes the flue system, hearth and shielding, possible external air work, roof flashing, labour if you hire it, delivery of a heavy cast object to a possibly remote plot, and the first season of sweeping and safety equipment. Fuel infrastructure costs money too: storage, tools, and a dry store built before the first load arrives. Compare total installed cost between your shortlisted types, because a cheaper stove with an expensive flue route can cost more in place than a dearer stove with a simple vertical exit.
That whole-cost discipline mirrors the house itself, as our breakdown of the true cost of tiny houses, prefab versus DIY shows at larger scale. Running costs deserve the same honesty: fuel you cut yourself is not free once tools, transport, and time are counted, and bought fuel varies in quality and dryness. A stove you can afford to install completely, sweep properly, and feed with dry wood will always outperform a prestige purchase that consumed the budget and left the flue, the hearth, and the wood store to improvisation.
Final Considerations
Choose in the order this guide is written. Size the output to the home, confirm the clearances and the flue route on paper, check the firebox against your real fuel, settle the air supply, and clear the insurance conversation before money changes hands. Let the ten types in the table start conversations, not finish them, and treat any seller unwilling to discuss clearances, flue height, or documentation as a warning, however attractive the stove looks in a photograph.
Finally, remember that a stove is a daily companion, not an appliance you forget. You will feed it, clean it, sit near it, and organise furniture, fuel, and evenings around it for years. The right choice is the one whose size, position, and routine fit your home’s measurements and your household’s habits, verified twice and installed once, properly, with the records to prove it.


0 Comments