

A water heater is one of those appliances you barely notice until it stops working. It sits in a cupboard or utility corner, warms the water for showers and washing up, and asks for very little attention. Choosing one well is mostly about fit: the right fuel, a size that suits the household, a safe place to put it, and a routine that keeps it running.
This guide walks through the checks that matter before you buy. It is not a verdict on any maker or model, and it gives no prices or performance figures. Gas and electrical work belongs to qualified professionals throughout, and the maker’s guidance for any unit you buy outranks anything general written here.
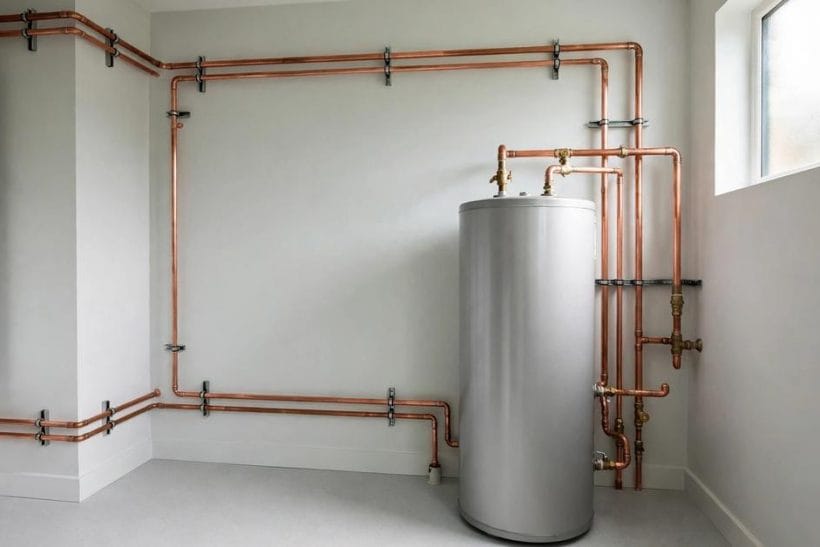
1. Start With the Fuel
Water heaters generally run on gas, electricity, or a mix of sources with solar help. The fuel available at your home narrows the choice quickly. A home with a gas supply has different options from one that runs on electricity alone, and the running arrangement differs between them.
Think about what already serves the home. If the heating system already uses one fuel, staying with it often keeps the pipework and controls simpler. Changing fuel can mean new supply runs, new venting, and new controls, which is work for professionals to scope.
Ask the installer what each fuel means for the household in general terms: how it heats, how it recovers after heavy use, and what servicing it needs. Do not judge a fuel by a single claim. Judge it by how it fits the home, the household, and the existing services.
Fuel choice also shapes running costs and carbon in broad terms, though the actual figures depend on local tariffs and the home’s use. A home that already has a gas supply may find a gas unit the simpler replacement, while a home without gas may find electric simpler, since no new gas pipe or flue is needed. Heat-pump water heaters move heat rather than making it, which suits homes with space for the unit and a steady air supply, but they need room and a suitable location. Ask the installer to explain the fuel options for your home specifically, rather than assuming the existing fuel is automatically the best one.
2. Size It to the Household
Size is about people and patterns, not about the appliance looking impressive. A household of one or two people with staggered routines uses hot water differently from a larger household where several people shower in the same hour. Peak-use times are what strain a system.
Count the busy periods. Morning showers, evening baths, laundry, and washing up can pile onto the same hour. A unit that copes easily at quiet times can still run short when everyone needs hot water at once.
Talk through the household’s real routine with the installer. Mention the number of bathrooms, the busiest hour, and any plans that would change demand, such as a new bathroom. A good fit leaves headroom for busy mornings without oversizing the unit for quiet days.
Sizing is not only about the number of people in the home. Simultaneous use matters just as much: a household that runs a shower, a dishwasher, and a washing machine at the same time needs more capacity than one that staggers its use. Large baths draw far more hot water than showers, so a home with a big tub needs that factored into the sizing. An installer who asks about your routines, your bathrooms, and your appliances is sizing properly; one who recommends a size without asking is guessing. Keep a note of the reasoning so a future replacement starts from the same understanding.
3. Check the Fit
Measure the space before falling for any unit. Height, width, and depth all matter, and so does the route the unit takes to get there. A heater that fits the cupboard but not the doorway is a problem discovered too late.
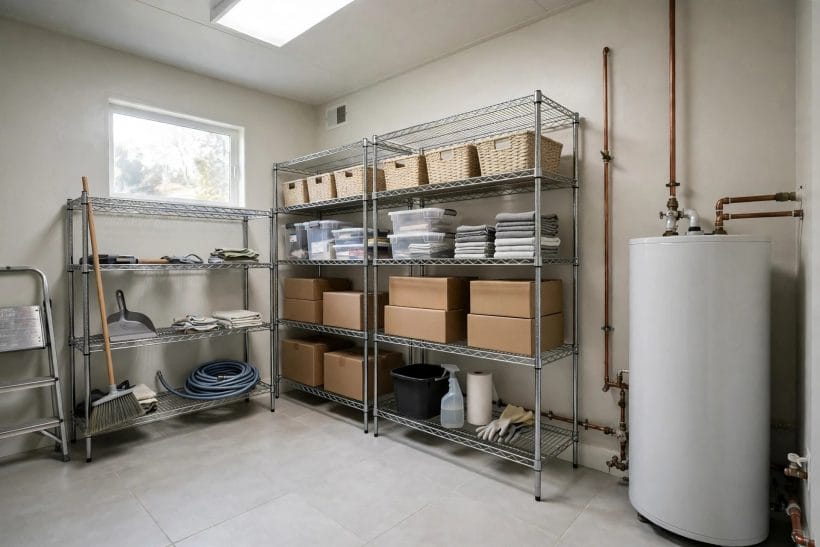
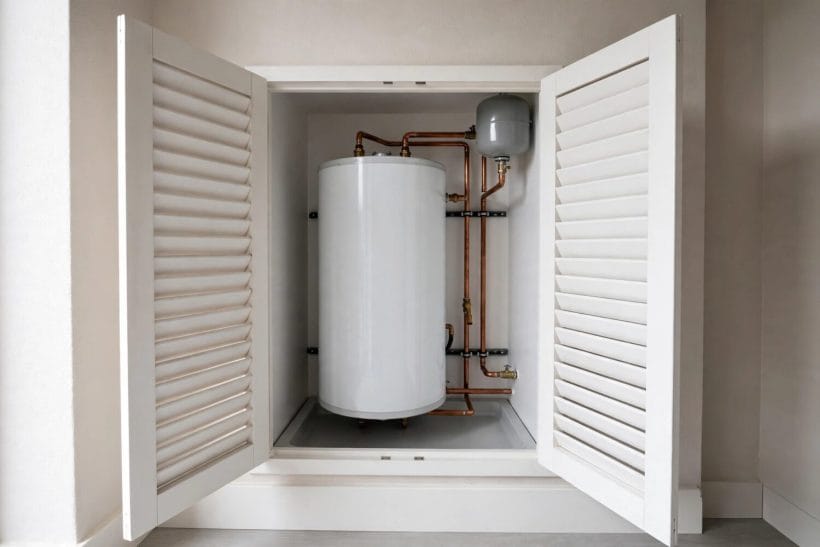
Leave room around the unit for servicing. Valves, controls, and access panels need to be reachable without moving other things. A tight fit that blocks access makes every future service harder and slower.
Check the floor too. A full heater is heavy, and the floor beneath it must be sound and level. The installer can confirm whether the spot is suitable or whether another location serves better.
Fit also includes the route the unit takes into place. A replacement tank must pass through doorways, down stairs, and around corners, and older homes with narrow access can turn a straightforward swap into a difficult one. Measure the route as well as the final position, and check that the chosen unit can actually reach its home. Service clearance matters for the unit’s whole life, not just installation day: filters, anodes, and controls all need reaching, and a unit wedged into a corner with no access will cost more to maintain and may shorten its working life through neglected upkeep.
4. Venting and Air
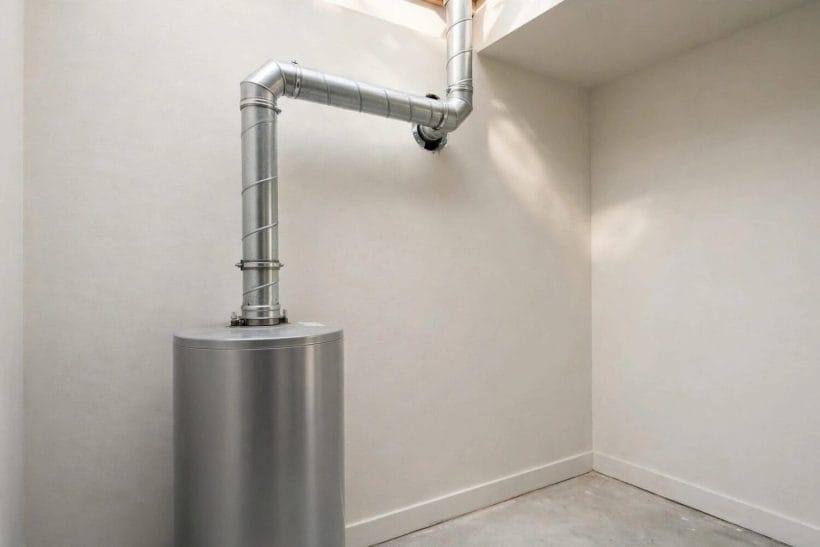
Gas heaters need proper venting and air supply. Flue gases must leave the home safely, and the appliance needs enough air to burn cleanly. This is not a detail to improvise: venting routes, flue terminals, and air supply are all professional decisions.
Look at where the flue would run and where it would end outside. It must clear windows, doors, and boundaries by the rules that apply locally. The installer checks this against the maker’s instructions and local rules.
Carbon monoxide safety belongs in the same conversation. Ask about alarms for rooms with gas appliances, where they sit, and how they are tested. An alarm is a backup, not a substitute for correct venting and servicing.
Venting deserves a professional’s eyes even when the replacement looks identical to the old unit. Flue routes, shared chimneys, and room ventilation rules change over time, and a vent that was acceptable decades ago may not meet today’s expectations. Condensing units produce acidic condensate that needs a suitable drain, and that drain must be planned rather than improvised. If an installer suggests reusing an old flue without inspecting it, ask for the inspection first. Carbon monoxide safety is not an area for shortcuts: working alarms in the home are essential, and any suspicion of fumes means leaving the area and calling for help.
5. Efficiency in General Terms
Efficiency labels and ratings help compare units, but they describe test conditions, not your home. Use them as a rough guide to running costs, not as a promise of what any bill will be.
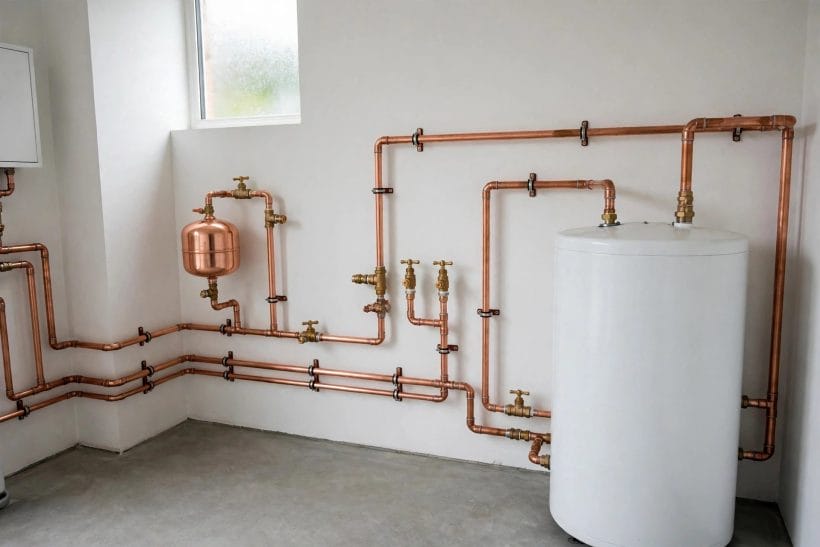
Insulation matters as much as the heater itself. Pipes that run through cold spaces lose heat on the way to the tap, and a poorly insulated tank loses heat while standing. Lagging and sensible pipe runs are cheap, quiet wins.
Controls also shape efficiency. Timers, thermostats, and temperature settings let the household heat water when it is needed rather than around the clock. Set them to the household’s routine and revisit them when the routine changes.
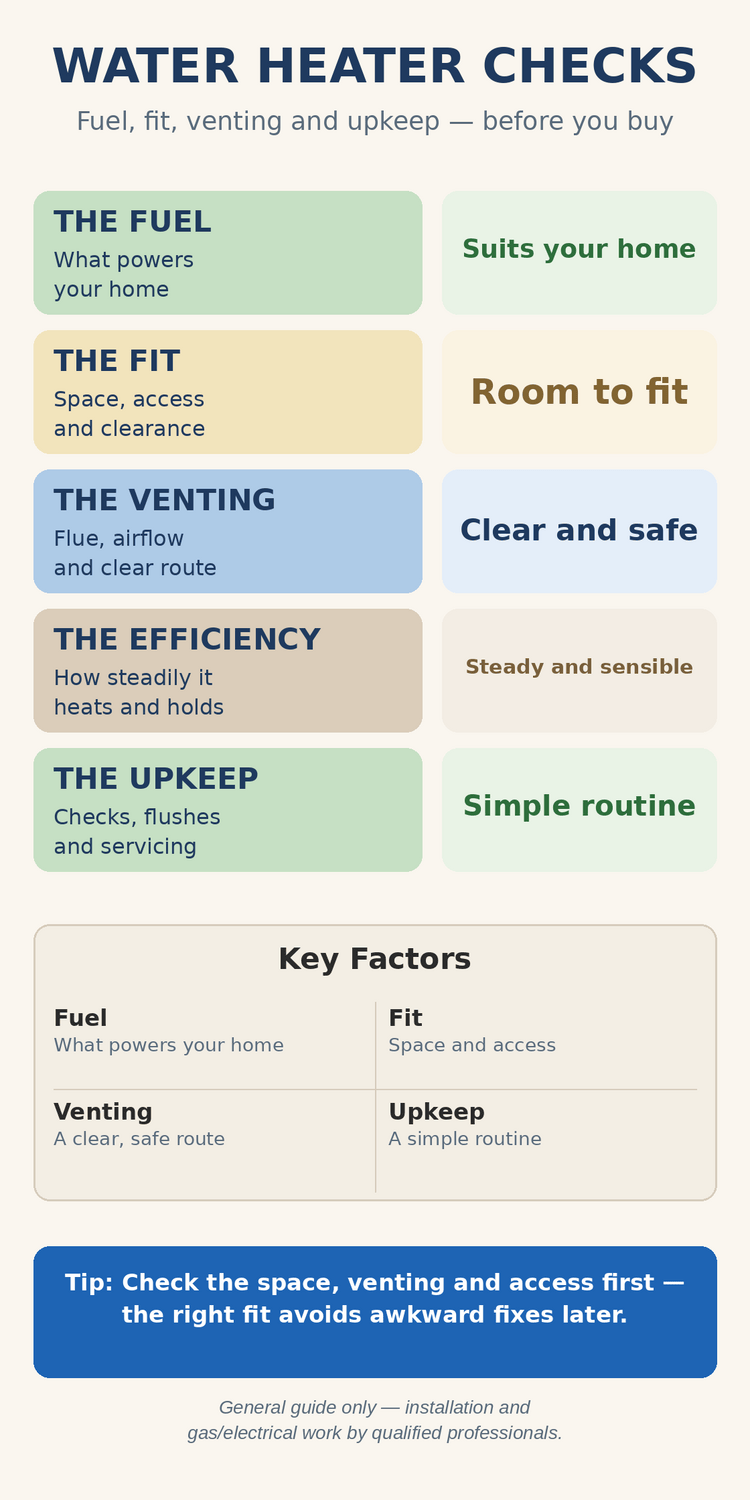
Efficiency labels are most useful when comparing like with like. Two units with the same fuel type and similar capacity can be compared fairly on their ratings, while comparing across fuel types mixes in tariff and infrastructure differences that the label alone does not capture. First-hour ratings and similar capacity measures describe how much hot water a unit can deliver in a busy hour, which is more useful than tank size alone for a household with peak-time demand. Ask the supplier to explain what each figure on the label actually means for your home, and be wary of any claim that sounds too precise to be general guidance.
6. Water Quality and Upkeep
Hard water leaves scale inside heaters and pipes over time. Scale narrows flow, dulls heating, and shortens the life of parts. Soft water areas see less of this, but no supply is entirely free of deposits.
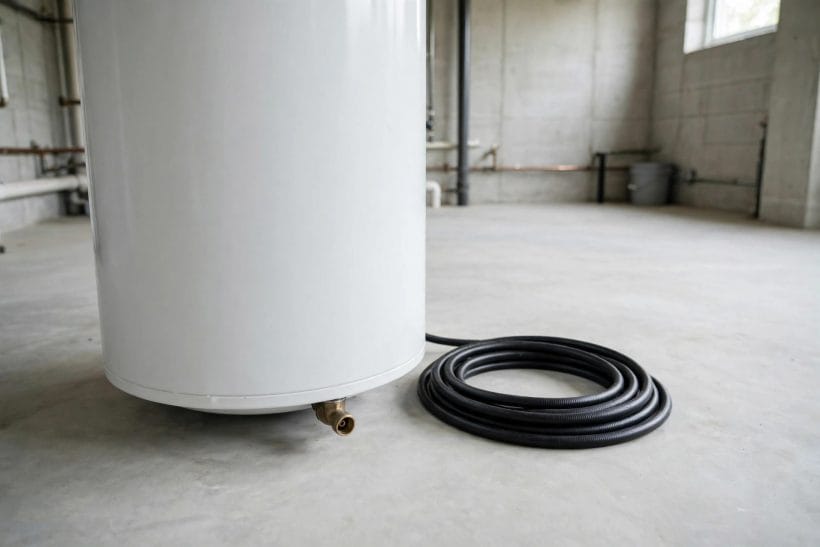
Ask what upkeep the unit needs and how often. Some units need periodic draining or flushing, some need anode or filter attention, and all benefit from a professional service at the maker’s interval. Keep the maker’s manual somewhere you can find it.
Watch for early signs between services: water that takes longer to heat, new noises, discoloured water, or damp around the base. Any of these is a reason to call a professional promptly, not to wait for the next service date.
Water quality affects a heater quietly over years. Hard water leaves scale inside tanks and on elements, which reduces efficiency and can shorten the unit’s life, while soft water is gentler but still needs the unit’s upkeep. Anode rods, fitted in many tanks, corrode in place of the tank itself and need periodic checking and replacement; the interval depends on water chemistry and use, so the installer’s guidance for your area matters more than any general rule. A water softener or filter can help in hard-water areas, but it is a separate decision with its own upkeep, so weigh it on its own merits rather than as an automatic add-on.
7. Controls and Safety Features
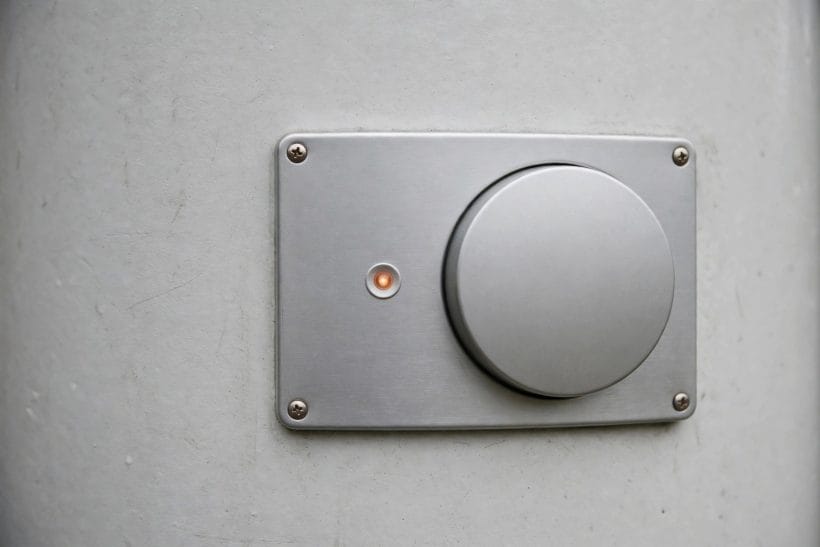
Controls should be simple enough that everyone in the household can use them. A thermostat that is hard to read or awkward to reach gets left alone, and settings drift away from what the household actually needs.
Safety features deserve a plain explanation from the installer: what the pressure relief does, what the temperature limit does, and what to do if either ever operates. Knowing this before anything happens is far better than learning it during a fault.
Keep children in mind when controls sit low or within reach. A temperature setting that prevents scalds matters most in homes with young children or older residents. Ask the installer to set and explain it.
Controls shape both comfort and safety. A thermostat that holds a steady temperature prevents the surprise of a cold shower, while a tempering or mixing valve blends hot water down to a safer temperature at the tap, which matters greatly in homes with children or older people. Pressure-relief valves protect the tank itself and must never be capped or ignored; a valve that drips occasionally may be doing its job, but one that discharges steadily needs a professional’s attention. Leak detectors and automatic shut-offs add a layer of protection for units in lofts or above living spaces, where a slow leak can do serious damage before anyone notices.
8. Installation Day Checks
On installation day, confirm the scope before work starts: the unit, the pipework changes, the venting route, the controls, and what happens to the old unit. A written scope avoids misunderstandings.
Ask the installer to walk you through the finished job. You should leave knowing how to turn the water and fuel off, how to read the controls, where the manual lives, and when the first service falls due.
Keep the paperwork: the manual, the warranty terms, the installer’s details, and any certificates the work requires. These matter for servicing, for warranty claims, and for any future buyer of the home.
Installation day is worth planning rather than leaving to chance. Clear the route and the working area, confirm the installer will remove and dispose of the old unit, and agree what happens to any pipework or flue that needs changing. Ask the installer to demonstrate the controls, the isolation valves, and the pressure-relief arrangement before leaving, and to show you where the manual lives. A short walkthrough on the day prevents confused phone calls later, and a written record of what was fitted, including the model and the installer’s details, is worth keeping with the home’s other appliance records.
9. Upkeep Through the Year
Most upkeep is small and regular. Check around the base for damp, listen for new noises, and confirm the temperature still suits the household. These checks take minutes and catch problems early.
Book professional servicing at the maker’s interval, even when everything seems fine. Servicing covers safety devices and parts you cannot see, and it keeps warranties valid. Skipped services are the most common cause of avoidable failures.
Plan for replacement before failure forces it. Heaters age, and a unit near the end of its expected life deserves a replacement plan rather than a midnight emergency. Start the conversation while the old unit still works.
Seasonal upkeep keeps a heater efficient and safe. Once a year, look over the unit for drips, rust marks, or staining, check that vents and airways are clear, and listen for new noises such as rumbling or popping, which can signal scale build-up. Test the pressure-relief valve’s lever only if the manual describes how to do so safely, and never force a stiff valve. Keep the area around the unit clear of stored items, especially flammable materials near gas units, and keep the manual accessible so any visiting engineer can see the unit’s history and requirements at a glance.
10. When to Call a Professional
Call a professional for anything involving gas, electrics, or sealed pipework. That includes new installs, venting changes, control faults, leaks, and any smell of gas. Gas work by unqualified hands is dangerous and can be unlawful.
Do not open sealed panels or adjust safety devices yourself. If a safety device has operated, treat it as a warning and get the unit checked before using it again. A device that trips repeatedly is telling you something.
If you smell gas, follow the standard safety advice for your area: do not switch electrical items on or off, ventilate if it is safe to do so, leave the property, and call the emergency gas number from outside. Do not re-enter until professionals say it is safe.
Some signs should never wait for the next scheduled check. A gas smell means leaving the home and calling the gas emergency service from outside, without switching anything electrical on or off. Discoloured or rusty hot water, persistent leaks, a pilot that will not stay lit, or a unit that trips its safety devices repeatedly all warrant a prompt professional visit. Do not open a sealed unit, bypass a safety device, or attempt a repair beyond the manual’s owner-level guidance. The cost of a call-out is small beside the risk of a water heater fault left to develop.
Final Considerations
A good water heater choice is a quiet one. Fuel that suits the home, size that suits the household, a safe and serviceable spot, and a routine that keeps it running: those four checks cover most of what matters. Everything else is detail that a qualified installer can talk through on site.
For the rooms the heater serves, see toilet checks, shower room layouts, and powder room measurements. For the wider home, kitchen ideas and tiny house porch ideas carry the same check-first approach, and built in bathroom vanity and Tuscan style bathroom cover the bathroom side in more detail.




0 Comments