

At twenty below, a floor plan stops being a drawing and becomes a survival document: pipes burst, condensation blooms on every cold surface, and a leaky little house can cost more to heat per square foot than a home ten times its size. These ten tiny house plans for cold climates treat the layout itself as heating equipment, so January never gets a vote.
Tiny House Plans for Cold Climates: At a Glance
Every plan below is built on the same building-science foundation: a compact shape, a continuous air barrier, insulation well beyond code minimums, plumbing that never touches an exterior wall, and an entry sequence that keeps Arctic air out of the living space. The plans differ in how they get there — double-stud walls, a central wood stove, a passive-solar glass wall, a greenhouse buffer — but the envelope targets they all aim at are shared, and they are worth memorising before you fall in love with any single layout.
| Assembly | Minimum | Preferred |
|---|---|---|
| Walls | R-30 | R-40 or better (double-stud or exterior foam) |
| Roof / ceiling | R-50 | R-60 |
| Floor | R-30 | R-30 plus a skirted, conditioned underbelly on wheels |
| Windows | Triple-glazed | U-0.20 or better, north glass kept small |
| Airtightness | 1.0 ACH50 | 1.0 ACH50 or tighter, blower-door tested |
| Ventilation | HRV or ERV | 0.3 ACH continuous, heat recovered |
| Heating load (200 sq ft, super-insulated) | 6,000 BTU/hr | 3,000–6,000 BTU/hr on the coldest night |

The envelope targets behind all ten plans: R-40+ walls, an R-60 ceiling, 1.0 ACH50 airtightness, triple-glazed windows at U-0.20, and a heating load small enough to cover with a single modest heat source.
One principle outranks every number in that table: in a cold climate, airtightness beats insulation thickness. A leaky R-30 wall performs worse than a tight R-20 wall, because moving air carries heat (and moisture) through an assembly far faster than conduction alone. That is why so many of these layouts are, at heart, shapes that are easy to seal — and why a tight house then needs planned ventilation, through a heat-recovery ventilation system sized for the space, rather than accidental leaks.
1. The Compact Cube (8×20): The Envelope With the Least Surface Area to Lose Heat
Heat loss is proportional to surface area, so the warmest plan is the most compact one: a simple 8×20 box with no bump-outs, no dormers and no architectural gymnastics. Every jog in the envelope is a thermal bridge and an air-leak opportunity, and every corner is a place where framing, sheathing and air barrier have to change direction and can fail. The cube asks almost nothing of its details, and that is precisely its virtue.
Inside, the plan is a straight line — entry and mudroom at one end, kitchen and living space in the middle, bathroom and bedroom at the far end — so plumbing runs stay short and the interior partitions never complicate the shell. The simplicity is what allows the air barrier to be made genuinely continuous, which is the single most important factor in cold-climate performance. The target is 1.0 ACH50 or better, verified with a blower door, not assumed.
The cube is also the honest starting point for judging every other plan on this list. Each added feature — a mudroom bump, a greenhouse, a second entry — has to earn its extra surface area back in performance or comfort. If a more complex plan cannot beat the cube’s airtightness in testing, the complexity is decoration, and in a cold climate decoration is a heating bill. Watch the cube’s one weakness, too: a house this tight holds moisture as well as heat, so watch for window condensation as an early warning sign that ventilation needs attention.
2. The Double-Wall Fortress (8×24): Double-Stud Walls and an R-44 Thermal Blanket
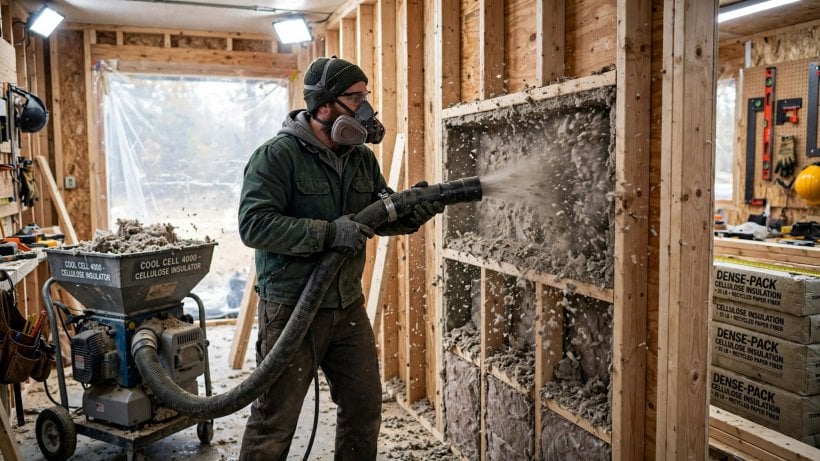
Frame two 2×4 walls four inches apart — or a single 2×8 wall — and fill the resulting 12-inch cavity with dense-pack cellulose, and you get R-44 walls with essentially zero thermal bridging: no stud ever connects the cold outer face to the warm inner one, so heat has no wooden highway out of the house. Of every wall system on this list, this is the one built for sustained subzero temperatures, the kind of cold that lasts weeks rather than nights.
The floor plan inside is conventional, but the walls finish about 14 inches thick, and that changes the interior in ways people come to love: window reveals deep enough for plants, books and a cat, sills that double as shelving, and a sense of solidity that thin-walled tiny houses never achieve. The deep reveals are not just charming — the window unit can sit toward the middle of the wall’s insulation layer, where it performs best, instead of flush with the cold exterior.
The trade-offs are floor area and discipline. Fourteen-inch walls consume real square footage in an 8-foot-wide house, so the plan gives the width back where it matters and keeps the layout simple. The thick cavity also has to be filled completely and evenly; dense-pack cellulose installed carelessly can settle, and a settled cavity is a cold stripe down the wall. Done properly, though, the fortress holds heat like a thermos — after a power cut on a still, bitter night, it cools in days rather than hours.
3. The Mudroom Airlock Plan (8×24 + 6×8 Mudroom): An Entry That Never Dumps Cold Air
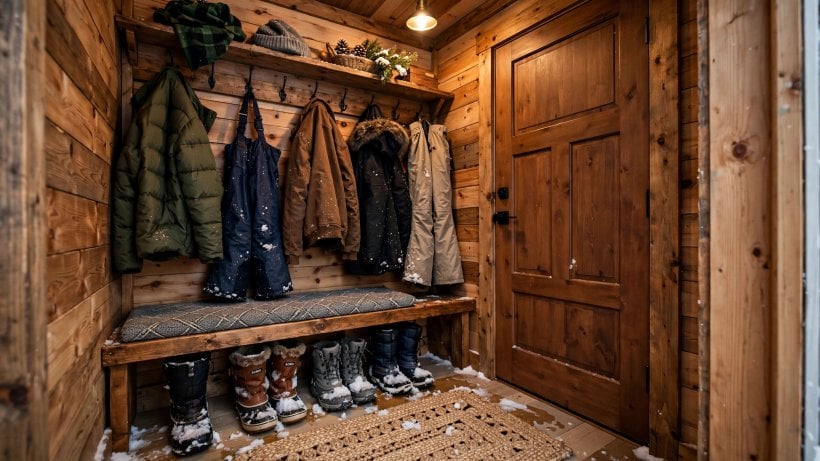
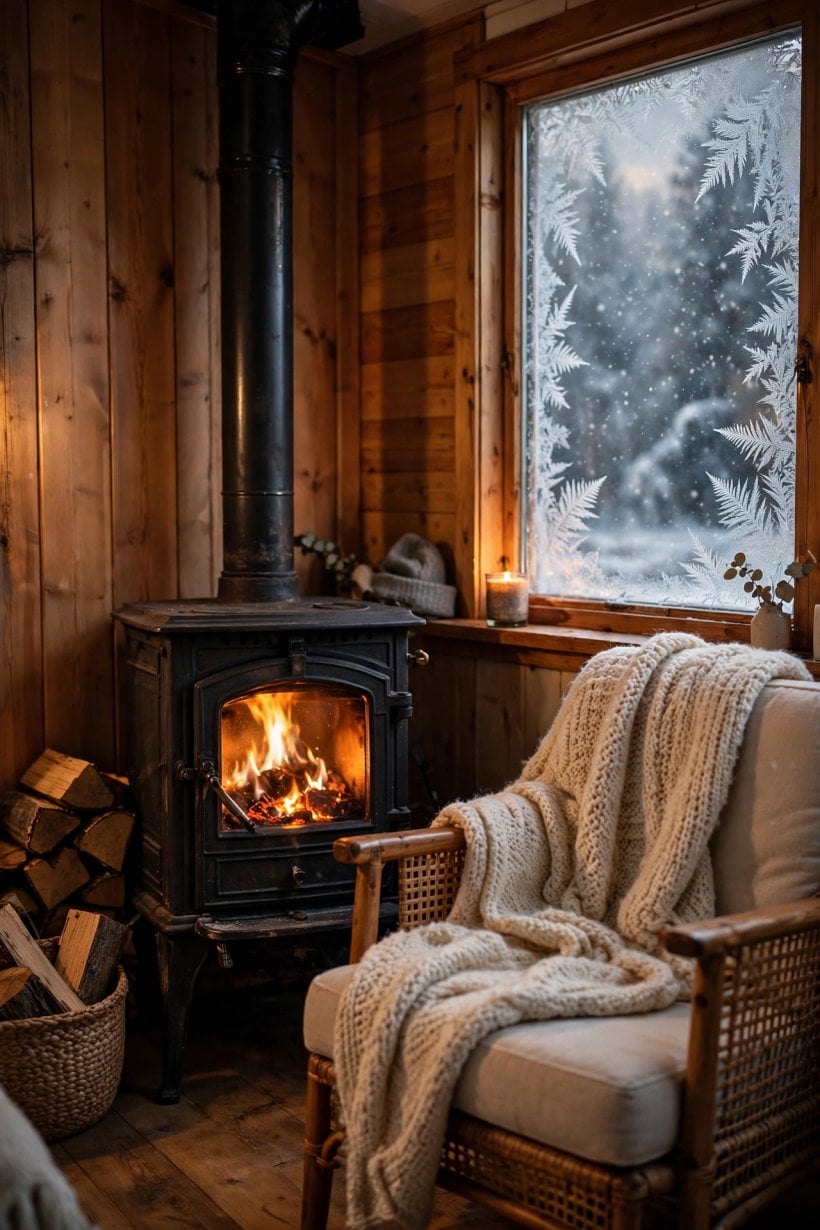
Every exterior door in a cold climate should open into a mudroom, not into the living space. This plan bolts a 6×8 vestibule onto an 8×24 house and treats it as an airlock: an outer door, a small room with boot storage and a bench, then an inner door into the house proper. Each entry cycle exchanges only the mudroom’s small volume of air, not the whole house’s — the difference between a brief cool draft at the door and a room that takes twenty minutes to feel warm again.
The mudroom earns its footprint a second way, as the home of winter itself. Coats, boots, snow pants and gloves for a family of four generate a startling amount of clutter, and in a plan without a mudroom that clutter lives on the living-room floor, melting. Here it hangs, drips and dries in a room designed for it, kept at 45–50°F by a small thermostatically controlled heater: warm enough to dry gear overnight, cool enough to cost almost nothing.
That in-between temperature is the mudroom’s quiet genius. Gear dries instead of freezing stiff or mildewing, the inner door opens into warmth rather than a wall of cold, and the house’s main heating system never sees the door traffic at all. If you add only one cold-climate feature to a simpler plan, make it this one — the airlock principle returns in its ultimate form in the Arctic Entry Sequence at the end of this list.
4. The Central Hearth Plan: A Wood-Stove Core That Every Room Borrows Heat From
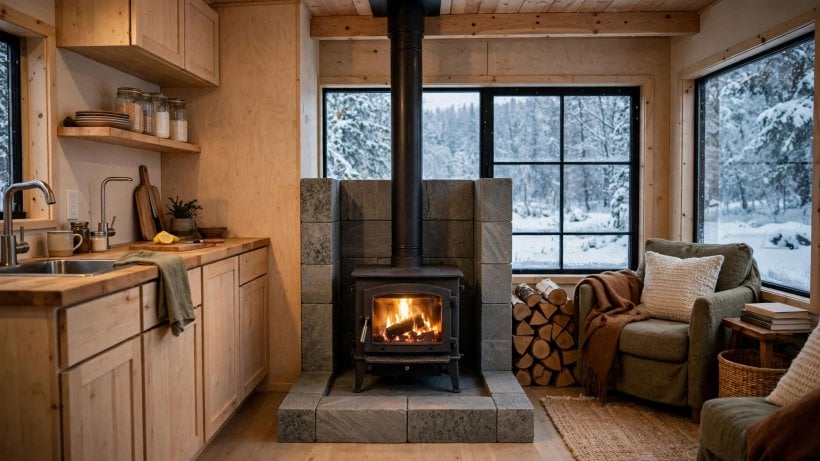
Put a 3–5 kW wood stove at the exact center of the plan and design every room around radiant heat distribution: the living-kitchen in the open zone around the stove, bedroom and bath opening directly off that zone, no long hallways anywhere. Central placement means no room is more than about 12 feet from the heat source, so warmth evens out by radiation and natural convection instead of ducts, fans and hope.
The stove’s thermal mass does the smoothing. A soapstone or masonry surround absorbs heat during a hot burn and releases it slowly as the fire dies down, flattening the saw-tooth temperature swings that make small stoves in small houses alternate between roasting and chilly. In a 200-square-foot space the burn cycle is the climate; mass is what turns it into a steady one.
Clearances are the plan’s hard constraint, and the original advice is blunt: draw the clearance zone first. Depending on shielding, a stove needs 12–36 inches from combustible surfaces, and in 200 square feet that protected circle is a serious piece of floor plan — before anything else is placed, check your chosen stove against the clearance requirements for wood stoves in small spaces. A hearth plan that starts with the stove and its clearances ends up coherent; one that squeezes the stove in last usually ends up with a scorched wall or an unusable corner.
5. The Plumbing Core Plan: Every Pipe Inside One 8×8 Warm Zone
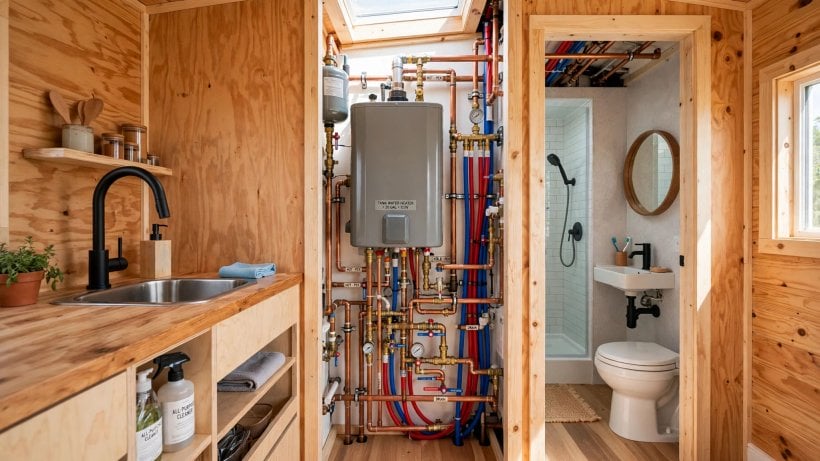
Water freezes at 32°F and bursts pipes a few degrees below that, so this plan treats plumbing geography as destiny: the kitchen sink, bathroom, laundry and water heater are clustered in a single 8×8 insulated core at the center of the house, surrounded on all sides by heated living space. No plumbing in exterior walls, ever — not one run, not one fitting, no exceptions for convenience.
The core stays warm by adjacency. Its heat is borrowed from every room around it, so even if the heating system fails for hours, the thermal mass of the surrounding house protects the pipes long after a perimeter run would have frozen. It is, simply, the most freeze-proof plumbing layout possible in a small house, and it costs nothing but planning: the kitchen and bath end up back to back, sharing short runs, one wet wall and one warm address.
As a second defense, thermostatically controlled heat tape on the main supply line guards the core’s one connection to the outside world — ideally on a circuit that stays live during a power outage, backed by a generator or battery. Tape is a seatbelt, not a strategy, and it draws real power, so it pays to work out heat-tape length and running cost before winter rather than wrapping everything in sight. The layout does the protecting; the tape just watches the door.
6. The Skirted THOW: A Heated Underbelly for a Tiny House on Wheels
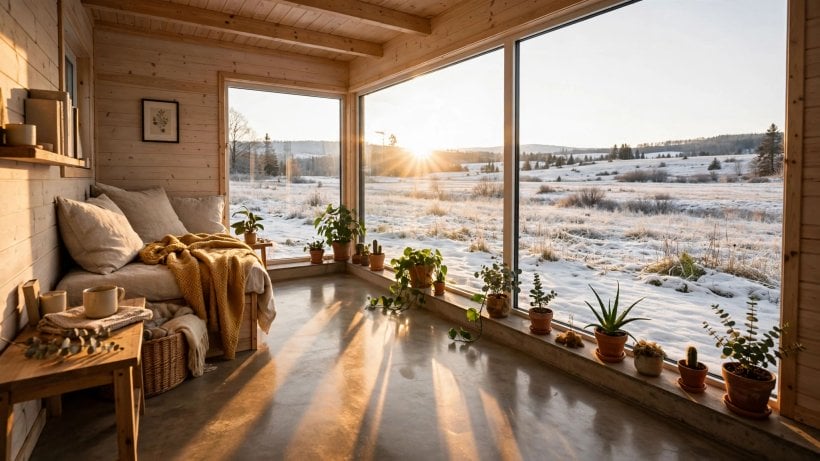
A tiny house on wheels carries its most vulnerable plumbing in the worst possible place: underneath, exposed to outdoor air on every side. This plan protects the underbelly with rigid foam skirting — 2-inch XPS at minimum — fitted around the entire trailer base and sealed at the top and bottom, converting the crawlspace under the floor into a conditioned zone that the house’s warmth can reach.
Inside that skirted zone, a small thermostatically controlled heater or a heat-tape loop keeps tanks and pipes above freezing through the night. The stakes are stated plainly in the original plan: without skirting, a THOW’s exposed pipes freeze at 25°F no matter how good the walls are. All the R-44 in the world cannot help a pipe that hangs in the wind under the floor.
Skirting has to be treated as part of the envelope, not an afterthought: panels fitted tight, seams sealed, access points for the water connection insulated rather than left as holes, and the whole perimeter checked each autumn before the first hard freeze. It also pairs naturally with the floor target from the At a Glance table — R-30 in the floor itself — because a warm underbelly and an insulated floor protect each other. Wheels buy freedom; skirting is the small annual rent that freedom charges in a cold climate.
7. The South-Glass Solar Plan: Passive Solar Orientation as a Heating System
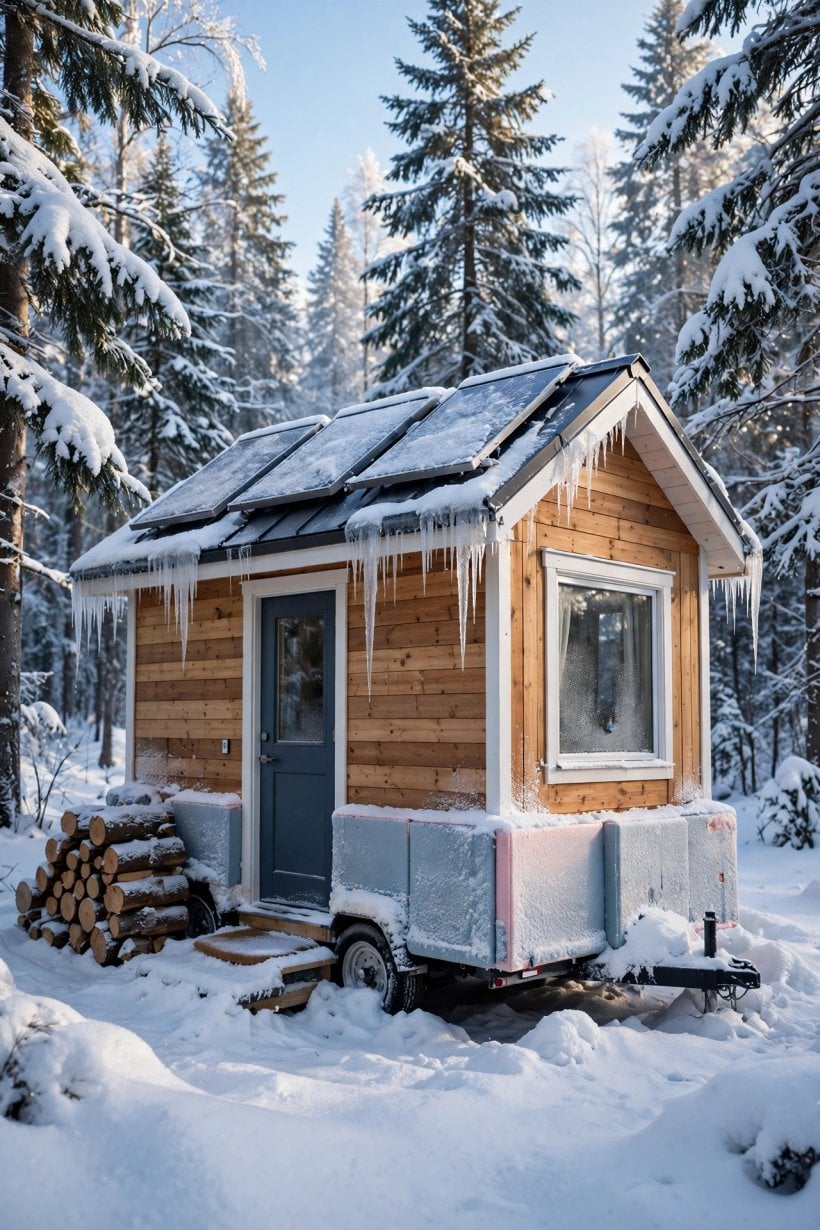
Orient the long axis east-west and glaze the south wall generously — 15–20% of the floor area in south glass — and the low winter sun becomes a heating appliance. It penetrates deep into the plan at exactly the season when the sun rides low, warming a thermal-mass floor of polished concrete or tile over the slab, which stores the day’s gain and gives it back through the evening.
The zoning follows the sun. Living spaces sit on the south side, harvesting light and heat where people spend their waking hours; bedrooms and the bathroom line up along the north as buffer zones, where cooler temperatures matter less and small windows lose less heat. The section of glass is a tool, not a view tax: north glass is kept minimal because in midwinter a north window only ever loses.
Overhangs make the system seasonal rather than stubborn. Sized for your latitude, they shade the glass in summer and expose it fully in winter — the original plan’s example is worth keeping: at 40° latitude, a 2-foot overhang on an 8-foot wall fully shades south glass at the summer solstice and fully exposes it at the winter solstice. Get the angle from your own latitude, not from a photograph of someone else’s house, and the same wall that heats you in January stops roasting you in July.
8. The Super-Insulated Roof Plan: An R-60 Ceiling Over a Conventional Floor Plan
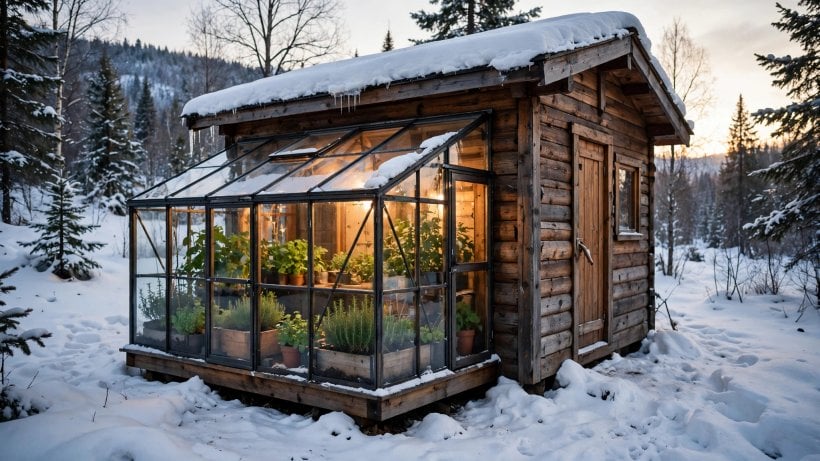
Heat rises, so the roof deserves the best insulation in the house. This plan puts R-60 overhead — about 18 inches of cellulose or 10 inches of closed-cell foam — in a vented cathedral assembly or under a flat ceiling with a deep truss, while the floor plan below stays entirely conventional. The innovation is all above your head, which is exactly where the physics says it should be.
The arithmetic is unforgiving: in a 200-square-foot house, the ceiling is 200 square feet of envelope, the single largest surface the warm air touches. Under-insulating it is, in the original plan’s phrase, like leaving a window open all winter — a permanent, invisible flue carrying your heat into the sky. R-60 closes that flue, and it pairs with the roof’s structural duty, since a ceiling built for deep insulation and snow country should also be checked against the snow load your roof actually has to carry.
Because the plan below is conventional, this is the easiest upgrade on the list to combine with another: a plumbing-core layout under an R-60 lid, a hearth plan under an R-60 lid. If a budget forces a choice between exotic walls and an excellent roof, take the roof — it is the cheapest R-value in the building and it defends the surface heat escapes through fastest.
9. The Attached Greenhouse Buffer: A 10×12 South-Wall Greenhouse That Heats and Feeds
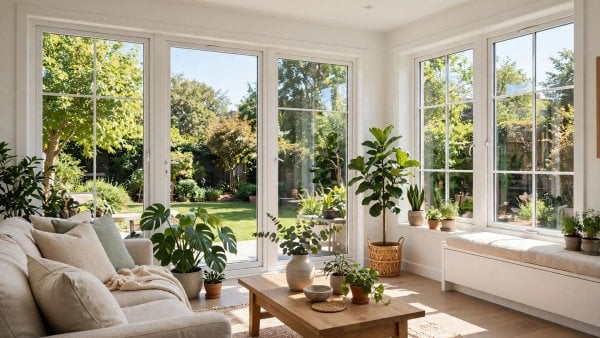
Attach a 10×12 greenhouse to the south wall and it does three jobs at once: it grows food through the winter, it preheats ventilation air before that air enters the house, and it buffers the house’s most exposed wall from wind, so the wall behind glass never feels the full outdoor temperature. The floor plan connects the two with a door and operable vents, and on sunny winter days the greenhouse pushes 70°F air into the house for free — solar heating with a salad attached.
The buffer effect is the least obvious and the most constant of the three. Even on a grey day, the greenhouse air is warmer than the outdoors, so the temperature difference across the house wall shrinks and conductive loss falls with it. On a bright day the vents open and the buffer becomes a furnace. At night it simply goes back to being a blanket.
There is also the psychological pressure valve, which cold-climate veterans rate more highly than engineers expect: green, growing things in February, a warm room full of plant smell when the world outside is white and silent for the fifth straight week. Winter endurance is partly a design problem, and this is the only plan on the list that designs for it directly.
10. The Arctic Entry Sequence: Double Mudroom and Radiant Floors
The ultimate cold-climate plan stacks every entry defence in order: an outer vestibule, unheated, for the worst gear; an inner mudroom heated to 50°F; then the house proper, warmed throughout by radiant floor heating. The two-stage entry means cold air never reaches the living space directly — it is stopped, warmed, stopped again — and by the time you step inside you have already shed the snow, the boots and most of the chill.
Radiant floors finish what the airlocks start. Warm feet are the single biggest comfort factor in a winter house, and a gently heated floor delivers that comfort at low water temperatures and with no blower noise, no ducts and no hot-cold cycling. It suits the tight envelope, too: in a house that needs only a few thousand BTU per hour, a radiant slab or floor panel spreads a small amount of heat with unusual evenness — and if you want to see what a floor system draws, the radiant floor heating power figures make sober reading.
It is expensive and complex, and it is the most comfortable winter tiny house on this list — the plan for someone building once, in serious cold, with no intention of moving. Everyone else can steal its ideas individually: the second door, the heated mudroom, one radiant bathroom floor. The sequence is a gradient, not a gate.
Final Considerations
Read across all ten layouts and the tiny house plans for cold climates resolve into one discipline: seal the envelope, insulate beyond code, keep plumbing in the warm core, and give winter an airlock at every door. Size the heating to the real load — a super-insulated 200-square-foot house needs just 3,000 to 6,000 BTU/hr on the coldest night, less than a hair dryer, so a 3–5 kW stove, a single mini-split head or a direct-vent propane heater is a choice of fuel and lifestyle, not of horsepower. Pick the fuel you can reliably get in February.
Ventilation is the discipline’s quiet half: at 1.0 ACH50 a house no longer breathes by accident, so an HRV or ERV at around 0.3 ACH continuous is mandatory, recovering heat from the exhaust air while it clears moisture. When you are ready to test these layouts against your own lot, climate and trailer, comparing them side by side with other tiny house blueprints and floor plans is a good way to see which cold-weather ideas survive contact with your actual dimensions. The house that respects January will be comfortable every other month for free.


8 Comments