

A big metal duct marching across your ceiling can make a finished room feel like a factory floor. The good news: you rarely have to move it to tame it.
From paint to clever boxing-in, these 20 approaches to hiding ductwork — or proudly featuring it — start with knowing what you are working with.
1. Assess First: What the Duct Does and What Must Stay Reachable
Before covering anything, learn your duct’s job. Is it a main supply trunk, a return, or a redundant run? Which dampers, cleanouts and joints sit along it, and who might need access later — you, or a heating engineer at the worst possible moment? Photograph everything, note vent positions, and never plan to block airflow, seal in a damper or bury a joint you cannot reach. Ductwork is common in the basements and lofts covered by our basement interior design ideas for tiny houses, where access planning matters just as much as looks.
Next, decide your honest camp: hide it completely, soften it, or feature it. Hiding suits formal rooms and low ducts that crowd headroom visually; featuring suits tall ceilings, industrial tastes and ducts in genuinely good condition. Softening — paint, light, partial boxing — suits most real homes and most real budgets. If rerouting or altering the duct itself is on your mind, talk to a qualified HVAC professional first: sizing, airflow and local code requirements all vary, and only someone who can see your system can advise safely.
| At a Glance | Best Move | Why It Works |
|---|---|---|
| Fastest fix | Paint to match the ceiling | Duct visually dissolves in a day |
| Neatest hide | Boxed soffit or bulkhead | Reads as architecture, not apology |
| Best feature route | Paint bold and light it well | Confidence turns eyesore into design |
| Best for low ducts | Shelving or cabinetry beneath | Steals back the lost zone usefully |
| Non-negotiable | Keep access panels and airflow clear | Future maintenance without demolition |
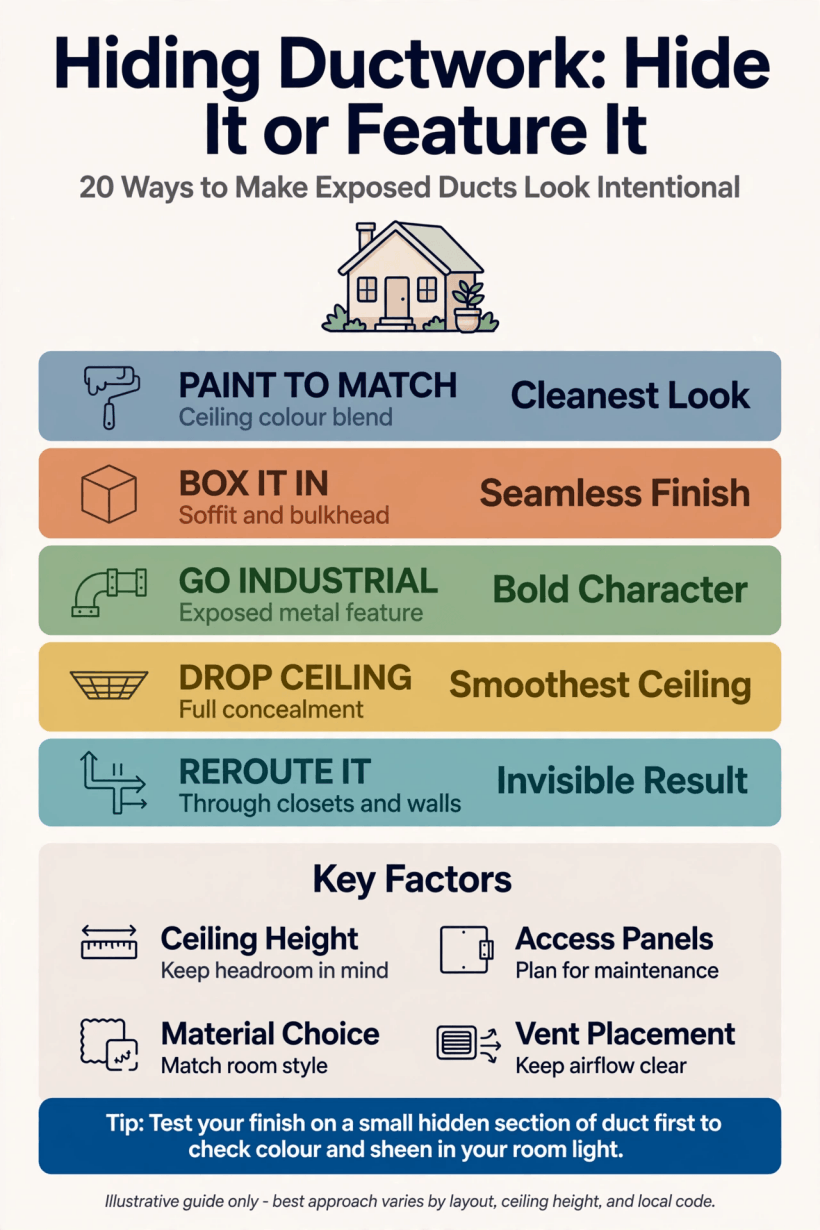
The decision in one view: check access and airflow first, then choose hide, soften or feature based on the duct’s height, condition and your room’s style.
2. Paint Tricks: Disappear It or Dress It Up
Paint is the fastest duct makeover there is, and it cuts both ways: blend the duct into the ceiling until it vanishes, or dress it in a deliberate colour that turns it into the room’s ribbon of interest. Clean and prime the metal properly first — paint over dust and grease fails in sheets — and use a finish matched to the ceiling so light behaves the same way on both surfaces.

Idea 1: Paint It the Exact Colour of the Ceiling
The classic camouflage: duct, ceiling and walls’ top edge in one matte colour, and the eye slides straight past. Matte finishes hide the duct’s seams and slight dents far better than satin or gloss, which spotlight every ripple. Extend the colour down to a picture-rail line if the duct sits low on a wall, and the whole band reads as shadow rather than machinery.
Idea 2: Paint It Bold and Own It
The opposite trick works just as well: a duct in deep charcoal, ink blue or a colour borrowed from your rug stops pretending and starts performing. Bold paint suits round or beautifully made ducts best, and it needs the rest of the ceiling kept calm so the gesture reads confident, not chaotic. Repeat the colour once more in the room — a door, a shelf — to complete the story.
3. Box It In: Soffits and Bulkheads That Look Like Architecture
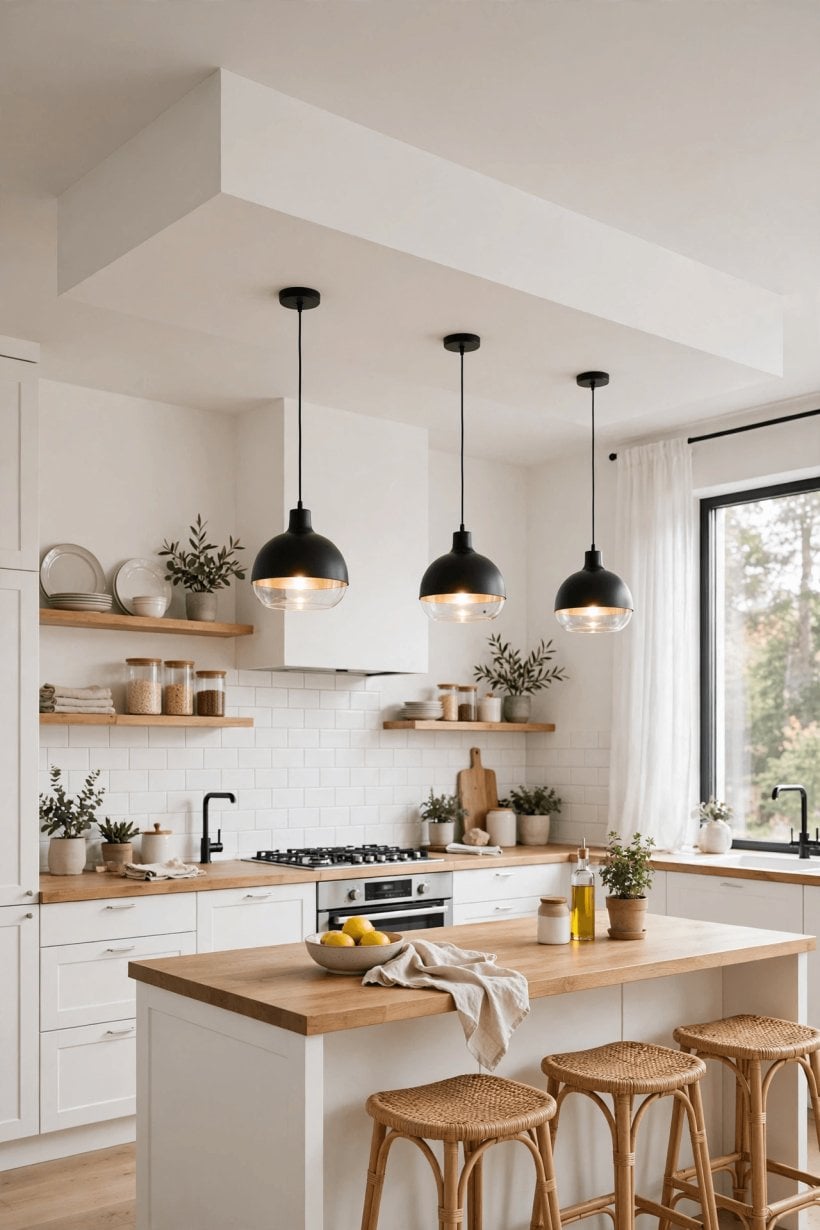
Boxing a duct into a soffit or bulkhead is the neatest permanent hide, and done well it looks like the room was always built that way. Frame around the duct with clearance, board it, and finish the boxing to match the ceiling — then design with it: a bulkhead can define a kitchen zone, frame a seating area or carry downlights. The framing discipline is the same as any small build, as our guide to building your own tiny house shows: measure twice, keep it square, finish carefully.
Idea 3: Build a Clean Ceiling Soffit
A simple rectangular soffit that runs the duct’s length and returns neatly into the walls is the professional standard. Keep the boxing as tight as access allows — oversized soffits steal more visual headroom than the duct did — and always build in a discreet access panel at dampers and cleanouts, painted to match so it disappears.
Idea 4: Widen the Bulkhead Into a Design Feature
If you must box, box generously: extend the bulkhead to a natural boundary — the width of a kitchen island, the line of a doorway — and it becomes a deliberate ceiling step rather than a duct-shaped lump. Add a shadow gap or a line of trim where it meets the ceiling and the joinery looks intentional from every angle.
4. Disguise It as Structure: Beams and Ceiling Grids
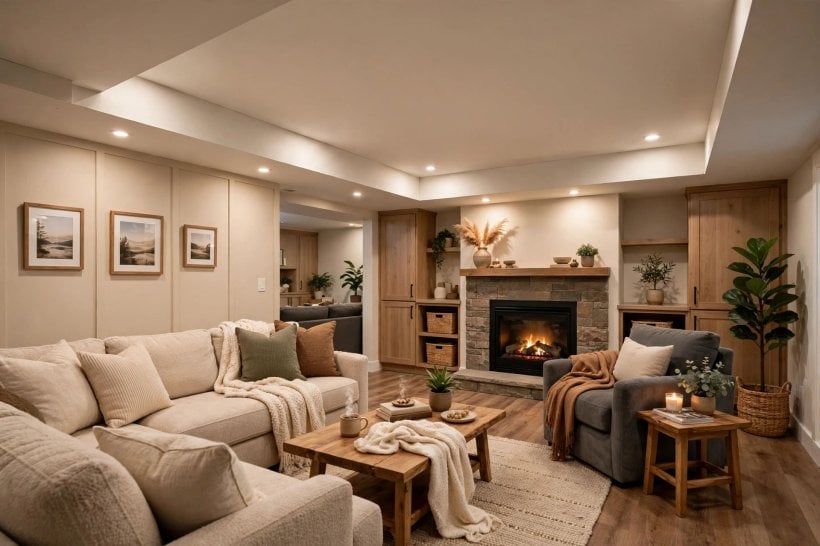
One boxed duct looks like a cover-up; a family of matching shapes looks like architecture. By adding faux beams or a shallow grid that echoes the boxed duct, you turn a single awkward run into a rhythm the eye accepts as the room’s design. Match dimensions and finish exactly, and space the additions the way real structure would be spaced — evenly, and aligned with walls and openings.
Idea 5: Add Faux Beams to Match the Boxed Duct
Box the duct, then add two or three identical hollow faux beams across the ceiling at regular intervals. Suddenly the duct is simply the first beam. Timber-clad versions suit rustic and farmhouse rooms; smooth painted versions suit everywhere else. This is the single most convincing disguise in this guide for long, straight trunk ducts.
Idea 6: Build a Shallow Coffered-Style Grid
Where a duct crosses a ceiling, extend the boxing logic into a shallow grid of battens or boxed sections that incorporates the duct as one cell of the pattern. Painted one colour, a faux-coffered ceiling reads as a deliberate, tailored feature — and guests will compliment the ceiling that was built to hide a problem.
5. Use the Space Beneath: Shelves, Cabinets and Storage
A low duct steals headroom along one strip of the room — so claim that strip for storage and the duct stops being wasted space’s landlord. Shelving and cabinetry built up to the duct’s underside make the run look planned, because the furniture explains the ceiling. It is the same every-inch thinking as our tiny house and small-space interior design guide, applied to the awkward zone nobody else wanted.
Idea 7: Run Open Shelving Directly Under the Duct
In kitchens and living rooms, a run of open shelves fitted just beneath the duct turns dead air into display and storage. Books, ceramics and baskets draw the eye down to the useful layer, and the duct above them fades into the shelving’s own shadow line. Keep a small clearance so shelf contents never touch or crowd the duct itself.
Idea 8: Build Cabinetry Up to Meet It
Full-height cabinets, wardrobes or a bookcase wall built up to the duct’s underside make the ceiling line look inevitable. The duct effectively becomes the cabinets’ cornice. This suits basement media rooms, utility spaces and kitchen runs especially well — anywhere storage was already on the wish list and the duct can retire into the joinery.
6. Soften It: Fabric, Panels and Texture
Not every duct needs carpentry. Soft treatments — fabric, acoustic panels, textured wraps — take the industrial edge off a run while staying light, removable and kind to access. They suit renters, basements and media rooms where sound matters, and they borrow the warm, layered mood of the schemes in our tiny barn house interior ideas.
Idea 9: Drape or Fix Fabric Panels Along the Run
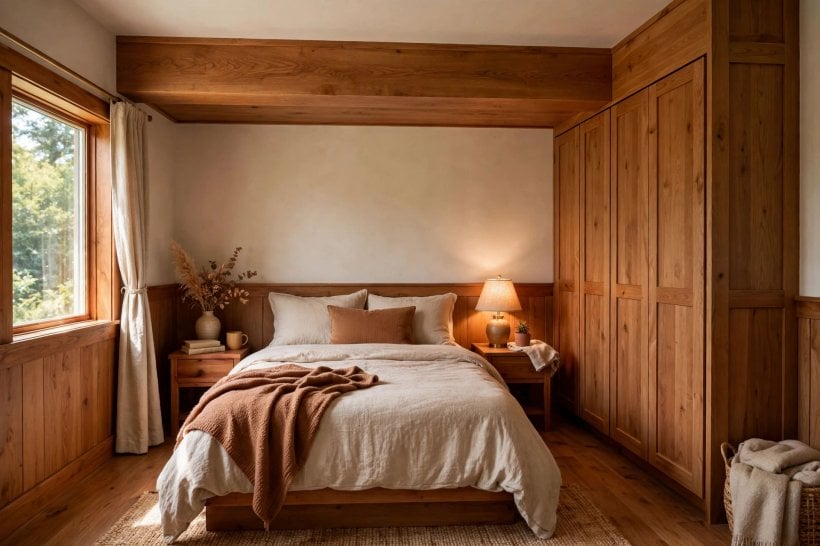
A length of canvas, linen-look outdoor fabric or curtain panels fixed beneath or beside a low duct softens its line and can hide it entirely in a basement lounge or bedroom. Fix fabric so it can be removed for access and washing, keep it well clear of any heat sources, and choose a colour that continues the ceiling or the curtains for a calm read.
Idea 10: Wrap the Zone in Acoustic Panels
Fabric-wrapped acoustic panels mounted on the ceiling around — not sealed against — a duct calm both the look and the echo of hard basement rooms. The duct becomes one element in a soft, panelled ceiling field. Panels also forgive minor ceiling sins elsewhere, which makes the whole room feel renovated rather than patched.
7. Light Around It: Make Shadow Work for You
Light decides what the eye notices. A duct lit harshly from directly below announces itself; the same duct in a room with warm, layered light and a deliberate glow nearby simply joins the ceiling-scape. Use light to pull attention to walls, seating and art, and let the duct sit in the quieter zone — or light it like sculpture if you have chosen the feature route.
Idea 11: Wash the Walls, Not the Duct
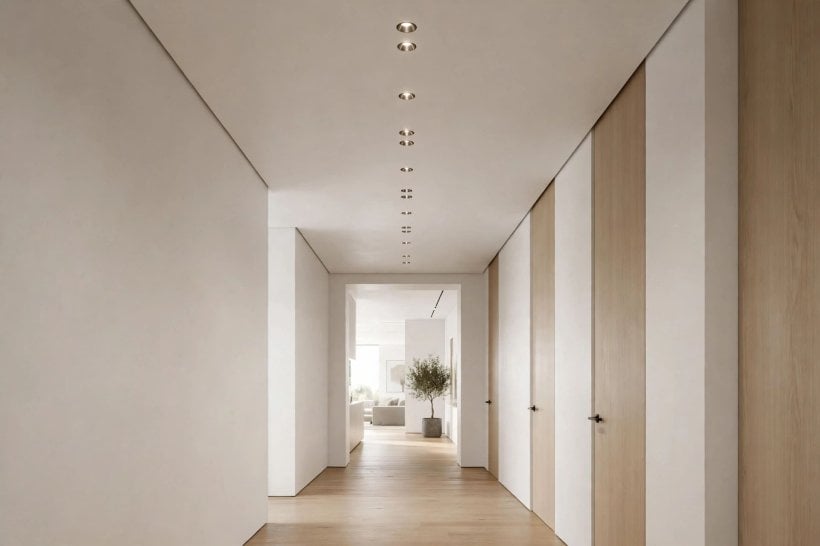
Position wall-washing downlights, sconces and table lamps so the bright, interesting surfaces are the walls and the furniture — never aim a spotlight at the duct run. Human eyes go to the brightest, warmest thing in the room; lighting design is mostly the art of deciding what that thing is, and it should not be your ductwork.
Idea 12: Add a Strip of Light Along Its Edge
For the feature route, an LED strip run along a painted duct’s lower edge turns it into a glowing beam of light — deliberate, modern and genuinely beautiful in media rooms and kitchens. Keep the strip on a dimmer, match its colour temperature to the room’s other lighting, and make sure any wiring is done properly and accessibly.
8. Embrace the Industrial Look: Polish, Colour-Code, Celebrate
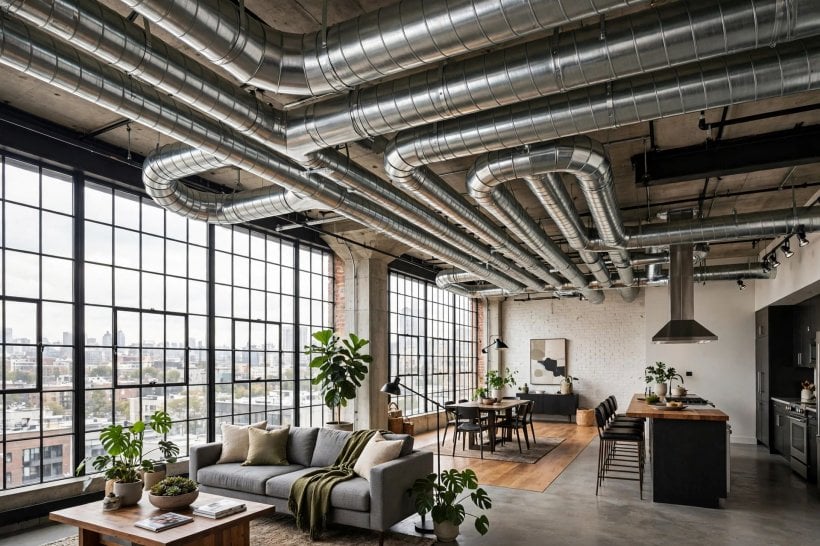
Sometimes the best hiding is confidence. In lofts, basements, studios and modern extensions, exposed services are a legitimate style — the look celebrated in our modern tiny house interior ideas — and a clean, well-kept duct can be the most honest thing in the room. The secret is condition: industrial chic demands the duct be cleaned, sealed neatly at the joints and finished like it matters.

Idea 13: Clean, Seal and Clear-Coat the Metal
Degrease the duct, tidy ragged tape and mastic, straighten what can be straightened, then protect the metal with a clear matte coat or a metallic finish. The transformation from ‘plant room’ to ‘loft’ is mostly housekeeping. While you are there, check the duct’s insulation and joints are sound — looks should never be bought at the price of performance.
Idea 14: Colour-Code the Services
Designers of real industrial spaces colour-code pipes and ducts by function. Borrow the trick playfully at home: the duct in one considered colour, a conduit or pipe run in a second, everything else calm. It reads as a system — intentional, graphic and fun — especially in studios, workshops and teenagers’ rooms.
9. Distract and Divide: Plants, Art and Room Layout
 The duct lives on the ceiling, but the battle is won at eye level. A room with a strong focal point, sensible furniture layout and something green or beautiful to look at simply gives nobody a reason to stare upward. Treat this section as the supporting act for everything else in the guide: even a perfectly painted duct benefits from a room that holds attention where life happens.
Idea 15: Give the Room a Stronger Focal Point
A fireplace dressed well, a gallery wall, a statement light over the table or a media wall that earns its size — any of these out-competes a ceiling duct for attention. Arrange seating to face the feature, light it warmly, and the duct becomes what ceiling roses and coving are: something you notice only when you go looking.
Idea 16: Use Tall Plants and Vertical Interest Below
Tall plants, a floor lamp with presence, high shelving and art hung generously all pull the room’s visual centre of gravity down and enrich the middle band where people actually look. In basement rooms especially, a lush plant under a soft light does more for the mood than any amount of ceiling carpentry.
10. Bigger Moves and Ground Rules: Reroute, Replace, or Leave It Proudly Alone
The last four ideas are the honest heavy artillery. Moving or replacing ductwork is sometimes the right answer — in a gut renovation, a ceiling already open, or a run that genuinely ruins a room’s use — but it is professional territory: airflow, sizing and local requirements all matter, and rules vary, so check with your city or county and a qualified HVAC contractor before committing, much as you would for the structural questions in our guide on where you can build a tiny house.
Idea 17: Reroute the Run Along a Wall or Into a Corner
Moving a duct from mid-ceiling to a wall edge or corner — where a shallow soffit reads as a natural ceiling step — is often the smartest big move. The room keeps its centre height, the boxing looks architectural, and the work happens while other renovation mess is already underway.
Idea 18: Swap a Bulky Duct for a Lower-Profile Run
In some homes a professional can replace one oversized rectangular run with lower-profile ducting that hugs the ceiling more kindly or splits into smaller runs. Never guess at sizes yourself: airflow depends on them, and a prettier ceiling that heats badly is a poor trade.
Idea 19: Build Access In, Every Single Time
Whatever you choose — soffit, panels, fabric — design the access panel, removable section or reach-in gap at the same time, positioned at every damper, junction and cleanout. The day a technician needs in is the day you will be grateful. Disguise panels with paint and flush trims so the practicality stays invisible until needed.
Idea 20: Decide the Duct Is Fine and Spend Elsewhere
The most underrated idea on this list: clean the duct, paint it neatly, fix the room’s lighting and furniture, and spend the saved budget where life is lived. Many ‘ugly duct’ rooms are actually dim, sparse rooms with a perfectly ordinary duct. Hiding ductwork is a means to a calmer room — and sometimes the calm arrives by another, cheaper road.
Final Considerations
Work in this order: understand the duct, protect access and airflow, then choose the lightest treatment that solves the problem — paint before boxing, boxing before rerouting. Most ducts surrender to one good coat of matte paint and a room lit with more care.
Whichever route you take, finish it completely: neat edges, matched colours, access preserved. A duct treated with confidence — hidden, softened or celebrated — stops being a flaw and becomes part of the room’s story, much like the honest beams and services in our favourite tiny house interior design ideas. That is the real goal: not a perfect ceiling, but a room nobody wants to leave.



0 Comments