

Every home project begins twice: once in the pile of saved photos, screenshots and half-remembered rooms gathered over months, and once in the real room, where that pile either becomes a plan or collapses under its own weight. The difference between the two beginnings is almost never taste. It is organisation.
This guide sets out a calm, tool-neutral way of organising saved home-design ideas and photographs into project boards that can actually be built from — one board per project, honestly sorted, annotated with decisions, and finished as a working brief. It belongs to the wider home design ideas collection, at the planning end where ideas become rooms.
1. Organising Home Design Ideas at a Glance
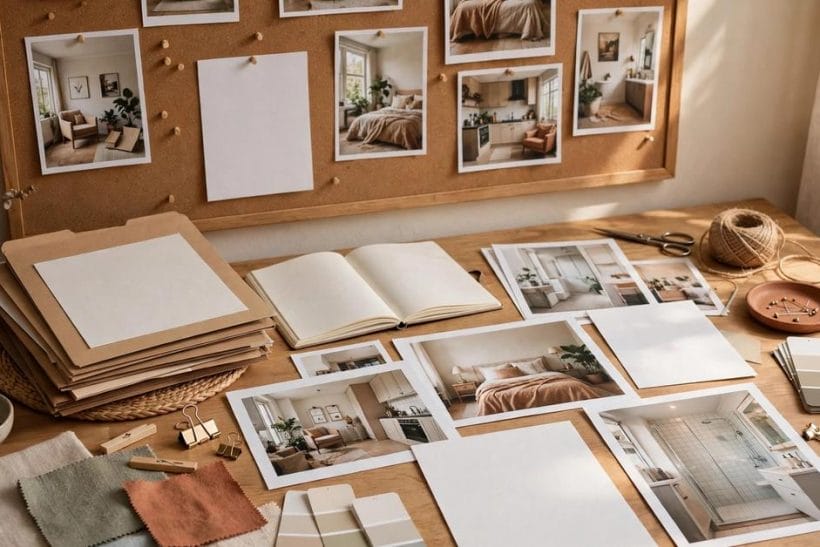
A project board, in this guide’s sense, is an organised collection of saved design ideas — photographs, screenshots, product pictures, material samples and notes — gathered for one defined project: one room, one renovation, one garden corner. It is not a scrapbook and not a wish list. Its attributes are a scope (which room, which stage, whose decision), a structure (sections for layout, colour, materials, furniture and details), annotations (the decision each saved item supports, in words), and a lifecycle (collecting, deciding, building, archiving). Kept that way, a board does three jobs no loose pile can: it shows contradictions early, while they are still cheap; it turns taste into a brief a household or a tradesperson can follow; and it records why choices were made, so a project paused for a season can resume without starting again. The methods below work in any medium — a notes application, a folder of images, a printed file — because the discipline, not the tool, is what organises.
| Question | Short answer |
|---|---|
| Is one big board of everything I like good enough? | No — one board per project is the guide’s first rule. A mixed board hides contradictions (three kitchen styles, two budgets, four eras) until money is spent on them. Separate boards for separate rooms and stages let each project develop its own palette, budget and decision list, and finished boards can be archived whole. |
| What should an annotation on a saved photo actually say? | The decision it supports, not the feeling it gave. ‘Pale oak floor, because the north light is cold’ can be quoted, priced and built from; ‘love this!’ cannot. Note the element you are saving — floor, tap, layout, colour — the reason, and anything it rules out. |
| How many photos should a board hold? | As few as still cover the decisions. A board that must guide a real room usually settles once every open decision has a chosen example and a runner-up; beyond that, more images mostly re-open settled questions. Pruning is not tidiness for its own sake — it is how a board stays a plan instead of becoming a magazine. |
| Can a board replace measurements and a proper brief? | No — it feeds them. Photographs carry appearance, not dimensions. The board’s final stage in this guide is a written brief: the room’s true measurements, its constraints, the chosen examples and a list of what has been decided against. That page, not the prettiest photo, is what gets priced and built. |
2. One Board Per Project, Not One Board Per Everything
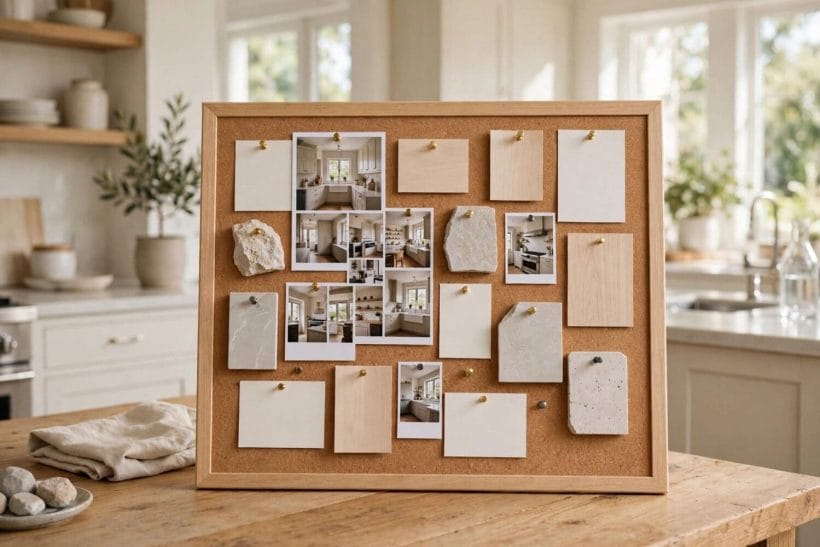
Begin by splitting. Whatever collection you already keep — a camera roll of screenshots, a folder on a computer, a drawer of magazine pages — divide it by project: the kitchen as its own board, the main bedroom as another, the hallway refresh as a third. Projects that are truly one undertaking, like an open-plan kitchen and dining space being renovated together, share a board; everything else separates. The split feels like extra work for an afternoon and saves confusion for the whole project, because every later question — what does this cost, what have we decided, what does this photo belong to — has one obvious place to be answered.
Name the project by its room and its stage
A board named by room and stage — ‘kitchen, planning’ moving to ‘kitchen, decided’ and finally ‘kitchen, building’ — tells you at a glance what kind of attention it needs. Planning boards may roam; decided boards may not quietly re-open; building boards hold only what the work requires. The stage in the name is a promise about how the board will be treated.
Give every board the same five sections
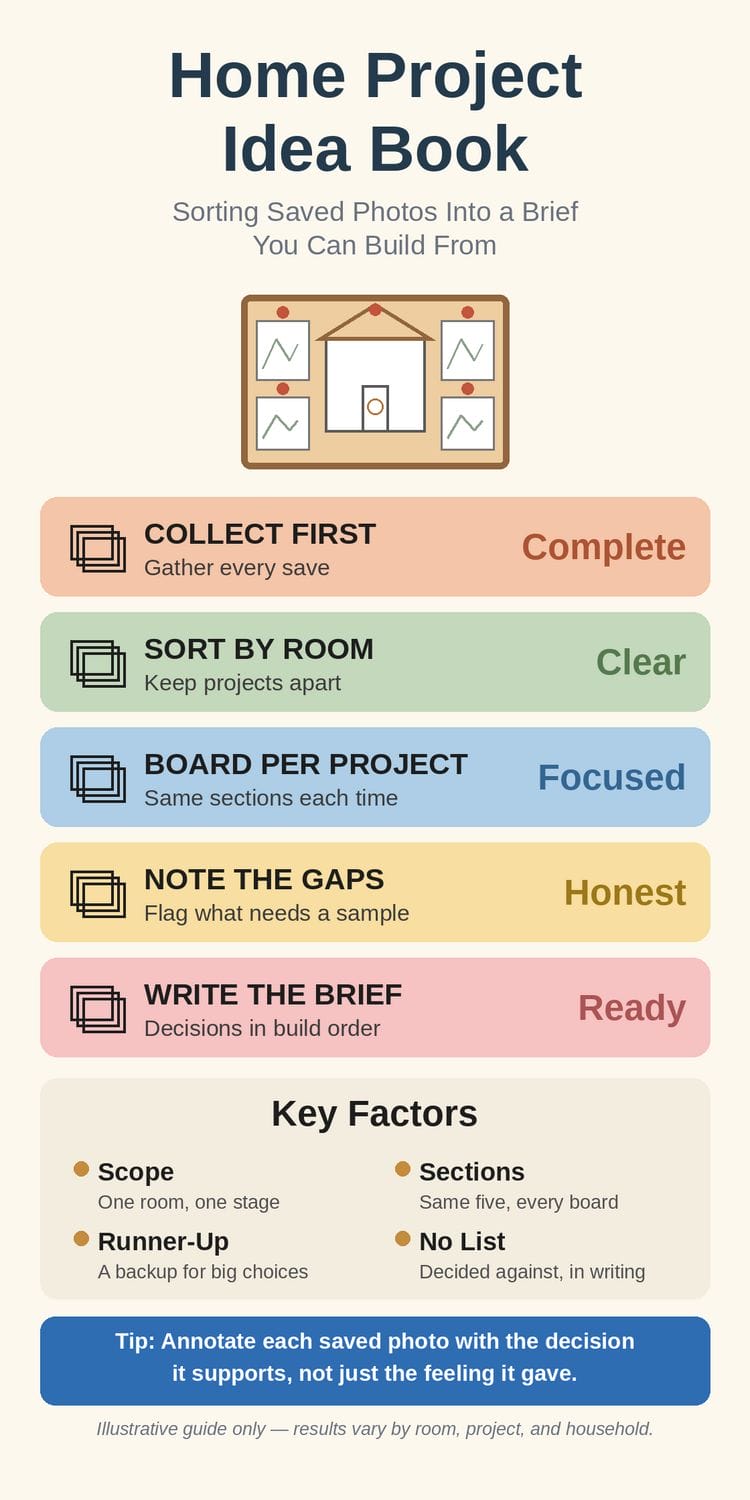
Layout, colour and light, materials, furniture and storage, and details are the five sections this guide uses for every room board. A shared structure makes boards comparable — the bedroom’s colour section can be set beside the living room’s to check the house still reads as one home — and makes gaps visible: a board with forty furniture photos and no layout has its priorities showing.
3. The Honest Sort: Keeping, Parking and Letting Go
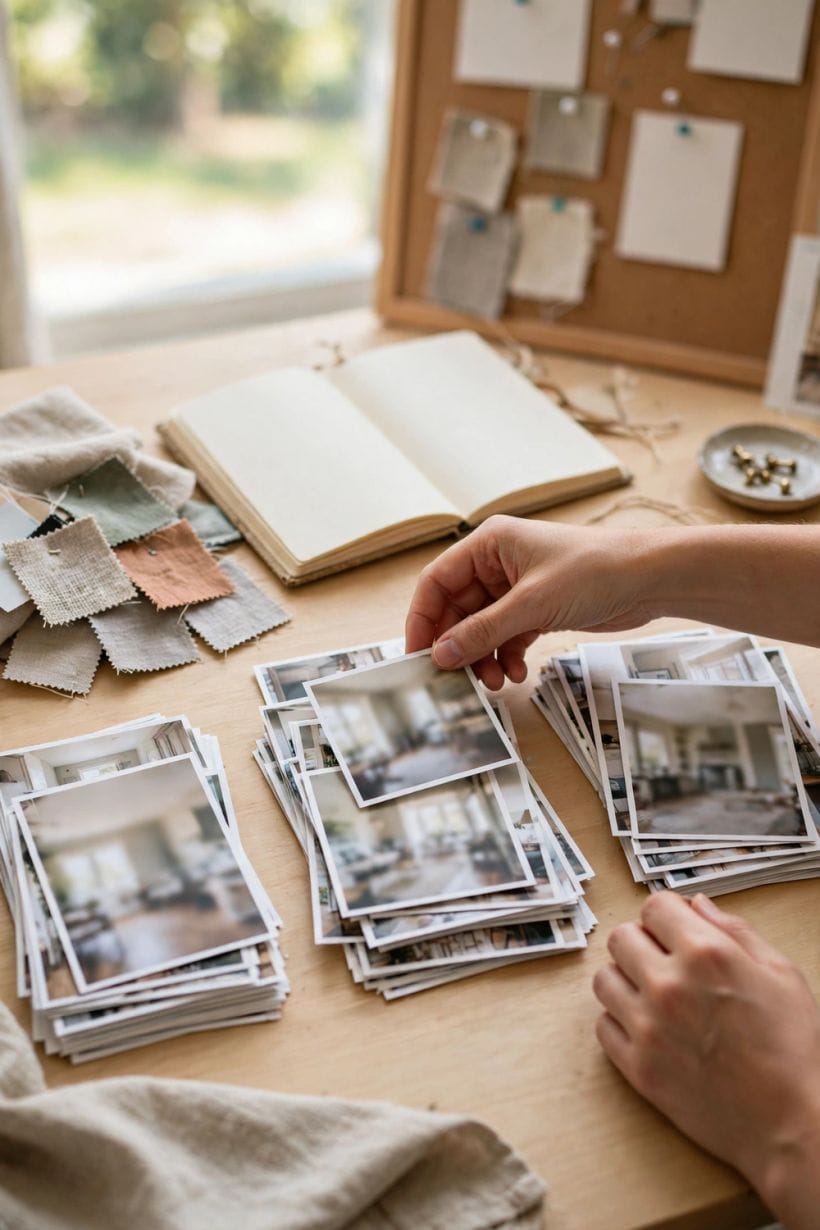
With the boards made, sort what you have saved into three honest piles. Keep: images that support a decision this project genuinely faces. Park: images you love that belong to another project, another house or another decade of your life — move them to their own board or a single ‘someday’ board, out of the working set. Let go: duplicates, near-duplicates, and images whose appeal was the photograph rather than anything in it. The parked pile matters most. Most collections fail not from loving too little but from refusing to admit that a beautiful farmhouse kitchen and a beautiful city kitchen cannot both be built in the same four walls.
Save the element, not the room
When a photo survives the sort, its value is usually one element — a tap shape, a floor tone, the way curtains meet the floor. Cropping or annotating to name that element protects the project from the photo’s other contents, which arrive uninvited surprisingly often: a saved floor that quietly imports its wall colour, its furniture style and its budget along with it.
Keep a runner-up for every major decision
For the decisions that cost real money — floor, cabinetry, the main sofa, the bath — keep one runner-up beside the chosen example. If a product is discontinued, a quote disappoints or a sample fails in the room’s own light, the project moves to the runner-up instead of restarting its taste from zero on a stressful afternoon.
4. Annotating What You Keep: From Photo to Decision
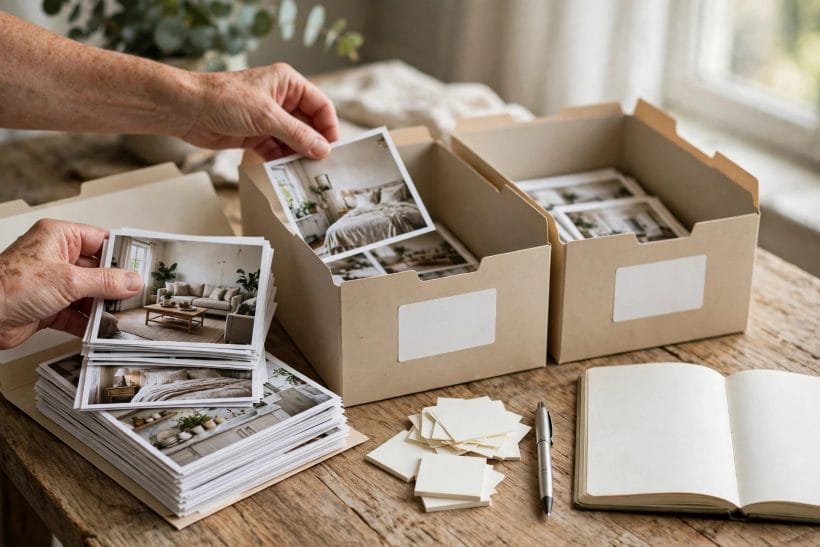
An unannotated board is a mood; an annotated board is a plan. Work through the kept images and write, beside each, the three things a photograph cannot say about itself: what element it is evidence for, why it won, and what it rules out. ‘Herringbone in pale oak — warms the cold north light; rules out dark floors anywhere downstairs’ is a sentence a partner can agree with, a tradesperson can price from, and a future self can trust. Feelings may be noted too, but after the decision, not instead of it.
Record prices and sources as ranges of honesty, not promises
Where a saved item is a real product, note where it was seen and the price at the time, labelled as of that date. Prices move and listings vanish; the note’s job is to keep the board’s budget atmosphere honest — whether the taste on display is attainable or aspirational — not to guarantee a figure.
Mark what must be seen in the room itself
Some decisions cannot be settled from photographs at all: a paint colour under the room’s own light, a fabric against the floor it will sit on, a stone’s true tone. Flag those images ‘sample first’. A board that knows its own limits is worth more than a confident one, because samples ordered early are the cheapest corrections in any project.
5. Room Boards in Practice: How the Sections Fill
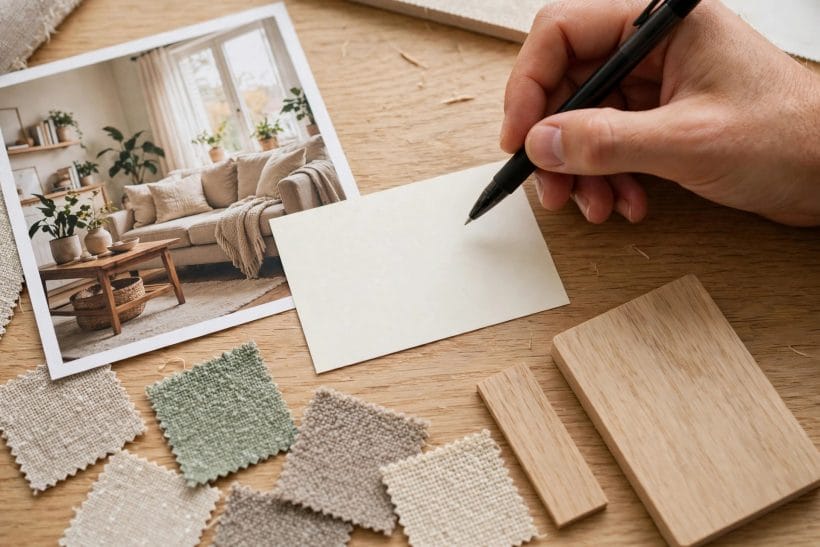
The five sections fill differently in every room, and the differences are the point. A living-room board leans on seating, light and the view from the door — the living room ideas survey is the kind of collection such a board draws on. A kitchen board is dominated by layout and materials, since its decisions are plumbed, wired and expensive to reverse; the kitchen ideas collection serves it the same way. A bedroom board is a study in calm — colour, textiles and storage that disappears — of the kind gathered in the bedroom ideas survey.
Let the room’s hardest constraint lead its board
Every room has one: a bathroom’s plumbing positions, a dining room’s table clearance, a small room’s door swing. Pin that constraint at the head of its board — for bathrooms, the discipline of the bathroom ideas collection applies — and let saved images be judged against it first. Beautiful ideas that ignore the constraint are parked, however lovely; the board serves the room that exists.
Dining and eating spaces need a board of their own
Tables, chairs, light over the table and serving space form a small, complete decision set that is easily swallowed by a kitchen board. Kept separately — as the dining room ideas survey keeps it — the eating space gets its own proportions checked: the table’s size against the room, the chairs against the table, the pendant against both.
6. The Working Brief: The Board’s Final Page
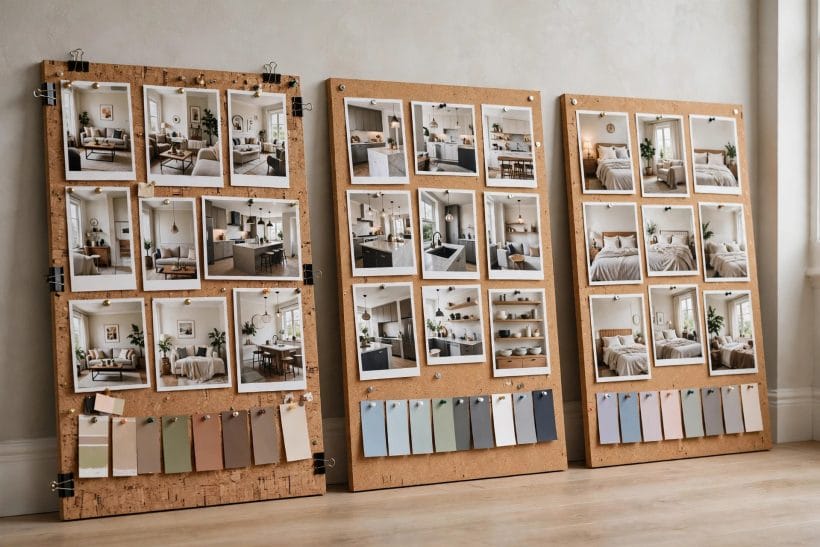
When collecting slows and deciding is mostly done, the board earns its final page: the working brief. It is a single written summary — the room’s measured dimensions and a simple plan, its fixed constraints, the chosen example for each major decision with its runner-up, the materials and colours in words as well as pictures, and the no list: what has been considered and decided against, with reasons. The no list is the brief’s most valuable paragraph. It is what stops a settled question being re-opened by a persuasive salesperson, a well-meaning relative or your own tired self in week six.
Measurements belong in words and numbers you have checked
Measure the room yourself, twice, and write the figures on the brief rather than trusting a photograph’s proportions or an old listing’s claims. Ceiling height, window positions, door swings and the awkward nibs and slopes are the facts every later decision stands on; a board full of beautiful rooms built on wrong dimensions is fiction.
Sequence the brief in the order work happens
Structure first, then services, then surfaces, then furniture, then details — the brief written in build order lets each trade see what it needs without reading the whole, and lets you spot the decision that must be made before a given stage arrives. A board organised by beauty becomes, in the brief, a document organised by time.
7. Sharing the Board: Households, Trades and Second Opinions
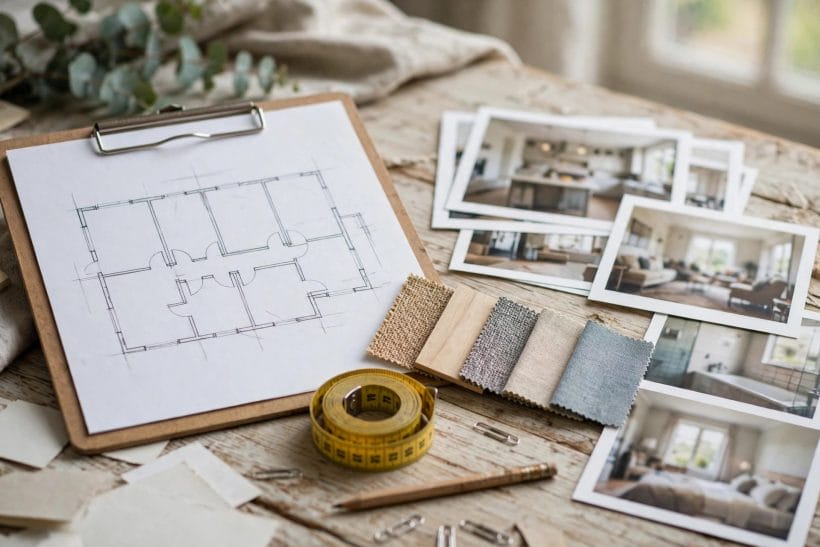
A board kept by one person and believed by one person will meet its test when other people enter the project. Share it deliberately. With a partner or household, the board turns ‘I thought you liked modern’ into a specific, settle-able conversation about specific images — most taste disagreements shrink remarkably when both parties must point. With tradespeople, share the brief and the relevant section, not the whole dreaming collection: a tiler needs the tile decision, its runner-up and the room’s measurements, not forty photographs of other people’s houses.
Ask second opinions about decisions, not about taste
‘Which of these two floors suits the light?’ is a question a friend can genuinely help with. ‘Do you like my board?’ invites only politeness or chaos. The narrower the question put to the board’s audience, the more useful the answers that come back.
Keep one editor
Boards shared for viewing should still have a single editor — the person who prunes, annotates and moves stages. Collaborative collecting is generous; collaborative editing is how boards regain the contradictions the sort removed. Agree the editor at the start, as calmly as any other project role.
8. Tools, Paper and Honest Systems
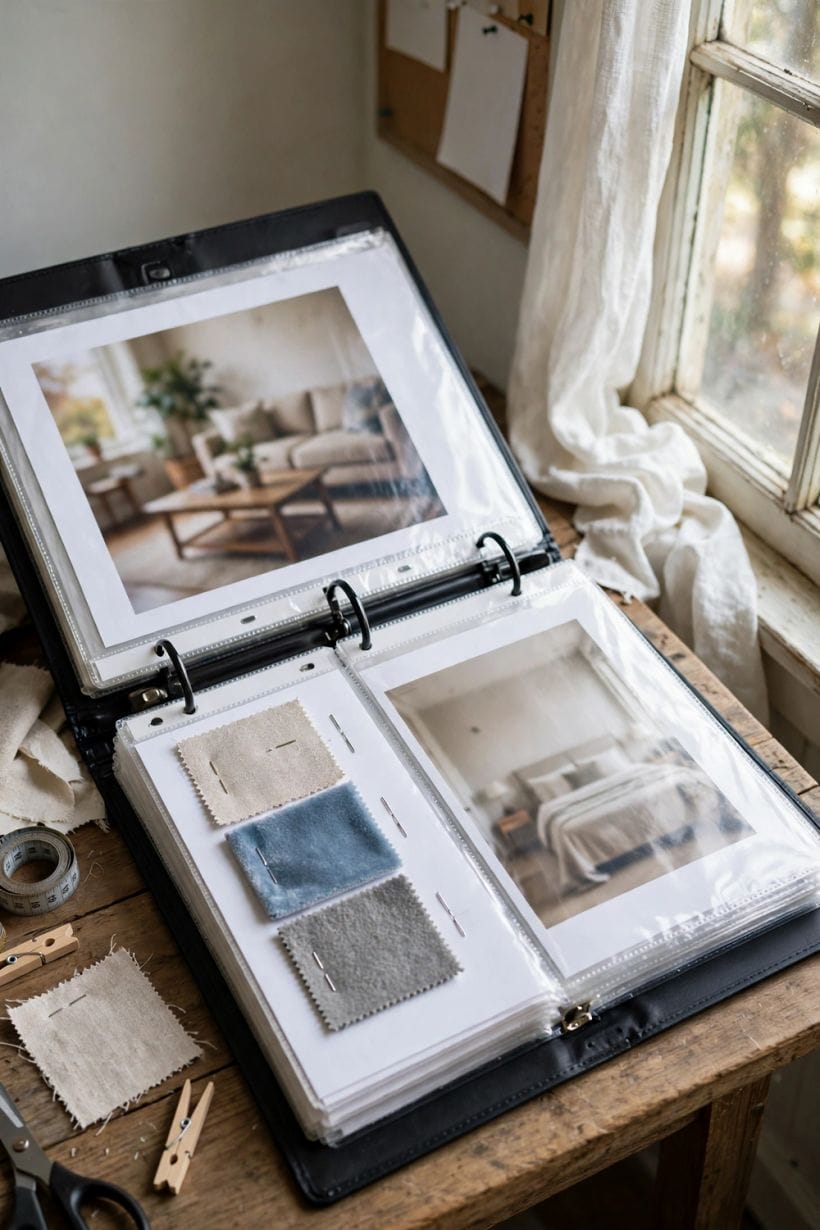
This guide is deliberately neutral about tools, because the system matters and the software does not. A notes application with folders and search suits collectors who think in words; a simple folder of images, one folder per project with the brief as a document inside it, suits the visual; a printed file — board pages in plastic sleeves, samples stapled beside the photographs they answer — suits anyone who thinks best at a table with the room around them. Hybrids are common and respectable: collect digitally, print the decided board, work from paper on site.
Whatever the medium, three habits carry the system
Consistent names, so anything can be found in seconds. A single home for each project, so nothing lives in two places and diverges. And a regular short pruning session — a quarter of an hour when new saves are sorted into boards or let go — so the collection never again becomes the pile this guide began with.
Back up the decided board as you would a contract
Boards in their decided and building stages are project documents, as worth preserving as quotes and guarantees. A simple copy in a second place — a second folder, a printed brief — is enough. Losing a mood board is an annoyance; losing the record of why the floor was chosen, mid-project, is a genuine problem.
9. Keeping the Collection Alive After the Project
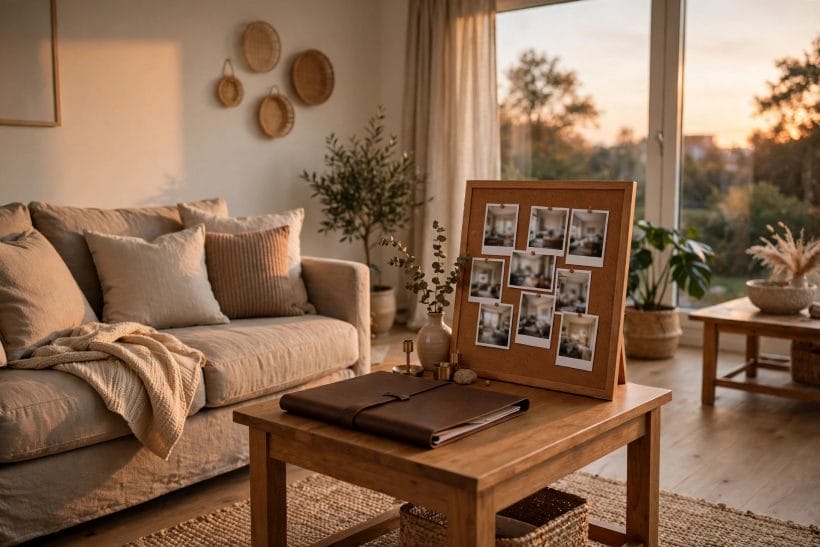
When the work finishes, do not delete the board — archive it whole, stage name changed to ‘done’, with a final note added: what was actually built, what changed along the way and why, and what you would do differently. That archive is the most valuable board you own. It is the evidence base for the next project, the answer key when a finish must be matched or a product reordered years later, and the honest record that turns one project’s experience into the household’s permanent knowledge.
Let finished boards teach the next one
Before a new project board is started, read the last archive. The patterns will be plain — where the money actually went, which decisions were agonised over and never noticed again, which cheap thing is loved daily. A household that learns from its own archives organises each new collection faster and more honestly than the last.
Keep saving — in the someday board
Finishing a project is not a vow against future ideas. The someday board, fed steadily and pruned lightly, is where taste does its slow, free development between projects. When the next room’s turn comes, its board will not start empty; it will start from a collection that has been quietly maturing, honestly labelled as dreams rather than plans.
10. Costs and Pulling It Together
The costs of organising ideas this way are measured in time, not money: an afternoon to split and sort an existing collection, a short session whenever a project’s stage changes, and the discipline of annotating as you save rather than in a heroic batch later. Printing a decided board and ordering the samples it flags are its only material expenses, and both are among the cheapest lines in any project. Set against what the system prevents — the wrong floor ordered from an unexamined photograph, the settled question re-opened at the showroom, the project paused for a season and resumed from memory — the afternoon is the best-spent time in the whole undertaking, and this guide prices nothing beyond saying so.
Pull the method together in order: split the collection into one board per project; give every board the same five sections; sort honestly into keep, park and let go; annotate each kept image with the decision it supports; let each room’s hardest constraint judge its board; write the working brief, no list included; share sections, not dreams, with trades and household; and archive the finished board with its lessons. Organised that way, saved ideas stop being a pile you feel guilty about and become what they were always meant to be — the first, cheapest and most enjoyable stage of the build itself.
Final Considerations
There is a particular pleasure in a well-kept board that has nothing to do with the project it serves: the sight of your own taste, clarified. Most people discover, somewhere in the honest sort, that they like fewer things than they saved and like them more precisely — that the forty photographs were always really about three. A collection that knows its own mind is a calmer thing to live with, long before a single wall is touched.
So begin with the split, be honest in the sort, and write the annotations as if a stranger — a tired, busy, future stranger who happens to be you — will have to build from them. That stranger will be grateful. The room that results will show it.

0 Comments