

Learning how to remove cordless cellular shades from their brackets is simpler than it looks, once you know that the headrail is held by spring clips designed to let go with the right movement. This step-by-step guide walks you through the release, the lift and the safe handling afterwards.
Take it slowly and support the shade as you work, and the whole job usually needs no more than a step stool, soft hands and a little patience.
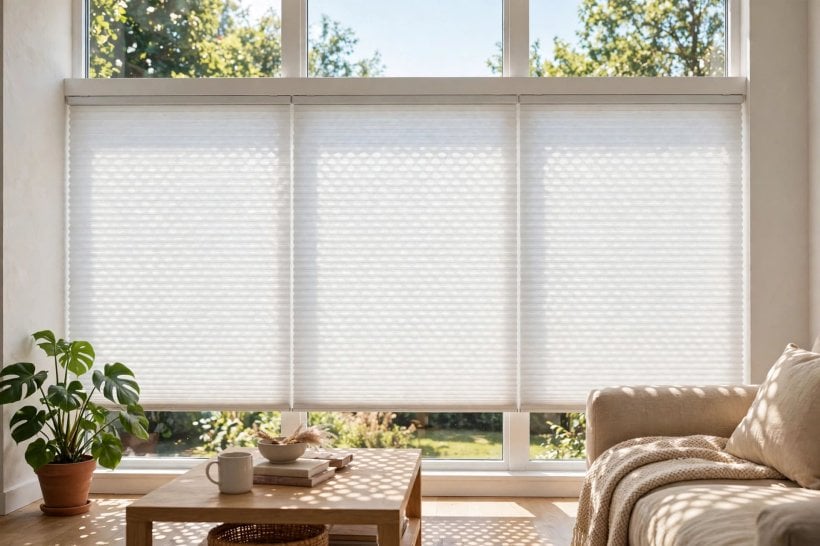
1. Removing Cellular Shades at a Glance
Cellular shades, also called honeycomb shades, hang from a slim headrail that clips onto small metal or plastic brackets screwed to the window frame or wall. Cordless versions lift by hand from the bottom rail, so there are no cords to untangle, but the bracket system works the same way as on most other shades: the front of the headrail hooks or rests on the bracket, and the back is held by a spring clip or tab. Removal is simply the reverse of installation. You release the spring pressure, tip or unhook the rail, and lift the whole shade away.
The key insight is that force is rarely the answer. These clips are made to release with a modest press, push or tilt in the correct direction, and to resist strongly in every other direction. The table below answers the questions people ask most before they start, so you can work out which release style your brackets use before you touch them.
| Question | Short answer |
|---|---|
| Do I need special tools? | Usually not. A step stool, a flat-head screwdriver for stubborn tabs, and a soft surface to lay the shade on will cover most removals. |
| Where are the release tabs? | On many brackets they sit at the back or underside of the headrail; pressing or lifting the tab frees the rail’s rear edge. |
| Should the shade be raised or lowered first? | Raise it fully and hold the fabric stack together; a raised, compact shade is far easier and safer to handle. |
| How many brackets will there be? | Typically at least two, near each end, with extra brackets added along wider windows; release every bracket before lifting. |
| Can I refit the shade afterwards? | Yes. If you keep the brackets, screws and shade together, refitting is the same process in reverse. |
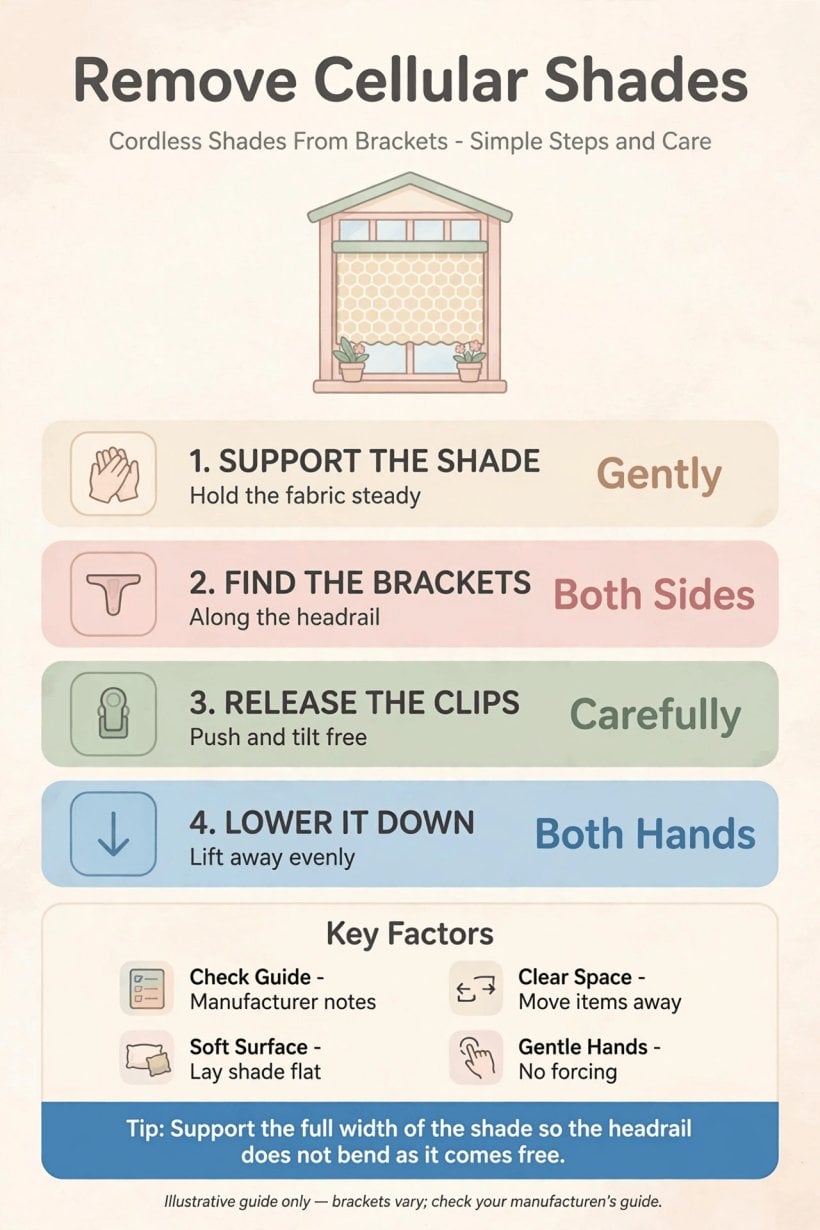
A visual overview of how cordless cellular shades clip into their brackets and the order in which to release them.
The steps that follow assume a typical inside or outside mount with standard spring-clip brackets. Where common variations behave differently, you will find notes on what to look for instead.
2. What You Need, and How These Shades Are Held Up
Gather a stable step stool if the window is tall, a flat-head screwdriver, a soft old blanket or towel, and perhaps some low-tack tape and a small bag for screws. Clear the sill and the floor beneath the window so the shade can be lowered without snagging ornaments, plants or radiators. Good light helps enormously: much of this job is done by feel, but your first look at the brackets should be a careful one, ideally with the shade raised so you can see how the headrail meets its brackets.
Understanding the geometry prevents the classic mistake of pulling the shade straight down, which only tightens most clips. On a typical bracket, the headrail seats at the front first, then the back of the rail is pushed up or back until a spring tab clicks over it. To reverse that, you relieve the spring tab at the back and roll or tip the rail forwards and down out of the bracket. Before starting, run one hand gently along the top of the rail and feel where the brackets are; their positions dictate your working order. Our guide to designing your own tiny house plans and layouts makes a similar point about fittings generally: understanding how something was fixed is most of removing it.
3. Step 1: Raise the Shade Fully and Secure the Fabric
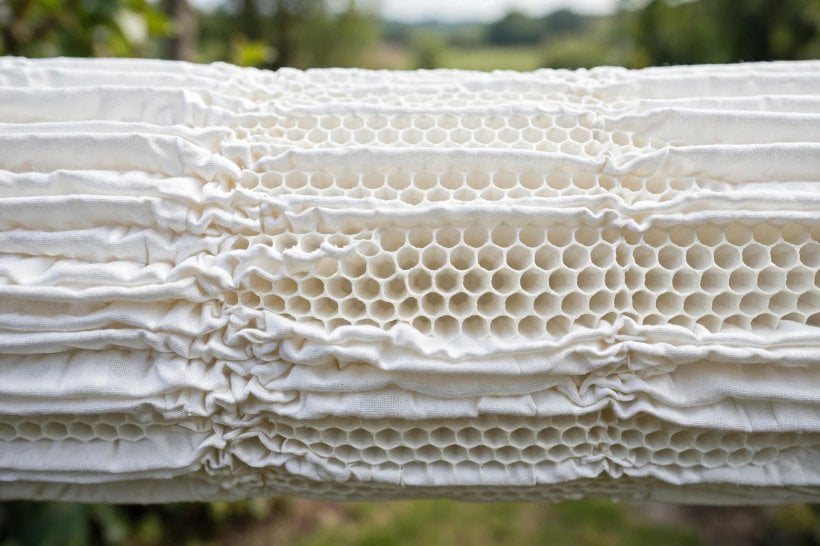
Start by raising the shade completely, using the bottom rail as you normally would, until the honeycomb fabric is stacked tightly beneath the headrail. A fully raised shade is compact, light and far less likely to swing, kink or brush against the wall as you manoeuvre it. If the shade tends to creep down on its own, hold the stack together with a couple of soft ties, wide elastic bands, or strips of low-tack tape placed gently around the folded fabric and bottom rail, padding anywhere tape might touch a finished surface.
Take a moment at this stage to check the shade’s condition. Note any cells that are already crushed, frayed or detached, because you will want to handle those areas with extra care and support them as the shade comes down. Photograph the installation from a few angles, especially how the headrail sits in the brackets and any shims or spacers behind them. Those photographs make refitting straightforward weeks later, and they cost you thirty seconds now. If the window is wide or the shade heavy, ask a second person to stand ready to take the weight; wide cellular shades are awkward rather than heavy, and awkward is exactly how damage happens.
4. Step 2: Find Every Bracket and Its Release Point
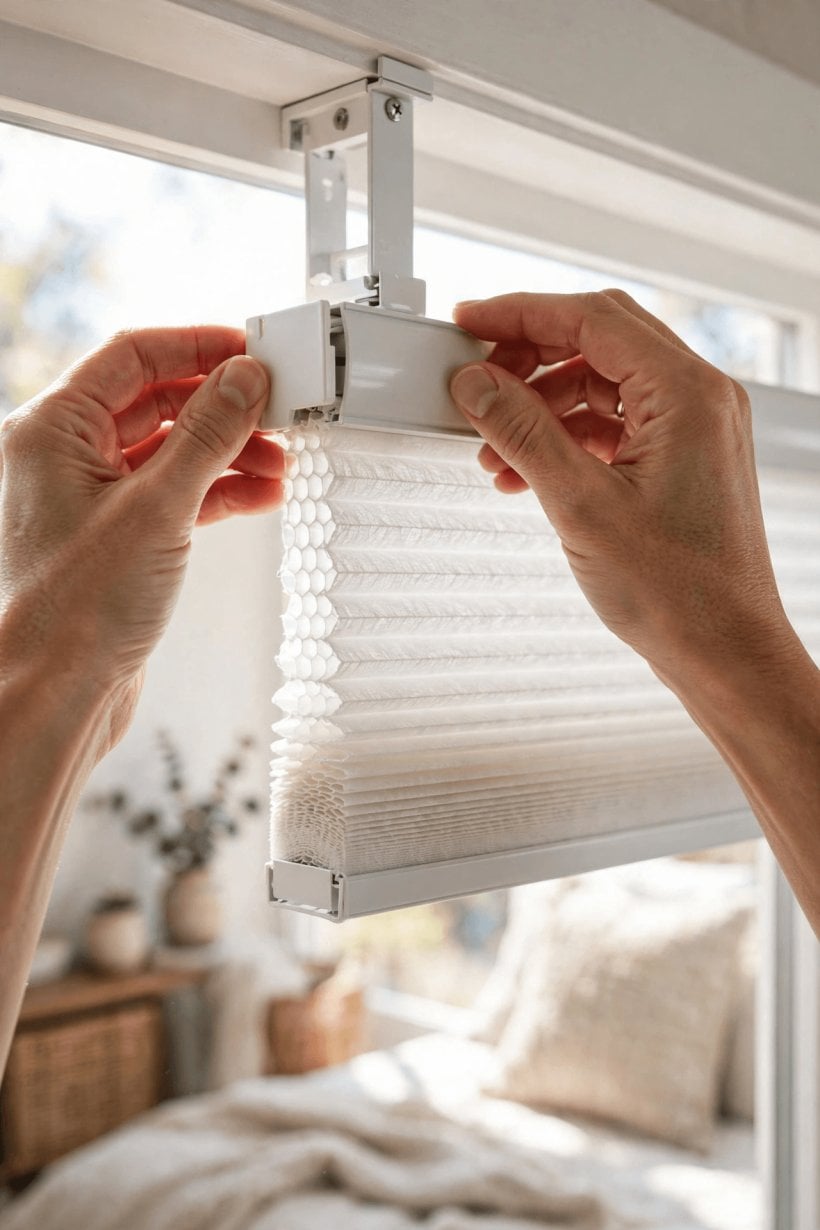
With the shade raised, look and feel along the headrail for the brackets. There will be one within a short distance of each end, and wider shades will have one or more in between. For each bracket, identify how it grips the rail. Common designs include a spring tab at the back of the bracket that you press or lift, a small lever underneath, or a fixed front lip with a spring-loaded rear jaw. The release point is normally at the back or underside of the bracket, reached by sliding your fingers between the headrail and the wall or frame.
If you cannot see the mechanism, work by touch and logic. Run a fingertip along the back of the rail where it meets each bracket and feel for a tab that moves slightly under pressure. A torch shone up from below often reveals the shape of the clip without any dismantling. Do not start releasing brackets until you have located all of them and understood each release: a shade hanging from one forgotten bracket can twist, bend its headrail, or tear fabric if its weight shifts suddenly. This careful survey is the part of the job that makes the rest feel easy.
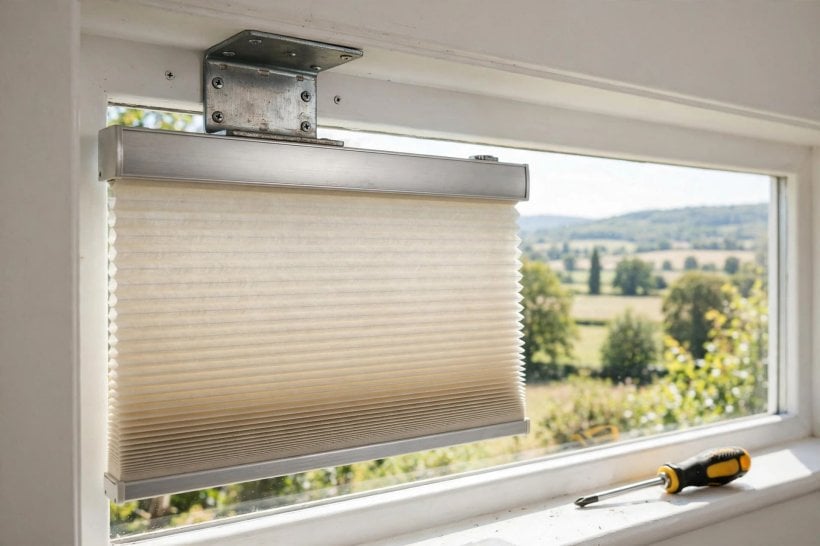
5. Step 3: Release the Back of the Headrail at the First Bracket
Work at one end bracket first. Support the shade with one hand under the bottom rail or the folded stack so it cannot drop. With the other hand, operate the release you identified: for a spring tab, press or lift the tab at the back of the bracket while gently tilting the headrail forwards, so the back edge of the rail slips free of the clip. You should feel a small give or hear a soft click as that end lets go. The movement is a tilt and a release, not a yank; if nothing moves, re-check for a tab rather than adding force.
Screwdriver help has its place here, used delicately. On some brackets a flat blade slipped gently behind the headrail can depress a stiff spring tab that fingers struggle to reach, particularly on high windows. Pad the blade with a fold of cloth if it will touch painted surfaces, and lever against the bracket, never against the shade’s fabric or the thin front of the headrail. Once the first bracket releases, keep supporting that end; the shade will now hang slightly unevenly, and the remaining brackets will carry more load, which is fine for the short time this takes.
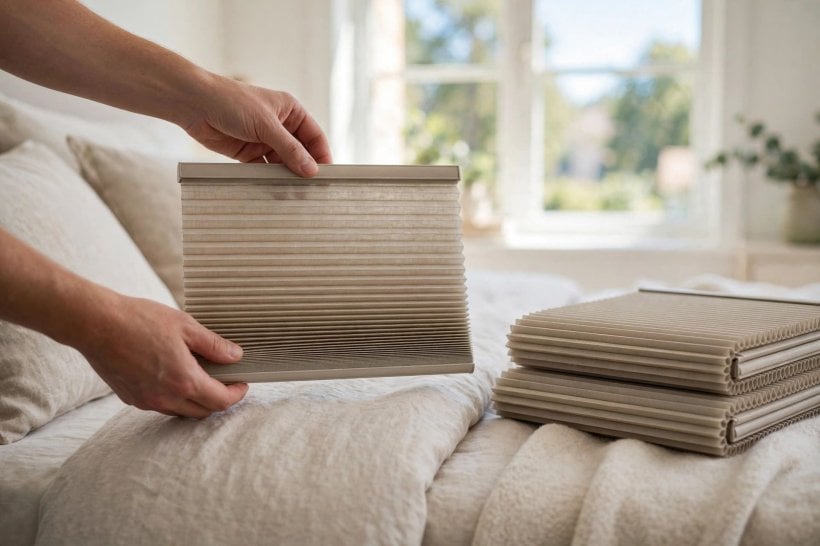
6. Step 4: Work Along the Rail, Bracket by Bracket
Move along the window, repeating the same release at each bracket in turn. Keep one hand supporting the freed portion of the shade so its weight never hangs from a single remaining bracket longer than it must. As more brackets let go, the shade will begin to rest against your supporting hand or forearm; stay calm and methodical, because the last bracket is the moment of commitment, after which the shade is entirely in your hands.
Wide shades reward a two-person rhythm here: one person releases clips while the other supports the stack evenly, then both lower the shade together. If you are working alone on a wide window, release the middle brackets first and the end brackets last, so the shade stays balanced on its two ends while the middle is free, rather than swinging from one side. Whichever order you choose, resist the temptation to speed up near the end. Most removal damage, bent rails, pinched cells, scuffed paint, happens in the final ten seconds when attention relaxes a moment too early. Our notes on how to build your own tiny house praise the same habit in larger projects: the last fastening deserves the same care as the first.

7. Step 5: Unhook the Front, Lift Clear and Lower the Shade Safely
With the spring clips released along the rail, the front of the headrail is usually still resting on the brackets’ front lip or hook. Tip the headrail gently forwards and downwards, rolling the back of the rail down first, so the front edge unhooks and the whole shade comes free in one smooth movement. If a section resists, stop and check it rather than tugging: an unreleased clip somewhere along the rail is almost always the explanation, and it will give itself away by the way the rail pivots around that fixed point.
Once free, lower the shade straight onto the soft surface you prepared, keeping it in its raised, stacked state with the headrail uppermost. Carry it horizontally and supported along its length, especially on stairs; a long shade carried by one end flexes in the middle, and honeycomb fabric remembers hard creases. Set it down away from radiators, damp floors and curious pets. Stand back and check the window: the brackets should be sitting empty and undamaged, ready either to receive the shade again or to be removed themselves if your project requires it.
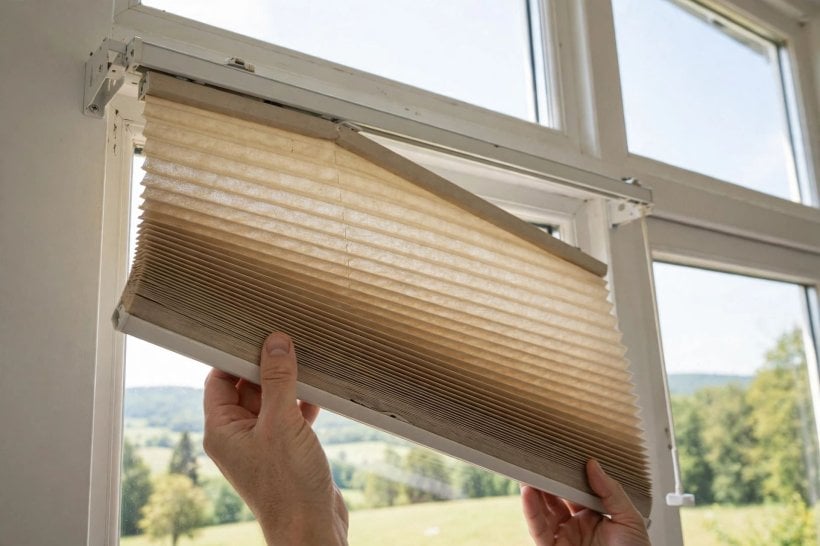
8. If It Will Not Budge: Stuck Brackets, Hidden Clips and Valances
Occasionally a shade refuses all reasonable persuasion. The usual culprits are a clip stiffened by years of paint, a bracket fitted slightly out of line so its spring stays loaded, or a decorative valance or return hiding the release entirely. Deal with concealment first: many headrails wear a fabric valance strip or matching cover that lifts or unclips away to reveal the works. Paint-sealed joints yield to a craft knife run very carefully along the paint line, nowhere near the fabric, followed by the gentlest of levering at the bracket itself.
If one bracket alone holds fast, support the shade fully and focus on that bracket with light and patience. Look from below with a torch, compare its shape with the brackets that released, and find the difference; a bent tab or a screw head fouling the rail will often declare itself. Work the tab with the flat screwdriver while a helper takes the shade’s weight. What you must not do is escalate to force: a torn headrail or ripped top cell turns a free removal into a repair bill. In compact rooms, where windows are often dressed close to furniture, our round-up of modern interior design ideas for tiny houses is a reminder that fittings in small spaces earn their keep by being serviceable, and stubborn ones are no exception.

9. Removing the Brackets Themselves, If Your Project Needs It
Sometimes the shade is only the first layer: you may be decorating, replacing the window, or changing the treatment entirely, and the brackets need to come off too. With the shade safely down, this is simple work. Note which bracket sat where, and keep each bracket with its screws in a labelled bag or taped bundle; brackets that look identical sometimes differ subtly, and their holes are already drilled exactly where you will want them again. Unscrew each bracket from the frame, header or wall, supporting it as the last screw comes out so it does not drop and chip paint or glass.
Leave the wall honest behind you. If the brackets are going back after decorating, you can leave the holes as they are and refit into them. If they are not, fill the holes once you are sure no new fitting wants the same positions, and keep the removed hardware in the bag anyway until the project is finished; plans change, and yesterday’s spare bracket has saved many a Saturday. While the window is bare, it is also the easiest moment you will ever get to clean the frame, check the seals and repaint the reveal, so consider whether future you would thank present you for doing it now.

10. Cleaning, Storing and Refitting the Shade Later
A removed shade is a shade you can finally clean properly. Dust the folded cells gently with a soft brush or a vacuum on its lowest setting with a brush attachment, working along the cells rather than across them. Marks on the fabric should be treated cautiously with a barely damp cloth and the mildest of detergent, tested first in an inconspicuous corner, and the shade must be dry before it is stored or refitted. Never soak a cellular shade or scrub its cells; the structure that insulates so well is delicate when wet.
Store the shade flat, still raised and secured, wrapped in a clean sheet or its blanket, somewhere dry, dark and off the floor. Keep its brackets and screws with it, plus your photographs of the original fitting. Refitting reverses removal: offer the headrail’s front edge onto the brackets, then press the back of the rail up or back into each clip until it clicks, working along the rail and checking each bracket has truly caught before letting go. Test the lift and lower action gently several times. Readers refreshing a whole small room may enjoy our tiny house kitchen design guide for the same wash-and-refit philosophy applied to another hard-working corner of the home.
Final Considerations
Removing cordless cellular shades is a confidence job more than a strength job. Survey the brackets first, raise and secure the fabric, release each spring clip with a press and a tilt rather than a pull, support the shade throughout, and lower it onto something soft. Work bracket by bracket, keep the hardware together, and take photographs before you start so that refitting holds no mysteries.
If a bracket defies gentle, informed attempts, stop and look closer rather than pulling harder; there is always a mechanism, and it always makes sense once seen. Treat the shade kindly while it is down, clean it, store it flat, and it will go back up in minutes and serve for years. That is the quiet satisfaction of this small skill: windows become easy to decorate, clean and re-dress whenever you wish.




0 Comments