
A panelled wall can make a plain sitting room feel warmer in a single weekend. The trick is not the boards alone, but how they work with your sofa, your colours and your light.
Below are seventy-five practical ideas for getting a shiplap wall right, from the first layout sketch to the last cushion, with honest notes on effort, upkeep and where to spend or save.
1. Shiplap in the Living Room at a Glance
Start with the room you actually have. Measure the wall, note where daylight falls, and decide whether the boards should calm the space down or carry the whole scheme. A single feature wall suits most homes; full-room panelling feels richer but asks more of your furniture and lighting. The table below sums up the main choices before the detailed ideas begin.
| Decision | Good starting point | Worth knowing |
|---|---|---|
| Coverage | One feature wall behind the sofa or fireplace | Full rooms feel cosier but darker in low light |
| Board direction | Horizontal for width, vertical for height | Diagonal layouts cost more cutting time |
| Colour | Warm white or soft sage for calm rooms | Dark boards need stronger layered lighting |
| Sofa pairing | Plain upholstery against textured boards | Busy patterns fight the shadow lines |
| Lighting | Ceiling light plus lamps at two heights | Grazing light exaggerates every joint |
| Effort | A weekend for one wall, painted boards | Raw timber needs sealing and more care |
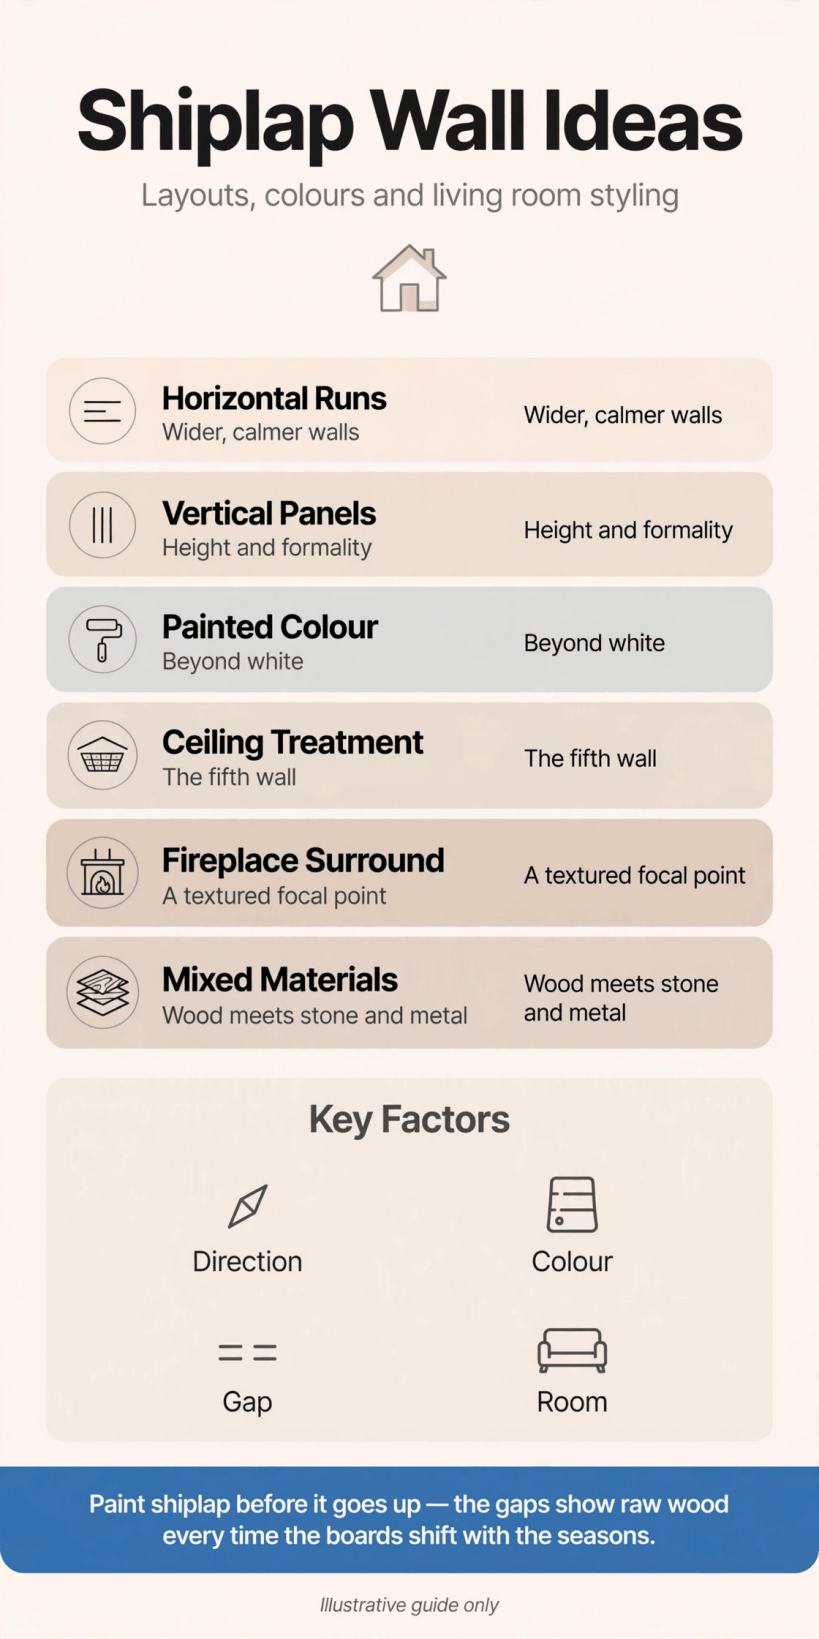
A quick visual summary of board direction, colour mood and lighting layers to pin down before you buy a single plank.
If you are planning the wider scheme too, our guide to tiny house living room ideas shows how seating, storage and walkways come together in compact rooms, and many of those layouts adapt beautifully to a panelled backdrop.
2. Layouts That Let the Boards Lead
Layout comes before colour. Walk the room, tape the outline of your sofa on the floor, and look at the wall from the doorway, because that first view decides whether the panelling feels generous or cramped. These first eight ideas cover the shapes that work in most sitting rooms.
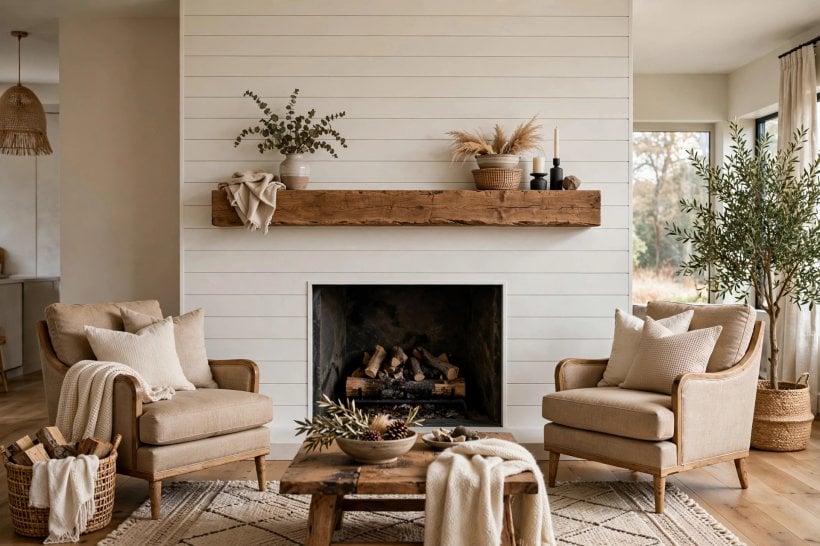
1. Full feature wall behind the sofa. Run boards across the whole wall the sofa faces away from, so the seating group sits against a calm textured field and the room gains one clear focal point.
2. Half-height panelling with a shelf ledge. Stop the boards at picture-rail height and cap them with a slim ledge for framed prints, which keeps small rooms feeling open above the line.
3. Vertical boards in a low-ceiling room. Upright planks draw the eye upward and make modest ceilings feel taller, especially when painted the same soft colour as the wall above.
4. Horizontal boards in a narrow room. Long lines stretch a tight sitting room visually, widening the feel of the space without moving a single piece of furniture.
5. Alcove-only panelling. Board just the chimney-breast alcoves and paint them deeper than the main wall, giving shelves and cabinets a rich background that reads almost like joinery.
6. A wrapped corner. Continue the boards around one corner onto the next wall for a cocooning effect that suits reading corners and window seats particularly well.
7. Ceiling-to-floor behind the television. A full-height boarded wall hides cable runs neatly and gives the screen a matte background that reduces glare on bright afternoons.
8. Panelled wainscot under painted plaster. Fit boards to dado height only, then paint the plaster above in a contrasting tone for a traditional look that protects walls from chair scuffs.
3. Sofas, Armchairs and Seating Pairings
Boards bring texture, so seating should bring softness and shape. Plain fabrics, rounded arms and a mix of depths keep the eye moving between the wall and the furniture instead of fixing on one. The next ideas pair common sofa styles with the panelling behind them.

9. Low-backed sofa, high boards. A low sofa silhouette leaves more panelling visible above it, which suits tall boards and lets artwork sit comfortably in the gap.
10. Linen upholstery against painted boards. Natural linen softens the geometry of the shadow gaps, and its slubby weave echoes the handmade feel of timber without matching it exactly.
11. A leather club chair for contrast. One worn leather chair adds warmth beside cooler painted boards and gives the seating mix a collected, lived-in character.
12. Corner sectional on a wrapped wall. Let an L-shaped sofa follow a wrapped corner of boards so the seating and the panelling share the same geometry.
13. Two armchairs instead of a second sofa. A pair of light armchairs keeps the lower wall visible and lets you re-angle seating for conversation or for the fire.
14. A bench or daybed under the boards. In small rooms a cushioned bench against the panelled wall doubles as guest seating and keeps the floor line clear.
15. Curved sofa, straight boards. A gentle curve in front of straight horizontal lines creates the contrast that makes both elements look deliberate rather than accidental.
16. Raised legs to show the skirting line. Choose sofas on visible legs so the bottom board and skirting stay in view and the room keeps its breathing space.
For more seating-first planning, the layouts in modern tiny house interior ideas show how to keep walkways clear while furniture earns its place.
4. Colour Palettes From Calm to Bold
Colour decides whether the boards whisper or shout. Pale tones bounce light along the shadow gaps and feel coastal and calm; saturated tones turn the wall into the room’s main event. Sample paint on offcuts first, because grooved boards always read slightly darker than a flat wall.

17. Warm white on white. Paint boards and walls the same warm white and let the shadow lines alone create the pattern, a restful choice for north-facing rooms.
18. Soft sage green. Muted sage flatters timber floors and houseplants, and it pairs with cream sofas without slipping into a themed look.
19. Inky navy feature wall. Deep navy boards behind a pale sofa feel tailored and evening-ready, provided lamps bring enough warmth after dark.
20. Greige for indecisive decorators. A grey-beige blend sits happily with both cool and warm furnishings, making it the safest backdrop for evolving schemes.
21. Clay and terracotta tones. Earthy clay paint gives boards a sun-baked softness that suits woven textiles, jute rugs and unglazed pottery.
22. Two-tone: boards below, colour above. Paint half-height boards deep and the plaster above pale, grounding the room while keeping the ceiling line light.
23. Black boards, pale everything else. Near-black panelling behind light furniture is dramatic but disciplined, and brass or oak accents stop it feeling cold.
24. Pastel wash for a gentle room. A diluted pastel, almost a stain of colour, keeps the texture visible and the mood airy in smaller sitting rooms.
If choosing shades is the hard part, browse tiny house interior paint colours for palettes tested in compact spaces, then test your shortlist on spare boards.
5. Painting, Staining and Finishing the Boards
Finish is where a boarded wall succeeds or fails. Paint hides mixed timber and simplifies future touch-ups; stain celebrates grain but shows every inconsistency between planks. Decide before fitting, because coating boards on the wall is slower and the gaps are hard to reach afterwards.

25. Prime before you fit. Priming boards flat on trestles coats the tongues too, so no bare lines appear when timber shrinks in winter heating.
26. Satin over matt for family rooms. A gentle satin sheen wipes clean of fingerprints and reflects just enough light to show the profile of each board.
27. Clear seal on natural pine. A matt clear coat keeps pale timber bright and stops the yellowing that bare pine develops in sunny rooms.
28. Whitewash for a softened grain. Thinned white paint brushed on and wiped back leaves grain showing through a milky veil, lovely with coastal or cottage schemes.
29. Dark stain for a cabin mood. Walnut-toned stain deepens the shadow gaps and pairs with wool throws and iron fittings for an enveloping evening room.
30. Limewash texture. Limewash gives boards a chalky, uneven finish that hides minor dents and suits older houses with imperfect walls.
31. Paint the gaps first. When recoating a fitted wall, brush the shadow gaps before rolling the faces, or the roller bridges them and the lines vanish.
32. Number boards for repairs. Pencil a number on the back of any spare painted offcuts so future touch-ups match the batch and sheen exactly.
6. Fireplaces, TVs and Focal Walls
Most boarded walls carry either a fireplace or a screen, and both need planning around heat, viewing height and cables. Boards can frame these features beautifully, drawing separate elements into one composed picture when you stand at the door.

33. Boards above the mantel only. Panel the chimney breast above a deep mantel shelf and leave the fire surround in stone or brick for a layered, traditional mix.
34. A floating oak mantel. One chunky oak beam against painted boards gives you a display ledge and a natural pause in the vertical lines.
35. TV centred on the board joints. Align the screen with a board seam so fixings land predictably and the installation looks measured rather than improvised.
36. Recessed cable channel. Route a shallow channel behind the boards before fitting, so power and signal leads stay invisible yet reachable.
37. Picture-frame moulding over boards. Apply slim trim rectangles on top of the panelling for a formal note that suits period houses and tall ceilings.
38. Boarded media wall with cupboards. Low cupboards built against the boards hide consoles and games while the upper wall stays calm and uncluttered.
39. Stove on a boarded backdrop. A freestanding stove looks handsome against heat-safe boarding systems; always check clearances with your installer and local guidance first.
40. Symmetric sconces flanking the feature. Matching wall lights either side of a fireplace or screen restore balance when the feature itself sits slightly off-centre.
Houses with a rustic heart wear this look well; see tiny barn house interior ideas for timber-rich rooms that stay comfortable rather than themed.
7. Windows, Doors and Awkward Corners
Real rooms have radiators, sloping ceilings and doors in the wrong place. Boards are forgiving here: they can be scribed, stopped and restarted around obstacles, and a confident trim detail turns an interruption into a design moment.
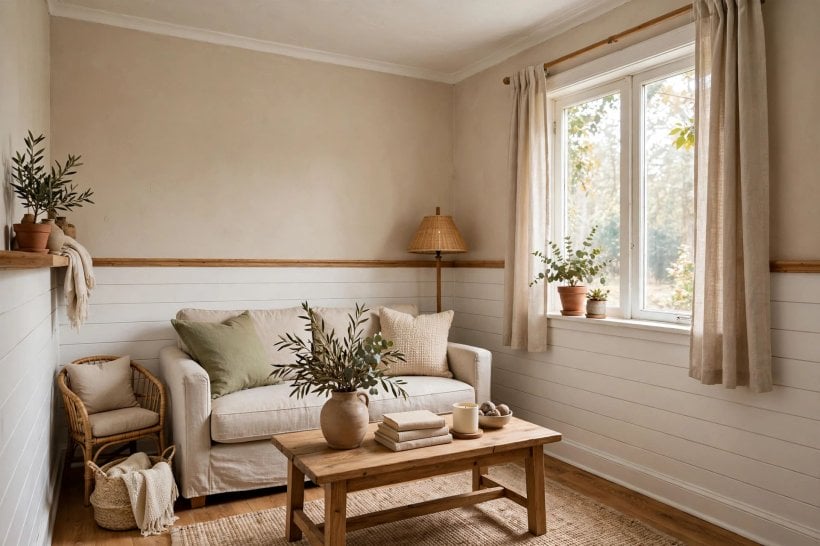
41. Scribe boards around a window architrave. Cut each plank to meet the frame and finish with a slim bead, keeping the window as the wall’s bright centrepiece.
42. Deep boarded window reveal. Line the reveal itself with narrow boards so sunlight rakes across them and the window feels like a picture frame.
43. A window seat built into the panelling. Extend the bottom board line into a seat box with storage inside, giving awkward bay windows a purpose.
44. Stop boards at the door with a pilaster trim. A vertical trim strip where panelling meets a doorway makes the ending look architectural instead of unfinished.
45. Board the door itself. Facing a flush door with matching boards hides it almost completely, a satisfying trick for understairs cupboards.
46. Radiator shelf over low boards. A slim shelf above a radiator, at the same height as a half-wall cap, unites the two elements in one line.
47. Sloped-ceiling short boards. In attic rooms, run vertical boards up the slope as far as comfort allows, then paint the remaining slope to match.
48. Corner battens for a crisp finish. A small square batten in internal corners hides the inevitable gap where two boarded walls meet at uneven angles.
8. Layered Lighting That Flatters Texture
Grooves and shadow lines live or die by light. A single ceiling pendant flattens everything at noon and glares at night, while three gentle sources at different heights let the texture glow. Plan sockets before the boards go up; retrofitting is miserable.
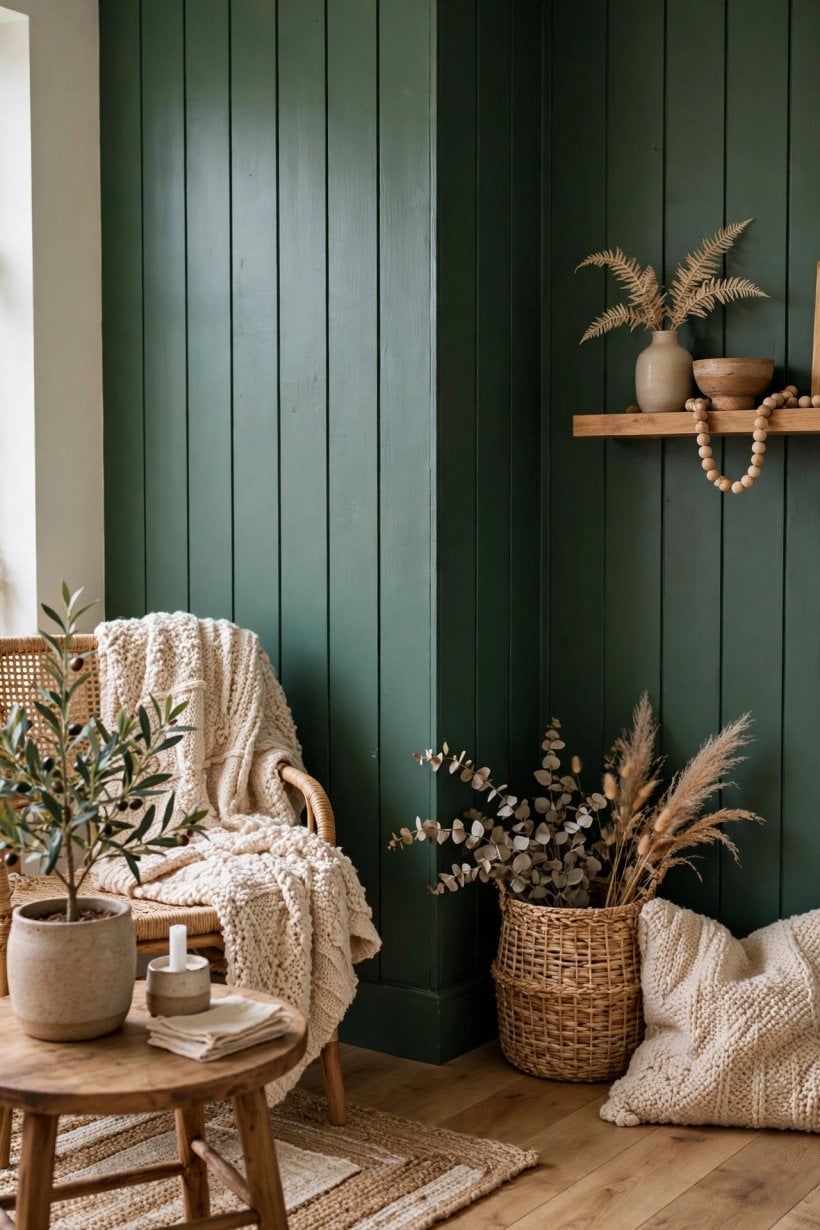
49. Two table lamps at sofa height. Lamps either end of the sofa wash the boards sideways, modelling the grooves softly instead of spotlighting them.
50. A floor lamp for the dark corner. Every boarded room has one dull corner; an arched floor lamp lifts it and balances the seating group.
51. Wall washers, not downlights, near boards. Fittings that wash light down the wall show texture kindly, while close downlights carve harsh scallops into the grooves.
52. Dimmer switches on every circuit. Texture looks best at lower light levels in the evening, so dimmers let you tune the mood rather than endure it.
53. Candlelight and lanterns for depth. Real or flameless candles on the mantel add a moving flicker that no bulb matches against timber tones.
54. Picture lights over artwork. A slim picture light above art on the boards draws the eye up and makes the panelling feel like a gallery wall.
55. LED strip under the mantel or shelf ledge. A hidden strip under a ledge floats a soft line of light across the boards below it after dark.
56. Warm bulbs throughout. Keep colour temperature consistent and warm so painted boards do not turn grey-blue under mixed lighting.
57. Sheer curtains to soften daylight. Harsh sun stripes can overpower board lines; sheers diffuse the light and keep the texture readable all day.
Smart controls make layering effortless; the setups in smart tiny house design ideas include lighting scenes that translate well to larger rooms.
9. Textiles, Art and Styling Layers
Once the boards are painted and the lamps placed, styling decides whether the room feels finished or merely fitted. Work in layers: rug first, then cushions and throws, then art and objects, stepping back after each layer to judge the balance.
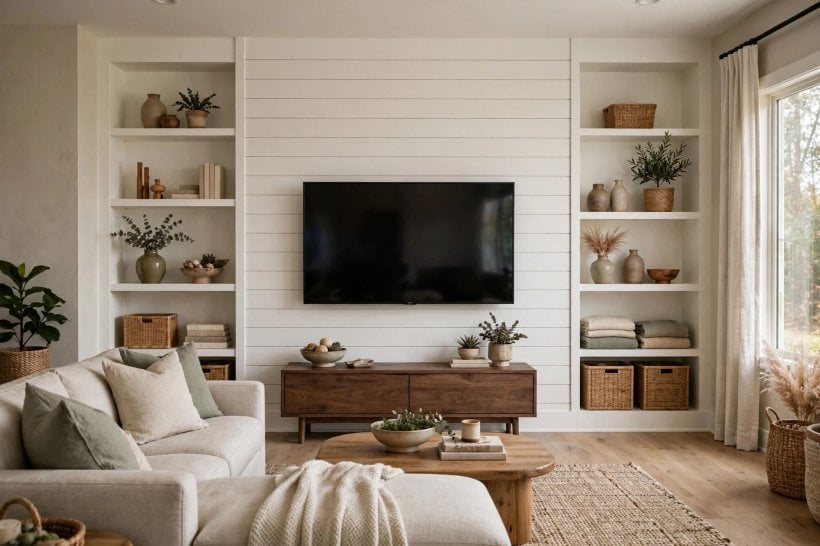
58. A large rug to anchor the boards. A generous rug stops the wall texture dominating and ties sofa, chairs and table into one calm island.
59. Cushions in three fabrics. Mix linen, wool and one woven stripe so the seating echoes the wall’s crafted feel without copying its lines.
60. One oversized artwork. A single big print hung on the boards reads confidently and avoids the fussiness of many small frames.
61. A relaxed gallery cluster. If you prefer many pieces, hang them as one tight cluster with even gaps so the boards remain the backdrop, not a competitor.
62. Woven baskets at the base. Baskets for blankets and logs soften the bottom board line and keep everyday clutter gracefully contained.
63. Greenery against pale boards. A tall plant in the corner throws organic shapes across the straight lines and brings the palette to life.
64. Books stacked on the ledge. Small horizontal stacks on a shelf ledge add colour and personality without a single new nail hole.
65. A mirror to borrow light. Opposite a window, a round mirror on the boards bounces daylight back and breaks the grid with its curve.
66. Seasonal swaps, not redecorating. Change cushion covers and throws with the seasons; the boards stay constant while the room refreshes around them.
For bolder pattern mixing against a textured wall, explore colourful tiny house interior ideas and borrow the colour confidence at your own scale.
10. Practical Planning, Care and Budget Sense
The final ideas are the unglamorous ones that protect your money and your weekends: measuring honestly, ordering sensibly, fitting in the right order and keeping the finished wall easy to clean in a busy household.
67. Measure twice, order once. Measure each wall separately and add a sensible allowance for cuts and the odd damaged board; running short mid-wall delays everything.
68. Acclimatise timber indoors. Stack boards flat in the room for several days before fitting so they settle to household humidity and gaps stay even.
69. Find the studs and services first. Mark studs, pipes and cables before a single nail; boards forgive many things but not a burst pipe.
70. Start from the most visible corner. Begin fitting where the eye lands first, and hide the final cut board in the least-seen corner of the room.
71. Keep one board spare. Store a painted offcut in the loft; a future knock or a moved picture hook becomes a five-minute repair.
72. Dust the grooves monthly. A soft brush attachment keeps shadow lines crisp; neglected grooves grey quietly and dull the whole effect.
73. Touch up with a small brush. Dab scuffs with leftover paint on a small artist’s brush rather than a roller, which can fill the grooves.
74. Budget for trim, not just boards. Skirting, corner battens, filler and paint often cost more than expected; price them before you commit to full-room coverage.
75. Photograph before you panel. Take clear photos of pipe and cable runs before covering them; future you, drill in hand, will be grateful.
Final Considerations
A boarded living room works because it adds warmth without demanding a particular furniture style. Choose your layout honestly around the room you have, keep the exact-board colour sampled in real light, and layer lamps, textiles and art until the wall feels like a backdrop for living rather than the whole performance. Start with one wall, live with it for a season, and let that experience decide whether the rest of the room follows.


0 Comments