

Your shower floor works harder than any other surface in the bathroom. It takes hot water daily, needs grip when wet, must guide every drop to the drain, and still has to look like part of a room you enjoy starting the day in.
This guide compares the main materials honestly: tile, stone, vinyl, trays, concrete and more, with notes on comfort, cost drivers and care, so you can choose a floor that suits your shower, your cleaning habits and your budget.
1. Shower Floor Materials at a Glance
If you read one section closely, make it this one. The table below sums up the leading shower floor options side by side, because the right choice depends less on fashion and more on how the floor is built, how it feels underfoot and how much upkeep you are genuinely willing to do. Every material that follows can succeed; each fails when it is chosen for looks alone and installed or maintained carelessly.
| Question | Quick Answer |
|---|---|
| Most versatile | Ceramic and porcelain tile, in sizes and finishes for almost any style or budget |
| Most luxurious feel | Natural stone such as marble or slate, with sealing and gentler cleaning as the trade-off |
| Easiest to install | A ready-made acrylic or solid-surface shower tray over a prepared base |
| Warmest underfoot | Vinyl options and trays feel less cold than tile or stone first thing in the morning |
| Best grip | Small-format tiles with many grout lines, textured stone and pebble floors |
| Lowest maintenance | Trays and porcelain, which need no sealing; natural stone needs the most care |
| Cost drivers | Material itself, waterproofing, floor preparation, labour and the drain system |
| Non-negotiable | Correct waterproofing and a proper fall to the drain, whatever material you choose |
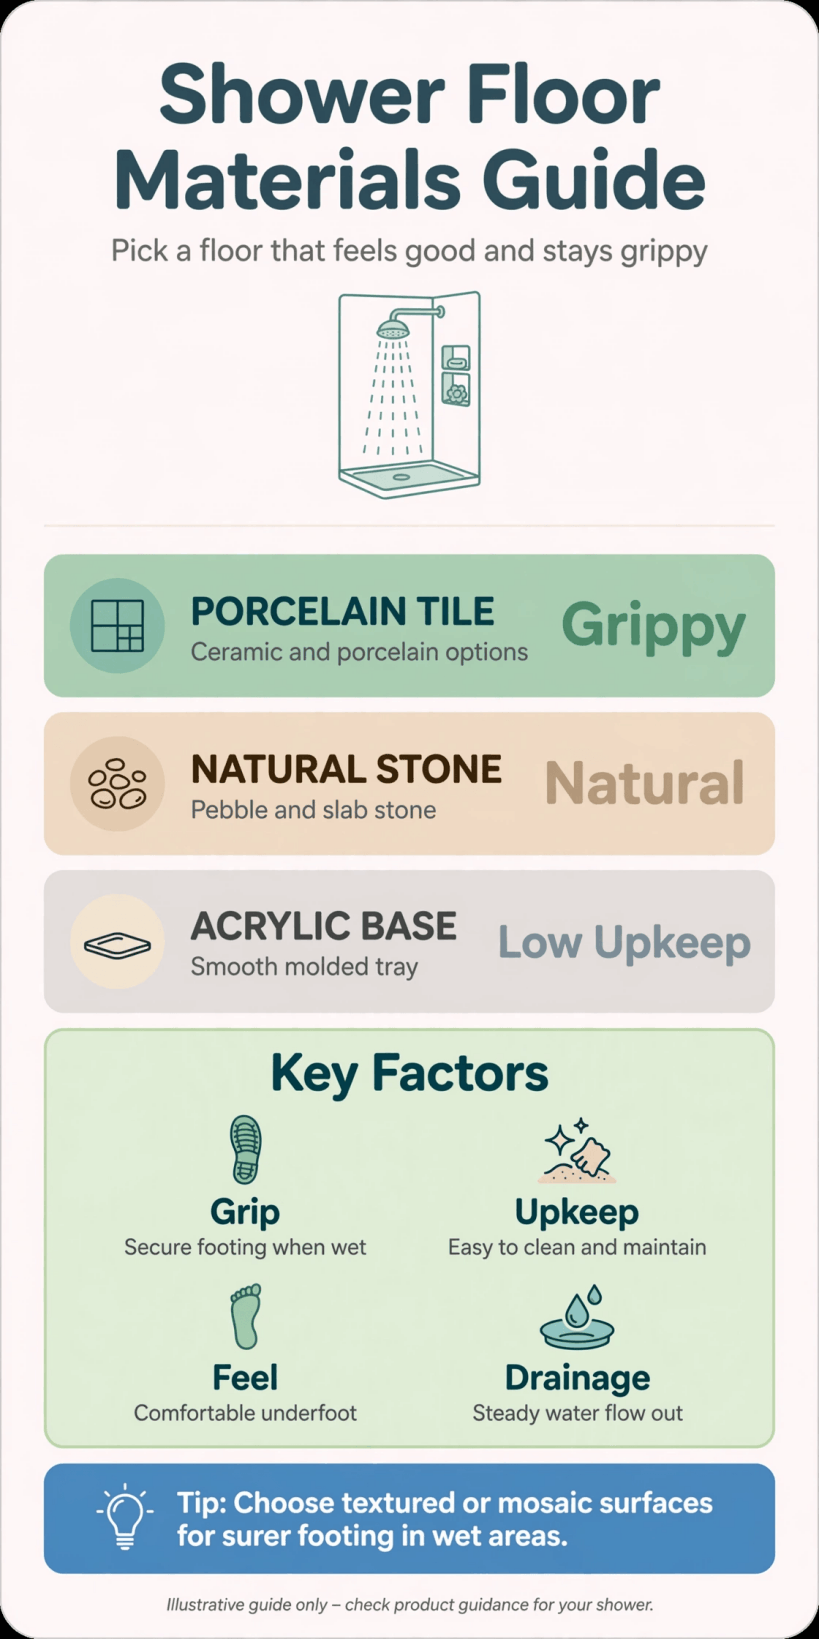
A visual summary of shower floor materials, their strengths and the care each one needs.
A shower floor is one decision inside a whole bathroom, and it helps to picture it alongside the walls, tray or wet-room layout and ventilation, much as the projects in our tiny house bathroom ideas treat small bathrooms as one joined-up design rather than separate purchases.
2. What a Shower Floor Has to Do
Before comparing finishes, be clear about the job. A shower floor must be waterproof in its construction, not just water-resistant on its surface, because water that gets beneath any finish will cause damage quietly and expensively. It must slope gently and consistently toward the drain so water leaves instead of pooling, and it must offer grip, because smooth wet surfaces and soapy feet are a poor combination.
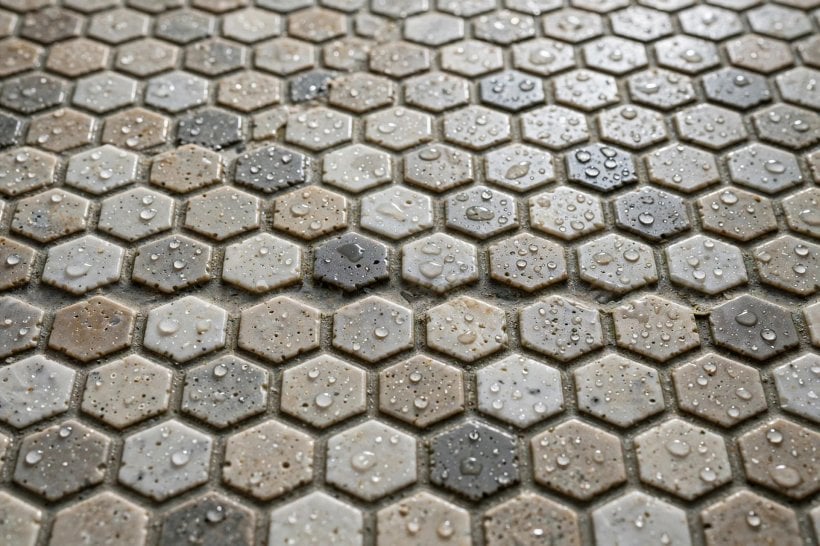
It also has to feel acceptable barefoot in January, cope with dropped bottles and razors, resist staining from toiletries, and be cleanable without heroics. In a wet-room or walk-in layout the floor material often continues across the whole bathroom, which raises the stakes on grip and waterproofing beyond the shower zone itself. Keep these jobs in mind as you read the options: a material that wins on looks but loses on slope, grip or upkeep will annoy you daily, while a plainer floor that does every job well disappears into a good routine. That function-first thinking is the same approach behind our guide to building your own tiny house, where every surface earns its place.
3. Ceramic and Porcelain Tile
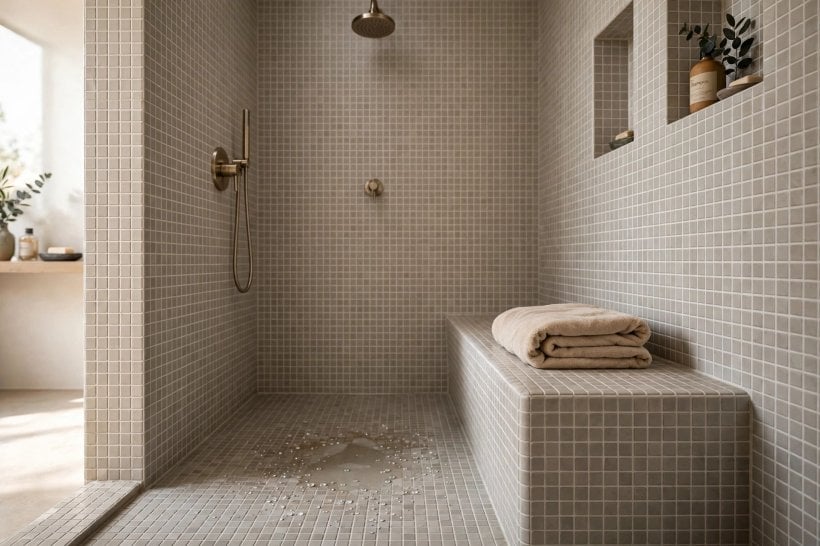
Tile is the default shower floor for good reasons. Ceramic tile is affordable and widely available; porcelain is denser, harder and absorbs less water, which makes it the stronger choice for floors. Both come in a huge range of colours, patterns and sizes, from classic white squares to stone-look planks, so tile can serve almost any bathroom style. For shower floors specifically, smaller tiles are the professional’s friend: they follow the slope to the drain more easily, and their many grout lines add natural grip underfoot.
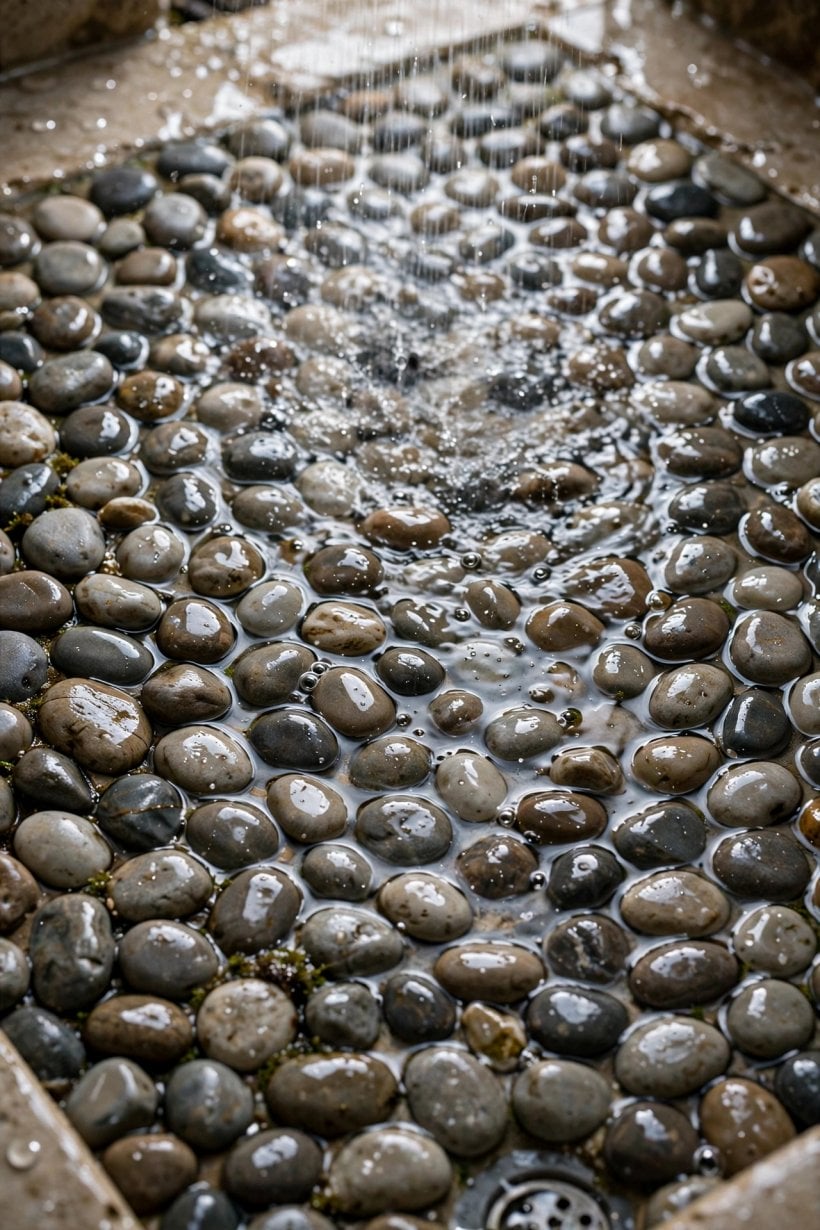
Mosaic sheets make small formats easy to lay, and a matt or textured finish grips better than a polished one, which is best kept for walls. Tile’s honest drawbacks are cold feet, since tile draws warmth away quickly, and grout, which needs keeping clean and may need refreshing over the years even though the tiles themselves last for decades. Underfloor heating, where the build allows it, quietly fixes the cold-feet problem. Choose a floor-rated tile, confirm it is suitable for wet areas with your supplier, and spend as much care on the grout and sealant choices as on the tile itself, because on a shower floor the joints work as hard as the tiles.
4. Natural Stone: Marble, Slate and Pebbles
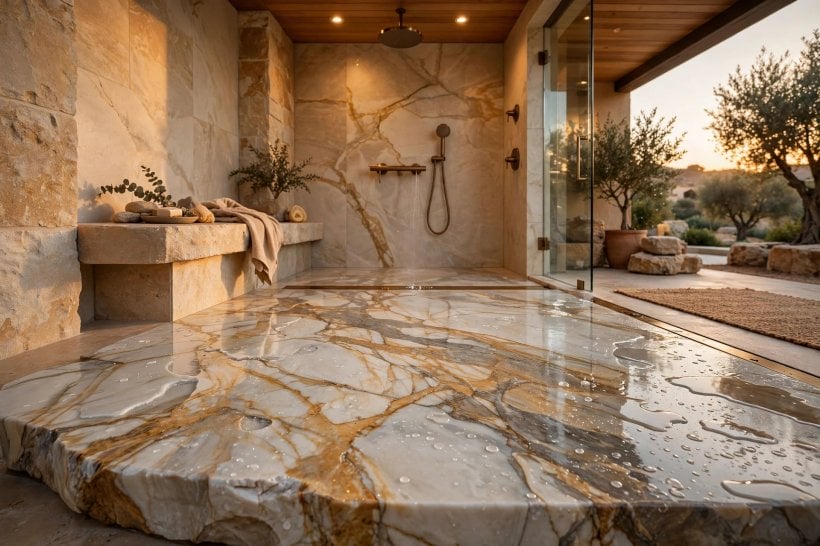
Natural stone is the luxury end of shower floor options, and its appeal is real: no two pieces match, the surface feels substantial, and materials such as slate bring natural texture that grips well. Marble suits elegant, hotel-style bathrooms; slate brings depth and a riven, tactile finish; travertine offers soft, warm tones; and pebble floors, made of whole or flattened stones, massage the feet and provide excellent grip because of their uneven surface.
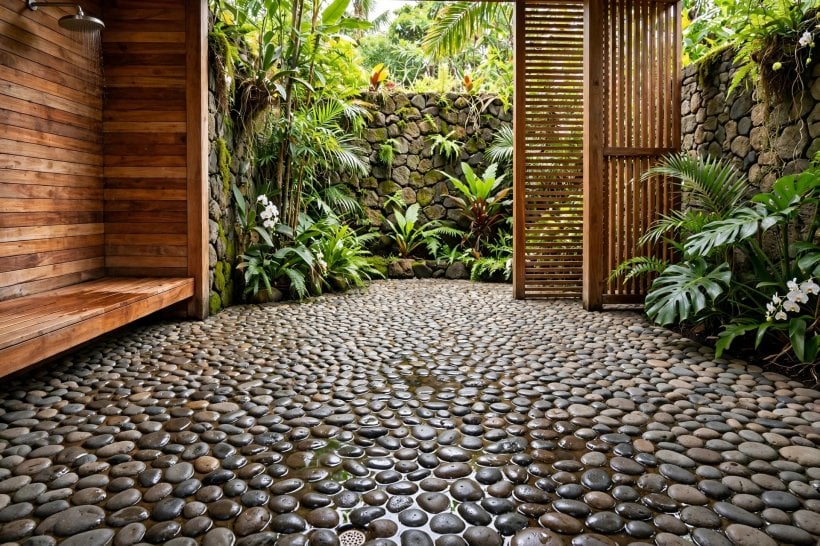
The trade-offs are equally real. Stone is porous, so it needs sealing on installation and resealing at intervals your supplier advises, and it prefers gentle, pH-neutral cleaners over acidic or abrasive ones. Pebble floors have a lot of grout or setting material between stones, which is more area to keep clean, and their unevenness is not for everyone, especially anyone unsteady on their feet. Stone also costs more to buy and to lay, and it is heavy, which matters in some builds. If your heart is set on stone, budget for its care from the start and treat sealing as part of the purchase, not an optional extra; looked after properly, a stone floor repays you with character no printed tile can copy, in the same way the natural materials in our tiny barn house interior ideas reward the people who maintain them.
5. Vinyl, Luxury Vinyl and Sheet Options
Vinyl has shaken off its dated image. Modern sheet vinyl made for wet rooms is waterproof in a single layer, warm and slightly soft underfoot, and available in stone, tile and concrete effects that look convincing at a glance and feel kinder than the real thing on a cold morning. Luxury vinyl tiles and planks bring more realistic designs and let you replace a damaged piece, though every joint is a place to seal carefully in a shower setting, which is why sheet formats are usually preferred where water stands daily.
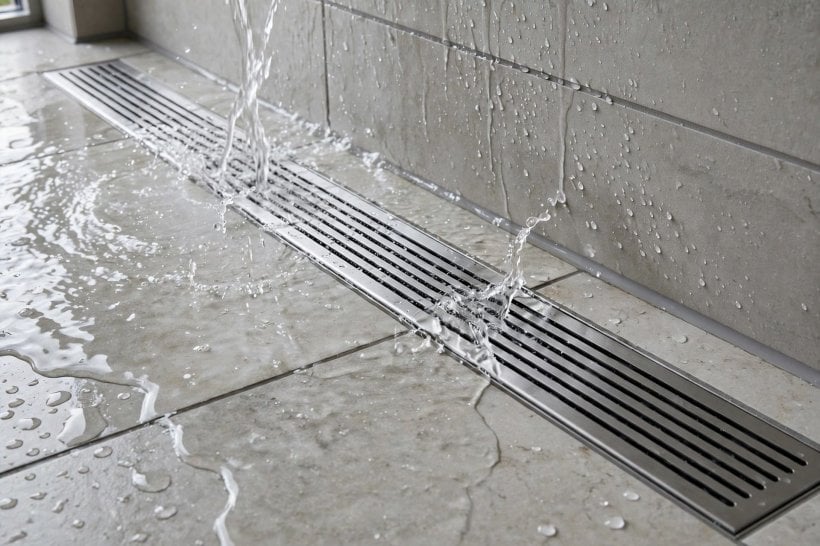
Vinyl suits budget renovations, rentals and anyone who wants a floor fitted quickly with minimal build-up height, and its slight cushioning is forgiving to dropped bottles and to knees. Look for products made and warranted for wet-room or shower use rather than general bathroom vinyl, check the grip rating for wet barefoot areas, and have edges and the drain detail finished exactly as the maker directs, because vinyl fails at details, not in the middle of the sheet. It will not last as long as porcelain or stone and can be cut by sharp dropped objects, but at its price and comfort level, many households judge that a fair exchange, much like the practical material balances in our bedroom interior design for tiny houses.
6. Acrylic and Solid-Surface Trays
A shower tray takes a different approach: instead of building a floor, you install a ready-made base with its slope and drain position already formed. Acrylic trays are light, warm to the touch, widely available in sizes for standard enclosures and inexpensive compared with tiling a floor. Stone-resin and solid-surface trays feel heavier and more premium, resist flexing better and often come in matt, stone-like finishes with low profiles that suit modern walk-in designs.
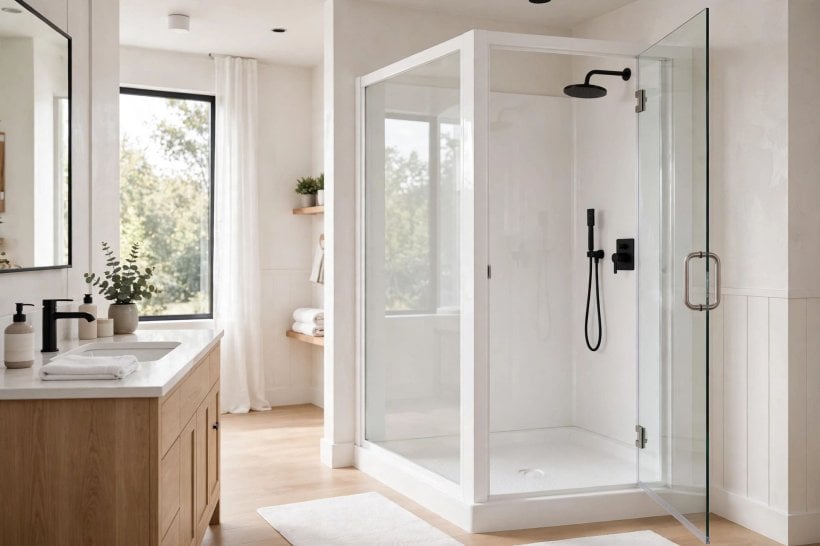
Trays are the fastest route to a reliable shower floor, because the waterproofing and the fall are factory-made rather than formed on site; the installer’s job is a level, fully supported base and sealed edges. The limits are choice and fit: you pick from set sizes and shapes, the look is a single plain surface rather than a pattern, and a damaged tray usually means replacement rather than repair. Acrylic can flex or bow if it is poorly supported, which then stresses sealant, so support matters more than the tray’s price tag suggests. For many family bathrooms and most ensuite refits, though, a good tray on a solid base is the sensible, low-drama answer, and it pairs with almost any wall finish you choose from the schemes in our tiny house living room ideas approach to mixing practical bases with personal style.
7. Concrete and Microcement Finishes
Concrete-look shower floors bring an industrial, spa-like calm: one continuous surface, no grout lines, and a soft grey palette that flatters timber and black fittings. True poured concrete is heavy and uncommon in a shower; most concrete-effect floors are microcement or similar fine coatings applied in thin layers over a prepared base, then sealed. The seamlessness is the point: with no joints, there is nowhere for grime to collect, and cleaning is a simple wipe.
The caveats are skill and sealing. A microcement floor is only as good as its application, so this is specialist work rather than a weekend project, and the sealer is what stands between the finish and daily hot water, so its quality and renewal matter. Fine cracks can appear if the base moves, and a very smooth finish can be slippery, so discuss the texture and grip with the installer before work starts. Costs sit toward the upper end because the labour is skilled, even though the material layer itself is thin. Chosen knowingly and installed by someone who does this work regularly, it gives a shower a distinctive, calm character, similar to the restful material palettes in our tiny house bedroom ideas.
8. Grip, Slopes and Drainage Details
Whatever material tops the floor, the engineering beneath decides whether the shower works. The floor must fall evenly to the drain from every direction, without flat spots where water sits or steep patches that feel odd underfoot. Point drains suit floors that can slope in several directions, which small tiles and trays handle easily; long linear drains along one wall allow a single, gentle slope and work beautifully with larger formats and walk-in layouts.
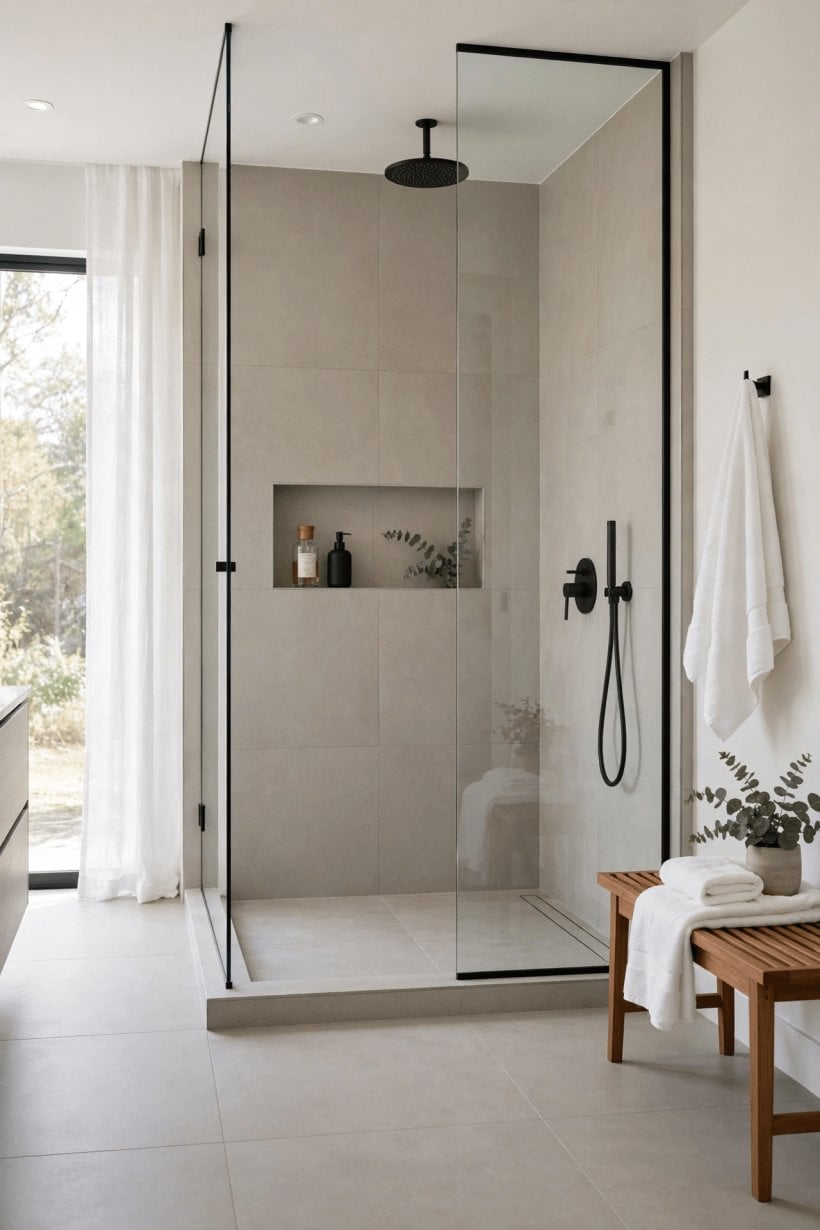
Grip deserves the same attention. Bare wet feet on a smooth, soapy surface are the classic bathroom fall, so favour matt, textured or small-format finishes on the floor, save polished surfaces for walls, and be extra careful in homes with children, older relatives or anyone with mobility needs. Ask suppliers how a finish is rated for wet barefoot use rather than relying on how it feels dry in a showroom. Finally, waterproofing: the membrane or tanking beneath the finish, sealed carefully around the drain and corners, is what protects the building. No surface material, however expensive, compensates for poor waterproofing, so choose your installer for this layer as carefully as you choose the finish itself, a priorities lesson that runs through our tiny house landscaping ideas too, where drainage decides what survives.
9. Costs and What Drives the Price
Shower floor costs are mostly decided before the pretty material is chosen. The first driver is construction: a tray on an existing base is the simplest and usually cheapest route, while a tiled or wet-room floor needs a prepared, waterproofed base with a formed slope, which adds materials and skilled labour. The second driver is the finish itself: ceramic tile and sheet vinyl sit at the affordable end, porcelain and trays in the middle, and natural stone, microcement and large-format work toward the top.
Drainage is the third driver: a linear drain and the plumbing changes it needs cost more than a standard point drain in an existing position. Moving the drain, altering joists or rebuilding a floor that has already suffered water damage all add cost that a surface-only quote hides. Get itemised quotes that separate preparation, waterproofing, drainage, the finish and labour, and ask what is assumed about the condition of the floor beneath. The cheapest quote is rarely cheapest if it skips the layers you cannot see. Spending in the right order, structure before surface, is the same discipline that keeps whole projects on budget in our colourful tiny house interior ideas.
10. Cleaning, Sealing and Long-Term Care
Daily care is simple for every material: rinse the floor down after the last shower, squeegee or wipe standing water toward the drain, and keep the drain cover free of hair so water leaves freely. Weekly, clean with a product suited to your finish, paying attention to grout lines on tiled floors and to the edges where floor meets wall, because that junction collects grime first.
Material-specific care matters after that. Natural stone needs its sealer renewed at the interval the supplier recommends and should be kept away from acidic cleaners, including vinegar-based sprays, which can etch polished stone. Grout on any tiled floor may need a deep clean or eventual refreshing to look its best, and sealant around trays and edges should be checked yearly and replaced at the first sign of lifting or mould that will not clean off, since failed sealant lets water behind the finish. Vinyl needs no sealing but should be protected from abrasive pads that dull its surface. None of this is heavy work; it is the small, regular attention that keeps a shower floor safe, watertight and good-looking for the whole of its life.
Final Considerations
Choose your shower floor by the job it must do: waterproof construction, an even fall to a drain you like, and grip you can trust, then pick the material that fits your style and your willingness to maintain it. Tile and porcelain are the versatile all-rounders, stone is the beautiful commitment, vinyl is the warm, quick win, trays are the reliable shortcut and microcement is the seamless specialist piece. Get the hidden layers right, get itemised quotes, and your shower floor will quietly do its work every morning for years.

0 Comments