

Honey oak cabinets are solid, well-made and often in perfect working order, yet their warm orange tone can make a kitchen feel dated. Refinishing them in grey is a practical middle path: you keep sound cabinetry, avoid a full refit, and gain a calmer, more modern backdrop. This guide walks through staining oak cabinets grey step by step, from honest assessment and testing to the final coat and refitting, so you can judge each stage before you commit.
Work through the stages in order, test on a hidden area first, and let each coat dry fully before judging the colour.
1. At-a-Glance: Refinishing Honey Oak to Grey in Brief
| Question | Practical answer |
|---|---|
| Can honey oak be stained grey? | Yes, if the existing finish is removed or thoroughly cut back so the new stain can reach the wood evenly. |
| Will the grain still show? | Yes. Oak has a strong open grain, and a stain colours the wood rather than covering it like paint, so the grain remains visible. |
| What is the hardest part? | Preparation. Cleaning, sanding and testing decide the result far more than the staining itself. |
| Do I need to strip to bare wood? | For an even grey, the old varnish usually has to come off or be well sanded back, especially on doors and drawer fronts. |
| How long does it take? | Allow several days of short sessions rather than one long day, because coats need full drying time between stages. |
| Paint or stain? | Stain keeps the oak character; paint gives a flatter, more uniform colour. This guide covers stain. |
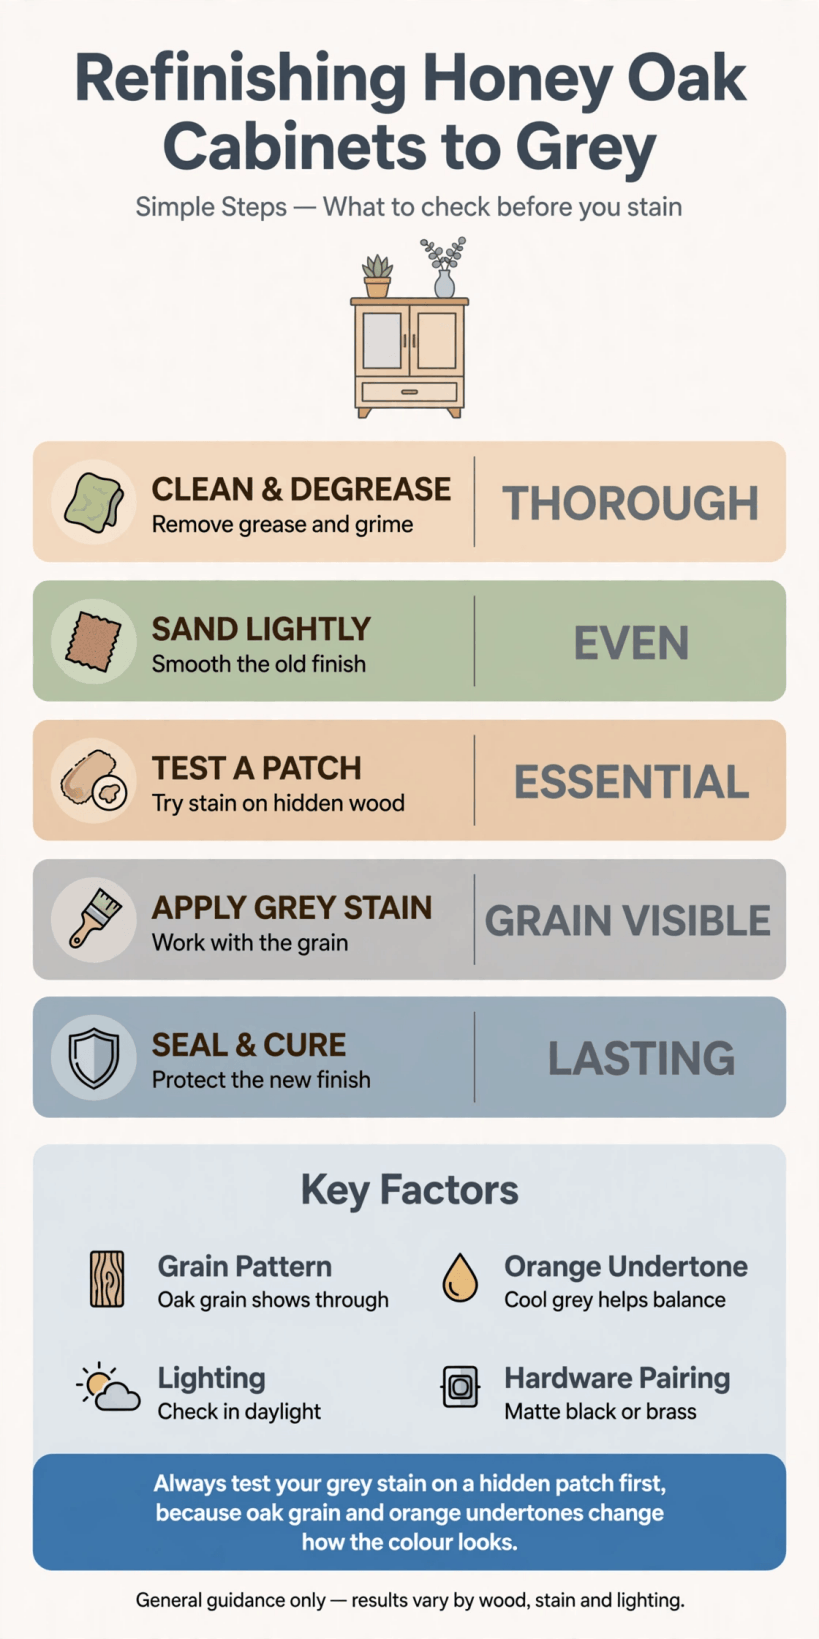
An at-a-glance summary of the refinishing process, from assessment and testing through to sealing and refitting.
The single most useful habit in this project is testing. Grey over honey oak behaves differently from grey over pale, unfinished oak, because any warmth left in the wood or the old finish will pull the result towards green, blue or muddy brown. A test patch on the inside of a door, or on a spare offcut of similar oak, tells you more in ten minutes than any colour chart can. It also lets you practise wiping the stain off: how long you leave it, and how firmly you wipe, changes the depth of colour as much as the stain itself. Keep notes on your test — number of coats, drying time and wiping method — and repeat exactly that recipe on every door.
Set up for the project before you start: a clear workspace, dust sheets, good light, ventilation, and somewhere flat where doors can rest undisturbed while they dry. Label everything as it comes off, because a kitchen run of similar doors is surprisingly easy to mix up.
2. Step 1: Assess Your Cabinets and Test the Grey
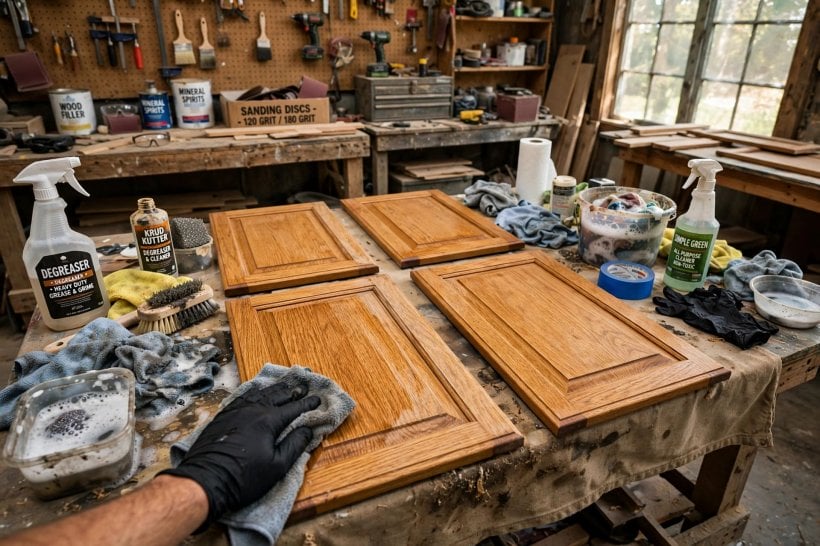
Start with an honest assessment. Open and close every door and drawer, check hinges and runners, and look for swollen edges near the sink, peeling finish around the kettle and oven, and grease film on the doors nearest the hob. Sound carcasses with tired colour are ideal candidates for refinishing. Doors that are warped, water-damaged or delaminating at the edges are better repaired or replaced first, because a new stain will highlight defects rather than hide them. Check whether your cabinets are solid oak, oak veneer, or foil-wrapped board made to look like oak: veneer needs gentle sanding so you do not cut through it, and foil cannot be stained at all, so identifying the material now prevents a ruined door later.
Next, judge the light in the room. Grey is unusually sensitive to its surroundings: a cool grey can look crisp in a bright, south-facing kitchen and cold or blue in a small, shaded one. If your kitchen is compact, look at how colours behave in small spaces generally — our guide to tiny house living room ideas shows how pale, low-contrast schemes keep small rooms feeling open, and the same logic applies to cabinetry. Carry your test piece around the room, prop it against the existing units, and check it in morning and evening light and under your kitchen lighting before deciding whether to go paler, deeper or warmer with the grey.
Finally, count the work realistically. List every door, drawer front, end panel and length of cornice or plinth that will be refinished, and photograph the kitchen from all sides. That record helps you keep the sequence organised and gives you a satisfying before-and-after comparison at the end.
3. Step 2: Remove Doors, Drawers and Hardware
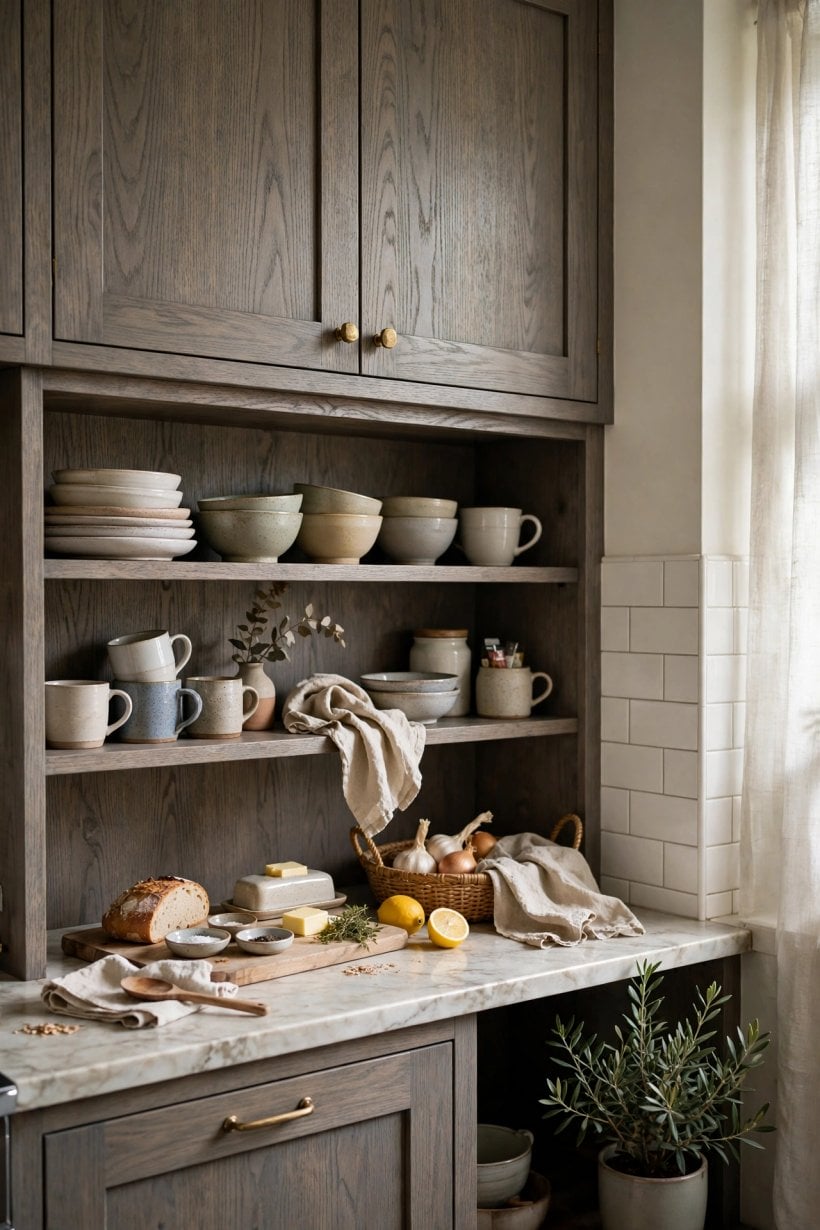
Removing everything methodically is slower than attacking the cabinets in place, but it produces a far better finish and makes sanding and staining much easier. Work one cabinet at a time. As each door comes off, write its position on a small piece of masking tape fixed to the inside of the door, and put its hinges and screws into a labelled bag. Photograph any complicated hinge or drawer arrangement before you dismantle it. Modern hinges often have adjustment screws in several directions, and a photo of the original settings saves a frustrating evening of realignment later.
Strip off handles and knobs and keep them with their fixings. Decide now whether you will reuse them: warm brass or aged bronze can look striking against grey, while chrome and brushed steel give a cooler, more contemporary feel. If you fancy a bigger change of mood, browse our colourful tiny house interior ideas for how accent colours sit alongside muted cabinetry — it is easier to plan handles, textiles and wall colour while the kitchen is in pieces than after everything is rehung.
Lay the removed doors flat on a protected bench or trestles, in the order they will be worked on. Working flat prevents drips and runs, lets stain pool evenly in the grain, and is much kinder to your back than kneeling at fixed carcasses. Keep the cabinet frames themselves for later; once the doors are off, you can mask the interiors with tape and sheeting so the frames can be prepared and stained in place with the room well ventilated.
4. Step 3: Clean and Degloss Every Surface
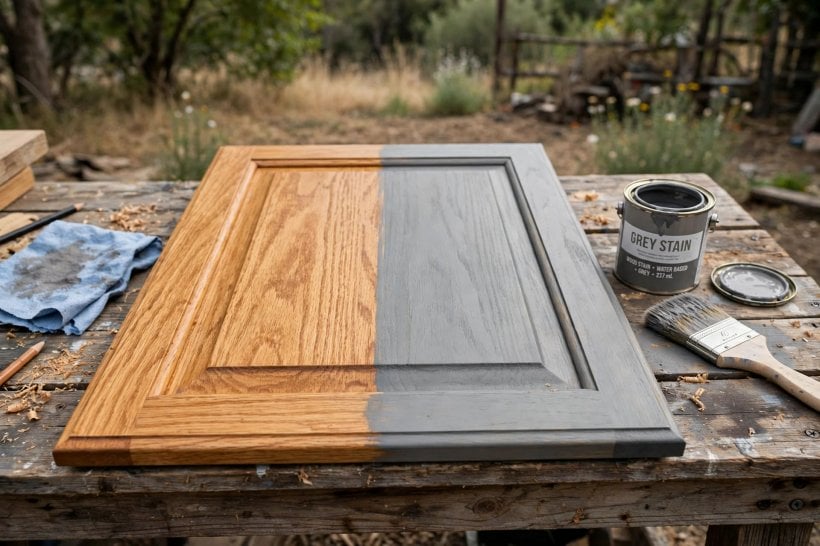
Kitchen cabinets carry years of cooking film, fingerprints and polish, and stain applied over any of it will dry patchy. Clean each door and frame thoroughly with hot water and a degreasing cleaner suitable for kitchen use, working it into edges, corners and the relief around handles with a soft brush. Rinse with a clean, damp cloth so no residue is left behind, then let everything dry completely. Hold a door up to the light: any shiny, smeary patches are grease that needs another pass. This stage is unglamorous, but skipping it is the most common reason home refinishing jobs fail.
Once the surfaces are clean and dry, cut back the sheen of the old finish. A deglosser or liquid sanding product, used exactly as its maker instructs, can soften gloss and help the next stages grip, but treat it as a helper rather than a substitute for sanding on a full colour change. The old honey-toned varnish is itself coloured, so any of it left in place will tint your grey. Pay special attention to the areas your hands touch most — around handles and along top edges — where finish and grease combine into the toughest film.
While the cabinets dry, prepare the room. The same care you would take protecting surfaces in a small bathroom applies here; several of the protection habits in our tiny house bathroom ideas guide — masking carefully, ventilating well, keeping dust away from wet finishes — transfer directly to a kitchen refinishing weekend.
5. Step 4: Sand Back the Honey Tone

Sanding is where the honey tone actually leaves. Work through progressively finer abrasives rather than starting very fine: a medium grade to remove the old finish and level the surface, then finer grades to smooth the wood for staining. Sand with the grain, never across it, because cross-grain scratches telegraph through stain and are almost impossible to disguise afterwards. Keep the sander moving and let it work under its own weight; pressing hard digs hollows that show as dull patches in the finished colour. On veneered doors, use a lighter touch and check edges frequently — the veneer on corners and raised panels is thin, and sanding through it cannot be undone.
Feeling the surface tells you more than looking at it. Run your palm over each door: it should feel uniformly smooth, with no slick, shiny areas where varnish survives and no rough patches where the grain has been torn. A low light shone across the surface at an angle reveals remaining gloss quickly. Vacuum or brush away dust, then wipe with a tack cloth or a cloth very slightly dampened, and let the doors dry before staining. Dust left behind becomes grit in the finish.
Take heart from how different the wood already looks. Bare oak is far paler than honey varnish suggests, and this is the point at which your earlier test patch matters most — compare a sanded door with the finished test piece in the same light, and adjust your plan before a single production door is stained. If you are also rethinking nearby rooms, our round-up of tiny house bedroom ideas shows how sanded-back, lighter wood tones carry through a small home without feeling stark.
6. Step 5: Raise the Grain and Prepare for an Even Colour
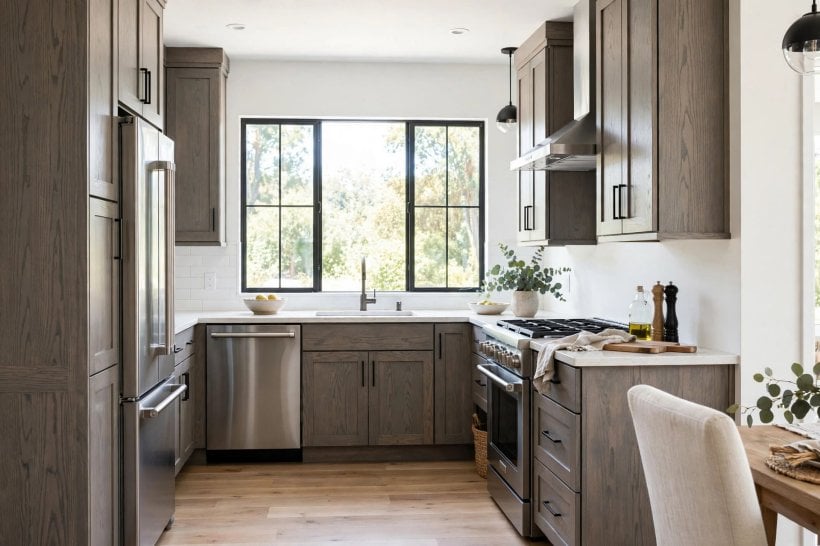
Oak responds well to a little extra preparation between sanding and staining. When stain meets wood, the fibres swell slightly, and doors that felt glass-smooth can turn faintly rough. Many refinishers lightly dampen the sanded wood, let it dry, and then knock back the raised fibres with the finest abrasive they have been using. The result is a surface that stays smoother once the real stain goes on. Follow this with a final dust removal and a careful inspection in good light: pencil marks, glue spots and fingerprints all resist stain and show as pale shapes, and they are far easier to fix now than after colour is applied.
This is also the moment to think about consistency across the whole kitchen. Doors sanded by two different people, or to different final grades, can take stain differently and end up a shade apart. Wherever possible, keep the same preparation sequence for every piece, and group doors in the order you will stain them so each batch gets identical treatment. If your kitchen opens onto other living space, the way natural materials are balanced elsewhere in the home matters too — our tiny barn house interior ideas show how honest wood tones, even greyed ones, sit comfortably with stone, linen and metal.
Mask the insides of the cabinet frames, protect floors and worktops, and set out cloths, brushes and a timer. Staining rewards a calm, unhurried setup: once the first coat is going on, you do not want to be hunting for a clean rag.
7. Step 6: Apply the Grey Stain in Thin Passes
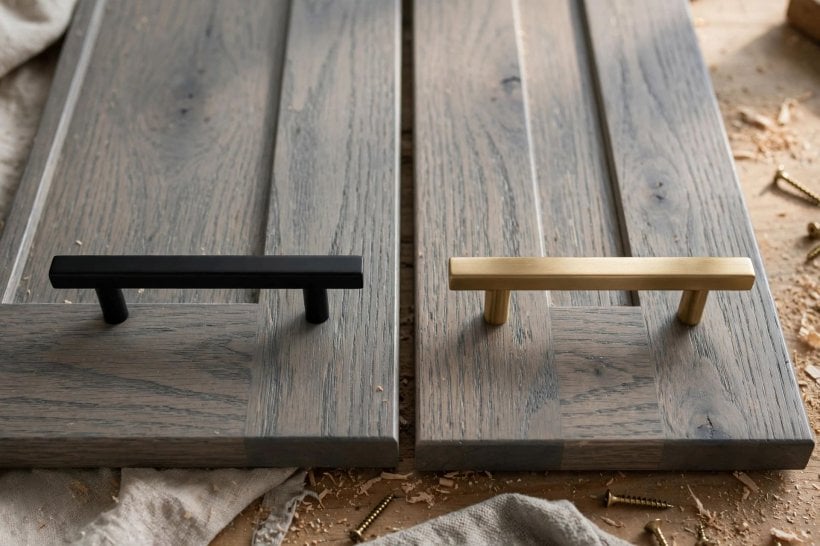
Now the transformation. Stir the stain thoroughly, and keep stirring occasionally as you work, because the pigments in grey stains settle quickly and an unstirred tin gives uneven colour from one door to the next. Apply the stain generously but evenly with a brush, foam applicator or cloth, working in the direction of the grain and completing one door at a time. Let it sit for the short period your test patch established, then wipe off the excess with a clean cloth, again following the grain. Wiping is what keeps grey stain looking like wood rather than paint: the colour stays strongest in the open grain and softer on the flat surfaces between, which is exactly the character that makes stained oak attractive.
Resist the temptation to judge the colour while it is wet. Stain darkens as it goes on, lightens as it dries, and changes again under a clear coat. Complete one door fully, let it dry, and compare it with your test piece in daylight before continuing with the rest. If the whole run needs to go deeper, a second thin coat, applied the same way once the first has dried as the product directs, builds colour more predictably than one heavy coat. This is the careful heart of staining oak cabinets grey: thin passes, consistent timing, and patience between coats.
Work through doors in batches, and keep a wet edge on larger panels such as fridge and oven housings so lap marks do not dry into visible bands. Frames fixed in place can be stained between door batches, with the room ventilated and masking checked as you go.
8. Step 7: Adjust the Tone and Check Every Door Together
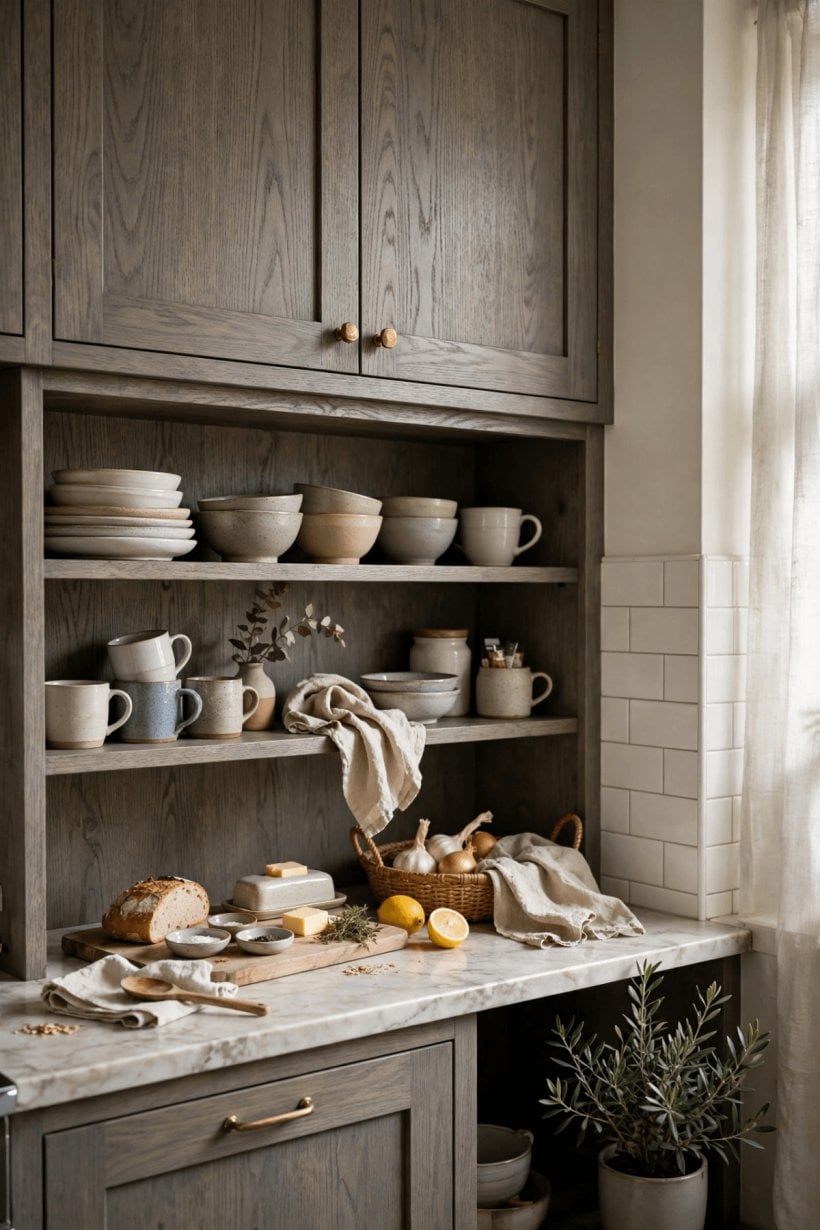
With the first full round of doors dry, prop them up together along a wall and stand back. Individual doors can each look right while the set looks uneven, and viewing them as a group under the same light is the only reliable way to spot the one that took the stain more heavily, or the panel where a trace of old finish dulled the colour. Mark any door that needs adjustment with tape on its back. A lighter door usually accepts another thin coat; a door that has gone too dark or slightly green can often be softened by careful wiping with a cloth barely dampened with the stain’s recommended cleaner, or by the gentlest sanding once fully dry — test any rescue on the door’s edge first.
Tone is also about relationships. Stand your chosen handle against the dried doors, hold up a worktop sample or a tile, and check wall colour in the same light. Grey cabinetry is a backdrop, and the warmth or coolness of everything around it shifts how it reads. The principles behind bedroom interior design for tiny houses — limiting the palette, repeating one or two materials, letting texture do the work — apply just as well in a kitchen: one metal finish, one worktop material and textiles in a narrow colour family will make grey cabinets look deliberate rather than accidental.
Only when the set matches and the tone pleases you should you move to sealing. Any colour correction after a clear coat goes on is ten times harder, so this checking stage earns its time.
9. Step 8: Seal the Finish for Kitchen Duty
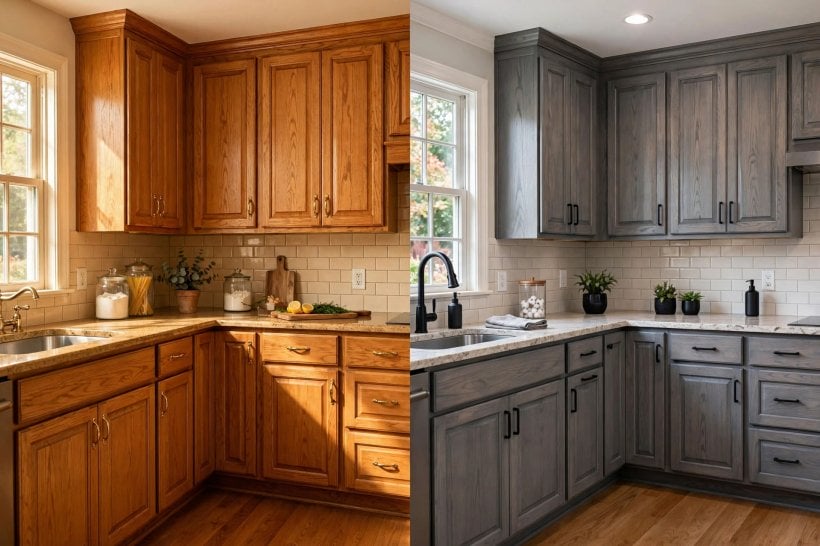
Stain alone is not a working kitchen finish. It needs a clear protective coat to resist water, steam, grease and the daily wiping that doors around a hob and sink receive. Choose a clear finish intended for furniture or cabinetry, in a sheen that suits your taste — matt and satin hide fingerprints and suit grey particularly well, while glossier coats are easier to wipe but show every mark in the wood beneath. Apply it exactly as its maker directs, in thin coats, and respect the stated drying and recoating times rather than your own impatience. Rushing a topcoat is how smooth staining jobs end up with brush marks, bubbles and tacky patches.
Between coats, a very light sanding with a fine abrasive once the finish has dried — again, only where the product instructions call for it — helps the next coat grip and keeps the final surface silky. Remove dust meticulously after each pass. Doors should then be left to harden fully before they are rehung and used normally; a finish can feel dry to the touch long before it has cured enough to withstand knocks, trapped moisture under a kettle, or a ring from a hot mug. Check the product guidance for curing expectations and plan your kitchen use around them.
Seal end panels, edges and the tops of doors with the same care as the faces. These are the places water finds first, and they are easy to skimp on because nobody sees them — until they swell or peel.
10. Troubleshooting, Care and When to Stop
Even careful jobs throw up problems, and most are fixable if you catch them early. Blotchiness usually traces back to uneven sanding or surviving patches of old finish: the honest cure is to take that door back, re-sand evenly and stain again, rather than piling on extra coats. A greenish or blue cast normally means warmth from the wood is fighting the grey, or the coats are too thin over yellow-toned timber; deeper, well-wiped coats and a full dry-down before judging will settle most cases. Lap marks come from letting an edge dry mid-panel, so work smaller areas and keep edges wet. Runs and drips, once dry, can be levelled gently with fine abrasive and touched in.
Day-to-day care is simple. Wipe spills promptly, clean with a soft cloth and mild, non-abrasive cleaners, and avoid scouring pads and harsh chemicals that cut into the clear coat. Felt pads on anything that knocks against doors, and a habit of using the extractor when cooking, will keep the finish fresher for longer. Keep your test piece and notes with the leftover stain, clearly labelled, so any future touch-up matches the recipe you actually used.
Know when to hand over. Structural repairs, sprayed finishes, and kitchens where most doors are veneer in poor condition may suit a professional refinisher better than a weekend project. If your plans grow into building cabinetry from scratch, our guide on how to build your own tiny house covers the same plan-carefully, test-first mindset at a much larger scale. There is no failure in deciding a job is bigger than your tools or time — only in pressing on with a method you already know is not working.
Final Considerations
Refinishing honey oak to grey succeeds on preparation, not luck: assess honestly, test the colour in your own light, clean and sand back to an even surface, apply thin coats with consistent timing, check the whole set together, and seal it properly for kitchen life. Take those stages in order and a sound but dated kitchen becomes calmer, lighter and unmistakably yours — without landfill, without a full refit, and with the oak grain still telling its story under the grey.


0 Comments