
Every backsplash is easy until it turns a corner. The straight runs forgive almost anything; the inside corner is where the pattern, the cuts and the grout lines are all examined at once — and where a good kitchen is quietly separated from a nearly good one.
This guide covers the subway tile backsplash inside corner only: how to plan the layout, wrap the bond, cut and set the corner pieces, and finish the joint so it lasts — technique stated generally throughout, with your tile and adhesive makers’ instructions as the final authority.
1. Subway Tile Backsplash Inside Corners at a Glance
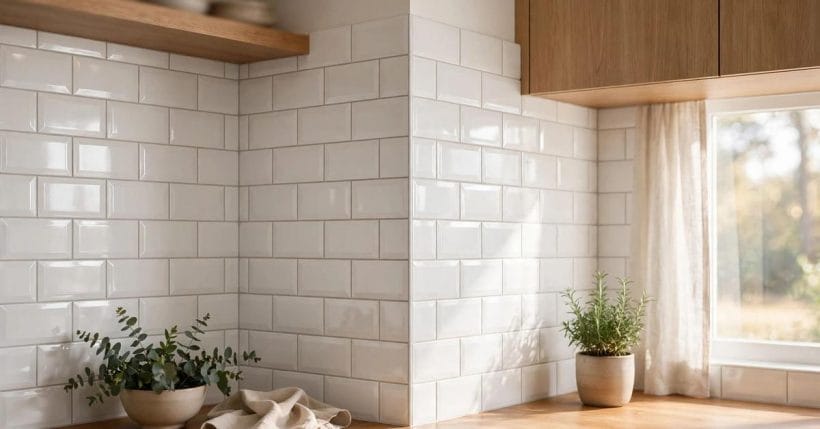
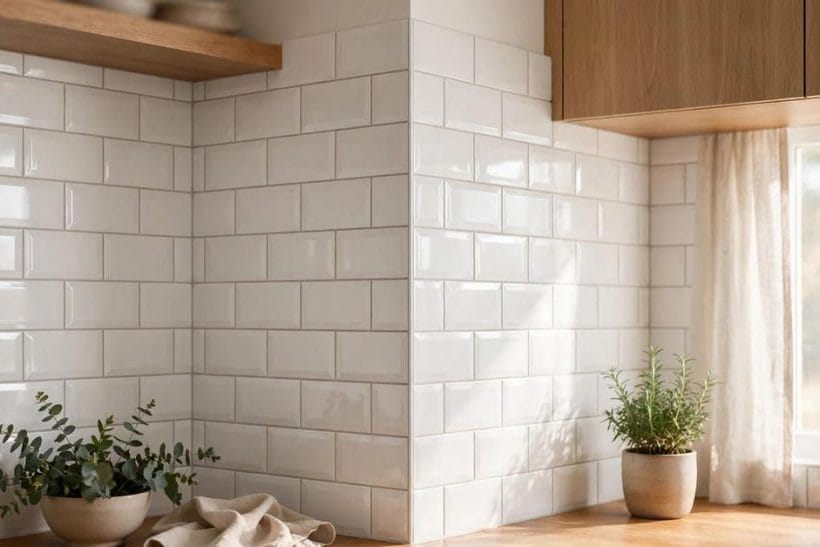
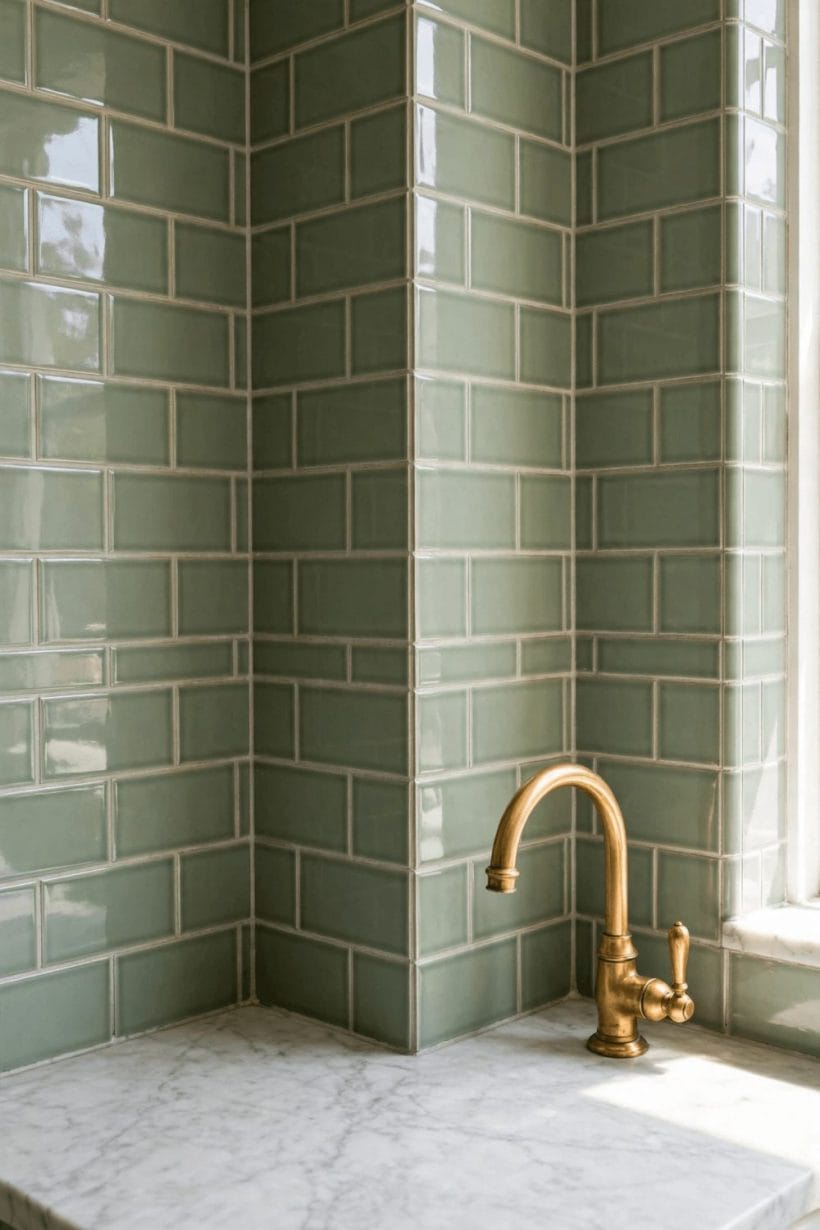
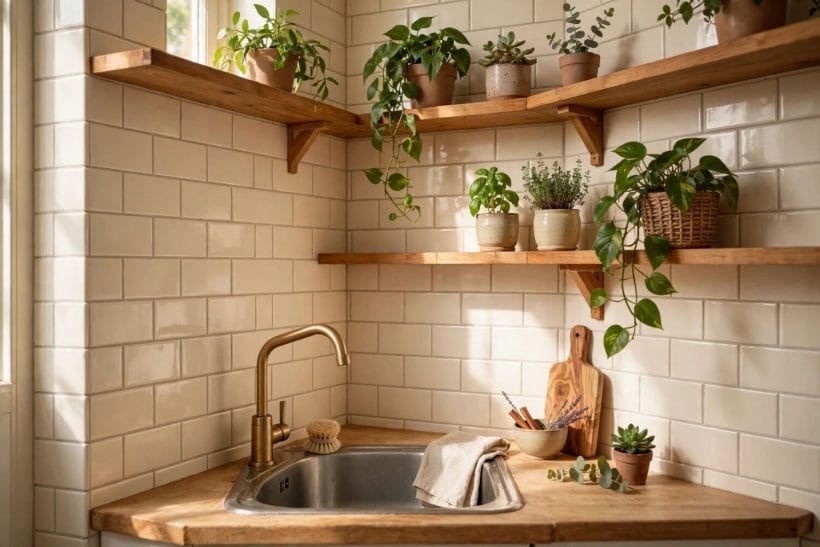
The central entity is the inside corner of a tiled backsplash: the internal angle where two tiled walls meet, whose attributes are the layout that arrives there, the way the brick-bond pattern wraps or restarts, the cut edges that face into it, and the flexible joint that finishes it. This post is one narrow, technical slice of the kitchen family: the whole room lives in the kitchen ideas pillar; cabinet renewal is handled by replacing kitchen cabinet doors before and after; and wall tile in the wet room is the separate craft of bathroom wall tiles design. Here there is one tile, one pattern and one corner. The feature photograph shows the finished standard to aim at: bevelled subway tiles flowing around both an inside and an outside corner with the courses unbroken.
| Question | Short answer |
|---|---|
| What is the core rule? | Wrap the pattern: whatever is cut off at the end of one wall continues the course on the next, so the brick bond flows around the corner instead of restarting |
| Where do I start tiling? | Plan from the corner outward on paper or in a dry lay first; the corner decides where slivers land, and it is far easier to move them in a drawing than in adhesive |
| What finishes the corner itself? | A flexible sealant joint, not grout: corners are a change of plane and move slightly, and grout packed into them cracks — the joint is sealed, the field is grouted |
| Which cuts matter? | Cut edges face into the corner where they are hidden; factory edges face the room. Smooth, eased cuts grout cleanly and do not catch the light |
| Is this a beginner job? | The corner is the most demanding detail on the wall but a patient one: dry-lay it, cut carefully, and follow your tile and adhesive makers’ instructions throughout |
2. Why the Inside Corner Decides the Whole Wall
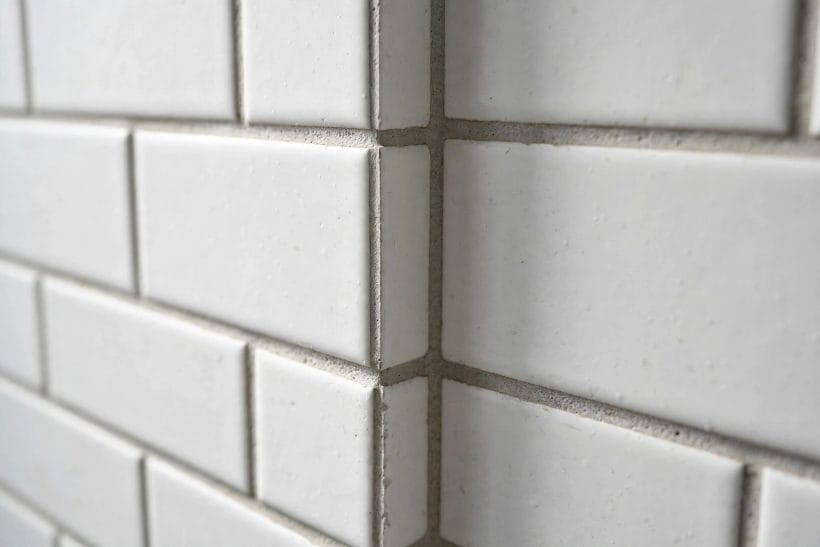
Stand in any kitchen with a subway tile backsplash and your eye goes to the corner, because that is where three judgements meet. The horizontal courses must arrive at the same height from both directions, or the mismatch draws a stair-step nobody can unsee. The vertical joints of the brick bond must behave as if the wall were flat paper folded at the angle. And the corner joint itself — the close view in the gallery photograph — must read as one calm line rather than a crack that was filled in hope. None of this is decoration added at the end; it is the layout, decided before the first tile is buttered. The good news hidden in that stern summary is that the corner is entirely a planning problem. Tilers who make corners look effortless are not cutting better on the day — they have already solved the corner on the countertop, in a dry lay, before adhesive entered the story.
3. Planning the Layout From the Corner Out
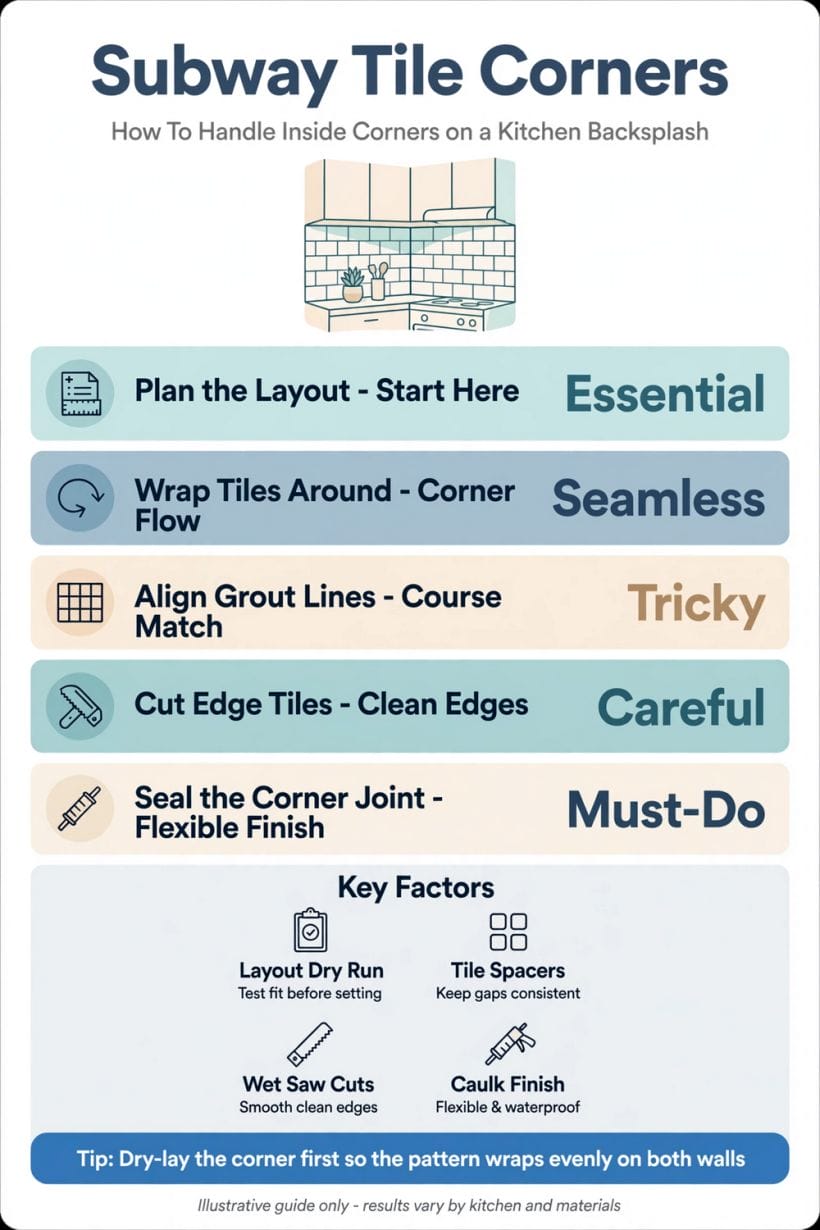
The infographic’s first row is the whole job in four words: plan the layout. Small kitchens reward the same discipline — the layouts in kitchen tiny house small space design are all exercises in deciding before fixing — and a backsplash corner is that discipline at hand scale.
Dry-lay the corner before anything is fixed
Lay the corner courses out on the counter or floor exactly as they will sit: full tiles, the corner turn, and the pieces each side demands. You will see immediately whether the pattern wraps gracefully or lands a sliver in the angle, while every tile is still free to move.
Let the corner arbitrate the starting point
Convention starts tiling from a centre line or a focal point, but the corner has a vote: shift the whole layout slightly so the corner receives pieces of a decent size on both walls. A layout that is perfect in the middle and miserable at the corner is the wrong layout.
Check the corner is plumb before blaming the tiles
Kitchen corners are rarely true. A level held vertically in the angle tells you whether the walls lean, and a leaning corner must be planned for — absorbed gradually across courses — rather than discovered at the last row.
Mark one datum and work both walls from it
Draw a single level line for the first course and carry it around the corner onto both walls before anything is fixed. Every later course is measured against that shared datum, which is how the two directions arrive at the angle at the same height instead of negotiating a mismatch there.
Count courses against cabinets and sockets
The corner does not exist alone: courses must also land sensibly at the worktop, under the cabinets, and around sockets. Plan the corner together with those fixed points, because moving one moves them all.
4. Keeping the Bond Pattern Around the Turn
Wrap, do not restart
The rule that gives this guide its shape: the pattern treats the corner as a fold, not a finish. A tile cut short to end one wall has a remainder, and that remainder is exactly the piece that starts the same course on the returning wall — the bond flows around the angle unbroken.
The offcut becomes the starter
In practice this means saving every corner offcut and carrying it around. The two pieces were one tile, so their combined length keeps the staggered joints of the brick bond honest on both walls at once.
Alternate the wrap direction course by course
Because the bond staggers, one course wraps from the left wall and the next from the right. Following the fold faithfully through every course is what makes the corner read as one continuous woven surface rather than two walls that met.
Keep courses level around the angle
A course that drifts upward on one wall arrives at the corner above its partner. Check levels constantly as you approach the angle; tiny corrections spread over several courses are invisible, while one correction at the corner shouts.
5. Cutting Tiles for the Corner
Cut edges face into the corner
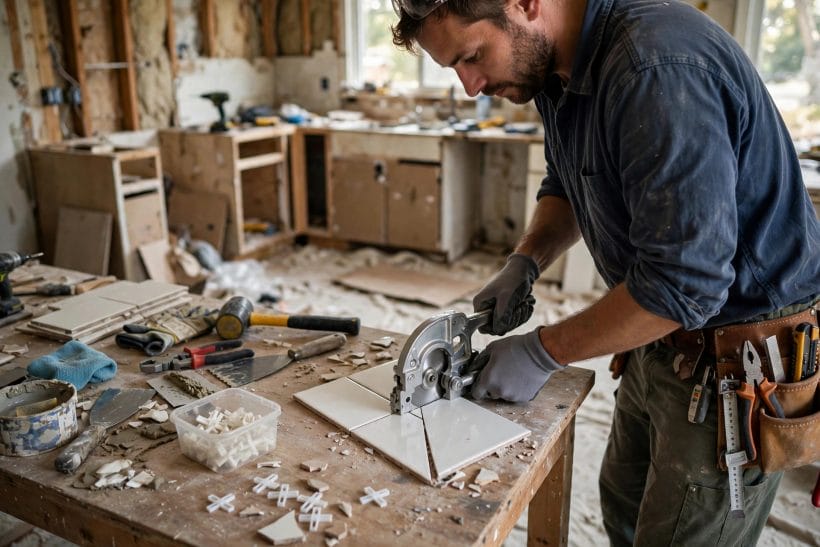
The oldest courtesy in tiling: wherever a tile is cut, the cut edge goes against the corner, the abutting wall or the trim, and the factory edge faces the room. At an inside corner the two cut edges meet and hide each other’s imperfections in shadow.
Choose the cutter for the tile
Slim ceramic subway tiles usually score and snap cleanly; harder porcelain and thicker handmade tiles prefer a wet saw for straight, chip-free edges. Follow the tile maker’s guidance, practise on spares, and let the tool suit the material rather than the habit.
Ease every cut edge
A quick pass with a rubbing stone or diamond pad takes the arris off a cut edge. It stops the edge chipping as it is handled, keeps fingers safe during setting, and lets grout sit against it without snagging.
Mind the bevel on bevelled tiles
Bevelled subway tiles — the feature photograph’s tile — narrow to a pillow edge, so a cut through the bevel changes the piece’s face. Plan corner pieces from the tile’s full-thickness body where you can, and let the deepest part of the corner absorb any oddity.
6. Setting and Spacing at the Joint
Leave the corner joint open
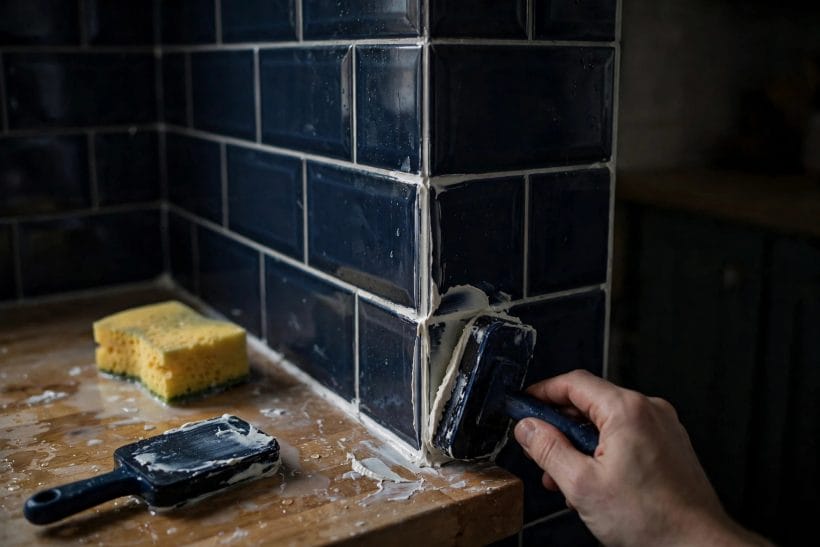
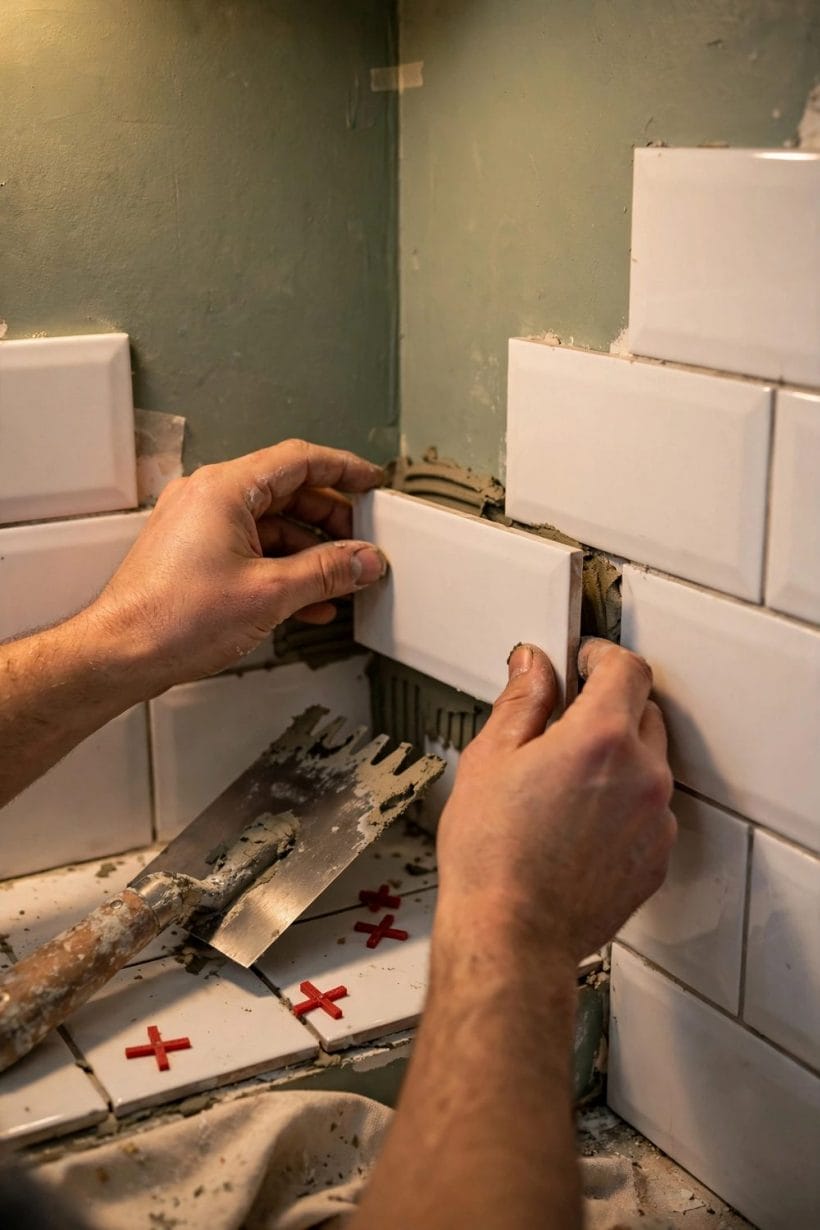
Do not butt the two walls’ tiles hard against each other in the angle. The corner keeps a small, consistent open joint — it will be sealed flexibly later — because two walls move independently and a jammed corner is a cracked corner waiting for a season to change.
Spacers earn their keep at the turn
Spacers or wedges hold the vertical joints honest exactly where hands get awkward. Corners tempt tilers to pinch a joint to make a piece fit; the spacer’s refusal is the quality control.
Full adhesive coverage behind corner pieces
Corner pieces are small and easily starved of adhesive. Butter the piece itself as well as the wall where needed, so the corner — the wall’s most knocked and splashed place — is also its most solidly fixed.
Clean the joint as you go
Adhesive squeezed into the corner joint must come out while it is soft; the sealant that finishes the corner needs a clean, open channel to grip. A damp brush and patience at this stage save a miserable excavation later.
7. Grouting and the Flexible Corner Joint
Grout the field, never the corner
Grout is rigid; corners are a change of plane between two surfaces that expand, settle and vibrate independently. Grout packed into an inside corner cracks along it with near certainty — this is the single most common corner failure, and it is designed in, not bad luck.
Seal the corner with a flexible bead
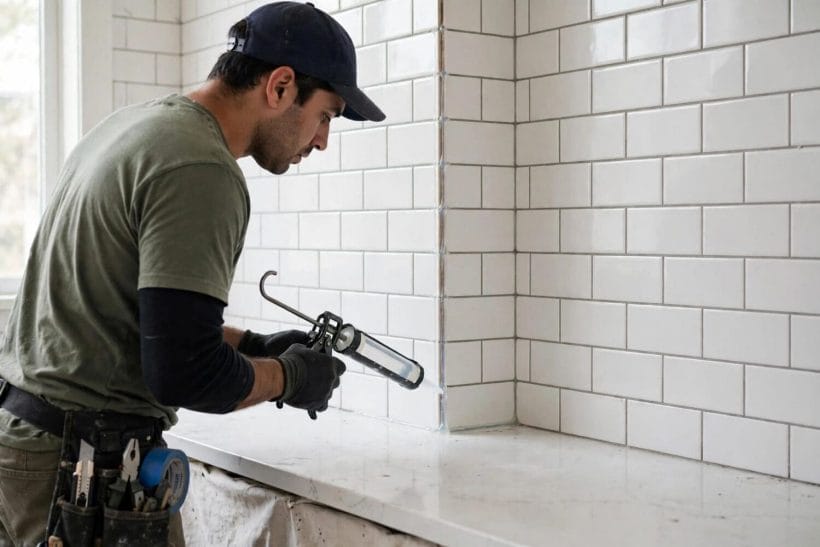
The corner joint is finished with a flexible sanitary sealant, colour-matched to the grout, tooled smooth in one pass. The infographic calls it a must-do because it is: the bead flexes with the building and keeps water out of the angle behind the tiles.
The same rule at the worktop line
Where the backsplash meets the worktop is another change of plane and gets the same treatment — sealant, not grout. In the small kitchens gathered in tiny kitchen ideas, that junction is splashed constantly and the flexible joint earns its keep daily.
Mask the joint for a clean edge
Tape both sides of the corner before the sealant goes in, tool the bead, and peel the tape while it is still wet. The tape does the precision work, leaving the straight, narrow line that makes a corner look professional rather than merely waterproof.
Tool the bead once, then leave it
A sealant bead is smoothed in a single confident pass with a wet tool or finger and then left alone to skin. Reworking it tears the surface; if a section displeases you, it is easier to cut it out when cured and redo that section cleanly.
8. Outside Corners and Edges, Briefly
This guide’s subject is the inside corner, but backsplashes also end — at window returns, chimney breasts and open wall ends — and those outside edges are planned with the same layout so the whole wall agrees with itself.
Trim profiles give the cleanest public edge
A metal or matching tile trim finishes an outside corner or exposed edge neatly and protects the tile edges from knocks. It is the usual professional choice where the backsplash ends in open view.
Mitred corners are the craftsman’s option
Two tiles cut at matching angles can meet at an outside corner with the glaze flowing around it. It is beautiful, slow, and unforgiving of a wandering cut — a detail to attempt with spares and time, or to commission.
Bullnose and glazed-edge pieces
Some subway ranges include rounded-edge finishing pieces for exactly these ends. Where the range offers them, they give the softest, most traditional finish and save the trim decision entirely.
9. Common Corner Mistakes
The sliver in the angle
A thin sliver of tile trapped in the corner is the signature of a layout that was never dry-laid. It cuts badly, fixes weakly and draws the eye forever. Move the whole layout a little and give the corner pieces with substance.
Courses that miss each other
When the two walls’ courses arrive at different heights, the corner shows a step at every line. It comes from levelling each wall independently; the fix is to level the room, not the wall — one datum carried around.
Grout in the corner joint
Covered above and repeated here because it outnumbers every other corner fault together: if it is grouted, it will crack. Rake it out while there is still time and seal the joint as it should have been sealed.
Lippage at the turn
Tiles that sit proud or shy of their neighbours catch raking window light cruelly at corners. A straightedge across the angle as you set, and small adjustments while the adhesive is open, keep the fold flat.
Starved, hollow corner pieces
A corner piece that sounds hollow to a knuckle was buttered thin and will loosen first. The corner takes the knocks of worktop life; set its pieces as solidly as any on the wall — the countertop questions in butcher block vs quartz tiny kitchen begin exactly at this busy junction.
10. Tools, Costs and Knowing When to Call a Tiler
The tools are the tiler’s ordinary kit — a cutter suited to the tile, a level long enough to carry a datum around the room, spacers, a notched trowel, a rubbing stone, and a sealant gun — and the cost drivers are equally plain: the tiles themselves, adhesive and grout, trim or sealant, cutting time where the layout is intricate, and making good any wall that is not flat or true. What the corner really costs is time: the dry lay, the careful cuts, the patience at the joint. A professional earns their fee precisely here, on the detail this guide is about, and there is no shame in the arithmetic that says a focal kitchen corner is worth a tiler’s day while the straight runs were yours. If you do take it on, the discipline is the whole secret: plan it dry, wrap the bond, hide the cut edges, and seal the joint flexibly — then stand back and watch visitors look for the join and fail to find it.
Final Considerations
Before the adhesive comes out, do the tiler’s oldest test: stand at the kitchen door, where every guest will stand, and look only at the corner. If the courses run into it and out of it as one woven surface, if the joint is a single quiet line, the wall will be praised without anyone knowing why.
A subway tile backsplash inside corner earns that quiet praise by being planned rather than improvised — the layout arbitrated by the corner, the offcut carried around to start the next wall, cut edges hidden in the angle, and a flexible seal where movement lives. Keep the family splits clean — the kitchen with its pillar, cabinets with the cabinet post, wet-room tiling with the bathroom — and let this one detail be done once, properly, at the standard the feature photograph sets.



0 Comments