

Pale tiles with pale grout can fade into one flat, forgettable surface. A scheme built around gray tile with dark grout does the opposite: every joint becomes part of the pattern, and the layout you paid for stays visible from across the room. This guide covers the layouts, colour pairings, cost drivers and practical details that decide whether dark grout looks sharp for years, or tired within months.
1. Dark Grout at a Glance
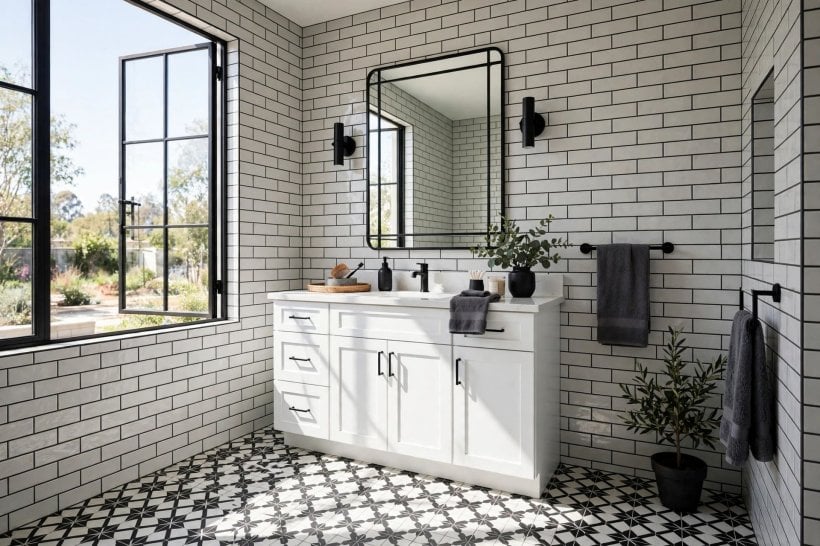
Dark grout is a design decision and a maintenance decision at the same time. The contrast frames each tile, so shape, bond and alignment become the decoration, which means plain, affordable tiles can look deliberate and architectural. The same contrast is honest: uneven joints, lippage and sloppy cutting show up quickly, so dark grout rewards careful setting-out and a flat substrate. On the practical side, dark joints are forgiving of the everyday greying that makes pale grout look dirty, yet they can show pale limescale deposits in hard-water areas and light dust on floors. Neither effect is a deal-breaker, but both should shape where you use the darkest shades and how you plan to clean. The summary below collects the decisions that matter most before you order anything.
| Decision | What usually works | Good to know |
|---|---|---|
| Best for | Floors, splashbacks, shower walls, busy family bathrooms | Contrast hides everyday marks better than pale grout |
| Tile tones | Light to mid grey, stone effects, soft whites, patterned tiles | Very dark tiles with dark grout can read as one flat mass |
| Grout shades | Charcoal, anthracite, deep warm grey, near-black | Dry grout usually looks lighter than the wet mix |
| Joint width | Slim, consistent joints on walls; slightly wider on floors | Consistency matters more than the exact width |
| Grout type | Cementitious for most walls; epoxy where staining is likely | Epoxy costs more in material and labour |
| Sealing | Penetrating sealer on cementitious grout in wet or greasy zones | Sealer slows staining; it does not make grout waterproof |
| Cleaning | pH-neutral cleaners and a soft brush | Strong bleach and acids can fade dark pigments over time |
| Watch out for | Limescale in hard-water showers, patchy colour from mixed batches | Test any cleaner on a hidden joint first |
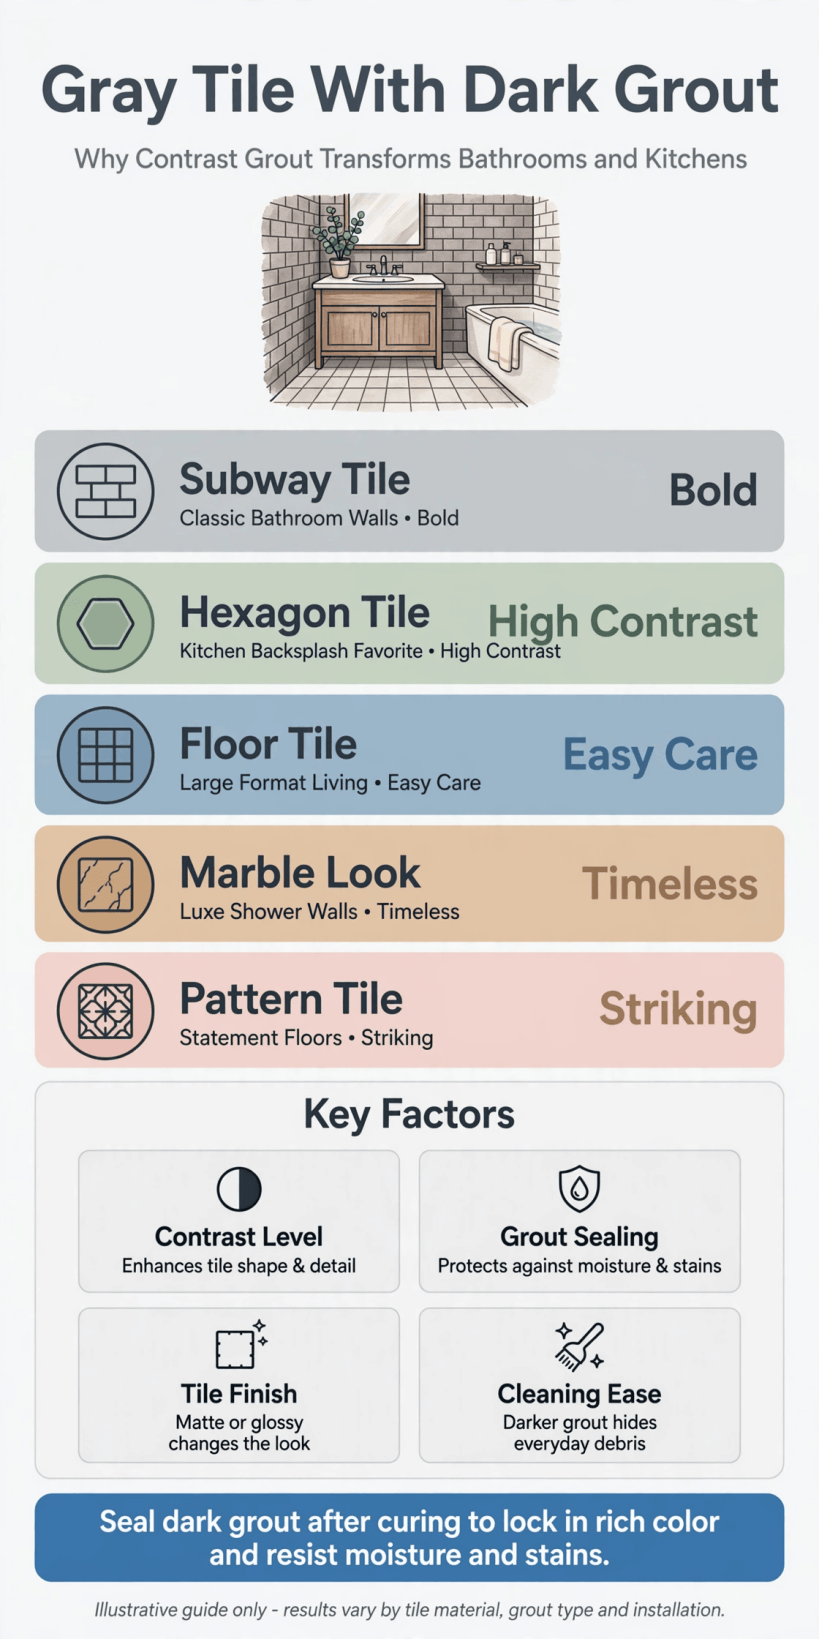
The key choices at a glance: tile tone, grout shade, joint width, grout type and the cleaning routine that keeps dark joints looking even.
2. Layouts That Make the Lines the Feature
Because the joints are on show, layout does the decorative heavy lifting. A straight grid is the calmest option and suits large, plain tiles, but every wonky line is visible, so the first row must be set out from a level datum and checked constantly. A stacked layout, where joints line up in both directions, gives a modern, architectural feel and works well with metro tiles and large-format wall tiles. Brick bond softens the grid and is more forgiving of slight size variation between tiles, which is why it remains the default for smaller ceramic tiles. Herringbone and chevron turn the grout lines into a zigzag rhythm; they look superb with dark joints, but cutting time rises and the pattern must start from a carefully centred line or it drifts by the far wall. With plank tiles, a one-third offset usually looks calmer than a half offset and reduces the risk of visible lippage at the joints. Whatever you choose, dry-lay a square metre first: dark grout exaggerates the difference between the layout you imagined and the one the room actually suits.
3. Colour Pairings That Work Hard
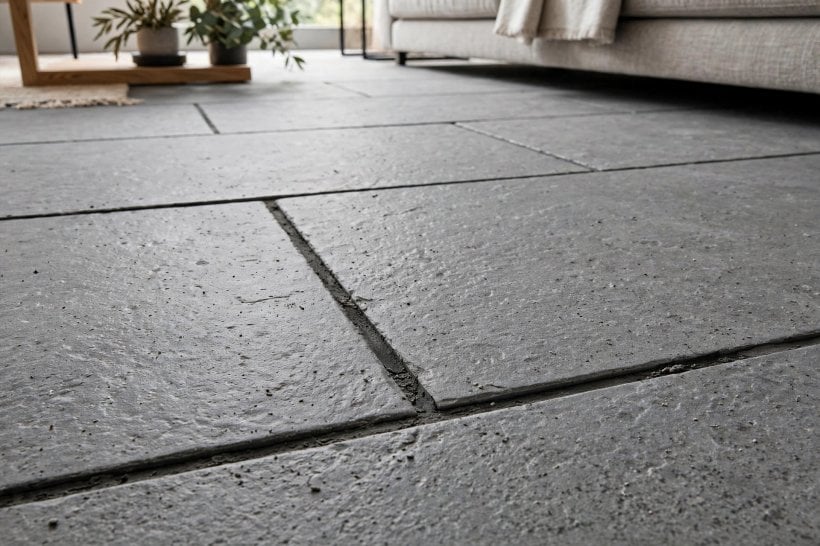
The safest pairing is a light-to-mid grey tile with a charcoal or anthracite grout: enough contrast to read clearly, not so much that every joint shouts. Warm greige tiles sit happily with a deep brown-grey grout, which keeps the scheme soft and hides dust well. Stone-effect and marble-effect tiles benefit from a grout picked from the darkest vein in the pattern, tying the surface together. Patterned tiles need restraint: choose a grout that matches one background tone so the pattern, not the grid, leads. Two traps catch people out. The first is the mid-tone muddle, where tile and grout are close in value but not identical, so the wall just looks grubby. The second is judging colour from the wet mix or the bag: dark grout typically dries lighter and can vary between batches. Make a sample board with the real tile, let it dry fully for a day or two, and view it in the room’s own light, morning and evening, before committing to a whole wall.
4. Bathrooms, Showers and Wet Rooms
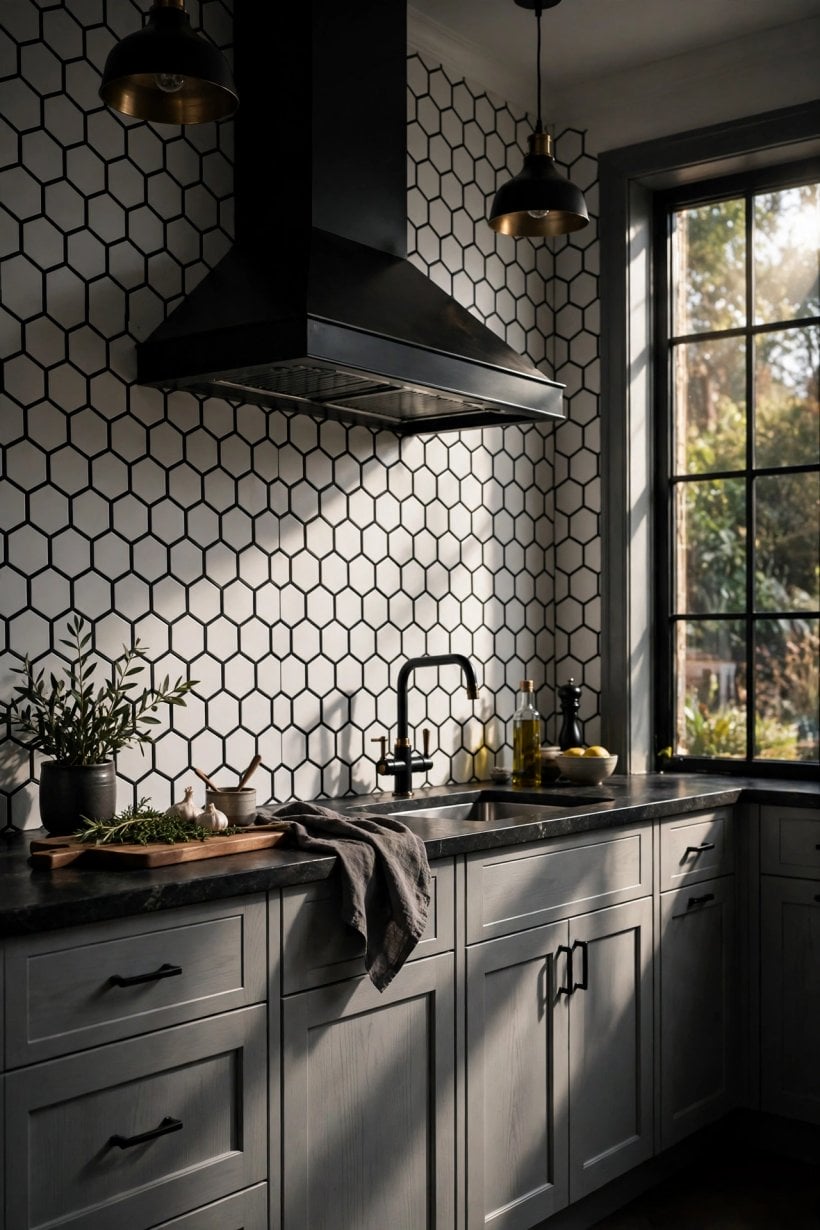
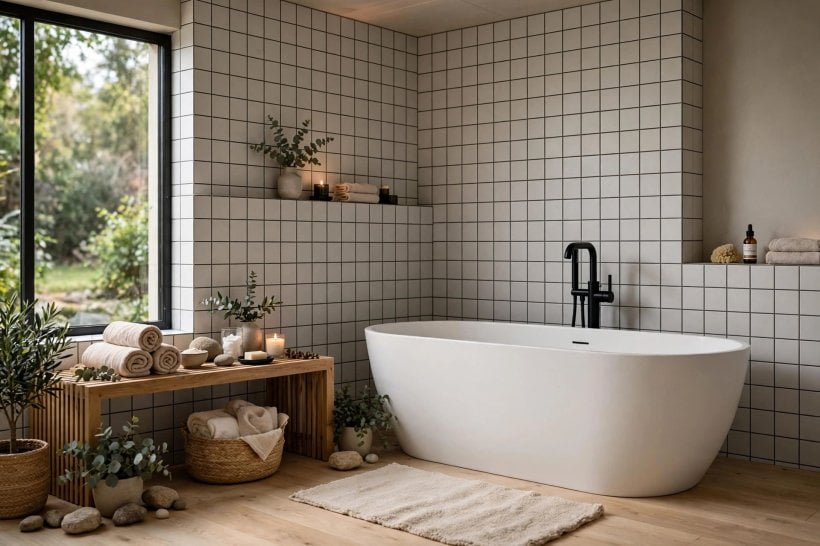
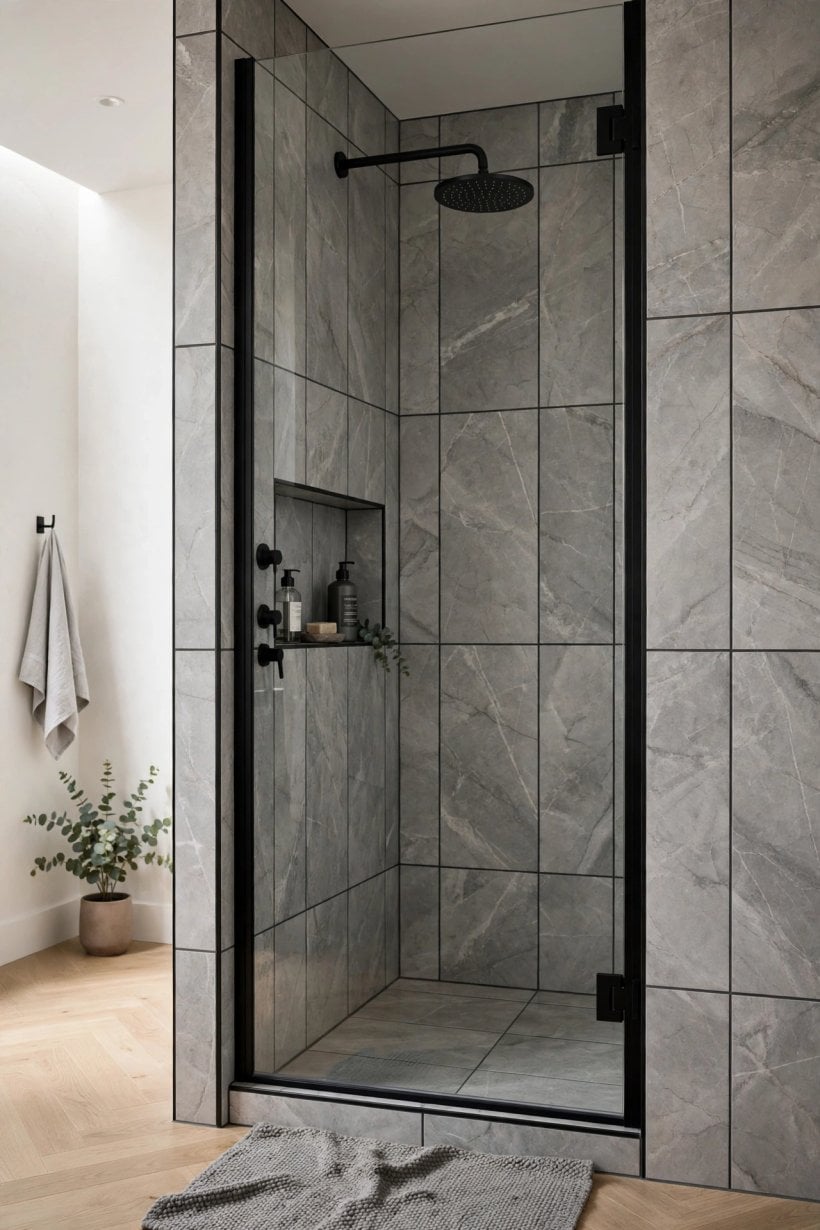
Dark grout earns its keep in bathrooms because the joints that discolour first with pale grout, around the bath, basin and shower tray, stay looking even for far longer. In shower enclosures, the choice of grout type matters more than the colour: cementitious grout with a good penetrating sealer is common on walls, while epoxy grout is often chosen for shower floors and steam-heavy rooms because it absorbs far less water and resists staining. Remember that grout is not the waterproofing; the tanking or membrane behind the tiles does that job, so never let a dark, tidy joint persuade you to skip proper waterproofing on a refurbishment. In hard-water districts, pale scale can bloom on dark joints around taps and shower valves; a squeegee after showering and a monthly wipe with a suitable limescale remover, tested first on a hidden area, keeps it in check. Good extraction also matters, because dark surfaces show dried droplets and soap film. For more small-bathroom planning, see our bathroom interior design ideas for tiny houses, which covers compact layouts that pair well with bold joint lines.
5. Kitchen Splashbacks and Floors
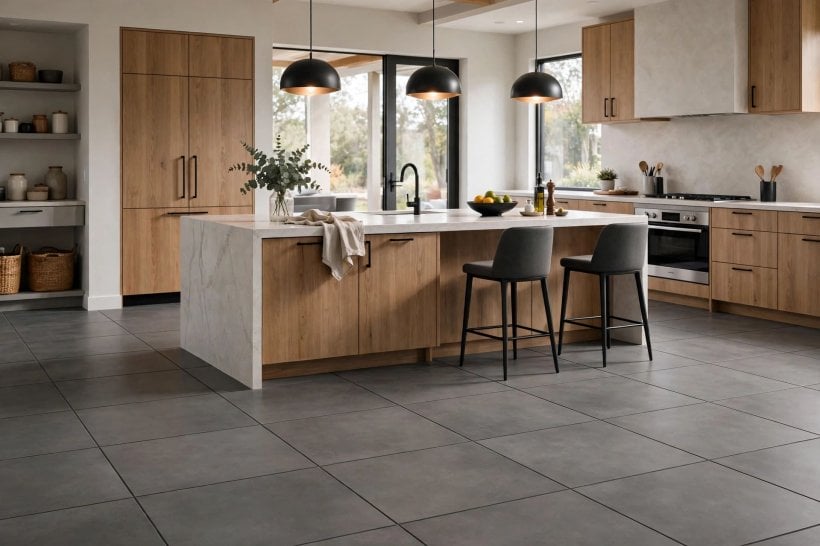
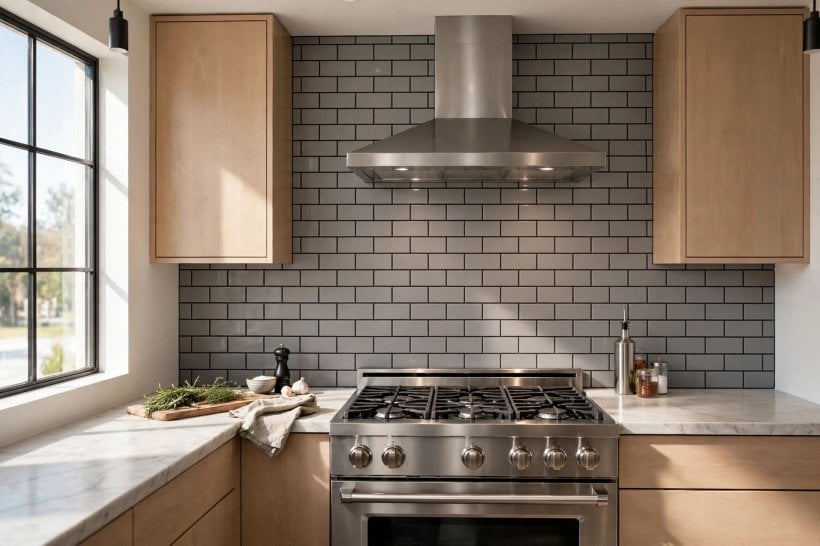
Behind a hob, dark grout is the pragmatic favourite: splashes and cooking film that would stain pale joints beyond rescue barely register on charcoal. If the splashback sits behind a busy cooking zone, epoxy grout or a well-sealed cementitious grout makes weekly cleaning much easier, and a smooth glazed tile wipes cleaner than a rough, matt one. On kitchen floors, mid-grey tiles with dark joints hide the daily traffic of crumbs, pet hair and muddy footprints between cleans, and the grid helps a small kitchen feel ordered rather than chaotic. Keep the joint colour consistent where the splashback meets the worktop, and finish the junction with a colour-matched silicone rather than grout, because that corner moves and grout will crack there. Under cabinets, a slightly lighter grout can stop the shadow line looking like a gap. Our guides to kitchen design for small spaces and tiny house kitchen design show how tiled surfaces and compact storage work together in practice.
6. Living Spaces, Hallways and Open-Plan Floors
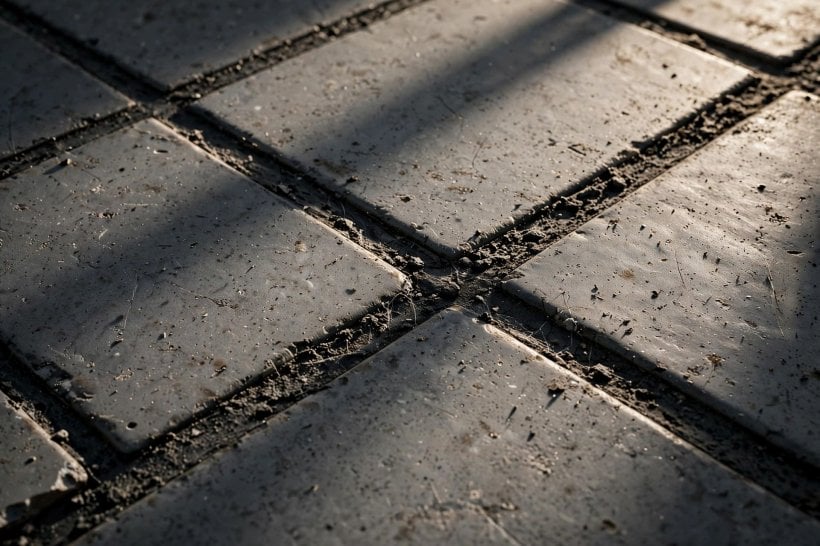
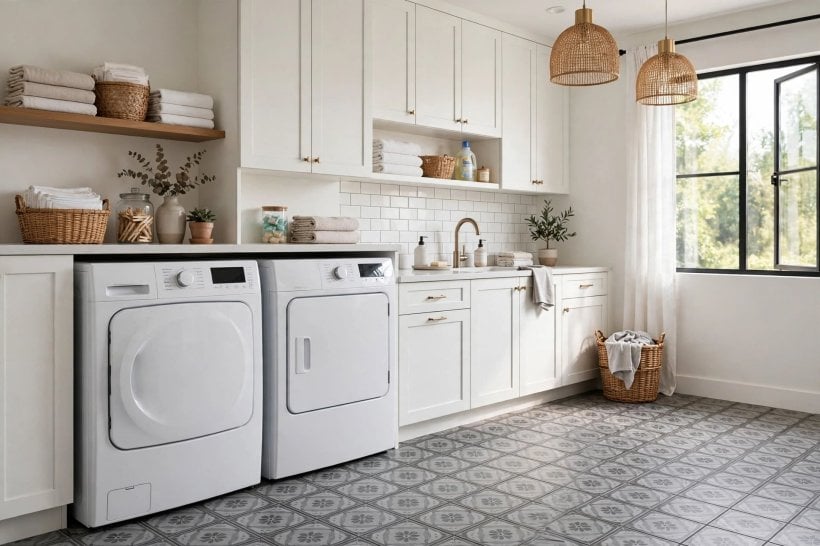
Tiled floors carry dark grout beyond wet rooms surprisingly well. Large-format grey tiles with slim dark joints give living areas a calm, continuous base that tolerates rugs, sofas and heavy foot traffic, while the visible grid stops a big floor looking like a slab of concrete. In hallways, plank tiles laid lengthways with dark joints read almost like timber at a glance, but shrug off wet shoes. Think about transitions: where the tiled floor meets timber or carpet in the next room, a neat metal or colour-matched trim strip looks intentional, and continuing the same tile into an adjoining utility or cloakroom stretches the sense of space. Skirting choice matters too; a white skirting above dark-jointed floor tiles gives a crisp graphic edge, while a tiled upstand keeps the palette quiet. If you are weighing wall colours to sit above tiled floors, our living room paint ideas, modern living room designs and small living room ideas offer palettes that hold their own next to strong joint lines.
7. Costs: Where the Money Actually Goes
Choosing a dark shade rarely changes the budget by itself. Standard cementitious grout in charcoal or anthracite usually sits in the same price band as pale colours, and grout is in any case a small line in the overall tiling budget next to the tiles, adhesive, preparation and labour. The choices that do move the total are these. Epoxy grout costs more per bag and takes longer to work, so tilers price its labour higher; it is usually worth it only where staining or constant water justifies it. Smaller tiles mean more joints per square metre, which means more grouting and cleaning time. Patterned layouts such as herringbone are slower to set and cut than a straight grid. Substrate preparation, levelling a floor or reboarding a wall, often costs more than any grout decision, and skipping it is the classic false economy because dark joints advertise every bump. Re-grouting an existing floor is mostly labour, so it can approach the cost of retiling a small room. Get itemised quotes that separate materials, preparation and labour, and check current local prices before fixing a budget, because rates vary widely by region and by tiler.
8. Practical Details: Joints, Sealing and Cleaning
Technique decides whether dark grout looks rich or patchy. Colour variation usually comes from inconsistent mixing, washing the joints with too much water while the grout is fresh, or using grout from different batches on one wall, so buy enough of one batch for the whole job and mix whole bags where possible. On porous or rough-textured tiles, dark pigment can stain the tile face during grouting; tilers often use a grout release or pre-seal the tiles, and a test patch in an unseen corner is cheap insurance. Keep joints fully filled and struck evenly, because shallow spots dry a shade lighter. Respect curing times before showering or mopping, and apply penetrating sealer only when the grout is fully cured and bone dry. For cleaning, a pH-neutral detergent and a stiff brush handle most soils; reserve stronger products for specific problems, test them out of sight, and avoid leaving acidic cleaners sitting on the joints. Silicone at movement joints should be colour-matched to the grout so the line reads as one. A scheme like gray tile with dark grout stays looking deliberate when these unglamorous details are handled in order, rather than left to chance on the day.
9. Small Rooms, Tiny Homes and Tight Budgets
In a small bathroom or a tiny home, dark joints can either organise the space or overwhelm it. The grid brings order when tiles are large and the room is simple: fewer, longer lines stretch the walls, and one tile carried from floor to wall makes a compact shower room feel designed rather than chopped up. The same contrast in a small tile, on every surface, can feel frantic, so in tight spaces pick one hero surface, perhaps the shower wall or the floor, and let the other surfaces stay quieter with a closer-toned grout. Continuity is the tiny-home trick: running the same floor tile through the bathroom, kitchenette and hallway avoids thresholds and visual stops, which makes the whole footprint feel larger. Dark grout also suits the tiny-home reality of one room doing three jobs, because it forgives the extra wear. Browse our home interior design ideas for small spaces and the blue and white tiny house interior for compact schemes that use strong lines without shrinking the room.
10. Mistakes to Avoid and Final Checks
Most dark-grout disappointments trace back to a handful of avoidable errors. Choosing the shade from a photograph or a wet sample leads to walls that dry lighter than expected. Leaving the sealer off in a splashback or shower zone invites staining that no scrubbing fully reverses. Mixing part-bags from different batches produces a checkerboard of slightly different joints. Rushing the wash-off leaves dark haze on the tile face that hardens by the next day. Using harsh bleach cleaners weekly can fade pigment unevenly, so the busiest areas end up paler than the edges. Before the tiler starts, run this checklist: sample board dried and approved in the room’s light; one batch of grout on site with a spare bag; sealer and colour-matched silicone bought; layout centre lines agreed; curing times written into the schedule so nobody showers too early. If you are re-grouting instead of retiling, confirm the old joints can be raked out cleanly to a depth that gives the new grout something to grip, and accept that the result depends on the tiles already there.
Final Considerations
Dark grout is one of the cheapest ways to give plain tiles a designed, architectural edge, provided the setting-out is careful and the cleaning routine is realistic. Decide the pairing from a dried sample, match the grout type to the room’s water and grease load, seal where it matters, and keep one batch for each space. Do that, and the joint lines that look bold on day one will still look intentional years later, in bathrooms, kitchens and living spaces alike.


0 Comments