

A printer is useful twice a month and in the way every day. Putting it behind a cabinet door keeps the desk clear, the paper dust-free and the room calm, while still leaving the machine ready in seconds. This guide works through the best hidden printer cabinet layouts, door and tray options, colours, realistic cost drivers and the ventilation and cable details that make concealment practical rather than frustrating.
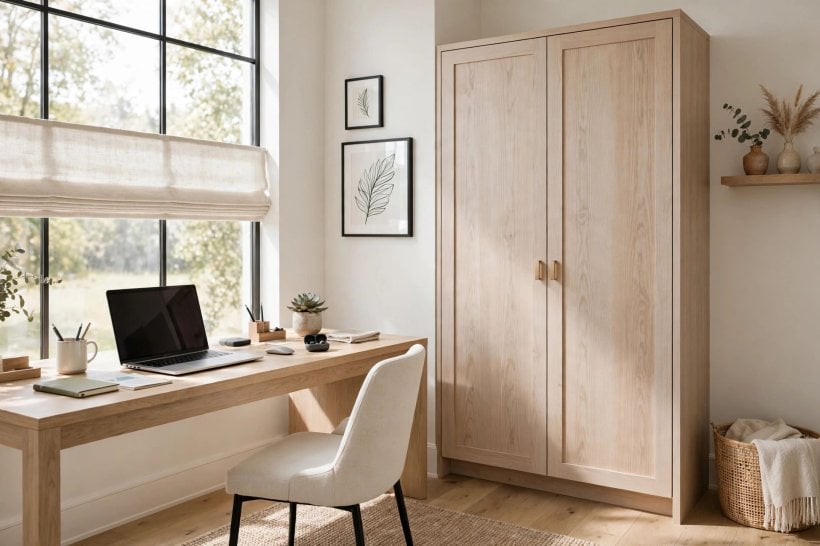
1. Hidden Printer Storage at a Glance
A hidden printer cabinet succeeds or fails on unglamorous details: whether the paper tray can open without dragging the machine out, whether air can circulate while it prints, and whether cables have somewhere sensible to go. The cabinet itself can be almost anything with a door and enough depth, from a kitchen base unit to a made-to-measure larder, but the fit must be planned around the printer’s working dimensions, not its footprint on the shelf. Measure the machine with its tray extended and its lid or scanner raised, because those are the positions you actually use. Then allow finger room at the sides and a clear path for the power lead and USB or network cable. The summary below gathers the decisions worth making before you order joinery or start adapting an existing cupboard at home.
| Decision | What usually works | Good to know |
|---|---|---|
| Best placements | Home office base cabinets, sideboards, larders, under-stair cupboards | Near a socket and near where printed pages are used |
| Access style | Pull-out tray or shelf for most printers | A tray beats lifting the printer in and out every time |
| Door types | Standard hinged, bifold, pocket or lift-up doors | Doors must clear the tray’s full travel |
| Ventilation | Rear cut-outs, mesh panels or a gap at the back | Printers warm up in use; trapped heat shortens their life |
| Power | Socket inside or directly behind the cabinet | Avoid trailing leads across the doorway of the cupboard |
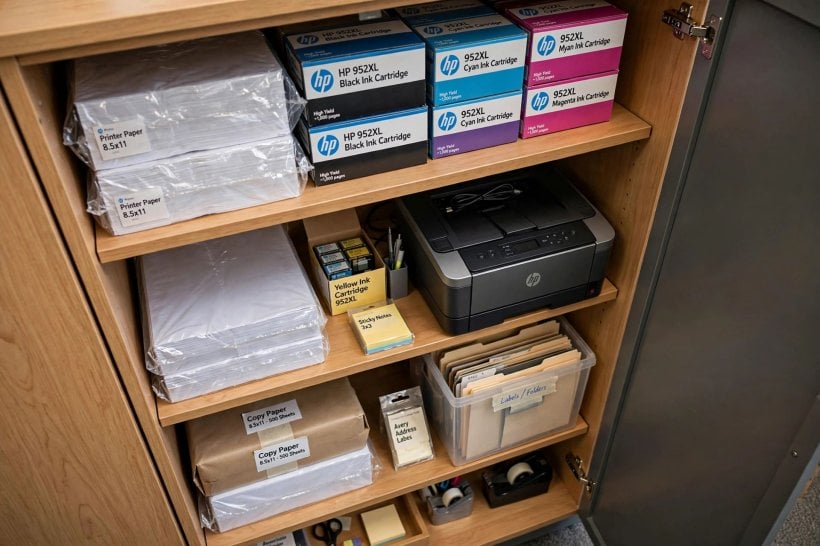
| Paper storage | Drawer or shelf below for paper, ink and envelopes | Storing consumables beside the machine saves hunting |
| Colours | Match surrounding joinery for a built-in look | Interior can be lighter to make controls easy to see |
| Watch out for | Scanner lids that cannot open, trays blocked by door frames | Test the full print cycle before final fitting |
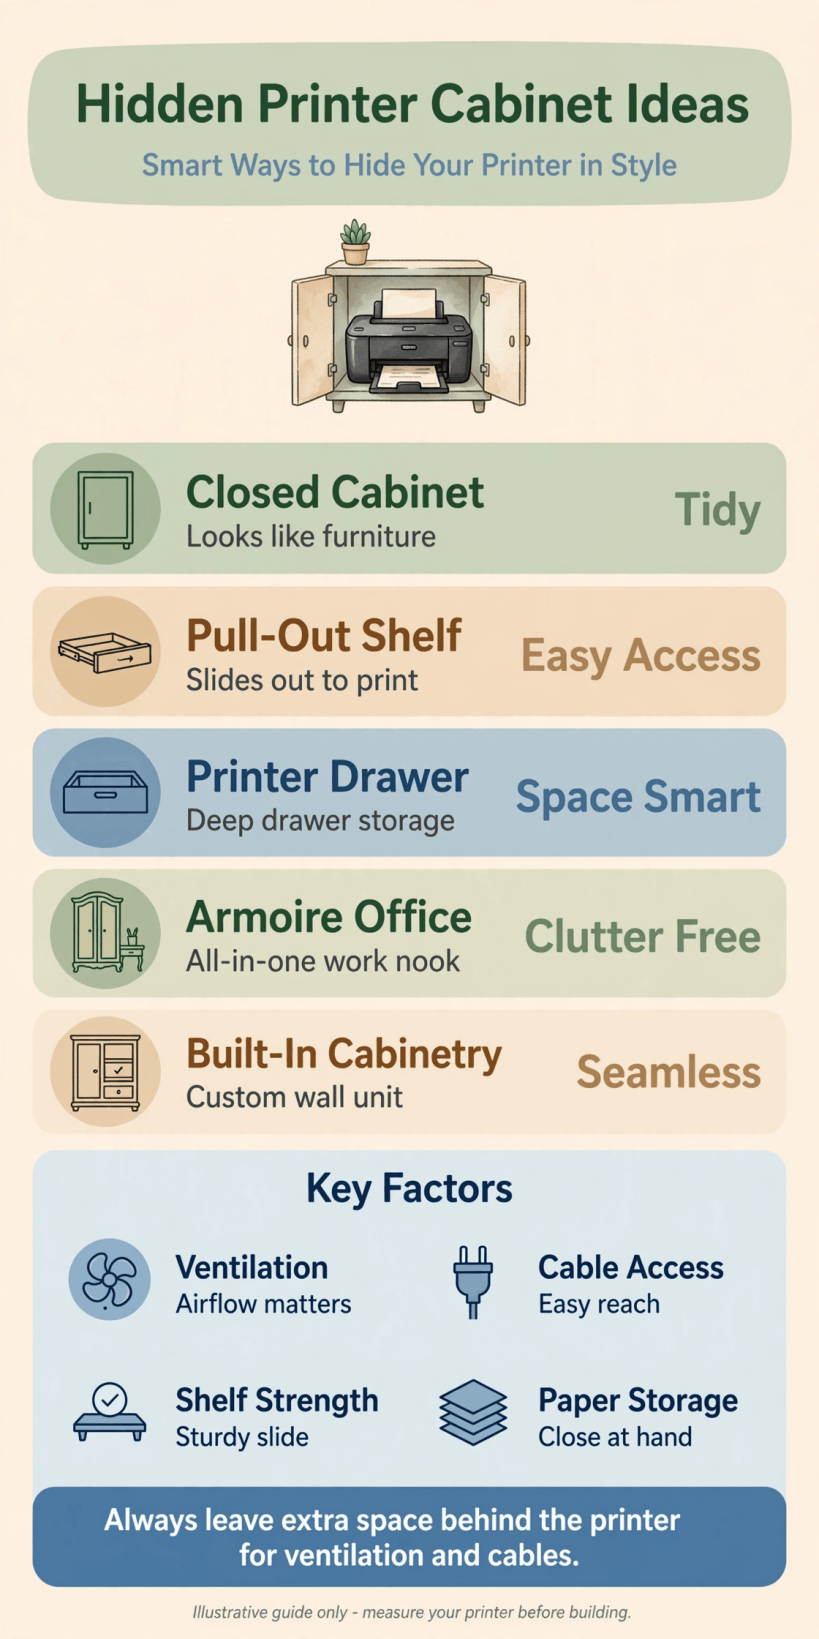
The essentials at a glance: working clearance, a pull-out tray, ventilation at the back, power inside the cabinet and storage for paper and ink alongside.
2. Layouts: Where a Printer Can Disappear
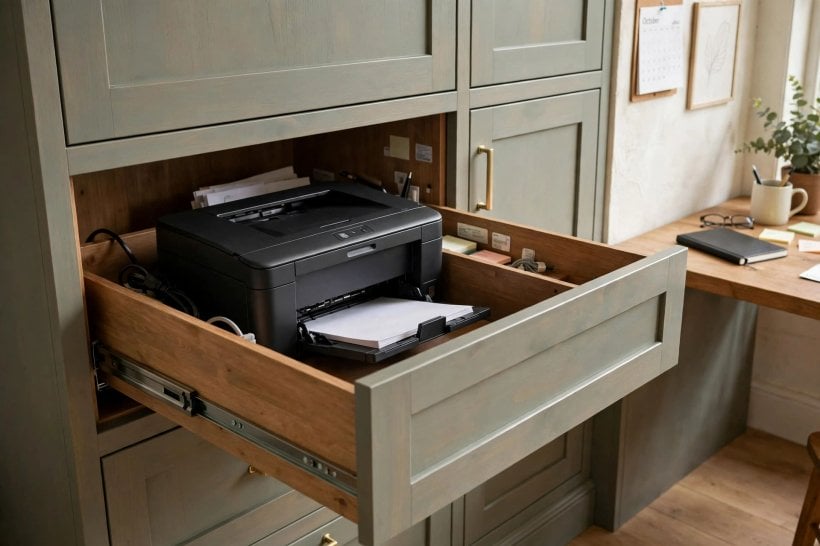
The most popular layout is the office base cabinet: a standard-width cupboard under the worktop, fitted with a pull-out tray at a comfortable height, so the printer slides forward for use and disappears behind a door that matches the desk run. In living rooms, a low sideboard works well, with the printer on one side and the doors closed over board games, routers and charging cables on the other. A tall larder or utility cupboard suits households that print often, because the machine can sit at waist height with paper and ink stacked above and below, and a scanner lid has room to open fully. Under-stair cupboards are natural hiding places, provided the sloped ceiling still leaves headroom for the lid and a light can be added inside. Wardrobe-style walls in a spare room hide a complete homework or craft station, printer included. The layout matters less than the workflow: the printer should be reachable from where you sit, on the same floor as the paper it uses, and close enough to a socket that nothing trails across a walkway. Sketch the open-door position on the floor plan before committing, because doors swing wider than people expect.
3. Doors, Trays and Access Options
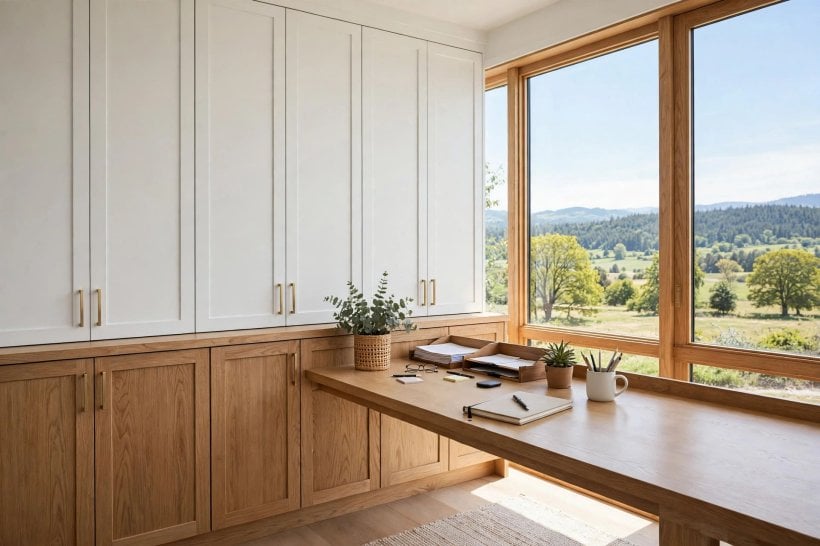
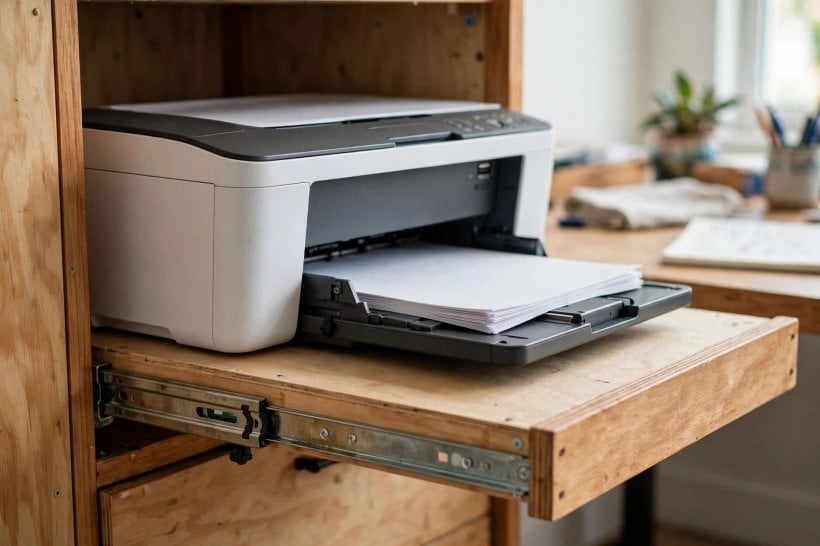
Access is where hidden storage earns its keep, and a pull-out tray on runners is the single most useful upgrade. It brings the printer to you, so paper loads from the front, output lands where you can reach it, and the machine returns flush behind the door. Fixed shelves are cheaper but force you to reach over the machine to load paper, which quickly becomes the reason the printer migrates back onto the desk. For doors, standard side-hinged doors are simplest and cheapest, but they occupy floor space when open; bifold doors halve that footprint, and pocket doors that slide into the cabinet sides keep walkways completely clear, at a higher joinery cost. Lift-up flap doors suit low sideboards. Tambour doors, the roll-down kind, work in shallow cabinets where no swing is possible at all. Whatever you choose, check the door in every position you will actually use: fully open for loading, ajar for a quick single page, and closed while a long print run finishes. Soft-close hinges and runners keep the arrangement quiet, and a small finger pull or push-latch avoids handles that would snag on the tray.
4. Colours and Finishes That Blend In
The point of concealing a printer is that the cabinet reads as furniture, so colour choices should follow the room rather than the machine. Matching the cabinet doors to existing joinery, bookshelves, kitchen units or a media wall, gives the built-in look that makes guests overlook the cupboard entirely. In a room with painted woodwork, a satin or eggshell finish in the same shade as the skirting and doors is the quietest option; in a timber-rich room, a veneered or solid-wood front that echoes the floor or table works better. Two-tone schemes can help a tall unit feel lighter: pale doors above, a deeper shade below, with the printer in the lower section where it is easiest to reach. Inside, a light, wipeable finish makes the printer’s controls and paper edges easy to see in a dim cupboard, and reflects a small internal light well. Handles are a disguise tool too: matching them to the room’s other furniture completes the illusion, while push-to-open mechanisms remove them altogether for the sleekest result. Avoid high-gloss fronts around a workstation, because they show every fingerprint from daily door use.
5. Ventilation, Power and Cable Details
Printers are electrical equipment that warm up as they work, and a sealed box is no place for one. Leave a generous gap behind the machine or cut ventilation slots or a mesh panel into the cabinet back, and never pack the space around it with paper and boxes, because stored paper is both a heat trap and a fire risk near warm components. Laser printers in particular move a lot of air and can produce a faint odour in a closed cupboard, so a rear vent that lets air escape into the room, not into the wall cavity, is sensible. Plan power before the cabinet is built: the ideal is a socket inside the cupboard or immediately behind an open-backed section, with the printer’s lead dressed along the back so the tray can slide without tugging it. A short extension with surge protection, fixed to the cabinet side, can serve the printer, a small light and a charger from one socket. If you use a wired network connection, route the cable through the same rear opening. Any new fixed wiring should be done by a qualified electrician, and local electrical rules vary, so check what applies in your area before adding sockets.
6. Sizes and Fit: Measure Before You Build
Most concealment failures are measuring failures. Start with the printer’s working envelope: width plus room for your hands and any side vents, depth with the output tray extended and paper loaded, and height with the scanner lid raised to its full stop. Cabinets are sold by external dimensions, so subtract the carcass thickness, door overlay and runner hardware to find the true internal space, and remember that pull-out runners need their own clearance at each side. Leave enough depth behind the machine for cables to bend without kinking, because a lead forced into a tight right angle will work loose or fail. Height placement matters as much as size: a tray set so the printer’s paper path is around elbow height when you stand, or reachable from a seated position at a desk, makes loading painless. If two devices share the cabinet, a printer below and a shredder or scanner above, check that heat from the lower machine does not rise straight into the upper one. Finally, measure the route into the room: a made-to-measure cabinet that cannot pass the hallway or stair turn will stay in the street, however perfect its internal dimensions are.
7. Costs: Where the Money Goes
The cost of hiding a printer spans a wide range because the cabinet can be almost anything. At the modest end, adapting an existing cupboard with a pull-out tray, runners and a rear cut-out is mostly the price of hardware and a weekend of work. A flat-pack cabinet bought for the purpose adds the cost of the unit and any doors chosen to match the room. Bespoke joinery, a cabinetmaker building a sideboard or larder to exact dimensions with pocket doors and matched finishes, sits at the top of the range, and its labour, not its materials, is usually the largest part of the quote. Electrical work, such as adding a socket inside the cabinet, is a separate trade cost and should never be guessed at; get it quoted properly. Small extras quietly add up: soft-close runners, internal lighting, cable grommets, paint and handles. When comparing quotes, make sure each covers the same scope, including ventilation cuts, finishing of internal surfaces and making good the wall behind. Prices vary widely by region and maker, so treat any figures you see online as a starting point and confirm current local costs before setting your budget.
8. Home Office and Living Room Placements
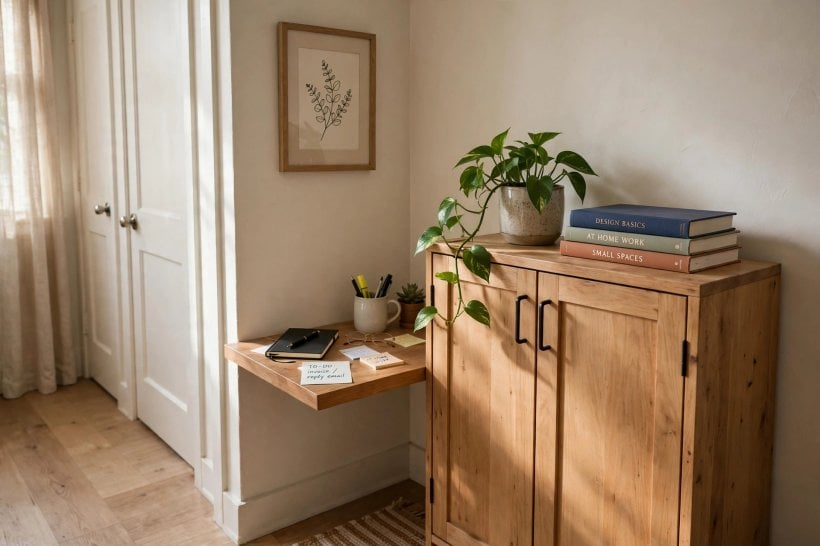
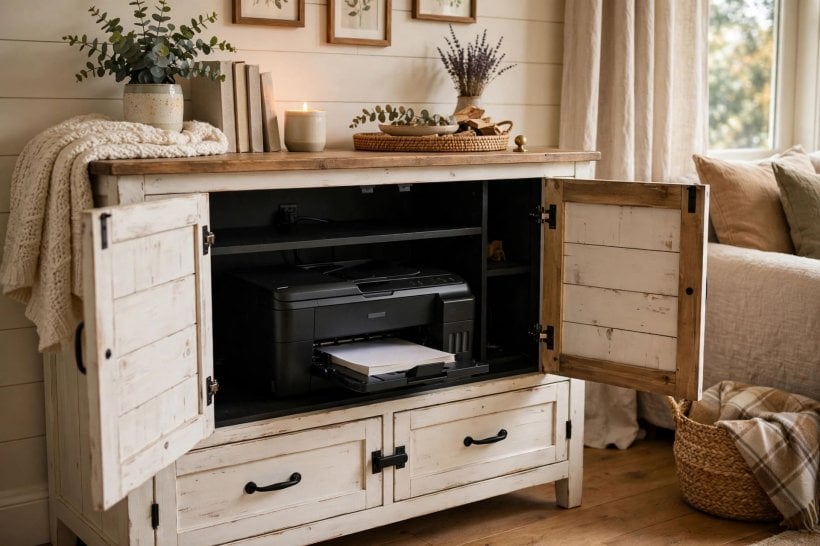
In a home office, the natural place is within arm’s reach of the desk but below the worktop line, so the machine never steals desk space yet a printed page is a swivel away. Corner desks pair well with a cabinet bridging the corner, and a printer on a tray in that dead space uses volume that drawers rarely fill well. In living rooms, the sideboard or media unit is the usual host: the printer shares the unit with the television boxes, and a well-fitted hidden printer cabinet keeps the room’s main wall free of office clutter, which matters in open-plan spaces where the desk corner is always on view. Hallway consoles and landing cupboards can work for households that print rarely, provided Wi-Fi coverage reaches the spot and the walk to fetch pages is acceptable. For more planning ideas, browse our home office design ideas, the best tiny home office setups and our home office design collection, which show compact workspaces that hide equipment gracefully.
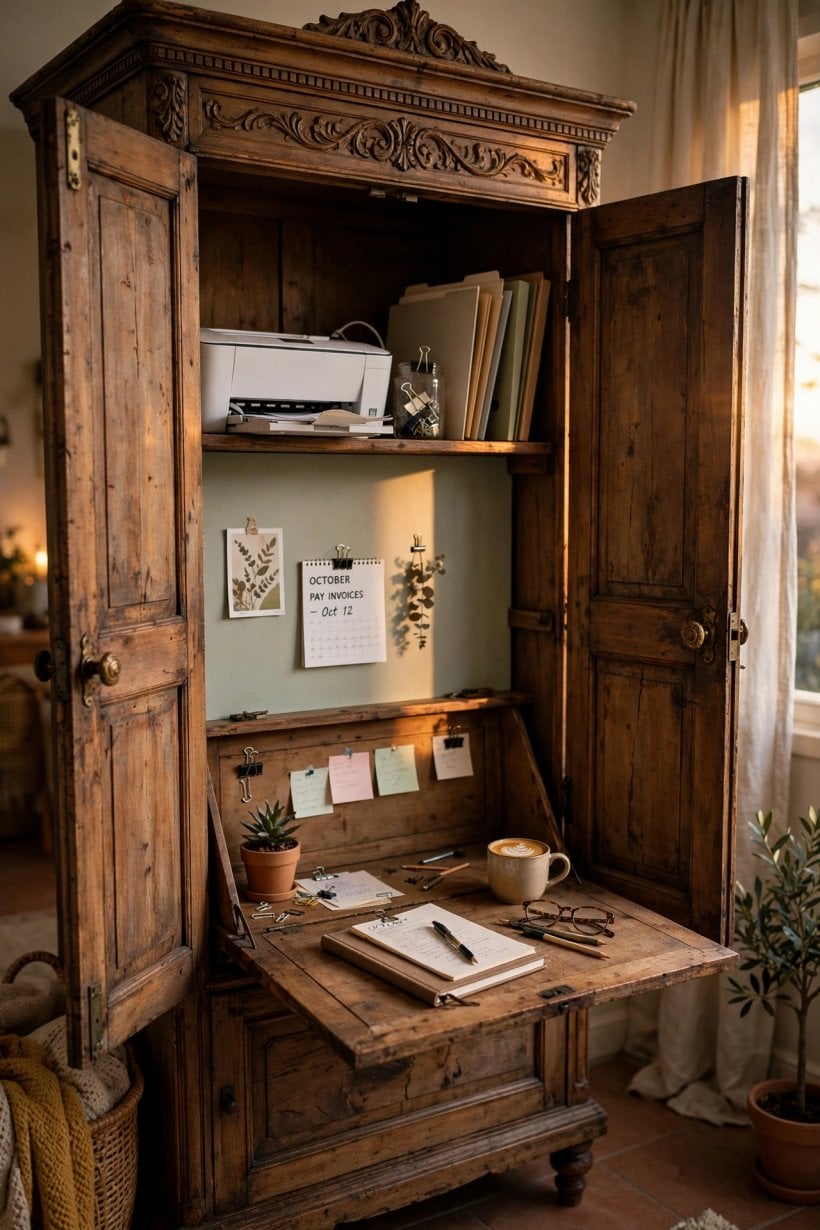
9. Small Homes, Rentals and Tiny Spaces
In a small home, one cabinet often has to do several jobs, and a printer cupboard that also stores paper, envelopes, a label maker and the household paperwork earns its footprint honestly. Freestanding pieces suit rentals, where drilling and fixed joinery may not be allowed: a lidded ottoman is too small, but a compact sideboard or a converted wardrobe can hold the printer and leave with you when you move. In tiny homes, look at the spaces that are deep but underused, the run beneath a staircase, the end of a kitchen counter, or a bench seat with a hinged top and a ventilated back, keeping in mind that heat and access still rule the design. A printer stored in a bedroom wardrobe can work if the doors open fully and a socket is nearby, though most people prefer to keep work equipment out of the sleeping space. Our home library office ideas, the library office design guide and these small-space interior ideas show how compact rooms absorb office functions without looking like offices.
10. Mistakes to Avoid and Final Checks
The commonest mistake is measuring the printer and forgetting its moving parts, so the scanner lid hits the shelf above or the paper tray opens into the door. The second is sealing the cabinet completely, then wondering why the printer overheats or the cupboard smells warm after a long print run. Trailing the power lead through the hinge side of a door guarantees a pinched, damaged cable. People also place the cabinet where the Wi-Fi barely reaches and then blame the printer for slow, dropped jobs. Before you build or buy, run through this checklist: working dimensions measured with lid up and tray out; tray or shelf chosen and its runners rated for the machine’s weight; ventilation provided at the back; socket position agreed and any wiring quoted by an electrician; door swing checked against the room’s furniture; paper and ink storage included; and the full print cycle tested, load, print, scan and copy, with the cabinet in its final position. A week of living with the arrangement before painting or final fixing will reveal the small annoyances, a rattle, a dark corner, a tight reach, while they are still easy to fix.
Final Considerations
Hiding a printer is a small project with an outsized effect on how calm a room feels, and it succeeds when access, air and power are planned before appearance. Choose the cabinet that fits your room and your printer’s working size, spend on the tray and runners you will touch daily, and let the doors match the furniture around them. Do that, and the printer becomes what it should be: invisible until the moment you need it, and effortless when you do.



0 Comments