

The best tiny house flooring ideas do more than look good in a photograph, because in a small home every square of floor is walked on, dropped on, and splashed every single day. A floor that works here has to handle water at the door and in the shower, grit from the trail or the street, chairs and storage boxes dragged across the same few boards, and a subfloor that may flex a little as the house moves or settles.
Start with the job, not the color. Work through weight on the trailer, thickness at doorways and under built-ins, how the material deals with standing water, how warm and quiet it feels barefoot, and how easily a damaged section can be lifted and replaced without emptying the whole home. The fifteen floors below are mapped against those jobs first, then grouped by material, so you can shortlist by zone — whole home, wet room, entry, or sleeping loft — before you fall for a finish.
Tiny House Flooring Ideas at a Glance: 15 Floors Mapped to Small Living
| Floor | Best job in a tiny house | Watch out for |
|---|---|---|
| Vinyl plank | Whole home, kitchen and hall | Thin cores can dent under heavy furniture |
| Sheet vinyl | Bathrooms, entries and laundry corners | One sheet is awkward to handle in tight rooms |
| Laminate | Dry living and sleeping areas | Water at the seams is its clear weakness |
| Engineered hardwood | Living areas wanting real wood | Needs a stable, dry subfloor |
| Bamboo | Busy main floors wanting a pale, hard surface | Can swell if water sits on it |
| Cork | Bedrooms, lofts and quiet work corners | Dents and fades without a good seal |
| Linoleum | Kitchens and family work zones | Needs sealing and careful fitting |
| Ceramic and porcelain tile | Showers and small bathroom floors | Heavy, cold, and grout needs upkeep |
| Rubber | Entries, workshops and muddy-boot zones | Limited domestic colors and a distinct look |
| Sealed plywood | Budget builds and repairable cabins | Shows wear and needs re-sealing |
| Solid hardwood | Foundation homes wanting character | Moves with moisture and adds weight |
| Polished concrete | Foundation homes, ground-floor living | Very heavy and hard underfoot, not for trailers |
| Epoxy over subfloor | Utility zones and easy-wipe work areas | The application finish decides how it looks |
| Carpet tiles | Lofts and sleeping platforms | Holds dust and is wrong for wet zones |
| Stone tile | Small bathroom or entry on a foundation | The heaviest option here, so keep the area tiny |
1. Tiny House Flooring Weight: Check the Trailer Load Before the Finish
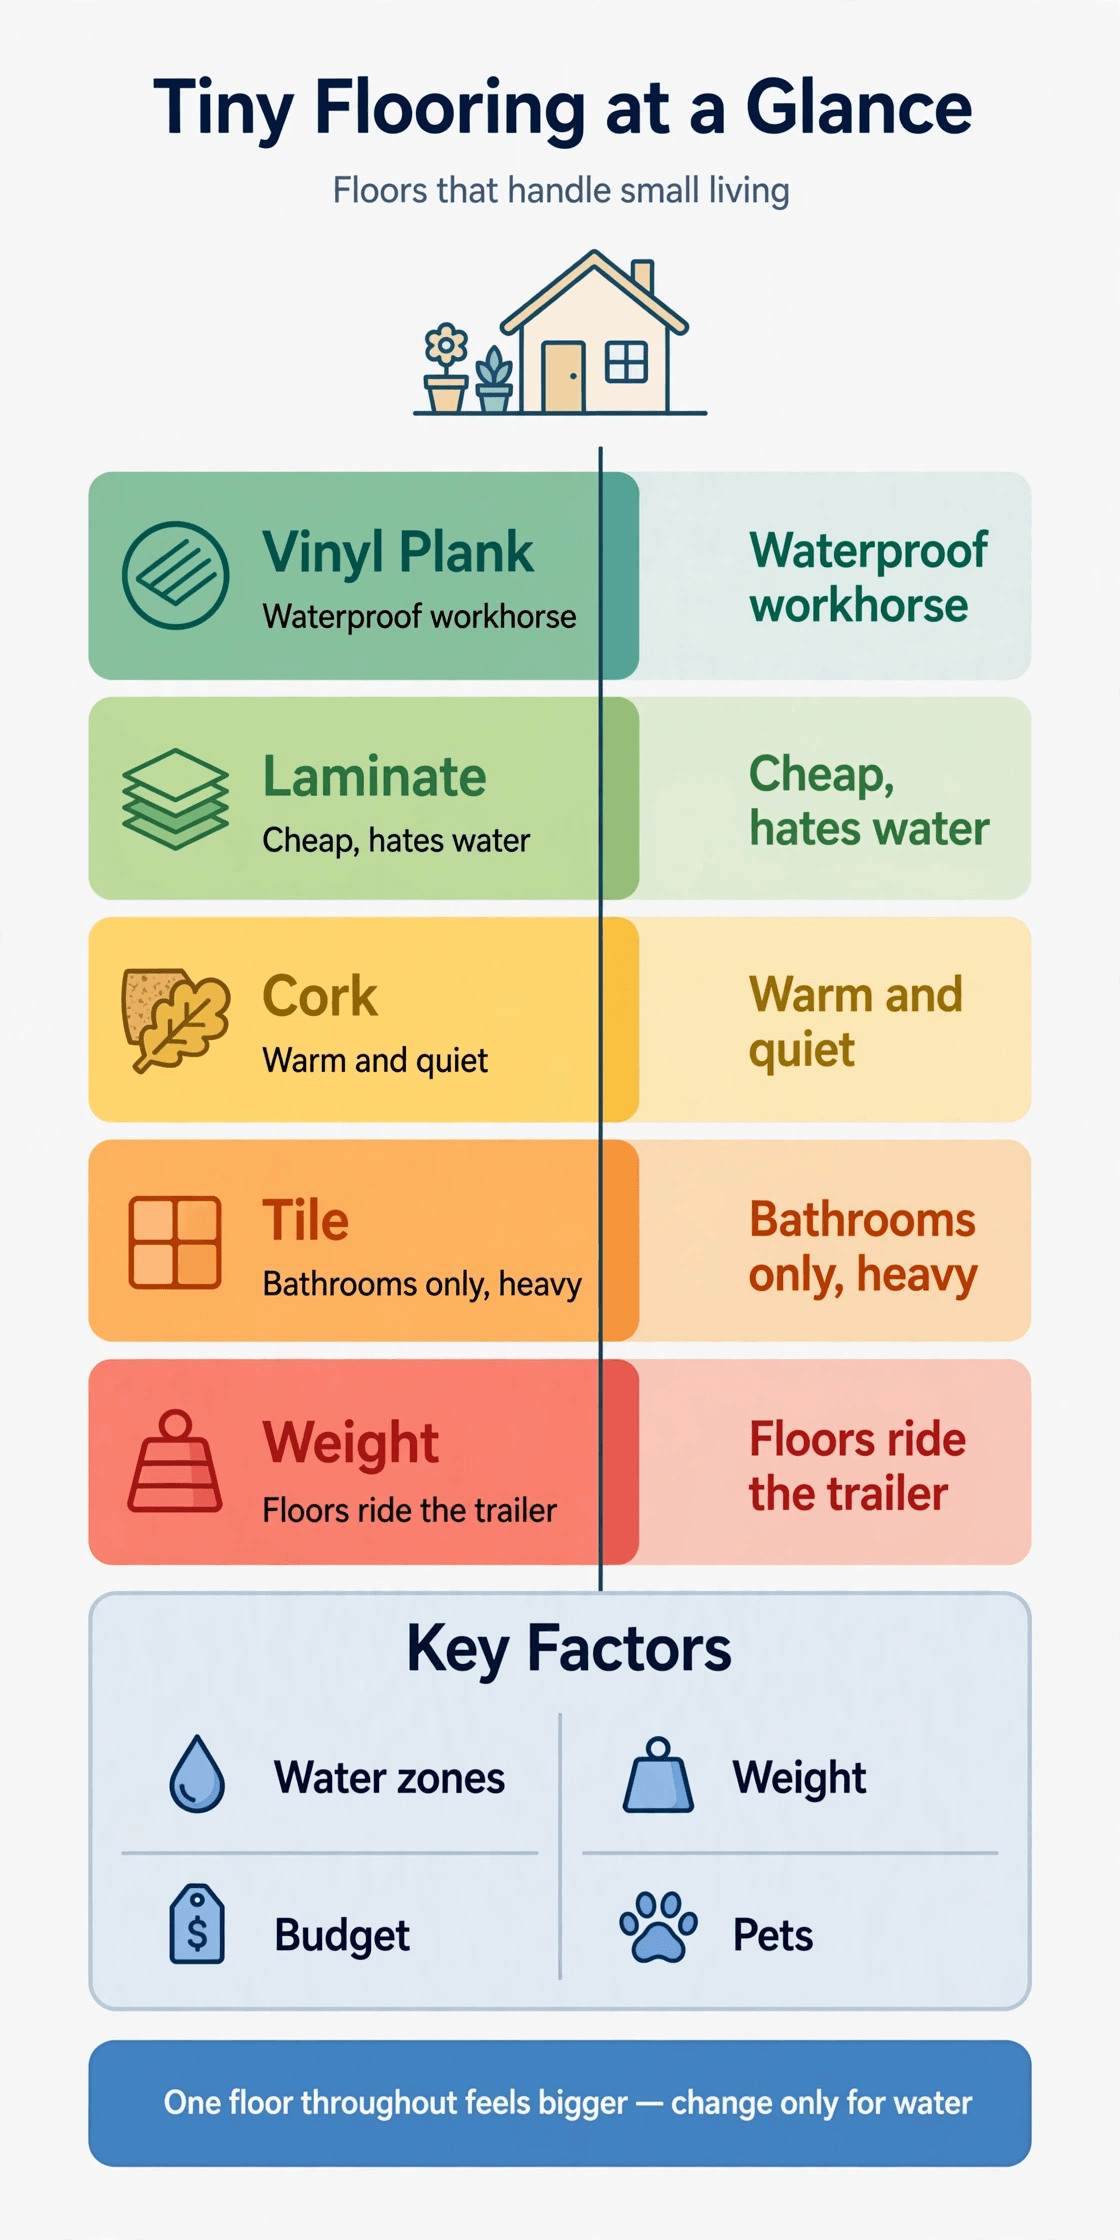
Weight decides the shortlist before style does, especially in a house on wheels. Thin, light coverings such as vinyl, cork, linoleum, and sealed plywood keep the load down, while tile, stone, and concrete add serious weight over even a small area and belong on foundations or in very small wet zones. Add the floor, underlayment, and trim into the same running total you use when you work through how to calculate the weight of a tiny house, and cross-check it against tiny house trailer-specific floor plans so the floor you love still leaves capacity for water, batteries, and belongings.
Before any finish goes down, check the subfloor itself. It should feel dry, flat, and firm underfoot, with no bounce between joists and no dark staining around plumbing or the entry. Sweep and vacuum thoroughly, fix squeaks while the surface is exposed, and let new boards settle indoors before fitting. A level, clean base prevents telegraphed bumps, loose edges, and early wear in the busiest paths.
2. Vinyl Plank for Tiny House Floors: The Waterproof Workhorse
Luxury vinyl plank earns its place as the default whole-home choice because it shrugs off the spills, wet shoes, and pet bowls that ruin fussier floors, and its click-together boards can be lifted in one corner for a repair instead of stripping the room. Choose a rigid-core plank for a floor that feels firm over a less-than-perfect subfloor, keep spare boards from the same batch, and run it through living, kitchen, and hall so the home reads as one calm surface rather than a patchwork.
Give vinyl plank a dry start and it will repay you. Lay a suitable moisture barrier or underlayment where the maker allows it, especially over a trailer deck or a bathroom-adjacent run, and leave the recommended expansion gap at walls and fixed cabinets. Keep spare planks from the same batch, stored flat indoors, so a future repair matches in color, thickness, and locking profile.
3. Sheet Vinyl for Tiny House Floors: One Seamless Surface for Wet Zones
Sheet vinyl covers a bathroom, entry, or laundry corner with few or no seams, which means fewer edges for water to find and a floor you can wipe clean in one pass. It is light, forgiving underfoot, and kind to a moving house because it flexes instead of cracking. The trade-off is fitting: measure twice and dry-fit the sheet from a paper template first, because one wrong cut in a room this small wastes the whole piece.
At doorways and bathroom edges, finish sheet vinyl with care. A low, well-sealed transition strip protects the cut edge, stops water creeping underneath, and removes a toe-catching lip between rooms of different heights. For cleaning, sweep grit often, mop with a well-wrung mop rather than soaking the surface, and lift mats occasionally so trapped moisture and dirt do not sit unseen against the finish.
4. Laminate for Tiny House Floors: Wood Look with a Clear Water Weakness
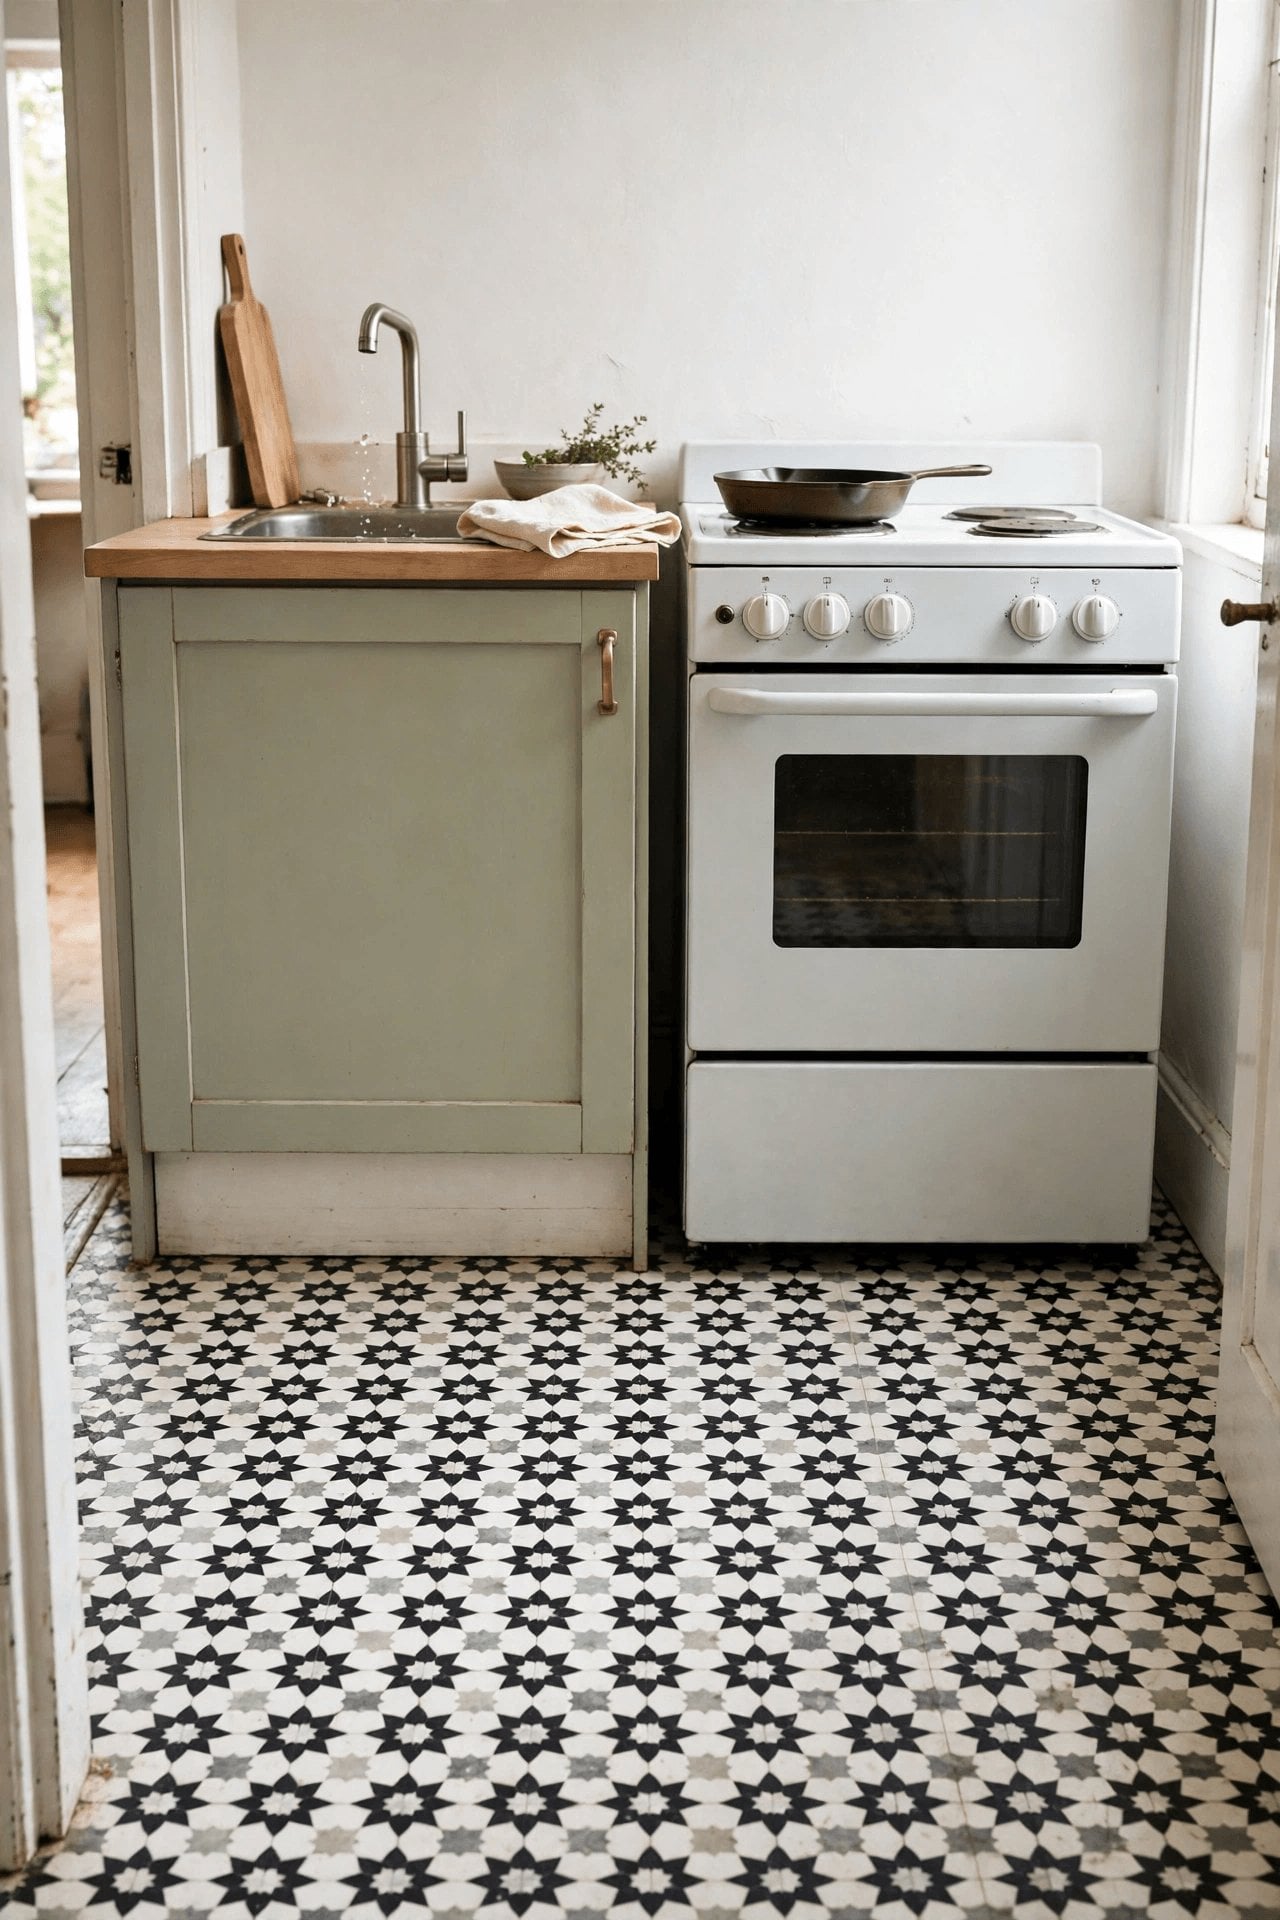
Laminate gives a convincing wood look and a hard, easy-clean surface in dry living and sleeping areas, but water is its weakness: spills that sit at a seam can swell the core, and a damp bathroom will shorten its life quickly. Keep laminate out of showers and entry splash zones, wipe spills straight away, leave the expansion gap the maker asks for, and treat it as a dry-zone floor that only works when the wet work is handled by another material.
Laminate stays looking sharp with a dry routine. Use a soft broom or vacuum without a beating brush, wipe spills promptly, and avoid steam or soaking mops that push moisture into the joints. Put felt pads under chair and table legs and a mat inside the door. If one board chips, keep calm: spare boards, careful labeling, and working back from the nearest edge usually make a single-board swap possible.
5. Engineered Wood and Bamboo for Tiny House Floors: Real Wood Feel, Lighter Builds
Engineered hardwood brings a real wood surface on a stable layered base, so it moves less than solid boards in a home whose temperature and humidity swing, while strand-woven bamboo offers a pale, dense surface that stands up well to busy main floors. Both still dislike standing water, both need a dry, flat subfloor, and both reward a simple routine of mats at the door, felt pads under furniture, and quick attention to leaks under sinks.
Both floors feel pleasantly solid underfoot, and both deserve a gentle approach to heat. If you plan radiant heating, check the maker’s guidance first, choose only a compatible product, and favor low, steady warmth over hot cycles, which are kinder to wood-based layers and glue lines. A thin rug in the work triangle softens standing time without trapping spills against the surface.
6. Cork and Linoleum for Tiny House Floors: Warm, Quiet Floors Underfoot
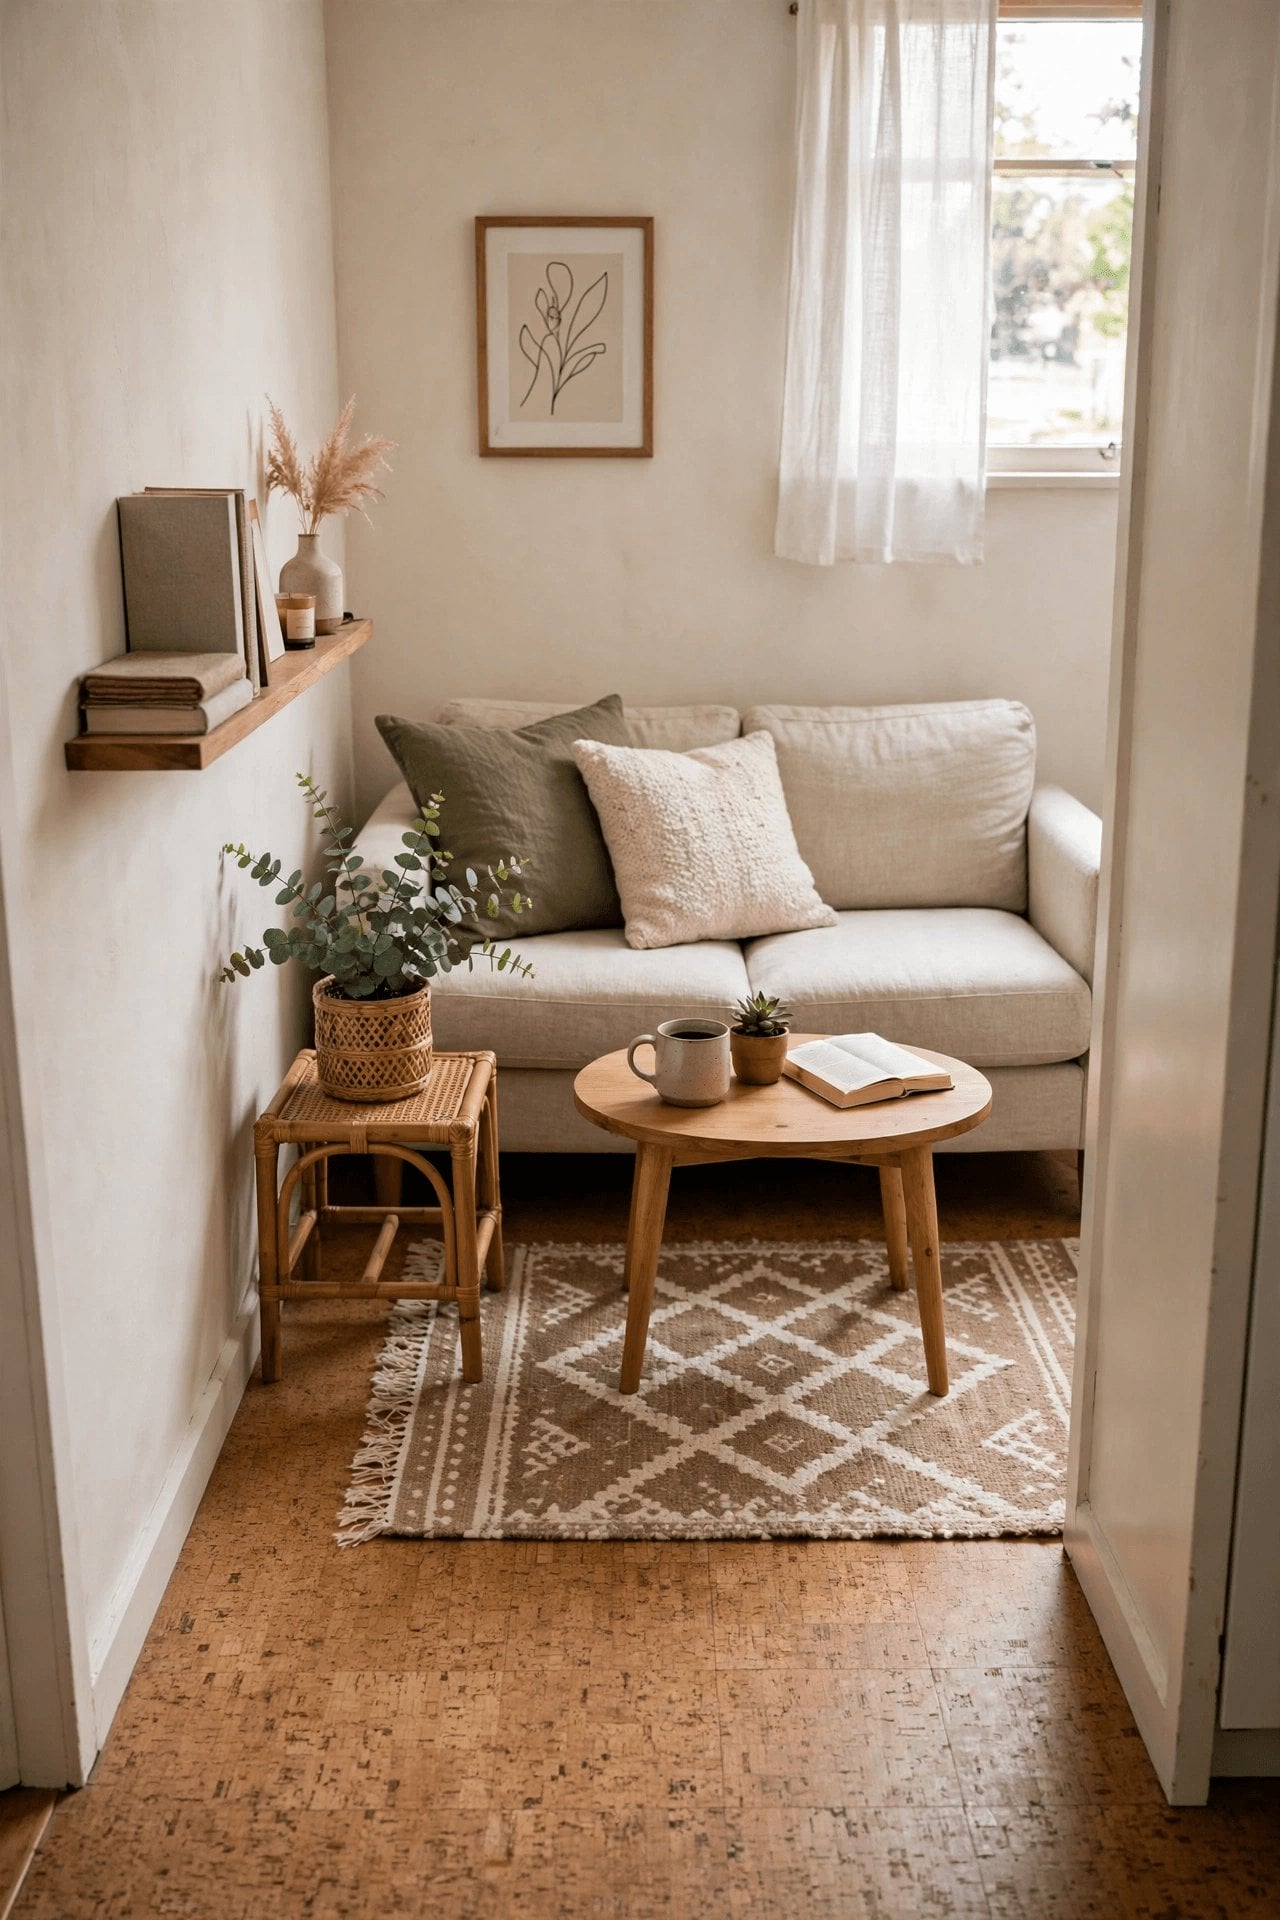
Cork is the warmth-and-quiet choice: it feels soft in a sleeping loft, takes the chill off a morning floor, and softens footsteps and dropped cups in a home where every sound carries. Seal it well and keep grit off it, because it can dent and scuff. Linoleum is its firmer cousin for kitchens and work zones: resilient, quiet enough underfoot, and long-lasting when it is sealed and fitted carefully.
In a loft, that softness does double duty. A cork or cushioned linoleum surface dulls the sound of knees, elbows, and a phone set down at night, so the person below hears less of every move. Vacuum with a soft head, wipe with a damp, not wet, mop, and re-seal worn traffic lanes when water stops beading lightly, before spills can darken the material below.
7. Tile for Tiny House Floors: Bathrooms Only, and Heavy Everywhere Else
Ceramic and porcelain tile handle shower water better than almost anything else here, which is why tile belongs in the bathroom — and, on a trailer, almost nowhere else. Tile and stone are heavy, they feel cold, they need a stiff subfloor that will not flex and crack grout, and every extra square adds load. Keep the tiled area to the small wet footprint mapped in tiny house bathroom layouts, use small tiles with more grout lines for grip and flex tolerance, and let lighter floors do the rest of the home.
Preparation matters even more here. Tile needs a stiff, level base, a suitable backer surface in wet areas, and careful sealing around the shower tray, toilet, and threshold where tile meets the lighter floor beyond. That junction should sit low and neat, with no sharp lip for bare feet at night. A bath mat makes winter mornings kinder and catches drips before they reach the grout.
8. Rubber, Epoxy, and Sealed Plywood for Tiny House Floors: Tough, Simple, Repairable
For an entry that takes muddy boots, a workshop corner, or a first build on a tight budget, these three keep things practical. Rubber grips, forgives dropped tools, and wipes down fast. An epoxy coating over a sound subfloor makes a seamless, easy-wipe utility surface, though the finished look depends on careful application. Sealed plywood is the repairable, honest option: paint or seal it, let it show its wear, and know that a damaged sheet can be replaced without special tools — a logic that also suits tiny house floor plans with mudrooms and gear zones.
These practical surfaces also repair in a practical way. A cut rubber section can be lifted and patched, a scuffed epoxy area can be cleaned, lightly prepared, and recoated in place, and a damaged plywood sheet can be unscrewed, replaced, and re-sealed without disturbing the whole room. Keep leftover material, note the finish you used, and store both where you can reach them without moving furniture.
9. Solid Wood and Carpet Tiles for Tiny House Floors: Character and Comfort with Conditions
Solid hardwood boards bring character that improves with age, but they move with moisture, need a dry and stable home, and add weight, so they suit foundation builds better than trailers. At the opposite end of the scale, low-pile carpet tiles warm a loft or sleeping platform, quieten a ladder landing, and replace one at a time after a spill. Keep carpet tiles dry, vacuum them often, and pair either floor with the storage thinking in tiny house plans with hidden storage, because lifting a floor to reach a hatch should never mean lifting all of it.
Think, too, about how each behaves at night. Hardwood can carry footsteps and ladder sounds across a quiet home, while carpet tiles absorb that noise and feel kinder on cold mornings, one reason they suit a sleeping platform so well. When a tile stains, lift just that tile, wash or replace it, and press it back. For wood, keep humidity steady and wipe tracked-in grit before it scratches.
10. One Floor Throughout for Tiny House Floors: Continuity Versus Water-Zone Changes
Running one floor throughout, usually vinyl plank, makes a small home feel larger, removes thresholds that catch toes and dirt, and simplifies fitting, spares, and repairs. Changing material only in water zones costs a little of that calm but buys protection where it matters, with sheet vinyl or tile in the bathroom and a tougher surface at the door. Decide room by room using tiny house kitchen floor plans for the cooking zone and floor plans to turn tiny houses into havens for the whole layout, then keep any change of level low, sealed, and clearly finished at the join.
Where you do change material, plan the join as carefully as the floors themselves. Settle the finished heights first, so doors still swing and drawers still clear, then choose a slim threshold that sits sealed and almost flush. Walk it barefoot in both directions: if your toes find an edge, visitors and socks will too. A tidy transition also stops mop water and shower splashes wandering where they should not.
Final Considerations: Tiny House Flooring Checks Before You Commit
Before you order, walk the shortlist through five checks: total weight for your trailer or foundation, water behavior in the bathroom, kitchen, and entry, thickness at doors, stairs, and built-ins, warmth and noise where you sleep and work, and how one damaged area gets repaired. Polished concrete, the one floor held back until now, passes those checks only on a foundation, where its hard, seamless surface suits ground-floor living and fails the trailer test on weight alone. Order samples, live with them at the door and the sink for a few days, check them in morning and evening light, and then commit to the floor that passed the practical tests, not just the one that photographed best.
Put every finalist through a tougher sample test before you commit. Set a large offcut by the entry for a week: walk grit across it in boots, leave a wet mug ring and a small puddle, drag a storage box over it, then clean it exactly as you would the real floor. If it still looks honest and feels good barefoot afterwards, it has earned its place in your home.


0 Comments