

Knotty pine walls from the 1950s have a particular look: warm honey boards, dark knots, and a coat of varnish that has spent decades catching the light. Whitewashing those walls changes the room completely. The same boards turn pale and quiet, the knots soften into shadows, and a dark room feels twice as bright. But whitewash over old varnish is not a simple coat of paint. The varnish is the whole question. Get the preparation wrong and the wash slides, peels, or goes patchy. Get it right and the grain shows through beautifully for years.
This guide is a finish-change explainer, not a product recommendation. No product is named, no performance claim is made, and no finish is promised to stick to anything. What follows is how to think about the job: what the varnish means, how to test before committing, what the wash itself does, and how the room changes afterwards. Older homes deserve one extra caution throughout: finishes from the 1950s should be checked before they are disturbed, and anything uncertain belongs to a professional, not to a weekend experiment.
1. What Whitewash Actually Does to Pine
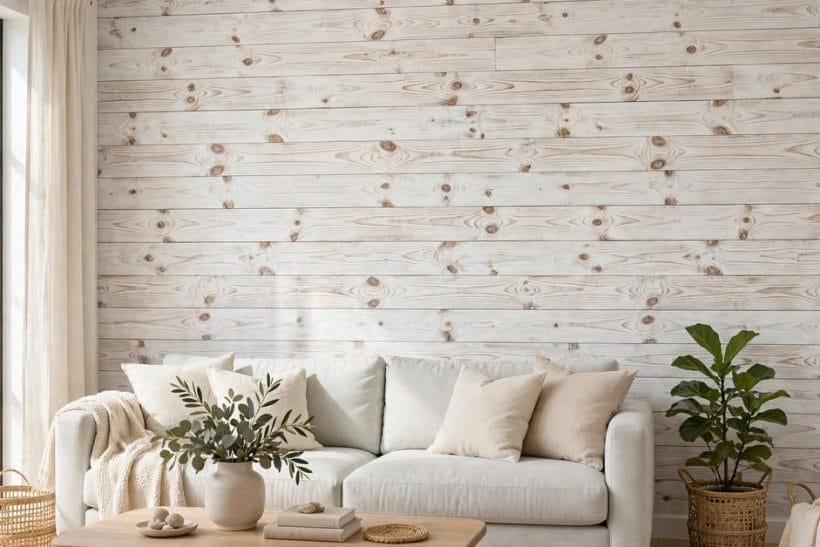
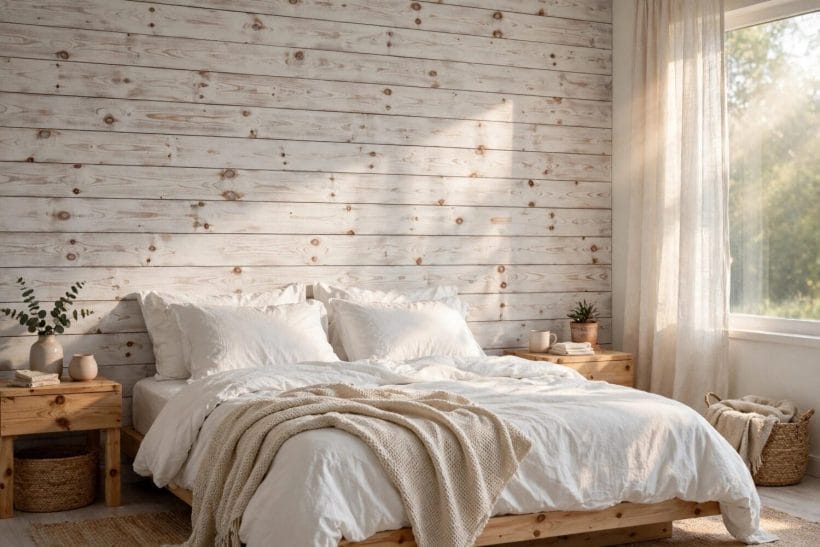
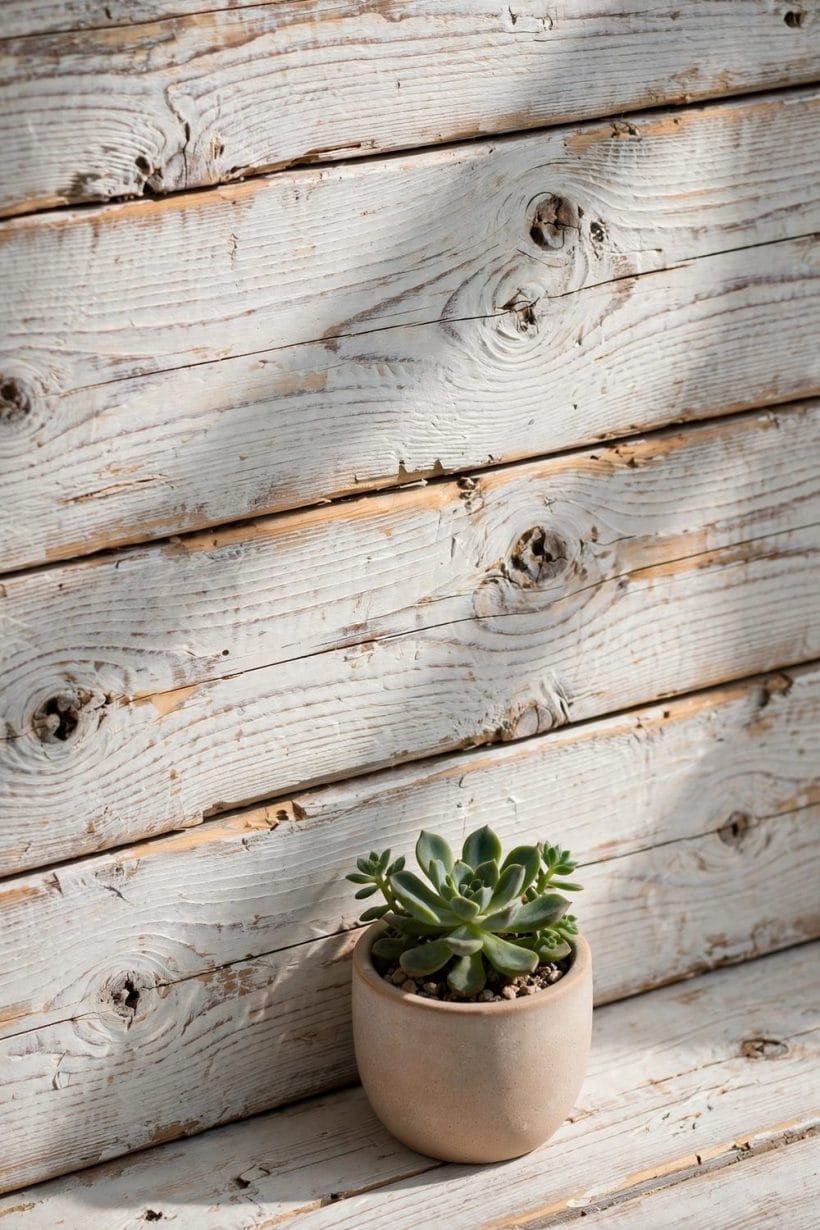
Whitewash is a thin, translucent coat. It does not hide the wood the way opaque paint does. It lightens the surface while letting the grain, the knots, and the board joints show through. That is the entire appeal on knotty pine: the character stays, but the colour temperature changes from warm amber to pale driftwood. A room that felt heavy and enclosed starts to feel open, and furniture that fought the orange tones suddenly has room to breathe.
The translucency is also the risk. Every uneven patch of varnish underneath, every glossy spot the wash cannot grip, and every board that absorbs differently will show in the finished wall. Whitewash forgives nothing about the surface beneath it. That is why the preparation sections below matter more than the wash itself, and why a test patch is not optional. The wash is the easy part. The wall underneath is the job.
Painted staircase ideas show the same principle on a different surface: a painted finish only looks good when the preparation underneath is honest, and the colour is the last decision, not the first.
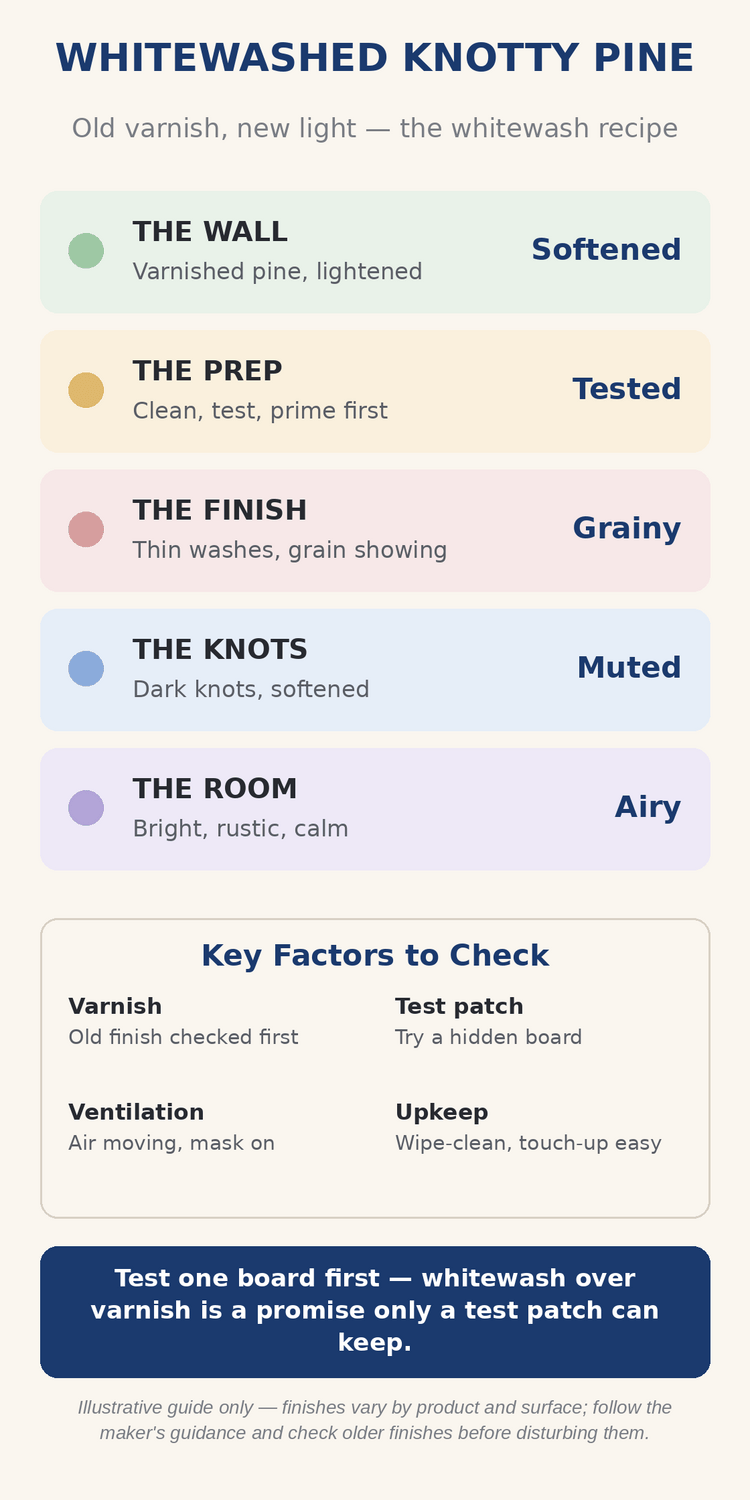
Think of whitewash as a filter, not a cover. If you want the knots to disappear entirely, whitewash is the wrong finish and opaque paint is the honest choice. If you want the knots to stay but whisper instead of shout, whitewash is exactly right. Decide which result you want before opening a can, because the two finishes cannot be swapped halfway through a wall.
2. Reading a 1950s Varnished Wall
A varnished pine wall from the 1950s has lived through decades of sunlight, heating cycles, cleaning products, and furniture polish. The varnish may be intact and glossy in places, worn thin near windows, and slightly sticky or yellowed in others. Run a hand across the boards and look at them in raking light from a window. The wall will tell you where the finish is sound and where it has failed, and those two conditions need different handling.
Age also means the wall may carry finishes or treatments that modern products do not. Lead paint and other hazardous older finishes are a real consideration in homes of this era, and sanding or stripping without checking can turn a decorating job into a health problem. If the history of the wall is unknown, or if any layer looks suspicious, stop and get professional advice before disturbing the surface. Checking first costs little. Guessing costs far more.
The boards themselves matter too. Knotty pine moves with humidity, and gaps between boards open and close with the seasons. A wash that bridges a gap in summer may crack across it in winter. Look at the joints, note which ones move, and accept that a whitewashed pine wall is a living surface with seasonal character, not a plaster-smooth plane.
3. Cleaning Before Anything Else
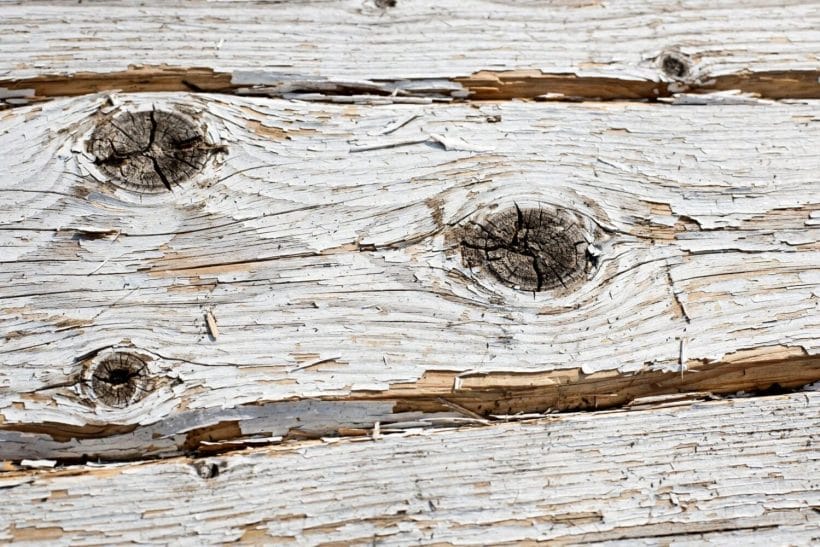
Every whitewash job starts with cleaning, and on a varnished wall this step does more work than people expect. Decades of dust, cooking film, and polish residue sit on the varnish, and wash applied over that film grips the dirt instead of the wall. Wash the boards with a gentle cleaner, work in small sections, and rinse so no residue dries on the surface. Let the wall dry completely before judging it, because damp pine looks darker and hides problems.
Cleaning also reveals the true condition of the varnish. Stains that looked like dirt may be varnish failure. Shiny patches that looked clean may be wax buildup. Both change what comes next, and both are cheaper to discover with a cloth than with a brush full of wash. Take photographs of the wall in daylight after cleaning, so you have a record of what you started with.
Do not reach for harsh chemical strippers at this stage. The question is not how to remove everything, but how little needs to change for the wash to hold. Gentle cleaning first, then a test patch, then a decision. Aggressive chemistry belongs to full stripping jobs, which this guide is not describing.
4. The Test Patch Is the Whole Decision
Pick a board behind furniture or inside a closet, somewhere the test will not show, and try the full sequence there: clean, prepare, wash, and let it dry completely. Then live with it for a few days. Look at it in morning light and evening light. Touch it. Try to scuff it gently with a fingernail. The test patch answers the only question that matters: does this wash grip this varnish, on this wall, in this house?
If the test patch peels, beads, or wipes away, the varnish needs more preparation or a different approach, and that discovery on one hidden board has saved the whole wall. If the test patch holds and looks right, you have a proven method to repeat board by board. Either result is a success, because both prevent a ruined wall. The only failure is skipping the test.
Test patches also settle the colour question. Whitewash looks different on varnished pine than on raw pine, and different again in north light versus south light. A patch lets you judge the real result in the real room, instead of trusting a sample card or a photograph. Mix the wash to the strength you tested, and keep notes so later batches match.
5. Preparing Varnish So Wash Can Grip
Whitewash needs something to hold onto, and glossy varnish gives it almost nothing. The usual preparation is to dull the gloss so the surface has tooth: a light, even scuff across the boards, followed by thorough dust removal. The goal is a uniformly matte surface, not bare wood. Every glossy island left behind becomes a patch where the wash may fail, so consistency matters more than aggression.
Work with the grain, board by board, and keep the pressure even. Knots and raised grain catch differently from flat boards, so check them by hand as you go. After scuffing, remove all dust with a damp cloth and then a dry one, because dust left in the grain becomes texture under a translucent wash. Ventilate the room well throughout, and wear the protective gear the product guidance specifies.
Craftsman living room ideas show wood used honestly throughout a room, and the same rule applies here: the woodwork looks best when its preparation respects the material instead of fighting it.
6. Applying the Wash, Board by Board
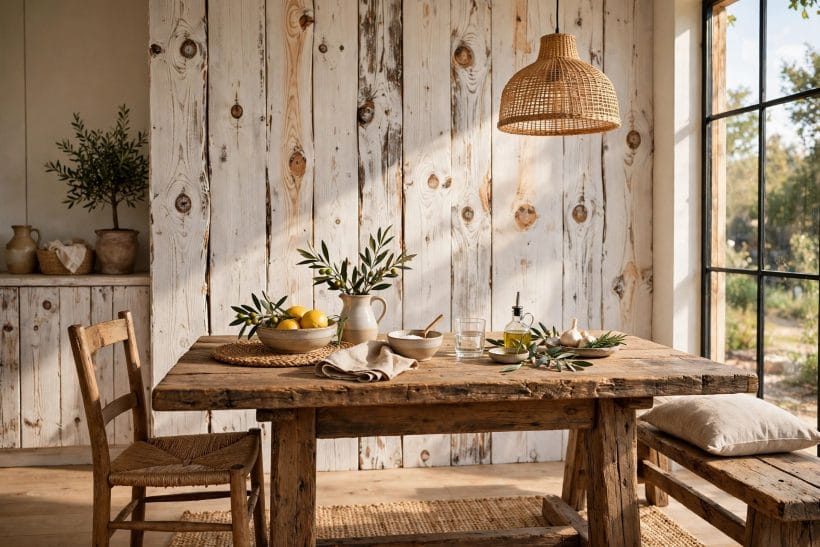
Apply whitewash one board at a time, working with the grain from one end to the other. Translucent finishes show every lap mark and every place where a wet edge dried before the next stroke, so steady, unhurried strokes matter more than speed. Keep a damp cloth nearby for wiping back areas that go on too heavy, because wash that pools in knots or joints dries darker and draws the eye.
Work in consistent light so you can see what you are doing. A board finished in bright daylight looks different from one finished under a lamp, and the wall will show the difference. If the room has uneven light, work across the wall in an order that keeps each board’s conditions similar, and step back regularly to check the overall effect rather than judging board by board.
Two thin coats almost always look better than one heavy coat. The first coat establishes the tone and reveals how the wood responds. The second coat, applied after the first has dried fully, evens the colour without burying the grain. Resist the urge to keep adding coats until the knots vanish, because that path leads to paint, not whitewash, and the wall loses the character that made the job worthwhile.
7. Knots, Grain and the Character Question
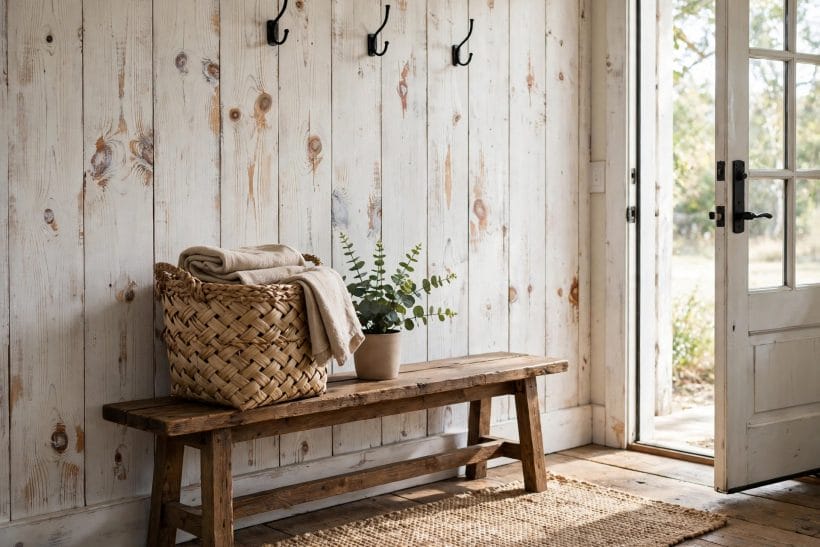
Knots are the soul of knotty pine and the hardest part of whitewashing it. Dark knots bleed through light finishes, and resin in a knot can push wash away or stain it over time. Some knots settle quietly under a wash and look beautiful. Others keep asserting themselves no matter what. The test patch tells you which kind your wall has, and that knowledge should shape expectations before the whole wall is done.
Grain works the same way. Pine grain absorbs unevenly, so some boards will always read lighter or darker than their neighbours. That variation is not a defect. It is the reason for choosing a translucent finish in the first place, and a whitewashed wall that shows board-to-board variation looks alive in a way a flat painted wall never does. Judge the wall from across the room, where it will actually be seen, not from six inches away.
If a particular knot or board refuses to behave, consider leaving it as an accent rather than fighting it. One dark knot in a pale wall reads as character. A wall full of fought-over knots reads as a struggle. Knowing when to stop is part of the craft.
8. Sealing and Protecting the Result
Once the wash has dried fully and you are happy with the tone, the question is whether to seal it. An unsealed wash has a soft, matte, chalky beauty, but it marks easily and cleaning it can lift colour. A clear sealer protects the surface and makes cleaning possible, but it changes the look, often adding a slight sheen and deepening the tone. Test the sealer on the test patch before committing, because its effect on the final colour surprises people.
Sealing also locks in the current state of the wall, including any unevenness. Do not seal a wall you are not yet happy with, hoping the sealer will fix it. It will not. It will preserve exactly what is there, good and bad alike. Live with the unsealed wash for a few days, look at it in different lights, and only seal when the wall already looks right.
Keep a small amount of the wash mixture for future touch-ups, labelled with the wall and the date. Whitewashed pine gets scuffed by furniture and daily life, and a labelled touch-up pot turns a repair into a ten-minute job instead of a colour-matching puzzle.
9. How the Room Changes Afterwards
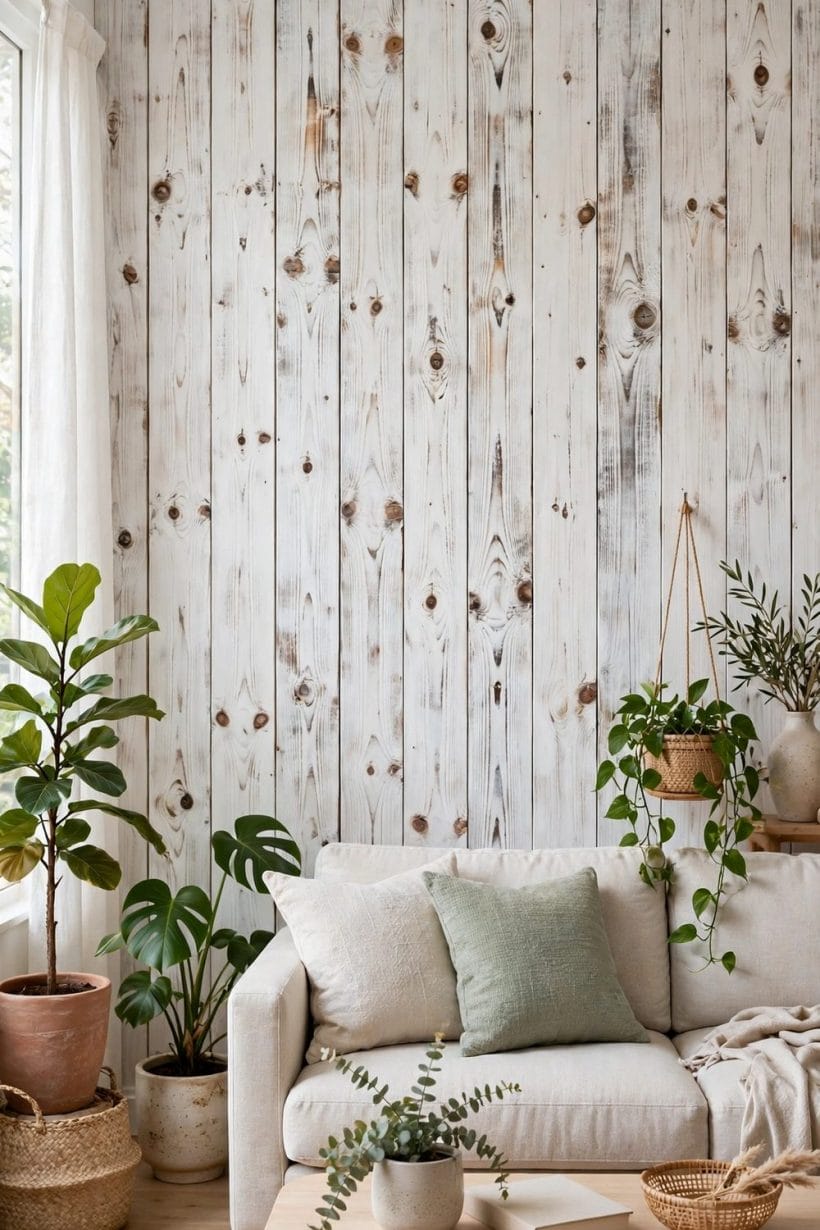
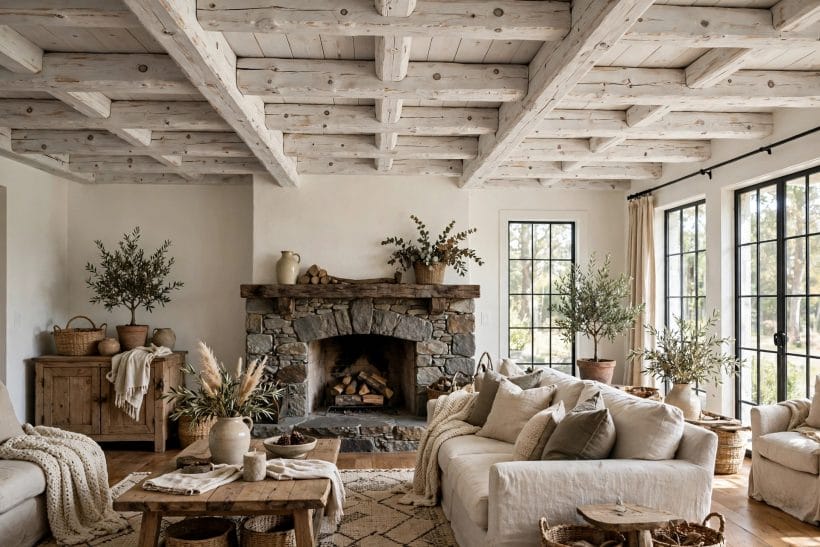
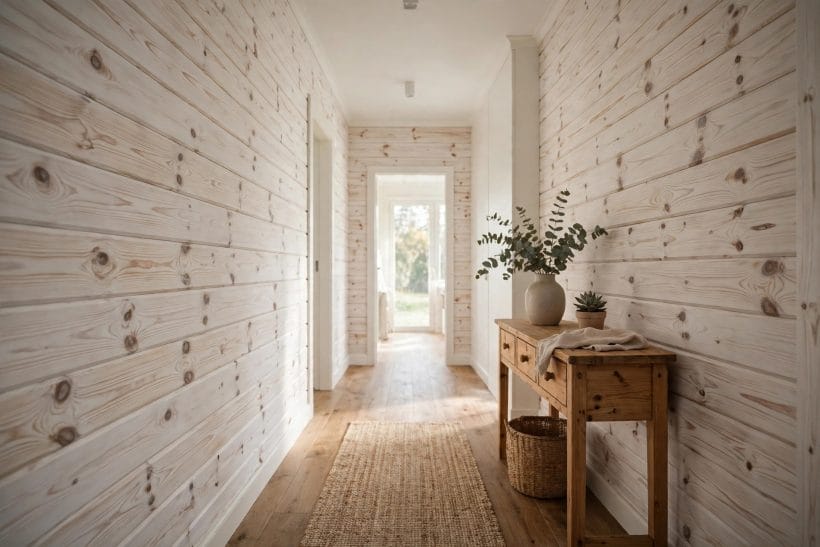
A whitewashed pine room behaves differently from a varnished one. Light bounces further, so the room feels larger and brighter even with the same windows. Colours that clashed with amber pine suddenly work: cool greys, soft greens, and muted blues sit comfortably against pale boards. Furniture that looked dated against dark varnish can look intentional again, because the wall has stopped competing with it.
Lighting choices change too. Warm bulbs that flattered varnish can make whitewash look yellow, while cooler daylight bulbs keep it pale. Try the existing lighting before buying new fixtures, and judge the room at night as well as in daylight. The wall you live with after dark matters as much as the one you photograph at noon.
Interior design ideas show how a single surface change ripples through a whole room, and whitewashed pine is one of the biggest single changes a room can have without moving a wall.
10. When to Stop and Call a Professional
Some whitewash jobs should not be do-it-yourself projects. Walls with unknown older finishes, walls showing signs of water damage or mould, walls where the varnish is failing across large areas, and walls in homes where hazardous materials are a possibility all belong to professionals. A professional can test the existing finishes, identify hazards, and choose a safe approach. That advice is worth more than any saving from doing it yourself.
Scale matters too. A single accent wall is a manageable project. A whole house of pine panelling is a different undertaking, with consistency challenges across rooms, light conditions, and board batches. If the job is large, consider having a professional do one room first, then decide whether to continue yourself with a proven method or hand over the rest.
Finally, be honest about the result you want. If you want pine to look like painted drywall, whitewash will disappoint you, and no amount of extra coats will fix that mismatch. The right finish for a wall you want to hide is opaque paint over proper preparation. Whitewash is for walls whose character you want to keep, only lighter.
Final Considerations
Whitewashing 1950s varnished knotty pine is a preparation job with a wash at the end, not the other way around. Clean thoroughly, check the wall’s history before disturbing it, test on a hidden board, dull the gloss evenly, and apply thin coats board by board. Let the knots and grain show, because they are the reason for choosing this finish. Seal only when the wall already looks right, and keep touch-up wash for the future.
The reward is a room that keeps its pine character and gains light, calm, and flexibility. The cost is patience: a test patch, even preparation, and the discipline to stop when the wall looks right instead of pushing it further. Done that way, a dark 1950s wall becomes a bright room without losing what made it worth keeping.
Tiny house designs and kitchen ideas both show pale wood used to make small rooms feel larger, and tiny house porch ideas carry the same light-wood feeling outdoors.


0 Comments