

Large-format tiles can make a small bathroom feel twice as calm — but only when the pattern works with the room. The right 12×24 bathroom tile layout controls how your eye travels, how many grout lines you clean and how big the space feels.
Here are 75 pattern ideas, from simple stacked grids to dramatic herringbone, with the colour and practical details that make each one work.
1. 12×24 Bathroom Tile Layout at a Glance
| Pattern | Best For | Effect |
|---|---|---|
| Horizontal stacked | Small and narrow bathrooms | Clean, modern lines that widen the room visually |
| Horizontal staggered (brick) | Family bathrooms and floors | Classic rhythm, forgiving of slightly uneven walls |
| Vertical stacked | Low ceilings, shower walls | Draws the eye up and adds a sense of height |
| Vertical staggered | Compact ensuites | Movement without the busyness of small tiles |
| Herringbone | Feature floors and splash zones | High-impact pattern, needs careful setting out |
| Basketweave and mixed formats | Larger bathrooms with zones | Defines bath, shower and vanity areas separately |
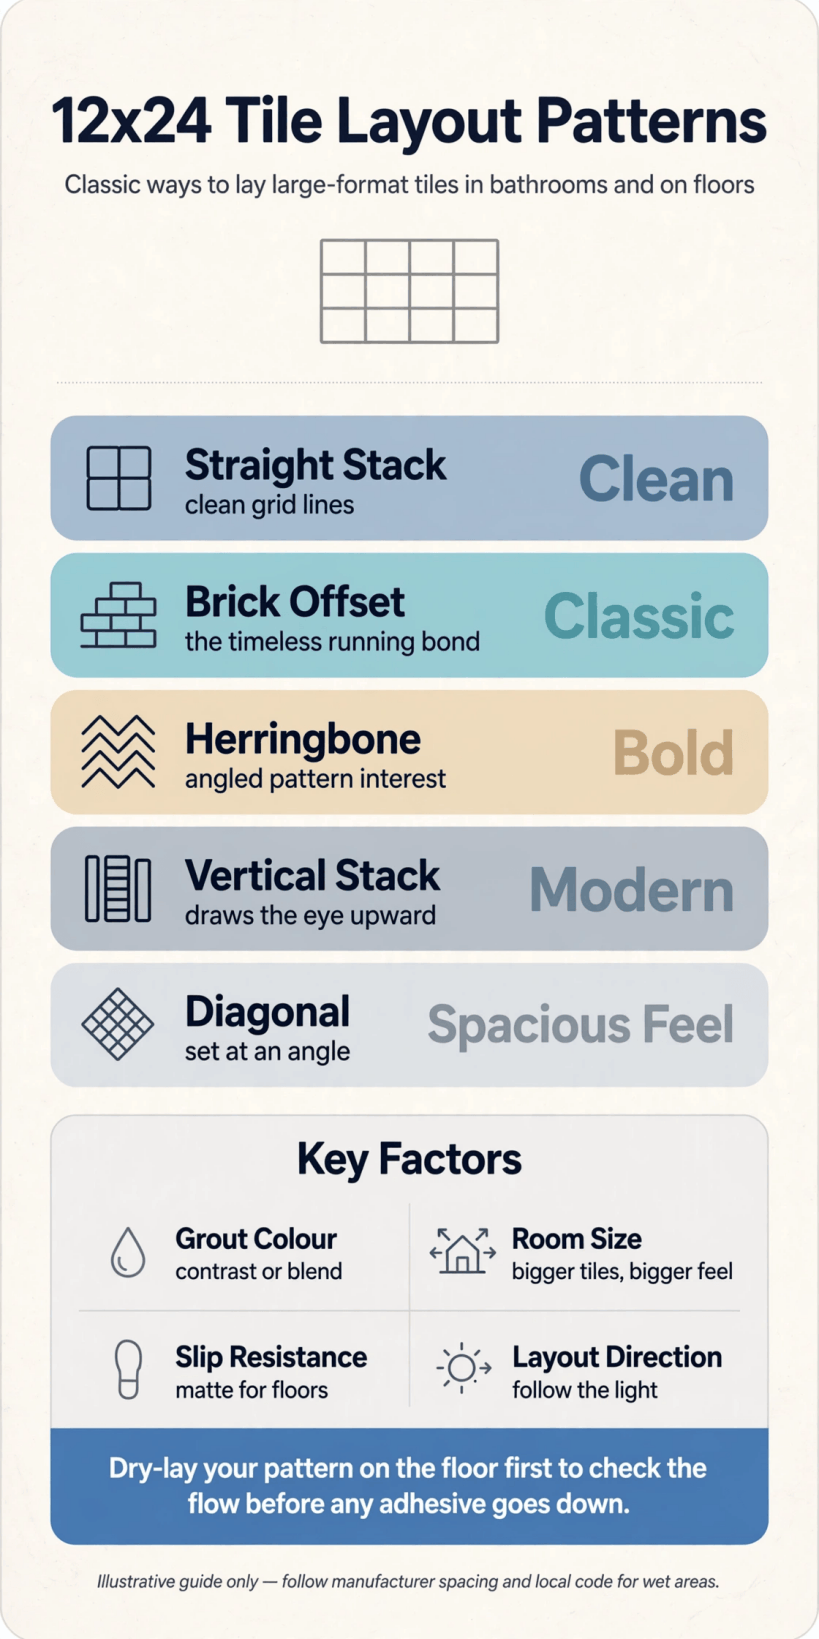
The main pattern families at a glance — stacked, staggered, vertical and herringbone — before the detailed sections below.
A 12 by 24 inch tile is a rectangle with a two-to-one proportion, and that simple ratio is what makes it so flexible. Run it horizontally and the room stretches; stand it vertically and the ceiling lifts; offset each row and the surface gains rhythm; angle it into herringbone and it becomes the decoration itself. Because each tile covers a generous area, grout lines are fewer than with small formats, which means a calmer look and quicker cleaning — two things every bathroom benefits from.
2. Stacked Patterns: Clean Lines, Modern Calm
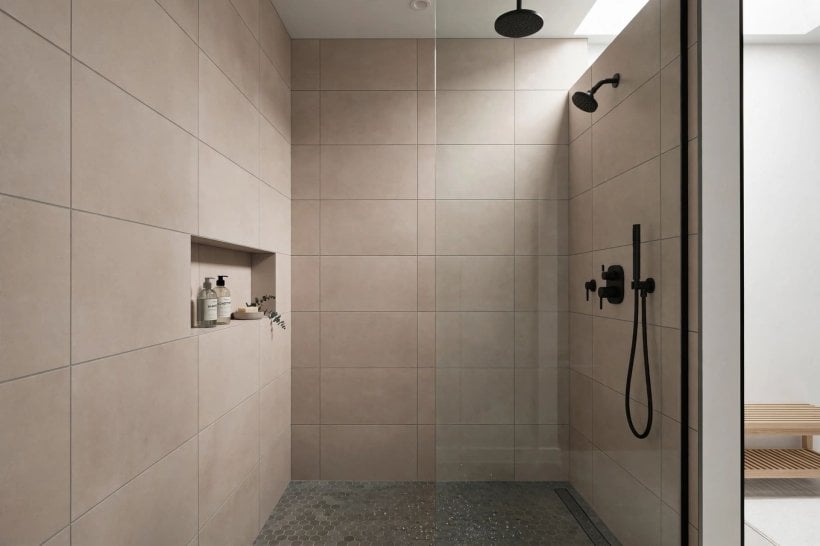
The stacked grid, where every tile aligns in straight columns and rows, is the most architectural option. It suits contemporary bathrooms with frameless glass, wall-hung vanities and simple fittings, because nothing interrupts the long horizontal lines. On walls it reads almost like panelling; on floors it gives a quiet, gallery-like base that lets a statement bath or vanity carry the personality.
Precision is everything with a stacked layout. Because there is no offset to hide behind, the tiling needs flat walls, consistent joints and a level first row — small errors show immediately in a strict grid. Many tilers use levelling clips with large-format tiles to keep edges flush, and it is worth asking your installer about their approach before work begins rather than after the adhesive has set.
Stacked tiles also pair beautifully with the pared-back approach used in tiny house kitchen design, where the same large formats and tight grout lines keep a hard-working room feeling uncluttered.
3. Staggered Brick Patterns: The Timeless Workhorse
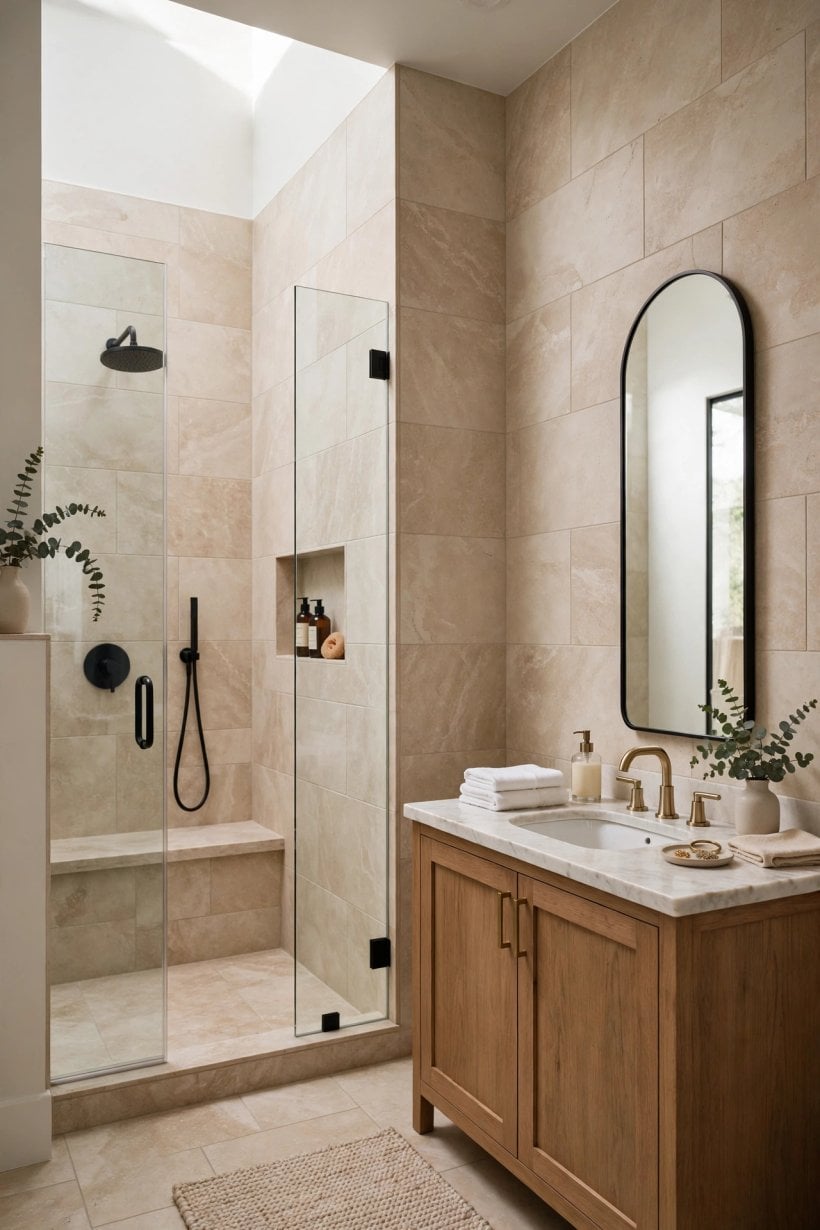
The staggered or running-bond pattern offsets each row by half a tile, echoing brickwork. It is the most forgiving layout for older homes, where walls are rarely perfectly flat and floors rarely perfectly level, because the broken joints disguise minor lippage and draw the eye along the room instead of across it. For family bathrooms that see daily traffic, that practicality matters as much as the look.
One caution applies to all large rectangular tiles in a half-offset: some tiles have a slight bow along their length, and a strict fifty-percent offset places the highest point of one tile beside the lowest of the next. Many manufacturers recommend a one-third offset for 12 by 24 formats for exactly this reason — always check the guidance printed for your specific tile, or ask the supplier, before the pattern is fixed.
A one-third stagger still gives you the brick-like rhythm with a subtler, more contemporary feel, and it works on floors and walls alike. Run it horizontally in a narrow room to stretch the walls, or vertically in a shower to lift the ceiling line.
4. Floor Layouts: Direction, Flow and Safety
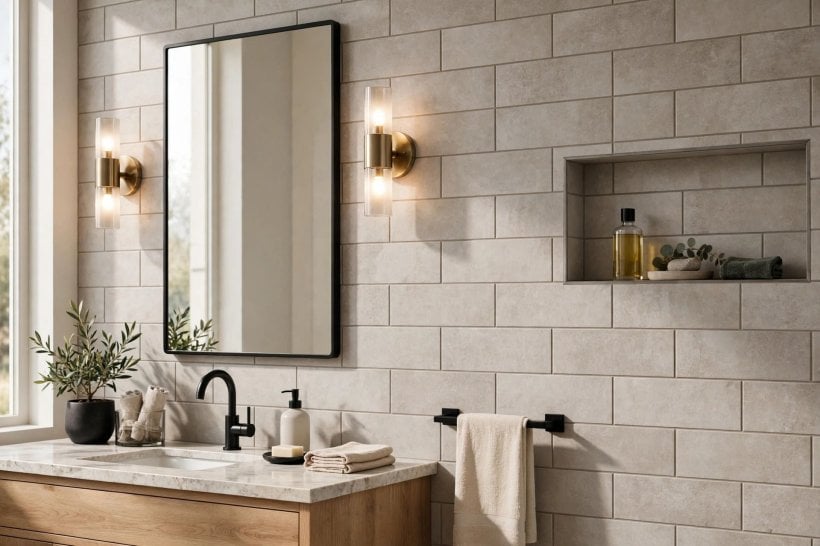
On floors, direction is a design tool. Tiles laid with their long edge running from the door into the room pull you forward and make a short bathroom feel longer. Tiles run across the width do the opposite, widening a narrow plan. In an L-shaped room, pick the direction of the longest run and stay consistent — changing direction mid-room usually looks like a mistake unless it is a deliberate zone change at a doorway or shower threshold.
Think about the threshold too. Where bathroom tile meets hallway flooring, a neat metal or matching tile trim gives a clean, trip-free transition, and the grout line at the door ideally lands under the centre of the door leaf so neither side sees an awkward sliver. Planning the setting-out from the most visible point — usually the doorway or the bath panel — avoids thin cuts in the places your eye lands first.
Safety deserves a mention: large polished tiles can be slippery when wet, so for floors look for matt or textured finishes with a slip rating appropriate for barefoot wet areas, and check the tile’s stated rating with the retailer. The same practical thinking guides the flooring choices in tiny barn house interiors, where hard-wearing surfaces have to look good and behave safely at the same time.
5. Shower and Wall Layouts: Height, Niches and Detail
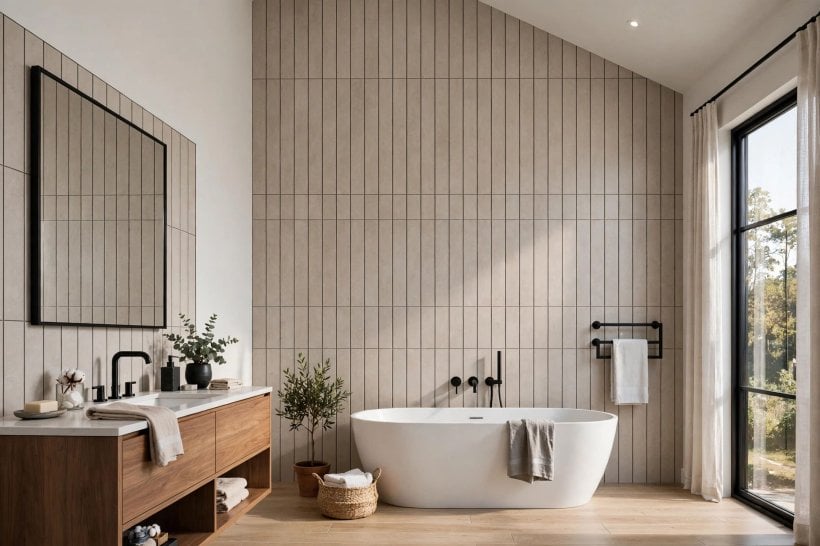
Vertical stacking is the shower’s best friend in a low-ceilinged bathroom. Long edges pointing up stretch the enclosure, and continuing the same tile from the shower into the rest of the room — a wet-room style approach, or simply matching wall tiles — removes visual breaks and makes the whole space read as one calm volume. Where the shower is a separate enclosure, one contrasting wall inside it creates a focal point without overwhelming a small room.
Niches need planning around the tile module. A recessed shelf sized to the tile — one tile high, or a tile and a half — avoids ugly cuts and looks built-in rather than carved out. Ask your tiler to set the niche out from the tile layout, not the other way round, and to slope the niche base very slightly so water runs off instead of pooling on your shampoo bottles.
Waterproofing behind shower tiles is the unglamorous detail that decides whether the bathroom lasts. The tiling is only the visible skin; the tanking or membrane behind it does the waterproof work. Use a qualified installer, follow the system manufacturer’s instructions as a complete system, and never tile a shower straight onto ordinary plasterboard in the wet zone without the protection your local building guidance requires.
6. Colour, Grout and Finish: The Quiet Decisions
With large tiles, grout becomes a design choice rather than a background. A grout colour matched closely to the tile makes the pattern recede and the room feel seamless and bigger — ideal for stacked layouts and small spaces. A contrasting grout does the opposite, drawing the grid so the pattern becomes the decoration; it flatters staggered and herringbone layouts, and it is more forgiving of the slight shade variation you get across boxes of tiles.
Stone-look porcelain in warm grey, travertine tones or soft white marble effects remains the most versatile choice, because it pairs with chrome, brushed brass or matt black fittings equally well. Solid-colour tiles in sage, dusty blue or clay bring more personality; if you choose them, keep the floor quieter than the walls (or the reverse) so the room has one leading voice.
Finish changes both look and upkeep. Polished finishes reflect light and show water marks; matt finishes hide marks but can hold onto soap residue if the texture is deep. Satin sits happily between the two for most households. Whatever you choose, buy all the tiles for a room in one order where possible, keep a handful of spares for future repairs, and confirm the shade batch with the supplier when ordering.
7. Herringbone and Statement Patterns
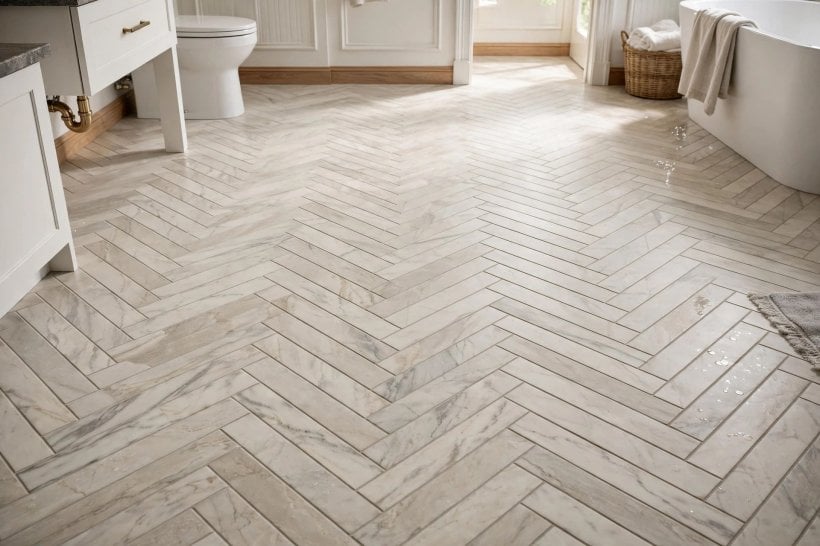
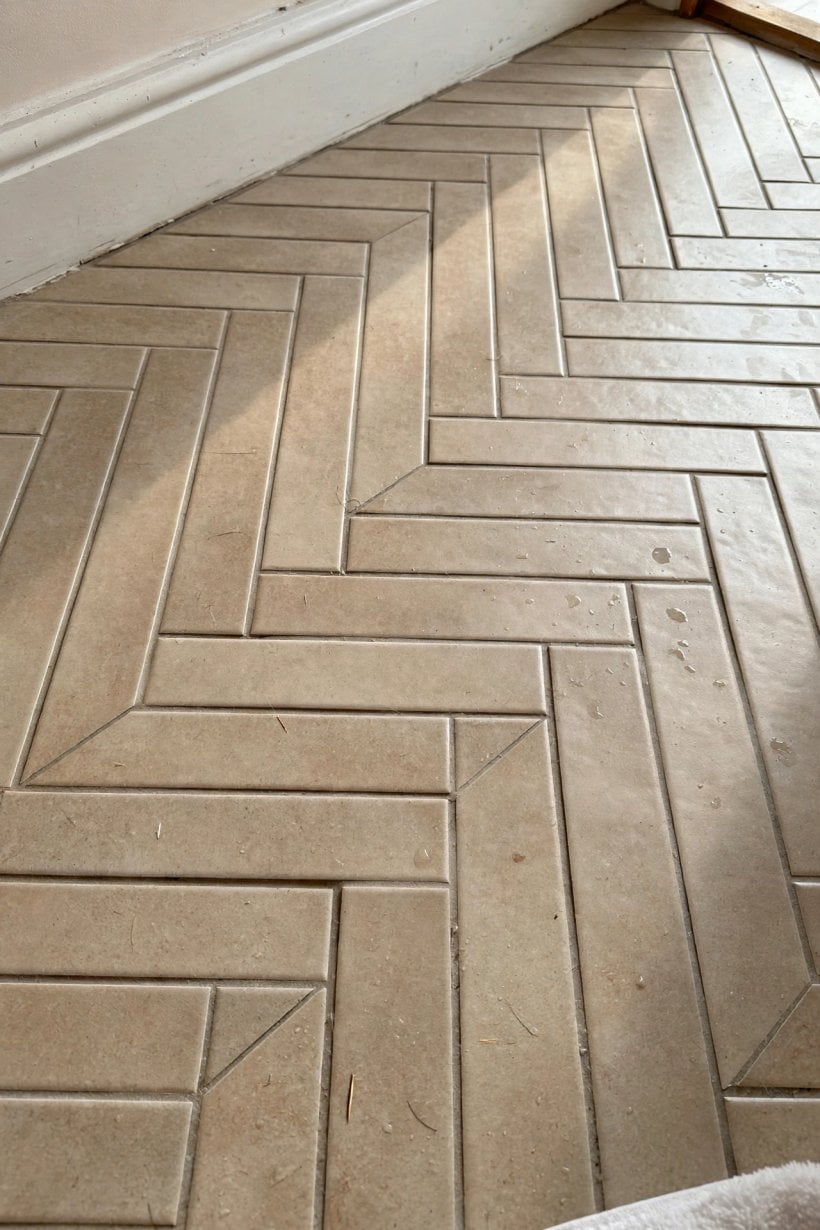
Herringbone turns a plain tile into parquet-like pattern, and with 12 by 24 formats it makes a bold, floor-dominating statement. It suits larger bathrooms, or small ones where it is confined to a single zone — inside the shower, behind the vanity, or as a rug-like panel in the centre of an otherwise simple floor. The setting-out is more demanding and the cutting produces more waste than straight layouts, so allow extra tiles in the order and expect a longer installation; your tiler can advise on the allowance for your room’s shape.
Chevron is herringbone’s sleeker cousin, with tiles cut at an angle to meet in continuous zigzag points. It gives a more tailored, directional flow, lovely along the length of a galley bathroom. Because the points are cut rather than overlapped, it generally needs tiles manufactured or cut precisely for the purpose — another detail to confirm with the supplier before committing.
Statement patterns work best against quiet surroundings: plain walls, simple sanitaryware and one metal finish repeated through taps, shower and accessories. That contrast is what makes the pattern feel luxurious rather than busy, the same principle stylists use in a-frame tiny house interiors where one strong architectural feature is allowed to lead.
8. Small Bathrooms: Making Compact Rooms Feel Bigger
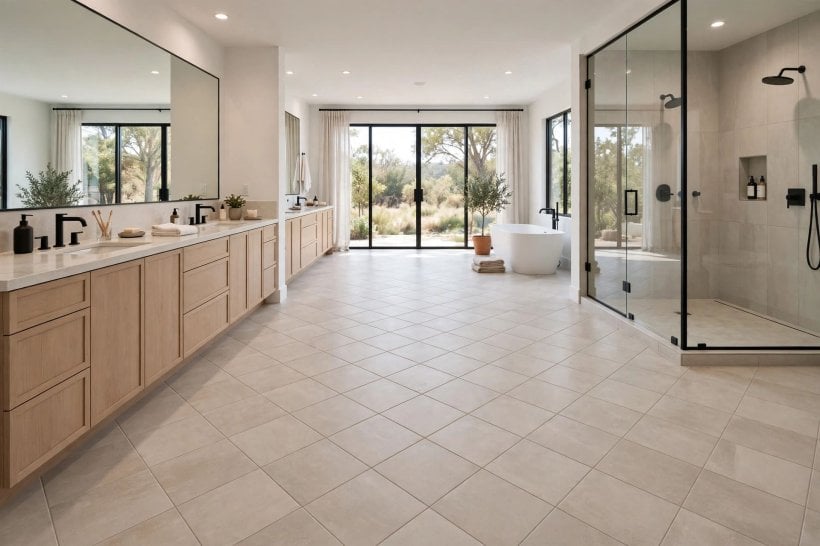
Everything about the 12 by 24 format helps a small bathroom: fewer grout lines, longer sight lines and a sense of the expensive calm you get in boutique hotels. The tricks are consistency and restraint. Use the same tile on floor and walls where you can, run floor tiles straight through a walk-in shower without a step or a change of pattern, and choose a grout close to the tile colour so joints nearly disappear.
Horizontal stacking widens; a wall-hung vanity and toilet free the floor so more of the tile shows, which again stretches the room. Large mirrors amplify all of it — a mirror across the vanity wall reflects the tiled surface and doubles the pattern’s effect. Keep accessories few and coordinated: a plant that tolerates humidity, towels in one colour family, and storage that hides the bottles.
Compact ensuites in small homes face exactly these challenges, and the space-saving logic in tiny house landscaping ideas — zoning, flow and one strong idea per area — translates surprisingly well indoors when you swap planting zones for tile zones.
9. Mixing Formats and Zoning Larger Bathrooms
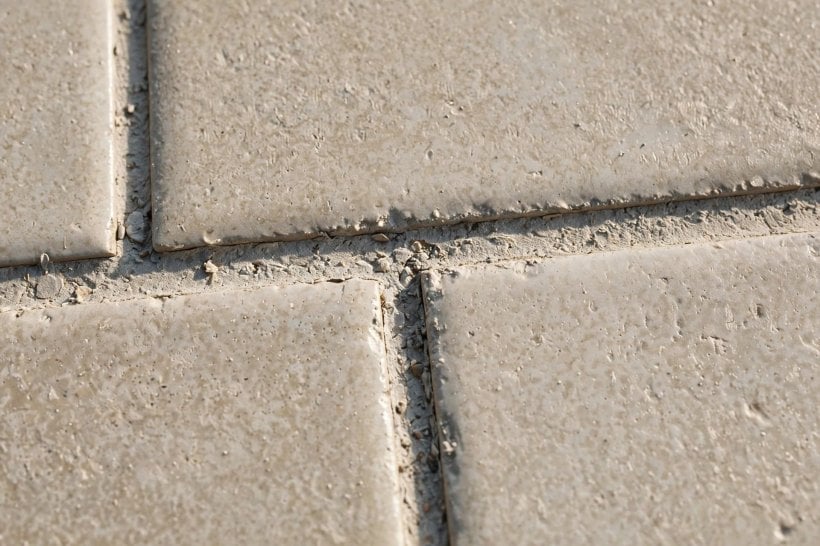
In a large bathroom, one tile everywhere can feel monotonous, so use the layout itself to zone the room. The shower might take vertical stacked tiles, the floor a staggered field, and the vanity wall a herringbone panel — all in the same tile, so the room stays cohesive while each area gets its own character. Alternatively, keep the pattern constant and change the tile: a stone-look field with a marble-look feature wall in the same format reads as deliberate and calm.
Because the format shares dimensions, formats mix neatly: a 12 by 24 wall tile aligns with two rows of 12 by 12 floor tiles, or with a border course, without awkward half-cuts. Mosaics on shower floors are the classic partner — their many joints give bare feet grip where it matters, and a mosaic that picks out one colour from the large tile ties the scheme together.
Plan the junctions on paper first. Where patterns meet — at the shower kerb, the niche edge, the room’s corners — a drawn setting-out plan saves arguments and cuts on the day. Any competent tiler will welcome a plan, and the planning discipline mirrors the approach in kitchen design guides, where layout drawings come before a single unit is ordered.
10. Installation and Care: Getting It Right First Time
Large-format tiles reward preparation. Walls and floors must be flat within the tolerance your tile and adhesive manufacturers state, because a big tile bridges hollows and rocks on bumps; self-levelling compound on floors and re-skimming or boarding uneven walls are normal parts of the job, not extras. Tiles this size usually need adhesive on both the surface and the back of the tile for full coverage, especially in wet areas and on floors — another point where the adhesive manufacturer’s instructions, followed properly, decide the result.
Movement joints matter too. Tile fields expand and contract, so perimeter joints and, in larger rooms, intermediate movement joints filled with flexible sealant rather than grout prevent cracking. Around baths and shower trays, sanitary sealant — not grout — is the correct finish, and it should be renewed when it ages, splits or discolours.
Day to day, care is simple: a soft mop or cloth, warm water and a pH-neutral cleaner suit most glazed porcelain and ceramic. Avoid abrasive pads on polished finishes, wipe down shower walls with a squeegee to slow limescale, and check the care guidance for natural stone if you have chosen real marble or travertine, since stone needs sealing and gentler products than porcelain lookalikes. Keep spare tiles and a note of the grout colour in the house file, and any future repair becomes a small job instead of a treasure hunt.
Final Considerations
Choosing a pattern is really choosing how the room will feel: stacked for calm order, staggered for classic ease, vertical for height, herringbone for drama. Decide the feeling first, then let the practical checks — tile flatness, offset guidance, slip rating, waterproofing — confirm the choice works in your space. With a drawn plan, the right installer and a tile you genuinely love, a simple 12 by 24 rectangle becomes the making of the whole bathroom.



0 Comments