

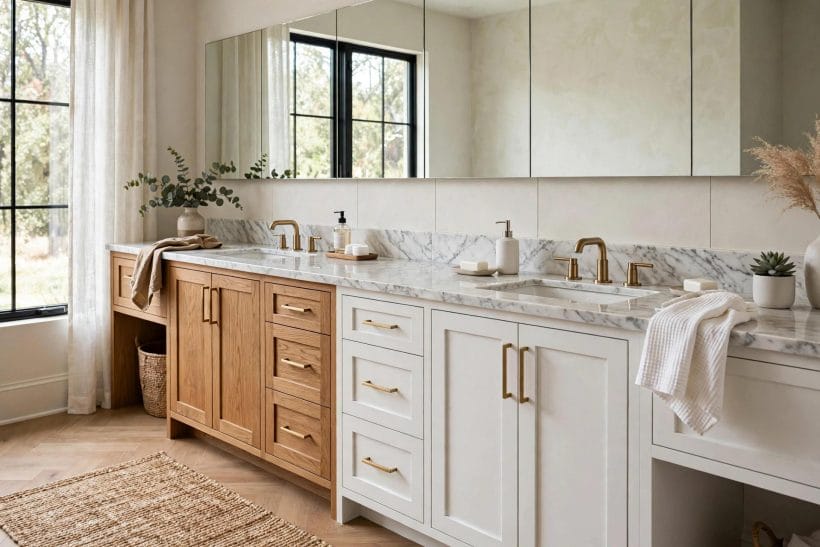
A built-in bathroom vanity is fitted to the room rather than standing in it. It runs wall to wall, fills an alcove, or wraps around the basin in one continuous unit, so there are no gaps behind it collecting dust and no awkward edges catching the eye. The result looks made for the bathroom, because it is: the storage, the countertop and the basins are planned as one piece.
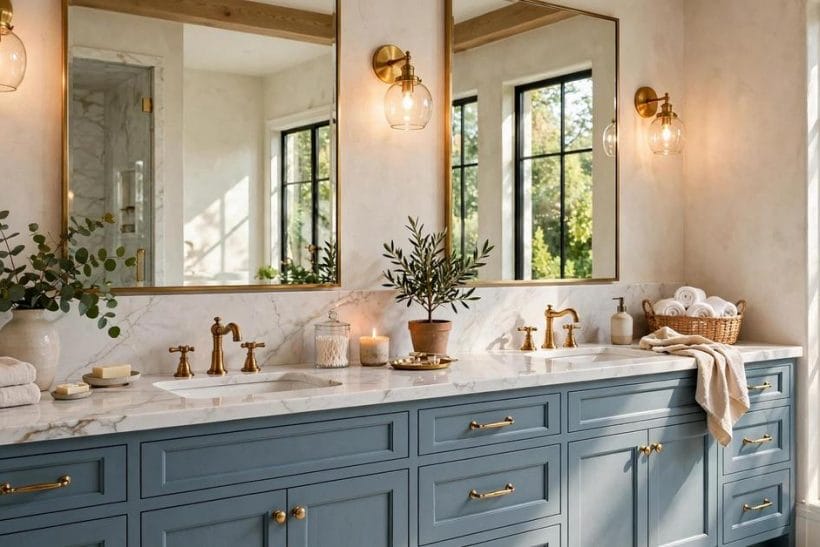
This guide covers built-in vanities by form: what built-in means, wall-to-wall and alcove fits, single and double layouts, storage, countertops and basins, mirrors and lighting, damp-proof finishes, small bathrooms, fitting, and keeping the unit looking new. It stays on the vanity form itself, splitting from the colour angle of black-cabinet bathrooms and the lighting angle of vanity lighting posts.
1. What “Built-In” Really Means
Built-in means the vanity is fixed to the walls and floor as part of the room, not a freestanding cabinet placed against a wall. The sides meet the walls, the top meets the splashback, and any gaps are filled and sealed. That fitted quality is the whole point: a built-in vanity reads as architecture, while a freestanding unit reads as furniture. Both can look good, but only the fitted one gives the seamless wall-to-wall line.
The fitted approach also changes storage. Because the unit is made to the room’s measurements, it can use space a standard cabinet wastes: the full width of an alcove, the depth under a sloping ceiling, or the run beside a bath. Drawers can run the full width. Towers can fill the ends. Open niches can sit exactly where towels or toiletries are reached for. Standard cabinets come in fixed widths; built-ins come in the room’s width.
There is a trade-off. A built-in vanity is harder to change later. Moving it means patching walls and floors, and replacing it means remaking the fit. A freestanding unit can be swapped in an afternoon. So a built-in suits bathrooms whose layout is settled, where the plumbing positions and the room shape are unlikely to change. If a bigger remodel is planned within a few years, waiting for it usually beats fitting a built-in twice.
2. Wall-to-Wall vs Alcove Fits
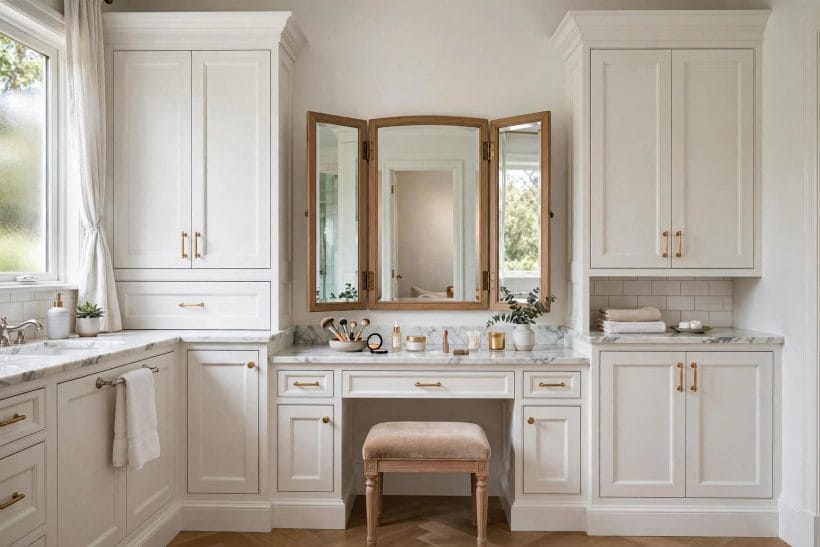
Wall-to-wall is the classic built-in: the vanity runs from one wall to the other, filling the whole width of the bathroom or the whole width of one wall. It gives the maximum countertop and storage, and it makes a small bathroom feel designed rather than squeezed, because every centimetre is used. The countertop becomes one long surface for basins, toiletries and a vase or two, with no dead corners.
Alcove fits suit bathrooms where the vanity sits in a recess, between a wall and a shower screen, or under a window. The unit fills the recess exactly, so the room keeps its circulation space while the vanity gains storage. Alcove units need accurate measuring: a unit a little too wide will not fit, and one a little too narrow leaves a gap that collects grime. Measure the recess at several heights, since walls are rarely perfectly straight.
Either fit needs a level base. Bathrooms floors slope slightly toward drains in wet areas, and walls lean a little. A good fit accounts for this with scribing, packing and sealing rather than forcing a square unit into an uneven space. The visible result should be clean lines and sealed joints; the hidden work is what makes those lines possible. For layout context in small washrooms, see our powder room measurements guide.
3. Single, Double and Shared Vanities
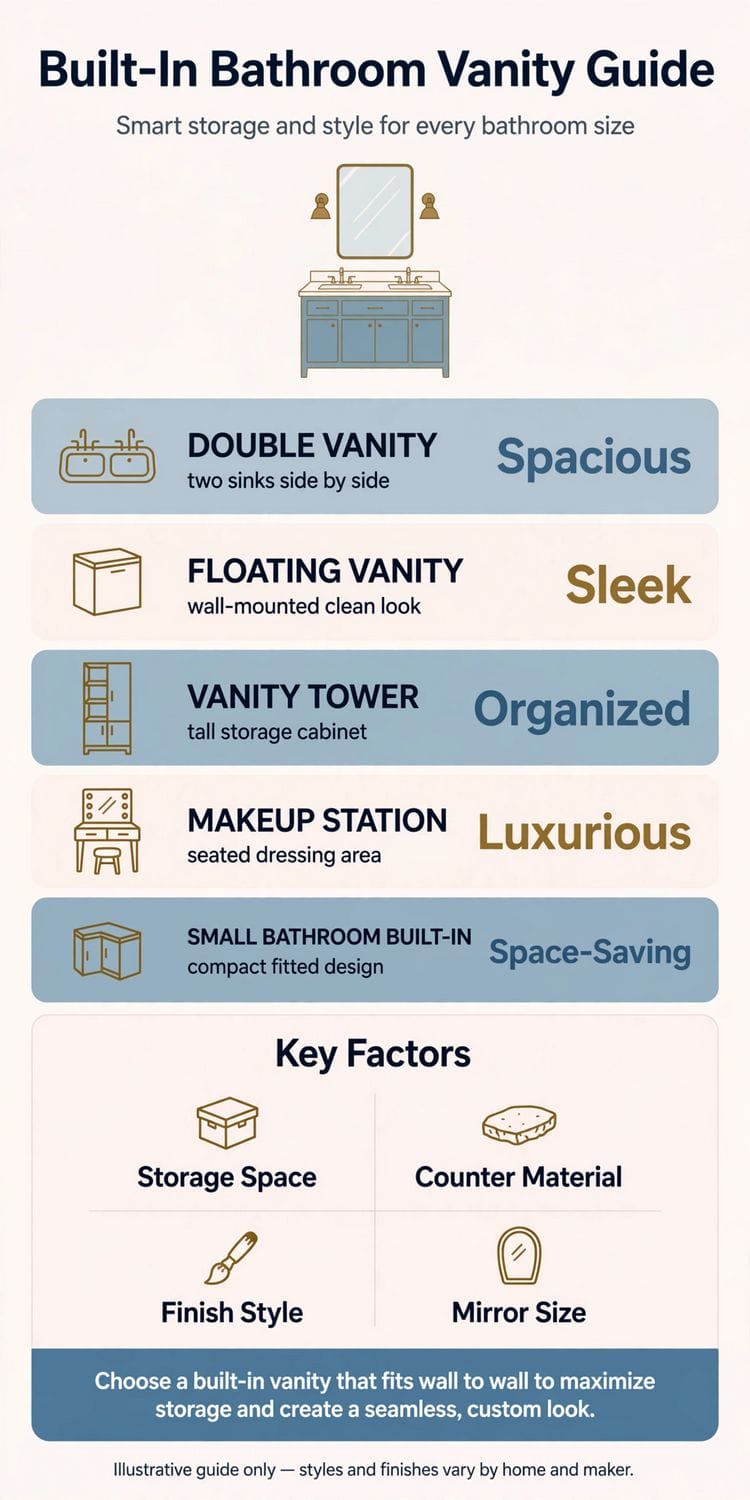
Single vanities suit most bathrooms: one basin, one mirror, storage below and beside. They leave wall space for a tower, a laundry basket or a stool, and they keep the plumbing simple. A single vanity in a large bathroom can look lost, but a wide single with generous countertop on both sides of the basin holds its own and gives space for two people’s toiletries without a second basin.
Double vanities suit shared bathrooms: two basins, two mirrors, and storage split down the middle or shared below. They end morning queues and give each person their own zone. They need width, though: two basins squeezed into a narrow run leave no countertop between them and feel cramped rather than generous. As a rough guide, a double vanity needs a genuinely wide wall, or it becomes two small singles joined together.
Shared vanities can also mix forms: a double basin run with a dressing-table section in the middle, or a single basin with a tower at one end for shared storage. The best shared layout is the one that matches how the household actually uses the room: who gets ready when, what each person keeps at the basin, and whether anyone needs a seated spot. Plan for the busiest morning, not the quietest one.
4. Storage: Drawers, Towers and Open Niches
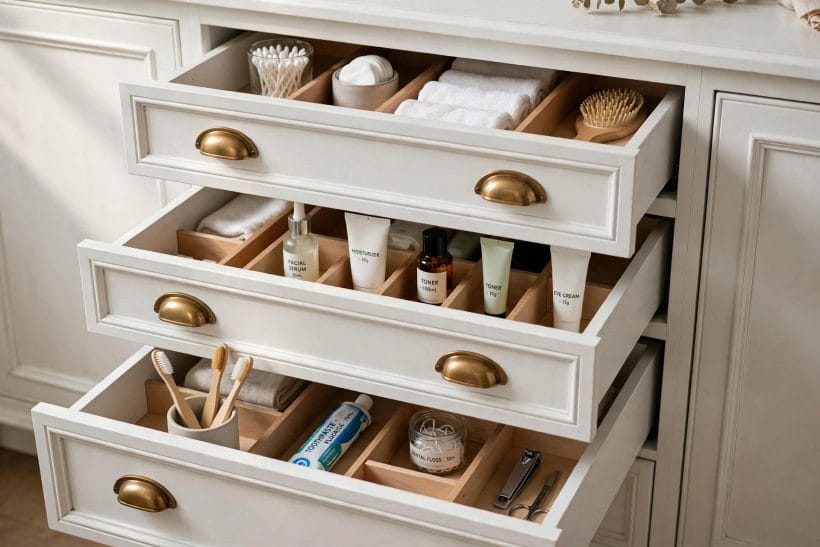
Storage is where built-ins earn their cost. Deep drawers under the basin hold towels and larger items; shallow top drawers hold daily toiletries where they are reached without bending. Dividers inside drawers stop bottles toppling and keep small things findable. A drawer that opens fully, on smooth runners, is worth more than a deeper drawer that sticks or only opens halfway.
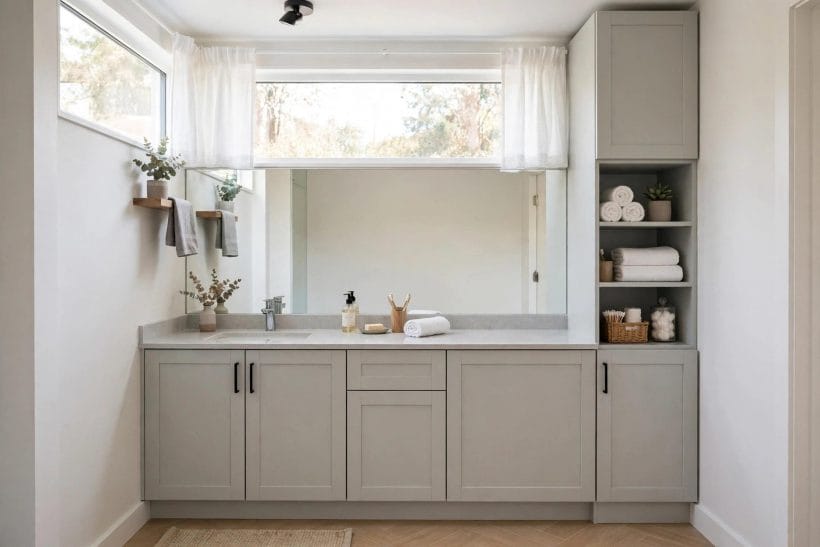
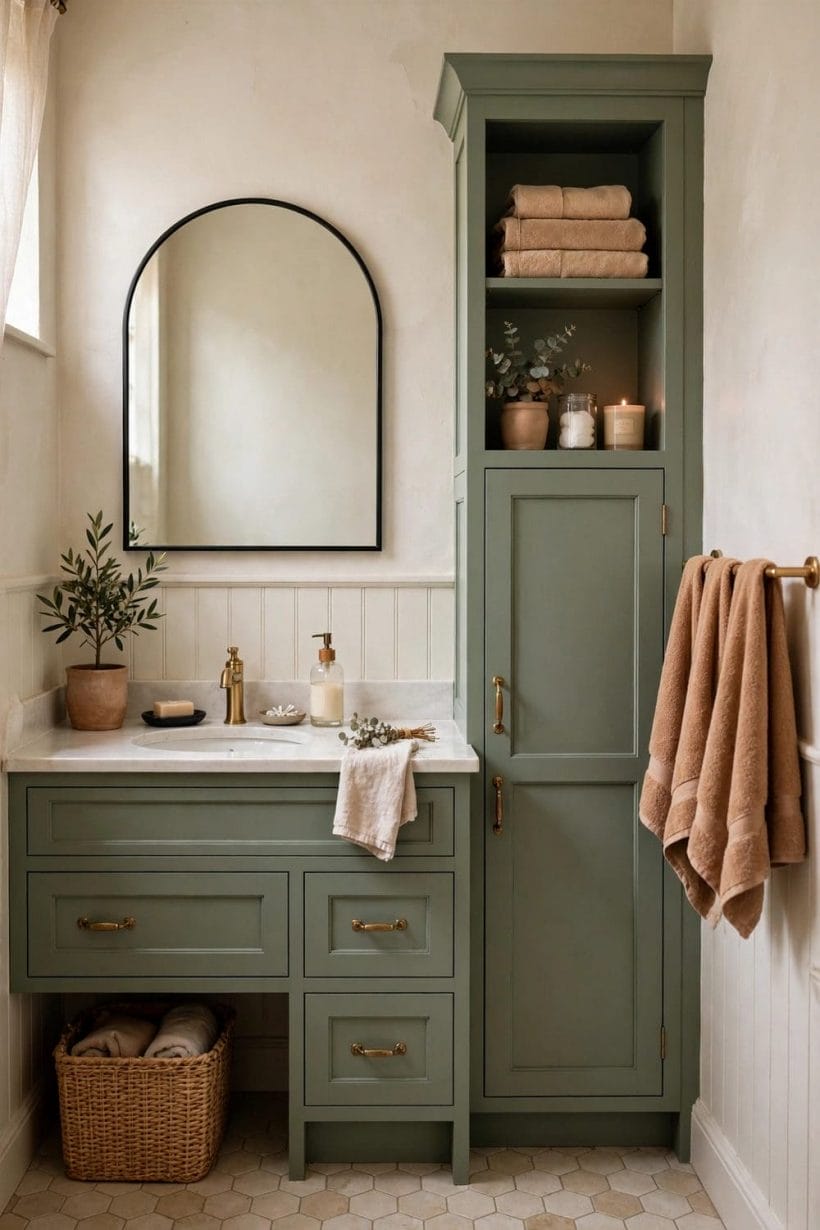
Towers at the ends of the run give tall storage for towels, cleaning supplies and spare toiletries. Open niches between closed sections give a place for rolled towels, a plant or a candle, breaking up a long run of doors. The mix matters: all-closed storage looks calm but hides everything; all-open storage looks busy and gathers dust. A run with mostly closed storage and one or two open niches balances calm and convenience.
Think about what actually lives in the bathroom before planning storage. Count the towels, the bottles, the hair tools, the medicines and the cleaning supplies, and give each group a home. Storage planned around real contents stays tidy; storage planned around a photograph fills with overflow within months. A built-in that holds everything the household owns is a built-in that stays looking new.
5. Countertops and Basins
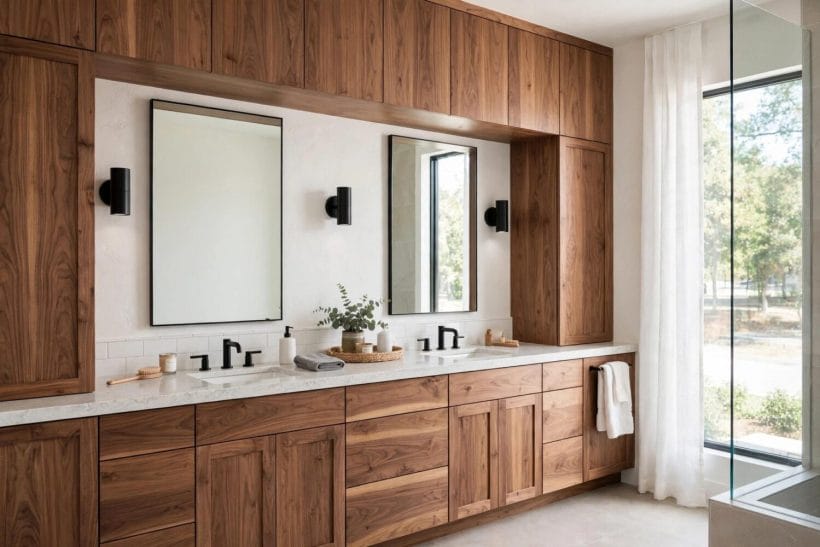
The countertop is the vanity’s working surface, and it takes daily water, heat and cosmetics. Stone, quartz and solid-surface tops handle water well and wipe clean; timber tops look warm but need sealing and care around basins. Whatever the material, the top should overhang the unit slightly, so drips fall clear of the doors, and joints around basins should be sealed properly from the start.
Basins sit on, in or under the countertop, and each choice changes the look and the cleaning. Undermounted basins leave the countertop clear and wipe clean easily. Countertop basins sit proud and make a style statement, but leave a rim to clean around. Inset basins split the difference. The choice is partly style and partly cleaning tolerance: a basin that looks beautiful but traps grime around its rim will annoy daily.
Basin height and depth matter for comfort. A basin set too high forces arms up; one too shallow splashes. Standard heights suit most adults, but households with children or shorter members may prefer a lower section or a step. Test the height before fitting: stand at the basin, mime washing, and check elbows and back. A vanity is used several times a day, so a small height error becomes a daily irritation.
6. Mirrors and Lighting Above the Vanity
Mirrors and lighting belong to the vanity plan, not an afterthought. A mirror should sit centred over each basin, wide enough to use comfortably, and tall enough for the household’s tallest member. A single long mirror over a double vanity looks seamless; two separate mirrors give each person their own zone. Either works if the width and height suit the users.
Lighting should come from the sides or from above without casting shadows on faces. Wall lights beside the mirror light faces evenly; a single overhead light casts shadows under brows and chins. Light colour matters too: warm light flatters skin, cool light shows colour accurately for makeup. Many bathrooms compromise with neutral light and a dimmer, or with two circuits for day and evening use.
Electrical work in bathrooms belongs to qualified people. Zones around baths and basins restrict what fittings can go where, and no guide can substitute for the local rules and a qualified installer. Plan mirror and light positions when the vanity is planned, so cables and fixings are in place before the unit is fitted, rather than added later with visible runs. For the lighting angle in full, see our companion ideas on bathroom lighting, and for the colour angle, our black cabinet bathroom ideas.
7. Finishes That Handle Bathroom Damp
Bathrooms are damp rooms, and finishes must handle steam, splashes and condensation day after day. Painted timber needs moisture-resistant board and proper sealing at edges, or it swells at the joints. Laminate and vinyl-wrapped doors handle damp well and wipe clean. Solid timber looks superb but needs oiling or lacquering and care around basins where water sits.
Hardware matters as much as doors. Hinges, runners and handles in damp air corrode if they are not made for it, and a drawer that sticks or a door that sags spoils the fitted look fast. Choose hardware rated for bathroom use, and check it yearly: tighten, clean and replace before small wear becomes a failed fitting. The fitted look depends on doors and drawers sitting true, year after year.
Ventilation protects every finish. A bathroom without working extraction stays damp after showers, and damp attacks paint, timber and sealant alike. An extractor that runs during and after showers, plus a window opened when possible, keeps the room dry enough for the vanity to last. The best finish in the world fails in a permanently damp room, so ventilation is part of the vanity plan, not a separate concern.
8. Small Bathrooms: Built-In Without Bulk
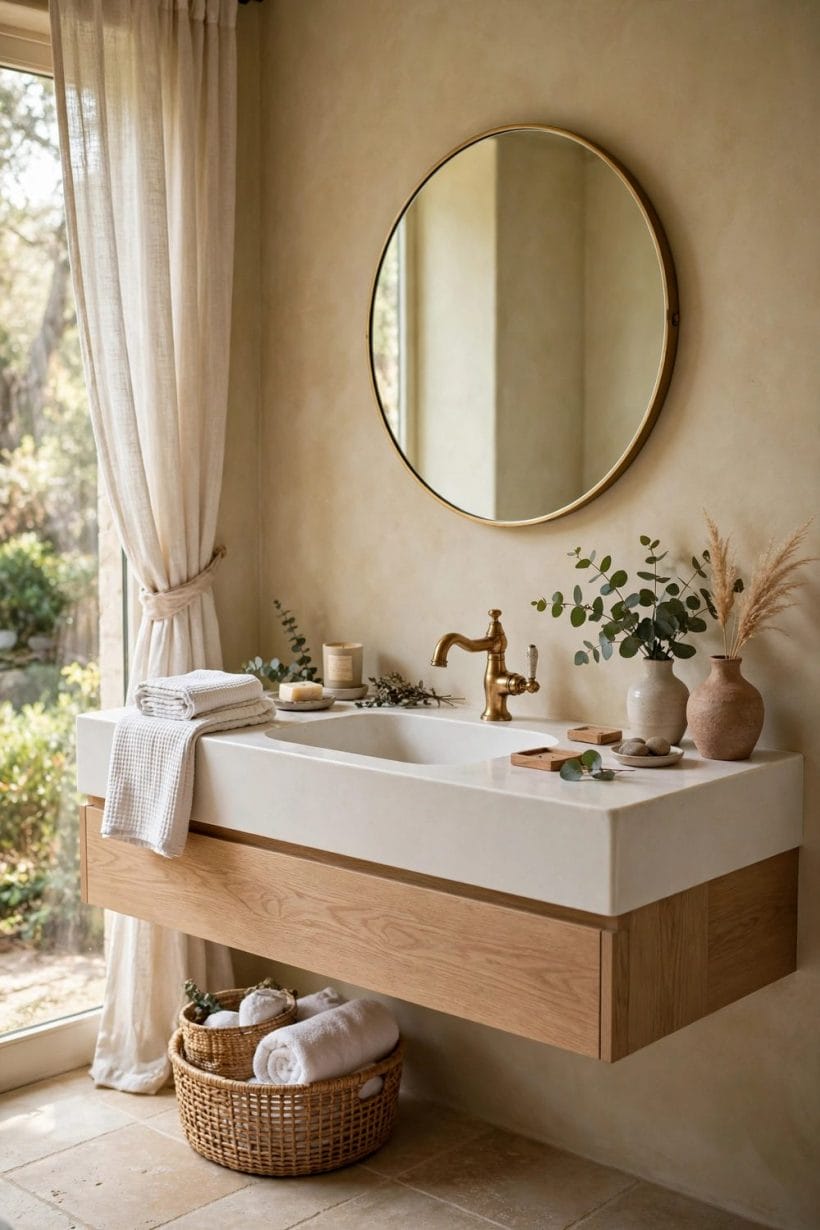
Small bathrooms gain most from built-ins, because every centimetre counts, but they also punish bulk. A built-in that fills a small bathroom wall to wall can feel heavy if the doors are dark and the handles chunky. Light finishes, flat doors, recessed handles and a floating section that shows floor beneath all reduce visual weight. The unit holds the same storage but reads lighter.
Floating built-ins, fixed to the wall with floor clear beneath, suit small bathrooms well. They make cleaning easier, show more floor, and can be set at a height that suits the users. They need solid wall fixing, since the whole weight hangs on the wall, so masonry or properly reinforced studwork matters. A floating unit on a weak wall is a failure waiting to happen.
Keep the countertop clear in a small bathroom. A long countertop invites clutter: bottles, brushes, chargers and laundry pile up until the vanity looks like a shelf. Closed storage for daily items and one or two display pieces keep the fitted line clean. In a small room, the vanity is the largest single object, so its tidiness sets the tone for the whole bathroom. For the shower side of the room, see our double shower ideas and tub surround ideas.
9. Plumbing and Fitting
Plumbing decides where a built-in vanity can go, and moving plumbing is the expensive part of any vanity project. Waste and supply positions set the basin positions, and basin positions set the unit layout. A vanity designed around existing plumbing costs far less than one that moves every pipe. Where plumbing must move, the work belongs to qualified plumbers, and the cost should be settled before the unit is ordered.
Fitting a built-in is joinery plus plumbing plus sealing, done in the right order. The unit is scribed to the walls, levelled, fixed, then plumbed, then sealed. Rushing the order, plumbing before levelling or sealing before testing, creates leaks and gaps that show later. A good fitter tests every joint, runs every tap, and checks every drawer before calling the job done. Ask what the testing covers before the work starts.
Access matters for the future. Traps, valves and connections hidden behind sealed panels become a problem when they leak. A built-in should include access panels or removable sections where plumbing lives, so a small leak stays a small job. Panels that match the doors hide well and save the unit from being cut open later. Plan access at design stage, not when water appears.
10. Keeping a Built-In Looking New
Daily habits keep a built-in looking new longer than any finish. Wipe splashes off the countertop and doors, keep bottles on trays rather than directly on surfaces, and dry the area around basins after use. Water left sitting on timber or in joints is what ages a vanity fastest. A thirty-second wipe after the morning routine beats a yearly deep clean.
Sealant needs checking yearly. The joint between countertop and wall, and around basins, keeps water out of the unit. When sealant cracks or pulls away, water gets in and damage follows. Replacing a bead of sealant is a small job; repairing a swollen carcass is not. Check sealant when checking hardware, once a year, and renew it before it fails.
Finally, accept that a bathroom vanity works hard. Doors open and close thousands of times a year, drawers carry weight, and surfaces meet water daily. A built-in that is cleaned gently, kept dry and maintained yearly will look good for many years. One that is ignored will show it, fitted or not. The fitted line is only as good as the care behind it. For the wider design context, see our Tuscan style bathroom ideas and our tiny house designs.
Final Considerations
A good built-in vanity fits the room, the household and the plumbing. It fills its wall without bulk, stores everything the household owns, carries basins at a comfortable height, and keeps its fitted line through daily use. The planning matters more than the price: measure well, plan storage around real contents, keep plumbing where it is if you can, and build access in for the future.
Start from the room’s measurements and the household’s routine, not from a photograph of someone else’s bathroom. A vanity that fits your wall, holds your things and survives your mornings is the right one, whatever style it wears. Built-in means made for the room, and the room in question is yours.




0 Comments