
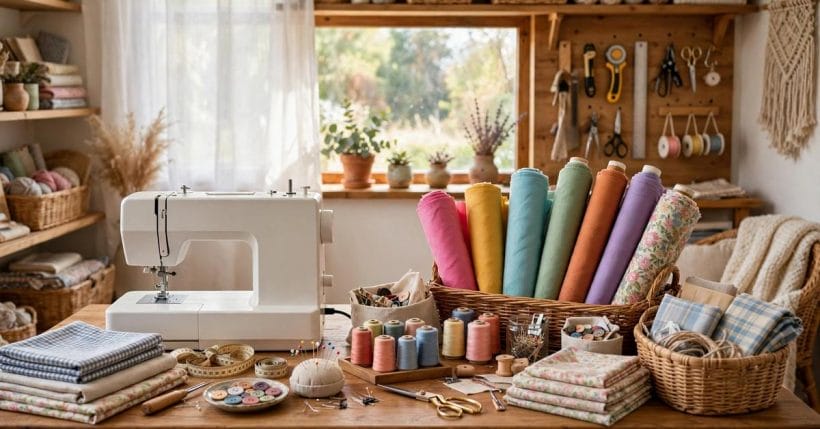
A sewing corner earns its keep when everything is within reach and nothing has to be unpacked first. Machine, light, cutting space and storage, arranged together, turn sewing from a project into a habit.
This guide sets up a home sewing corner that works in a spare room, a bedroom corner or a quiet end of a living space — with no special furniture required and no room takeover demanded.
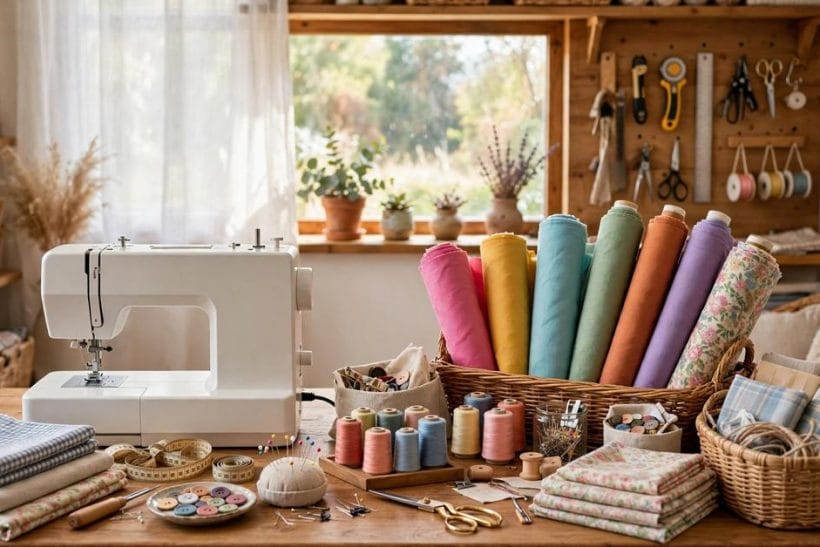
1. Pick The Corner Before You Buy Anything
The best sewing corner is the one that stays set up. A machine that lives in a cupboard and comes out for each session gets used far less than a machine that sits ready on a table, even if that table is small.
Look for a spot with three things: a stable surface, decent daylight or a good lamp position, and a little wall or shelf space for storage. A bedroom corner, a landing nook, a quiet end of a guest room or a garden room all qualify; the room does not need to be dedicated to sewing, it just needs a corner that sewing owns.
Measure before committing: the table depth matters more than its width, because a machine needs room behind it for fabric to feed through, and a cutting area needs a flat expanse you can stand at comfortably.
Before choosing the corner, check the practical details: a power socket within easy reach of the table, so the machine lead does not trail across a walkway, and a floor that lets a chair move freely. A socket strip fixed neatly to the wall or table leg beats a loose extension lead, and a small rug or mat under the chair protects hard floors from castors and chair legs. These unglamorous details decide whether the corner feels pleasant to use every day or mildly annoying — and mildly annoying corners quietly stop being used.
2. The Table: Steady Beats Fancy
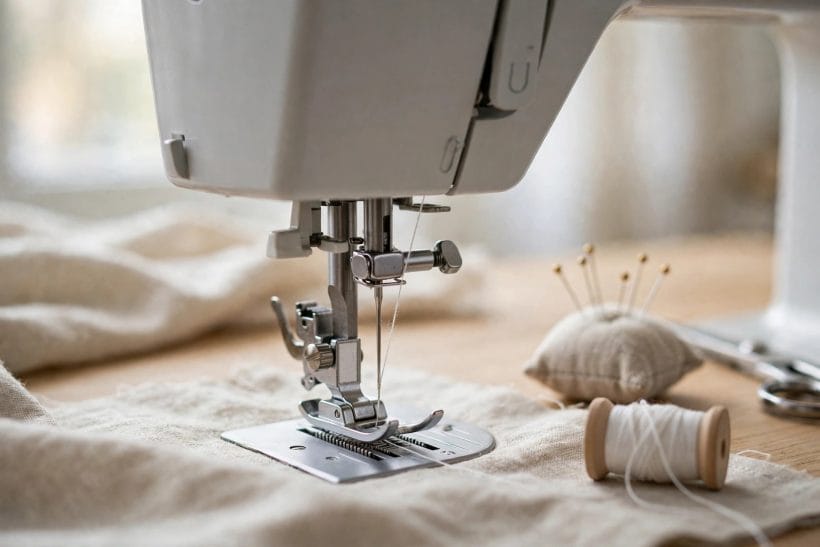
A sewing machine vibrates, and a wobbly table turns that vibration into skipped stitches and wandering seams. A solid, level table — even a plain desk or a sturdy folding table braced against a wall — beats a pretty but shaky one every time.
Check the height by sitting at the machine: forearms should rest comfortably, shoulders should stay relaxed, and feet should reach the pedal without stretching. If the table is too high, a lower chair helps; if it is too low, sturdy blocks under the legs are a practical fix.
Leave clear space to the left of the machine for fabric to gather and behind it for fabric to feed out. A cramped machine corner, where fabric bunches against a wall, causes more frustration than any machine fault.
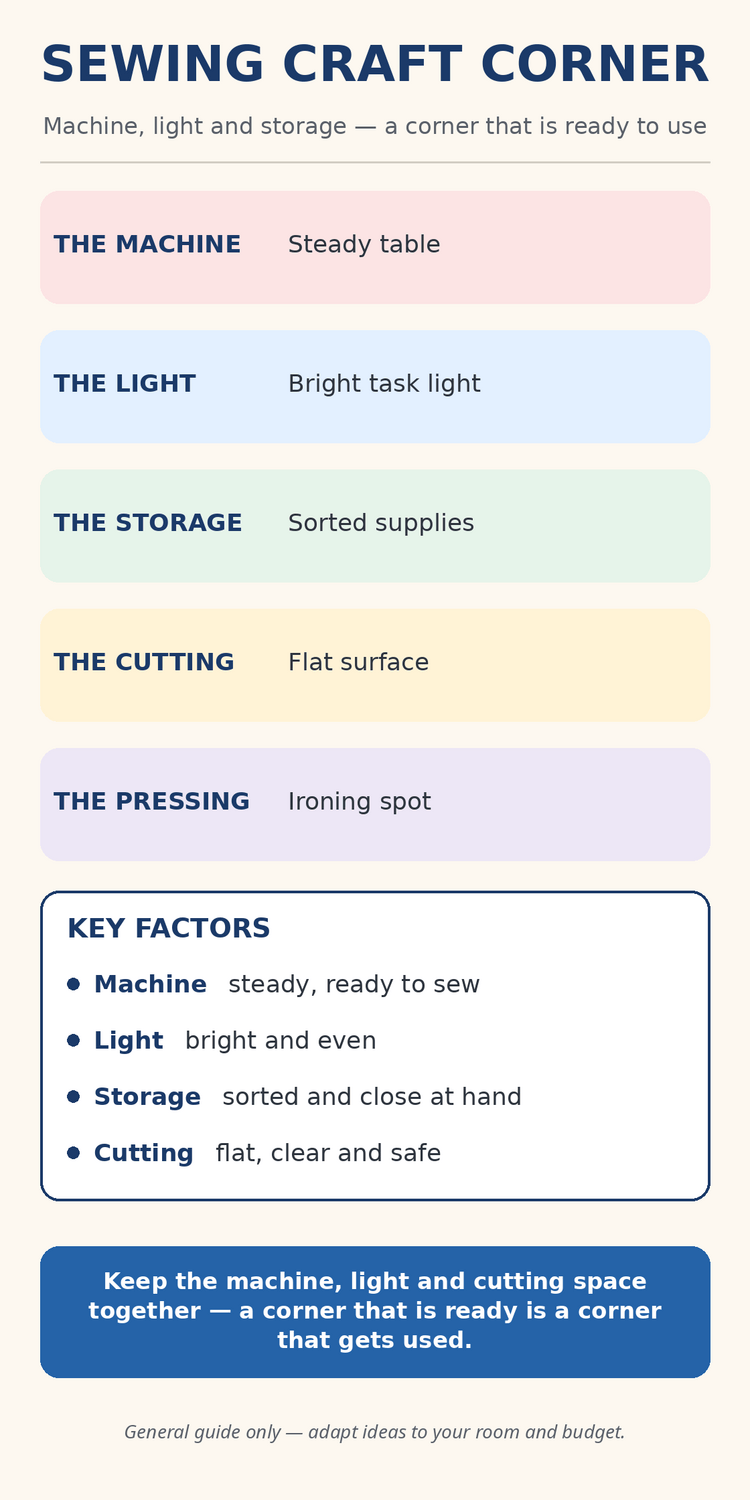
3. Light: The Upgrade That Changes Everything
Sewing is close work, and poor light causes eye strain, missed stitches and wrong colour matches. A bright task lamp aimed at the needle area, plus whatever daylight the corner gets, transforms the experience more than any accessory.
Position the lamp so it lights the work without casting your hands’ shadow over it — usually from the side opposite your dominant hand, slightly above and behind the machine. A lamp with adjustable direction beats a fixed ceiling light for this job.
Check colours in daylight before cutting, because artificial light shifts how fabrics read. A fabric that looks right under a lamp can look different by a window, and that difference only shows up after the garment is made.
Patterns need storage too, and they are easy to lose track of. Paper patterns live best in large envelopes or folders, labelled with the pattern name and size range, while digital patterns need a folder system on the computer with the same labels. Tracing paper copies of favourite patterns, rather than cutting the original, means the pattern survives to be used again in another size. A small notebook for pattern notes — adjustments made, fabric used, what worked — turns each project into a lesson for the next one.
4. Storage That Keeps Supplies Visible
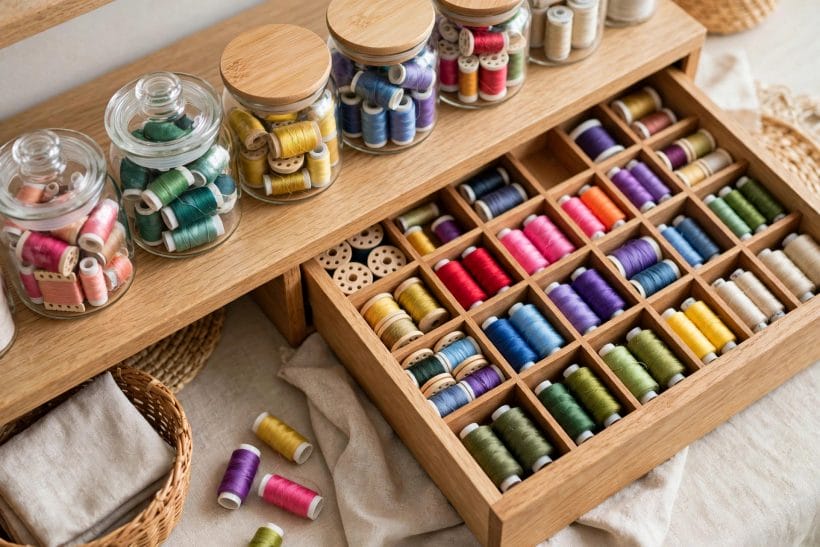
Sewing supplies multiply quietly: thread, bobbins, needles, pins, scissors, measuring tools, patterns, zips and buttons. Storage that hides everything in one deep box guarantees that the thing you need is always at the bottom.
Sort by use, not by size: thread together where colours are visible, cutting tools together, fastenings together. Clear jars, small boxes on a shelf and a pegboard or pin board on the wall all keep supplies visible and reachable without taking table space.
Keep sharp tools in one consistent place, closed or sheathed, especially in a shared home. A pair of fabric scissors that gets used on paper loses its edge quickly, so guard them: one pair for fabric, kept apart from household scissors.
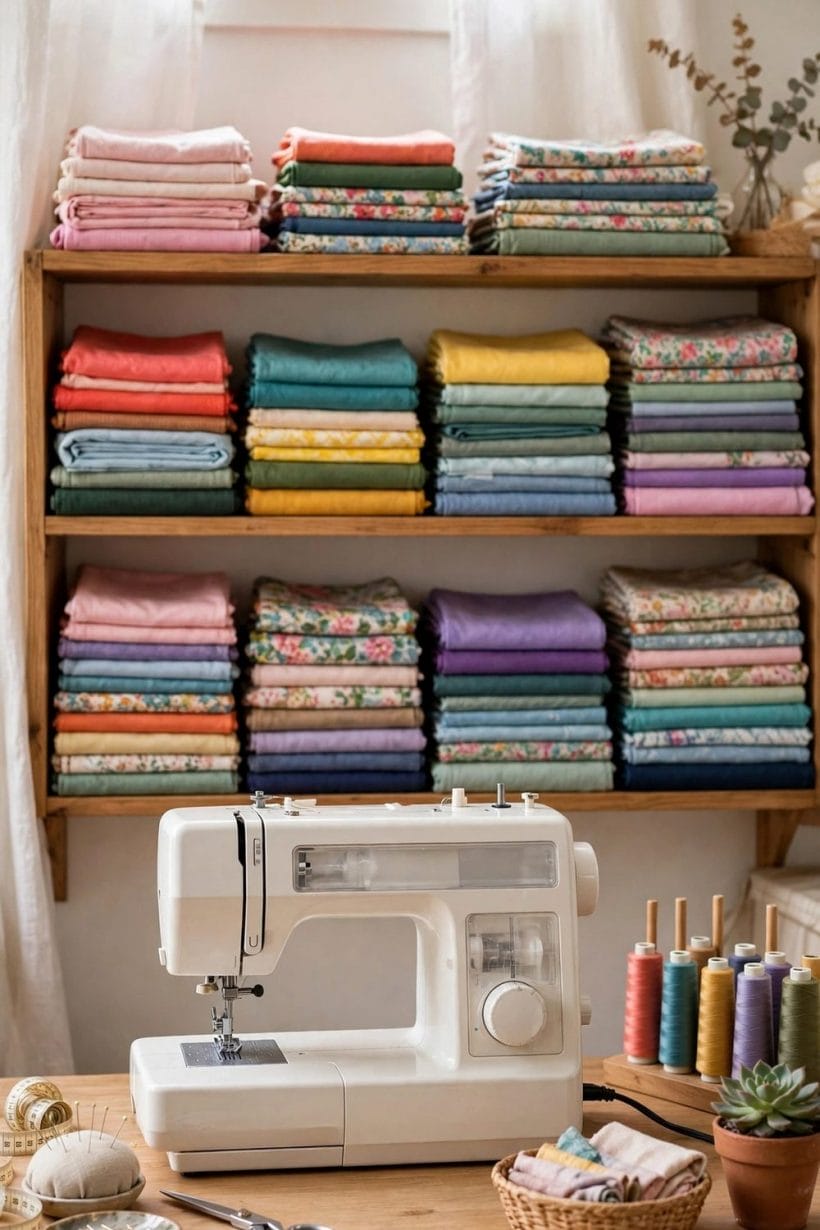
5. The Cutting Area: Flat, Clear And Big Enough
Cutting needs a flat surface larger than the fabric piece, with room to move around it. A kitchen table borrowed for an afternoon works, but a dedicated cutting spot — even a board laid over the sewing table when the machine is pushed back — works better because it stays available.
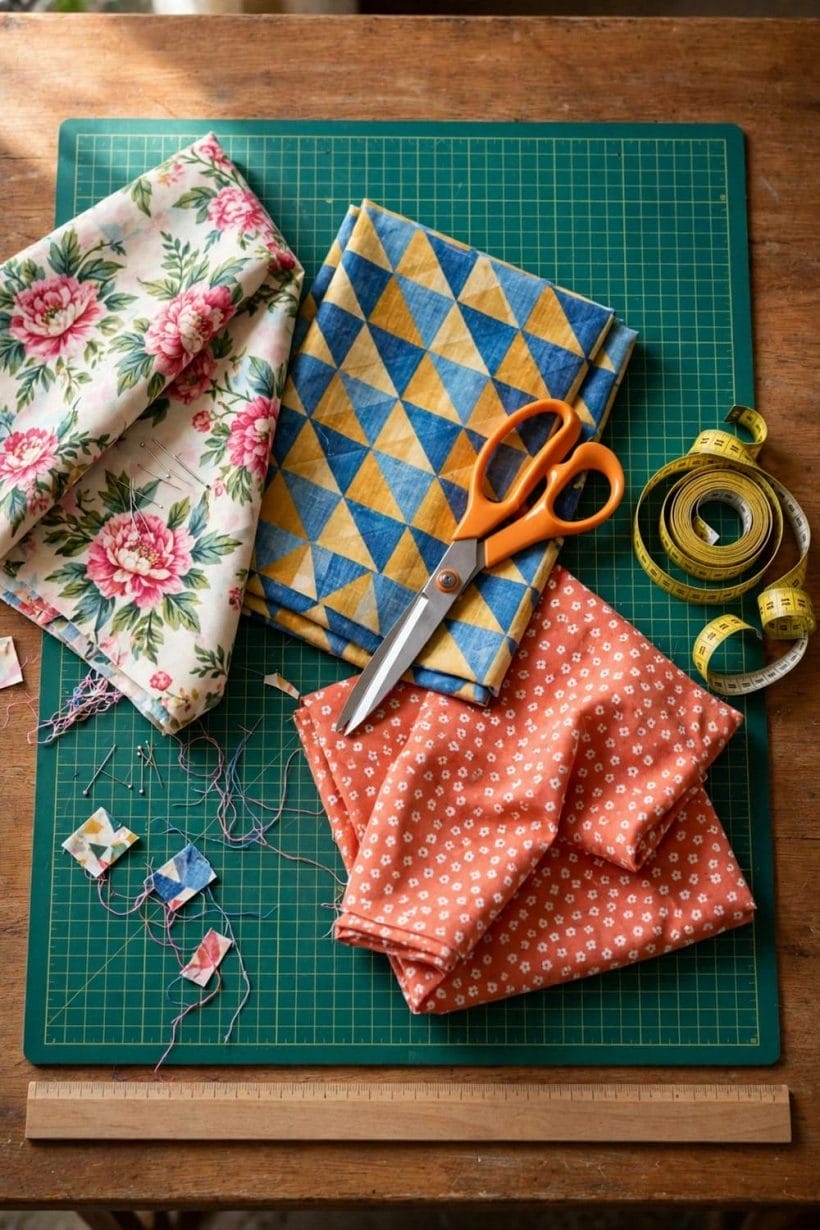
A cutting mat protects the surface and gives grid lines for straight cuts, while a rotary cutter suits long straight edges and sharp shears suit curves. Whichever tools you use, keep them sharp: dull blades drag fabric and distort the cut line.
Press fabric before cutting, not after. Creases and folds cut into a pattern become permanent errors, while a quick press beforehand gives a true edge to work from.
Seam finishes deserve a moment of thought, because they decide how a garment survives washing. A zigzag stitch along a raw edge, an overlocked edge where available, or a bound seam for unlined jackets all stop fraying, and the right choice depends on the fabric and the item. Test the finish on a scrap first: a finish that puckers a light cloth or stiffens a soft one is the wrong finish for that fabric. Neat insides are not vanity; they are what keeps a garment wearable after dozens of washes.
6. Pressing: The Step Beginners Skip
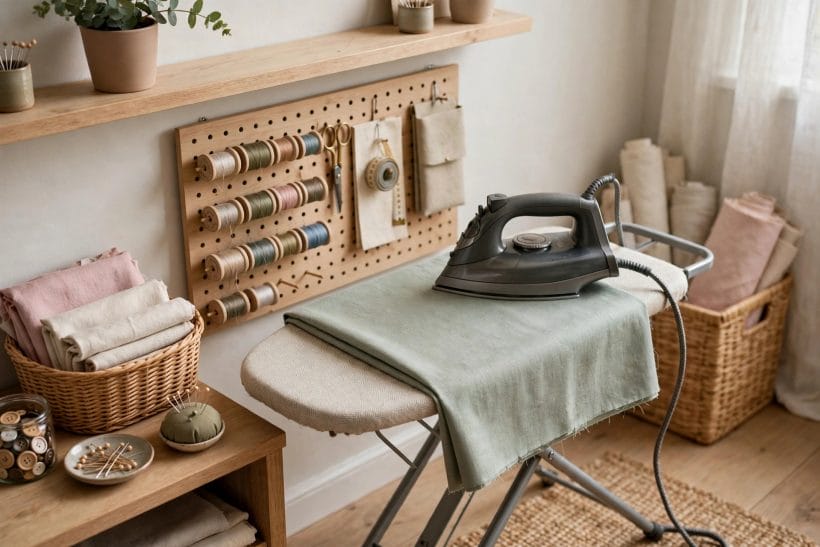
Pressing is not ironing a finished garment; it is shaping seams as you sew, and it accounts for much of the difference between homemade-looking and well-made results. A small ironing board or a pressing mat beside the sewing table, with a basic iron, covers the need.
Press each seam as it is sewn, before crossing it with another seam. Seams pressed open lie flatter, seams pressed to one side suit bulky fabrics, and a quick press at each stage keeps the work accurate as it grows.
Test heat on a scrap of the same fabric first, especially with synthetics and delicate weaves, and keep a pressing cloth handy for fabrics that mark easily. A scorched piece is a ruined piece, and a test scrap costs nothing.
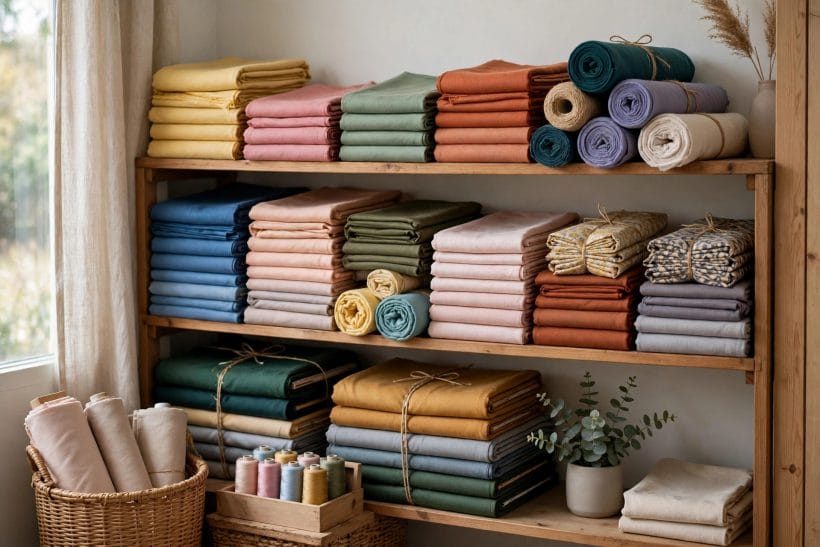
7. Fabric Storage: Folded, Labelled, Accessible
Fabric stored in a heap becomes fabric forgotten. Folded stacks on a shelf, sorted roughly by weight or project, stay visible and usable, and a quick note on each stack — what it is, how much there is, what it was bought for — prevents the familiar problem of a beautiful fabric with no remembered plan.
Keep fabric out of direct sunlight, which fades it unevenly, and away from damp, which spots it. A shelf in the sewing corner beats a box in the loft, because fabric you can see is fabric you will use.
Pre-wash fabric before cutting whenever the finished item will be washed, since fabric that shrinks after sewing distorts seams and fit. Wash and dry it the way the finished item will be treated, then press it before it reaches the cutting table.
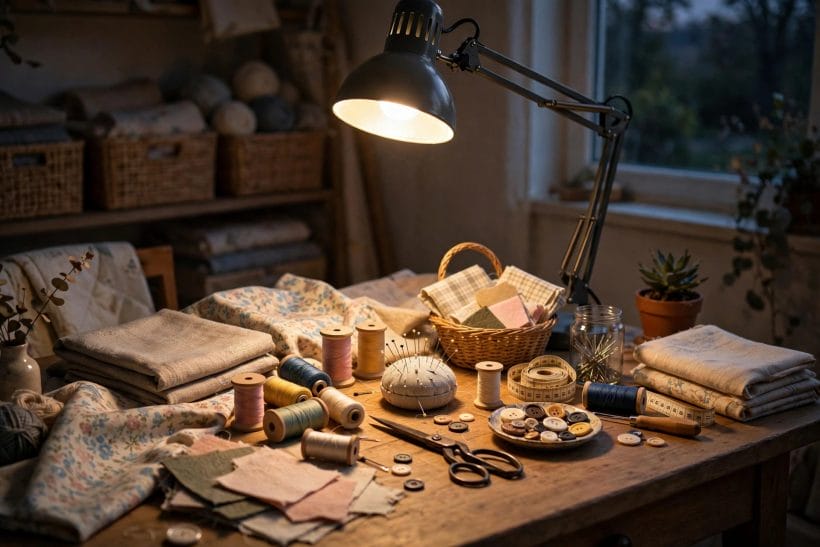
Evening sewing needs its own light check, because the corner that works in daylight can fail after dark. A task lamp with adjustable brightness and direction covers most needs, and the colour of its light affects how fabrics read — a warm lamp flatters warm tones and dulls cool ones, while a cooler lamp does the reverse. Check critical colour matches in daylight even when the sewing happens at night, and avoid sewing fine dark fabrics under a single dim bulb, which strains eyes and hides mistakes until morning.
8. The Chair And The Posture Check
Sewing sessions run long, and a bad chair turns them into backache. A chair that lets feet rest flat, supports the lower back and puts the work at a comfortable height matters as much as any tool in the corner.
Check posture after the first half hour, not the first minute: shoulders creeping up, neck craning forward and feet dangling all signal a setup that needs adjusting. A footrest, a cushion or a different chair usually fixes it without buying anything specialised.
Take short breaks to stand and stretch, especially during long seams. Tired hands make uneven stitches, and a two-minute break restores accuracy better than pushing through.
9. Keeping The Corner Shared-Home Friendly
Most sewing corners live in shared homes, so the setup should respect the household: a corner that can be tidied in a few minutes, tools that are put away safely, and a table that can serve another purpose when guests arrive.
A cover over the machine keeps dust off and signals that the corner is cared for. A basket or box for the current project keeps work-in-progress contained rather than spread across the room, and a small tray for pins and needles keeps them off the floor.
Agree the boundaries early: which table is sewing’s, where fabric lives, and what happens when the room is needed for something else. A corner with clear boundaries survives shared living; a corner that sprawls does not.
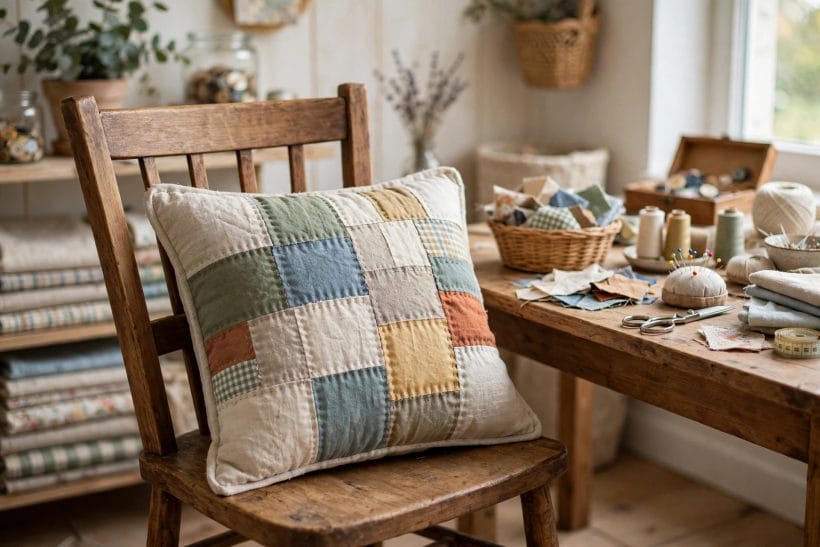
A sensible ladder of first projects builds skill without frustration: a simple cushion cover teaches straight seams and zips, a tote bag teaches heavier cloth and topstitching, and a simple garment teaches fitting and finishing. Each project should stretch one skill, not five at once, and each finished item — however imperfect — is worth keeping, because it shows progress honestly. The maker who finishes ten small projects learns more than the maker who starts one ambitious project and abandons it.
10. Growing The Corner Over Time
A sewing corner does not need to arrive complete. Start with machine, table, light and a place for supplies, then add what each project teaches you is missing: a better lamp after the first evening session, a larger cutting surface after the first big project, a pressing station after the first garment that demanded it.
Notice which tools you reach for every time and which sit untouched; the first group deserves the best spot in the corner, the second can move to a shelf. A corner that evolves with its maker stays useful, while a corner bought complete on day one often gathers things nobody uses.
The real test is simple: can you sit down and start sewing within a minute, without unpacking, hunting or clearing? When the answer is yes, the corner is finished — whatever it looks like.
Leave a small corner of the corner for mending, because a sewing setup that only makes new things misses half its value. A button box, a needle book, a few spools of common thread colours and a small pair of scissors, kept together, mean a loose button or a split seam gets fixed in minutes rather than joining a pile of clothes awaiting attention. Mending is also the gentlest way back into sewing after a break: a ten-minute repair rebuilds the habit faster than any new project.
Keep a small record of what the corner costs in time rather than money, because the real expense of sewing is rarely the fabric. A note of hours spent, steps enjoyed and steps endured shows which projects repay their time and which do not, and it guides the next choice better than any review. The corner that respects its maker’s time — with everything ready, light good and tools at hand — is the corner that keeps making, year after year, and that steady habit is worth more than any single finished item.
Final Considerations
A home sewing corner is a small room’s best trick: a steady table, good light, visible storage, a cutting spot and a pressing place, arranged so sewing can start in a minute. No dedicated room is required and no expensive furniture either — just a corner that stays set up and stays tidy.
Start with the corner you have, set the machine up properly, and let each project teach you the next improvement. The corner that gets used is the corner that was built around real sewing, not around a picture of one.
For more home ideas, see bookcase ideas, she shed ideas, craftsman living room ideas, daybed room ideas, tiny house designs and interior design ideas.


0 Comments