

An aloe that stood upright for years can slump almost overnight — leaves folding flat, creasing along their length, turning dull at the tips. It looks dramatic, but a drooping aloe is usually asking for one simple correction, not a rescue mission.
This guide works through the checks in the order a grower would: water first, then light, drainage, roots and temperature — and what to do at each step to bring the plant back.
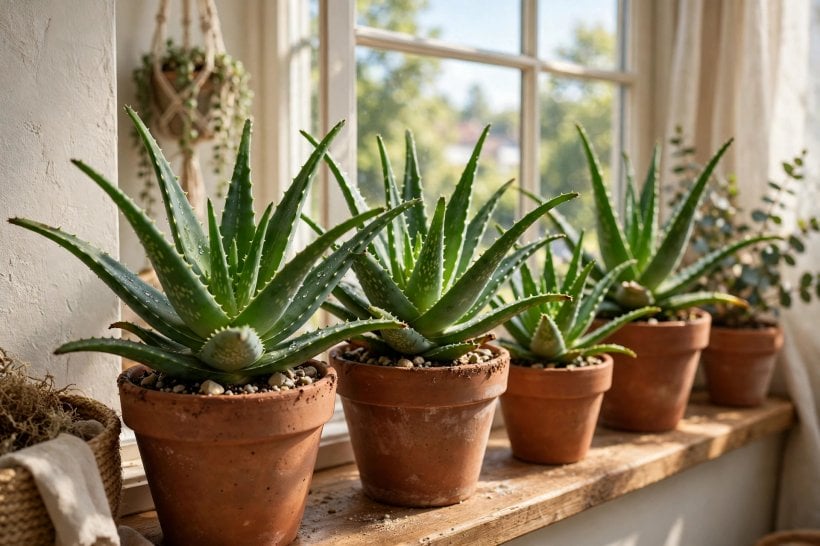
1. Aloe Plant Wilting at a Glance
Aloe stores water in its leaves, so the leaves themselves are the plant’s health gauge: plump and firm means the reserves are full, thin and creased means the plant is spending water faster than its roots can replace it. Aloe plant wilting is almost never a mystery disease — it is the visible end of a watering, light or root problem that has been building for weeks.
| Most common cause? | Water imbalance — far more often too much water than too little, because soggy roots stop working and the leaves starve in wet soil. |
| First check? | Feel the soil. Dry and dusty points to thirst; damp, heavy or sour-smelling points to overwatering and root trouble. |
| Can a drooping aloe recover? | Usually yes — firm up the routine, trim only fully dead leaves, and new growth from the centre is the sign it has turned the corner. |
| What will not help? | Emergency watering of a plant already sitting wet, feeding a stressed plant, or repotting repeatedly — all three add stress. |
| Prevention? | Bone-dry soil between waterings, free drainage, and the brightest spot you can give it. |
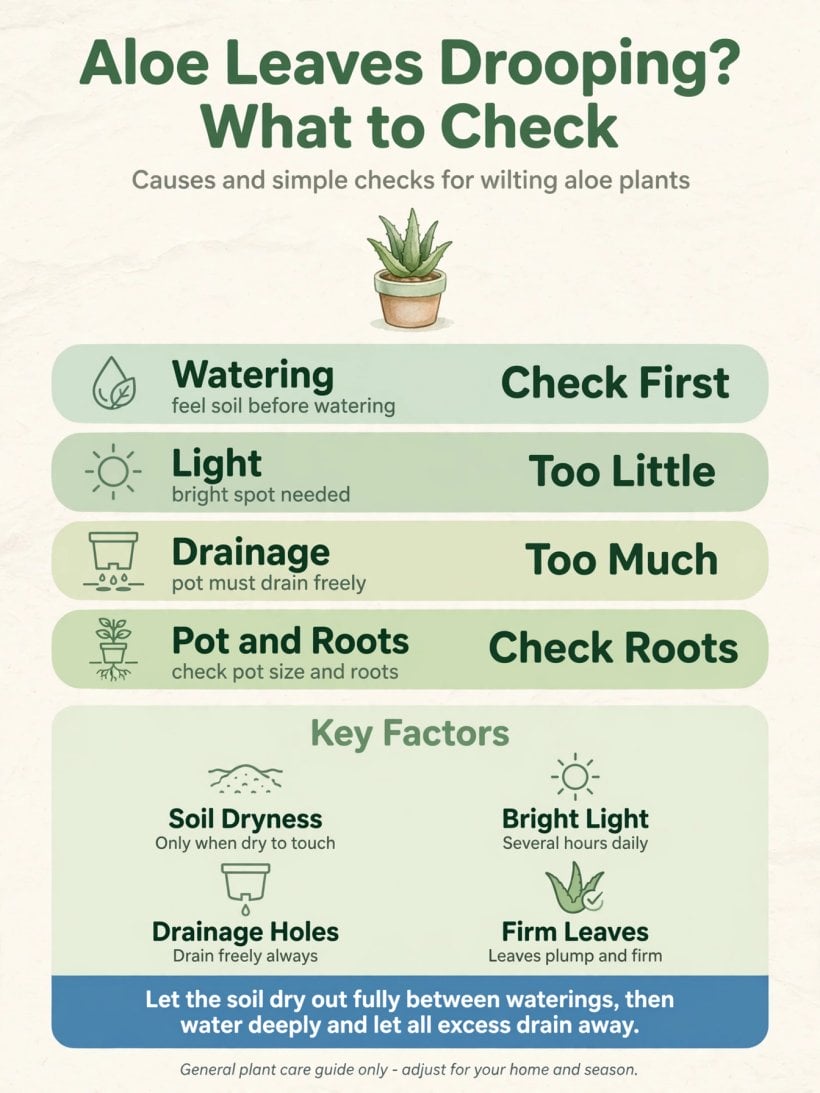
At a glance: check the soil before anything else — most drooping aloes are overwatered, not thirsty, and the fix starts at the roots.
2. Read the Leaves: What the Droop Is Telling You
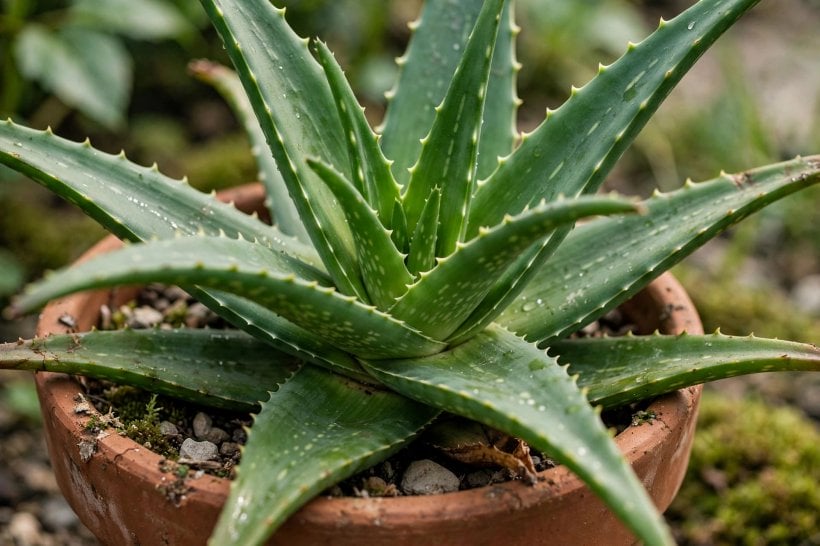
Different droops mean different things, and reading them correctly saves the plant from the wrong remedy. Leaves that fold downward and feel thin or papery, with creases running along their length, are spending stored water — the classic thirst pattern, or the sign that roots can no longer supply the leaf. Leaves that go soft, translucent or mushy at the base, sometimes with a yellow or brown tinge, are taking in more water than they can hold and are starting to rot — a very different emergency.
Colour is the second signal. A healthy aloe is grey-green; a stressed one often blushes reddish-brown in strong sun (usually harmless and reversible), while pale, stretched growth reaching sideways means it has been short of light for a long time. Texture completes the picture: run a leaf gently between finger and thumb — a well-watered leaf feels full and resistant, like a filled water balloon, while a thirsty one feels hollow and folds easily, and a rotting one feels soft all the way through with no resistance at all. That ten-second touch test, combined with the soil check in the next section, diagnoses most wilting aloes without unpotting anything. The stretched, weak leaves of a light-starved plant droop simply because they grew too soft to hold themselves up — the same reason indoor growers pair succulents with the setups in our LED grow lights for plants guide during dark winters.
3. Check One: Water — Too Much Is Worse Than Too Little
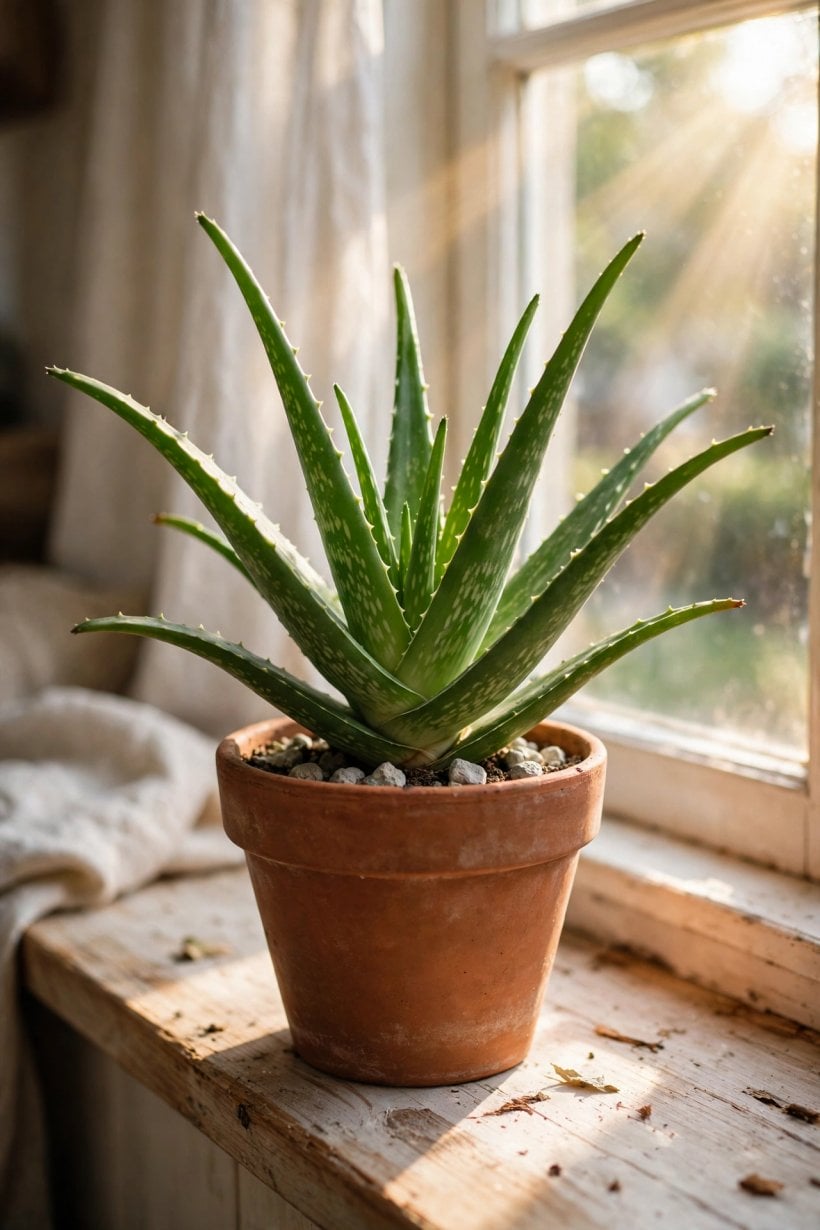
Push a finger into the soil up to the second knuckle. If it comes out damp, do not water — whatever the leaves are doing, the problem is not thirst. Aloes are desert plants built for drought: their roots rot quietly in soil that stays wet, and once the roots soften, the plant wilts exactly as if it were thirsty, because no water is reaching the leaves. Watering again at that point is the commonest way a recoverable aloe is lost.
If the soil is dry all the way down and the pot feels light, the plant is genuinely thirsty. Water it deeply once — slowly, until water runs from the drainage holes — then empty the saucer so the pot never stands in water. Thin, creased leaves usually plump up over the following days as the roots drink. From then on, hold the desert rhythm: soak, drain fully, then leave the plant alone until the soil is dry again right through the pot.
4. Check Two: Light — The Slow, Quiet Cause
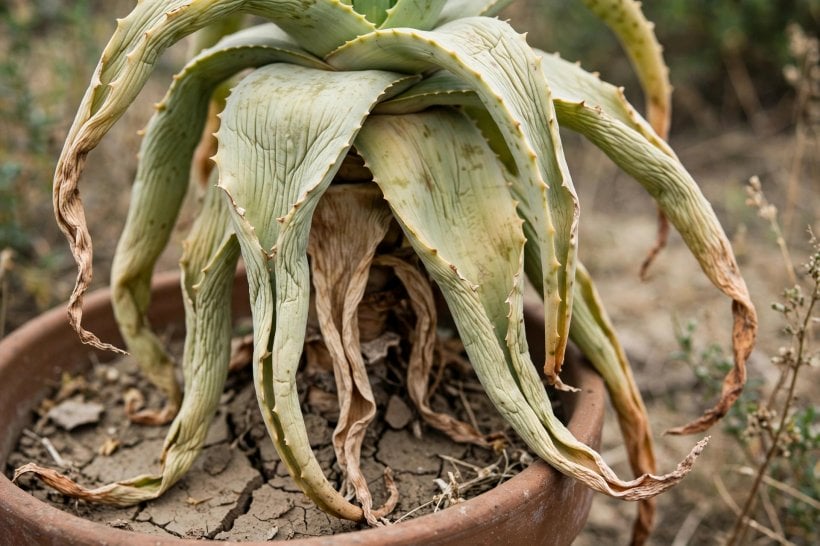
An aloe grown in a dim corner stretches toward the light, producing longer, paler, weaker leaves that eventually flop under their own weight. No watering routine fixes that shape — the drooping leaves will not firm up again, but the plant can still be saved: move it gradually into the brightest spot available, a few hours more sun each day over a week or two, because a sudden move into full midday sun can scorch leaves that have never known it.
Once in good light, new growth from the centre comes in compact and upright, and the plant slowly outgrows the floppy older leaves, which can be removed as they dry out. Window-grown succulents in small homes often share the sill with the compact plantings in our container garden ideas — the principle is identical: the brightest position belongs to the plants that evolved under desert sun.
5. Check Three: Drainage and the Pot Itself
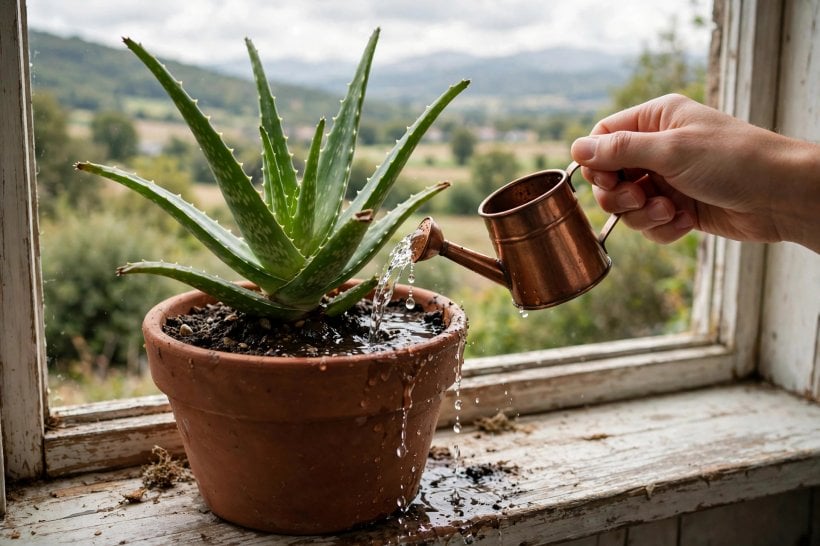
Turn the pot over and look at the drainage holes. No holes, blocked holes, or a decorative outer pot holding a pool of water all produce the same slow drowning. Aloe needs a pot that empties completely every time it is watered, in a gritty, free-draining mix — ordinary multipurpose compost holds moisture far too long around the roots. If the soil smells sour or stays wet for weeks, repotting into fresh, gritty soil is worth more than any tonic.
Size matters too. A small aloe in an oversized pot sits in a large volume of soil that dries slowly and stays wet around a small root ball; a pot only a little wider than the rosette dries evenly and is far easier to judge. Terracotta suits aloes well because it breathes and dries faster than plastic — and because a top-heavy aloe in a light plastic pot tips over, which is its own kind of wilting accident.
The soil mix is worth getting right while the pot is in your hands. A simple recipe growers rely on is ordinary cactus or succulent compost with extra grit, perlite or coarse sand stirred through — roughly a third of the mix by volume — so water runs through instead of lingering. If the surface of the soil has gone pale and crusty with mineral deposits from hard water, scrape the top layer away and replace it with fresh mix; the crust slows drying and is a small but real contributor to roots staying wet longer than they should.
6. Check Four: Roots — When to Unpot and Inspect
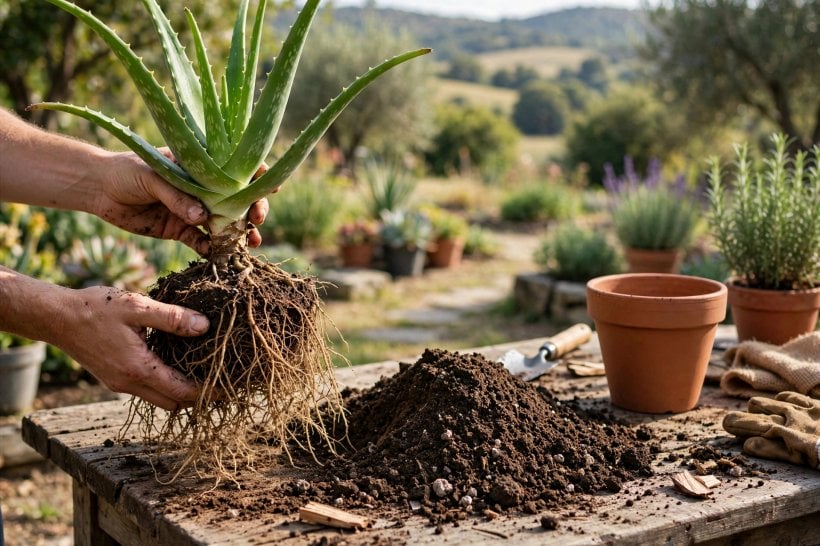
If the soil has been wet for a long time, the leaves are soft at the base, or the plant rocks loosely in its pot, it is time to look at the roots. Tip the plant out gently and read what you find: healthy aloe roots are pale, firm and plentiful; rotted roots are brown or black, soft, and may smell. Healthy roots mean the droop is thirst or light, and the answer is routine, not surgery.
Where rot has started, cut away every soft, dark root and any mushy leaf base with a clean blade, back to firm, pale tissue. Let the plant sit out of its pot in the air for a day or two so the cuts dry and seal, then repot into fresh, dry, gritty soil and wait several days before the first light watering. This sounds drastic, but aloes root readily from the stem — a cleaned plant in dry soil has a far better chance than one left sitting in the wet soil that rotted it. Offsets (pups) around the base can be separated at the same time and potted up as insurance plants, a technique shared with the desert plantings in our rock and succulent garden guide.
7. Check Five: Temperature, Feeding and Other Stress
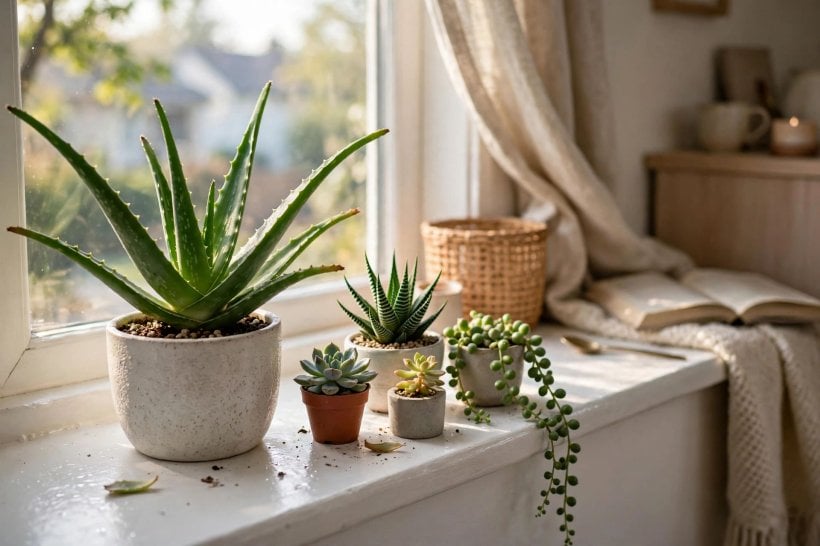
Cold is the quiet third cause. Aloe is frost-tender: leaves chilled against a cold window in winter, or a plant left outdoors on cold nights, can go limp and glassy as cell damage sets in. Move a chilled plant somewhere cool but frost-free, let it recover slowly, and trim only the parts that turn fully mushy — damaged leaves will not recover, but the crown often survives and regrows.
Feeding is rarely the issue and never the cure. A stressed, drooping aloe cannot use fertiliser, and feeding wet, struggling roots only adds salts to the soil. Feed a healthy aloe sparingly in the growing season at most — these are plants that thrive on neglect in poor soil. Also check the leaf bases and undersides for pests while you inspect: clusters of tiny insects or fluffy white patches weaken a plant slowly, and the same identification routine used for tiny flies in house plants applies — isolate the plant, clean the leaves, and treat before returning it to the group.
8. The Recovery Routine, Week by Week
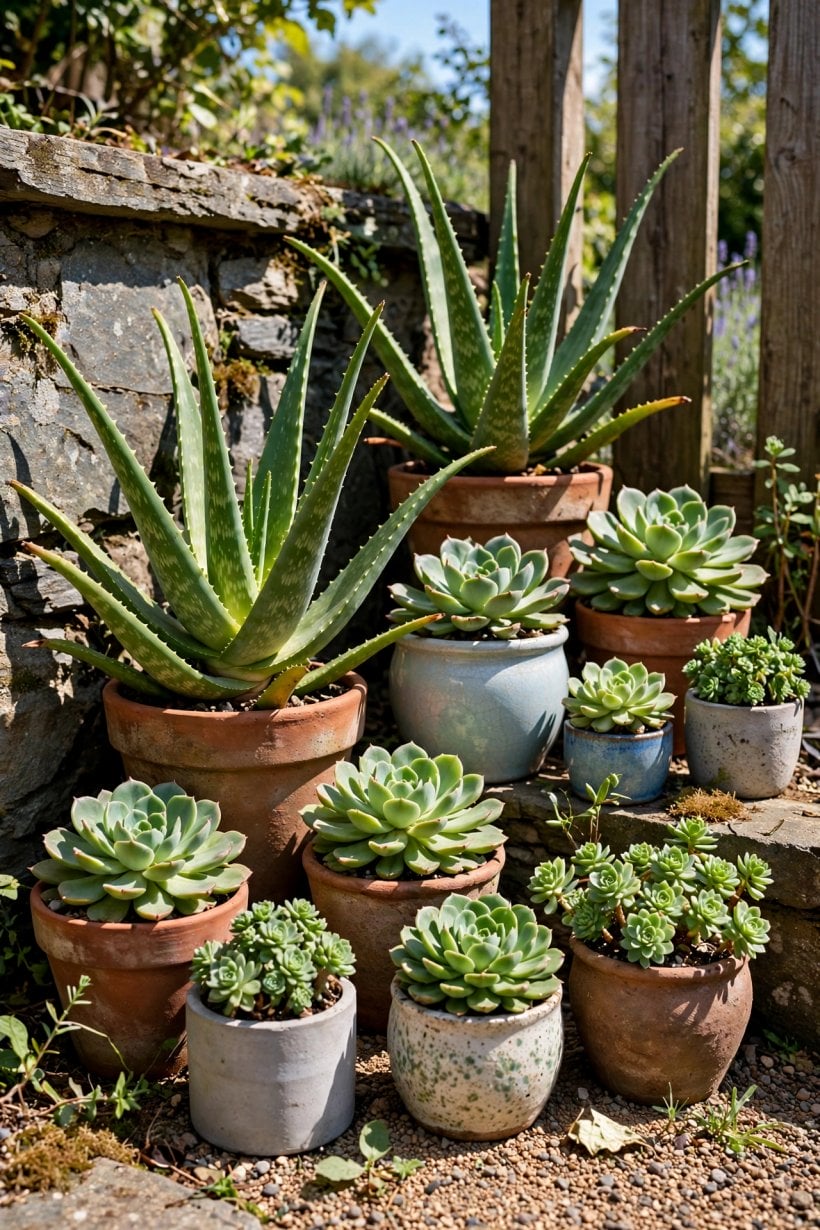
Recovery is mostly patience. In the first week, do the diagnosis above, correct the one cause you found — dry the plant out, or water it once deeply, or start the gradual move into light — and then leave it alone. Remove only leaves that are fully dead and dry; leaves that are merely drooped or creased can still recover and are feeding the plant meanwhile.
Over the following weeks, judge progress by the centre of the rosette, not the old outer leaves. New leaves emerging upright, firm and grey-green mean the plant has turned the corner, even while the oldest leaves still look tired. Keep the watering rhythm strict through recovery — soak only when the soil is dry throughout — and resist the urge to repot, feed or move the plant again while it stabilises. Most aloes that are going to recover show new central growth within a few weeks of the correction.
9. Keeping an Aloe Upright for Good
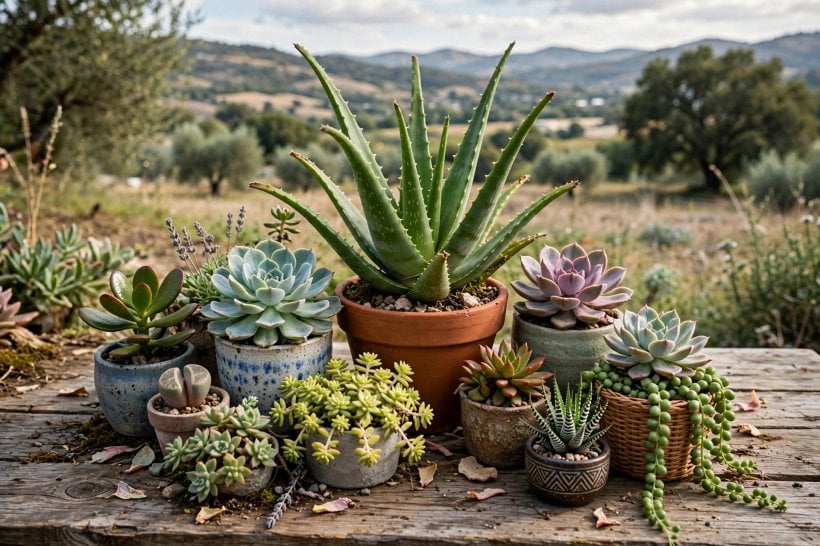
Long-term, an aloe asks for very little: the brightest spot in the house, a gritty soil that dries fully between deep waterings, a pot with free drainage, and protection from frost. Rotate the pot a quarter turn every week or two so the rosette grows evenly instead of leaning toward the window, and expect a happy plant to produce pups — offsets at the base that can be separated and potted on, or left to form a cluster.
Seasonal rhythm helps: growth slows in winter, so watering should slow with it — a winter aloe may need water only rarely, and overwatering in the cold, dark months is when most houseplant aloes are lost. In summer, on a bright sill, the same plant may want a deep drink every couple of weeks; the calendar matters less than the soil check, which is why the finger test stays the rule in every season. If you keep several succulents together, water each on its own schedule rather than treating the shelf as one plant — pots dry at different speeds, and the aloe that is watered “when the neighbours are done” is often the one that starts to crease. In a greenhouse or garden room, aloes sit happily alongside the other sun-lovers planned in our garden shed ideas and climbing plants guides — bright, airy, and left largely to themselves.
10. When the Plant Cannot Be Saved — and What to Save From It
Sometimes the rot has reached the crown: the centre of the rosette is soft, leaves pull away at a touch, and no firm tissue remains. That plant will not recover, and the honest move is to compost it rather than nurse it for months. Even then, the plant often leaves something behind — healthy pups at the base, or firm outer leaves, can be separated, dried for a day or two, and potted into dry gritty soil, where they will root in time.
Take the lesson with the cutting: note which check failed — water, light, drainage, cold — and change that one thing for the next plant. Aloe is one of the most forgiving houseplants there is once its desert logic is respected; nearly every loss traces back to kindness in the form of water, given too often.
Final Considerations
A drooping, creasing aloe is a diagnosis problem, not a disaster: feel the soil first, then check light, drainage, roots and cold, in that order — and correct the single cause you find rather than changing everything at once. Overwatering rots more aloes than drought ever will, so when in doubt, wait: a thirsty aloe recovers in days, while a drowned one may not recover at all.
Give the plant time, judge it by the new growth at its centre, and keep the desert rhythm — bright light, dry spells, deep drinks — and the leaves will stand up and stay up.




0 Comments