

A low ceiling, a stray bulkhead and one very determined support post: basement bathrooms rarely arrive as blank canvases. Treat those quirks as the brief itself, though, and the room stops feeling like a compromise and starts feeling deliberately designed.
This guide works through layout, moisture, light, plumbing and finishes in the order that actually matters, so every decision supports the next one.
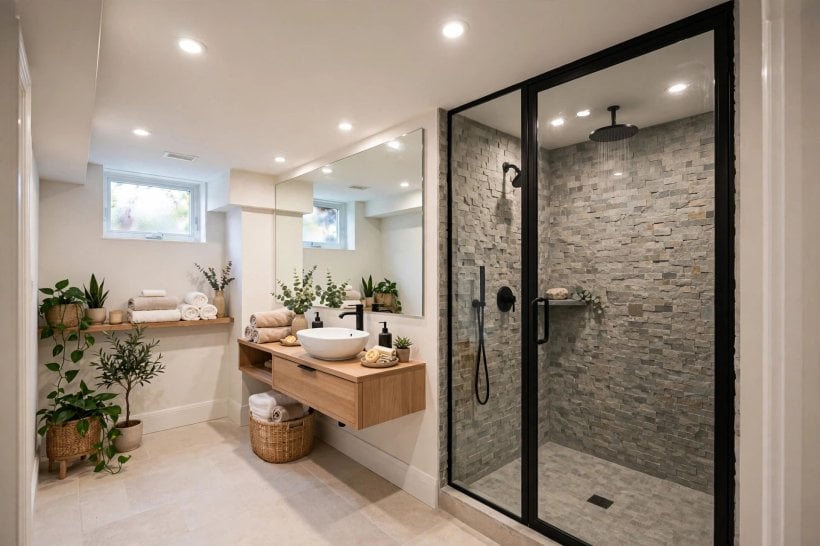
1. Start With the Constraints, Not the Catalogue
Every successful basement bathroom begins with honest measuring. Record the ceiling height at its lowest point, not its highest, and mark every pipe, duct, post and cleanout on a simple sketch before you fall for any fixture. A room that looks awkward on paper often reveals a natural wet zone along one wall, a tall corner for storage, and a quiet nook that suits a vanity better than the obvious spot ever would. Photograph everything, too, because once walls close, those pictures become the map everyone wishes they had kept.
| At a Glance | What It Means Downstairs |
|---|---|
| Best suited to | Guest suites, teen and in-law space, gym and office floors, rental-ready lower levels |
| Biggest challenge | Moisture, low light and plumbing that cannot move far |
| First fix to fund | Waterproofing and ventilation, before any decorative finish |
| Layout sweet spot | Fixtures grouped along one plumbing wall, storage in the leftover nooks |
| Light strategy | Layered artificial light, plus pale reflective surfaces |
| Budget approach | Spend on what stays hidden, save on what can swap out later |
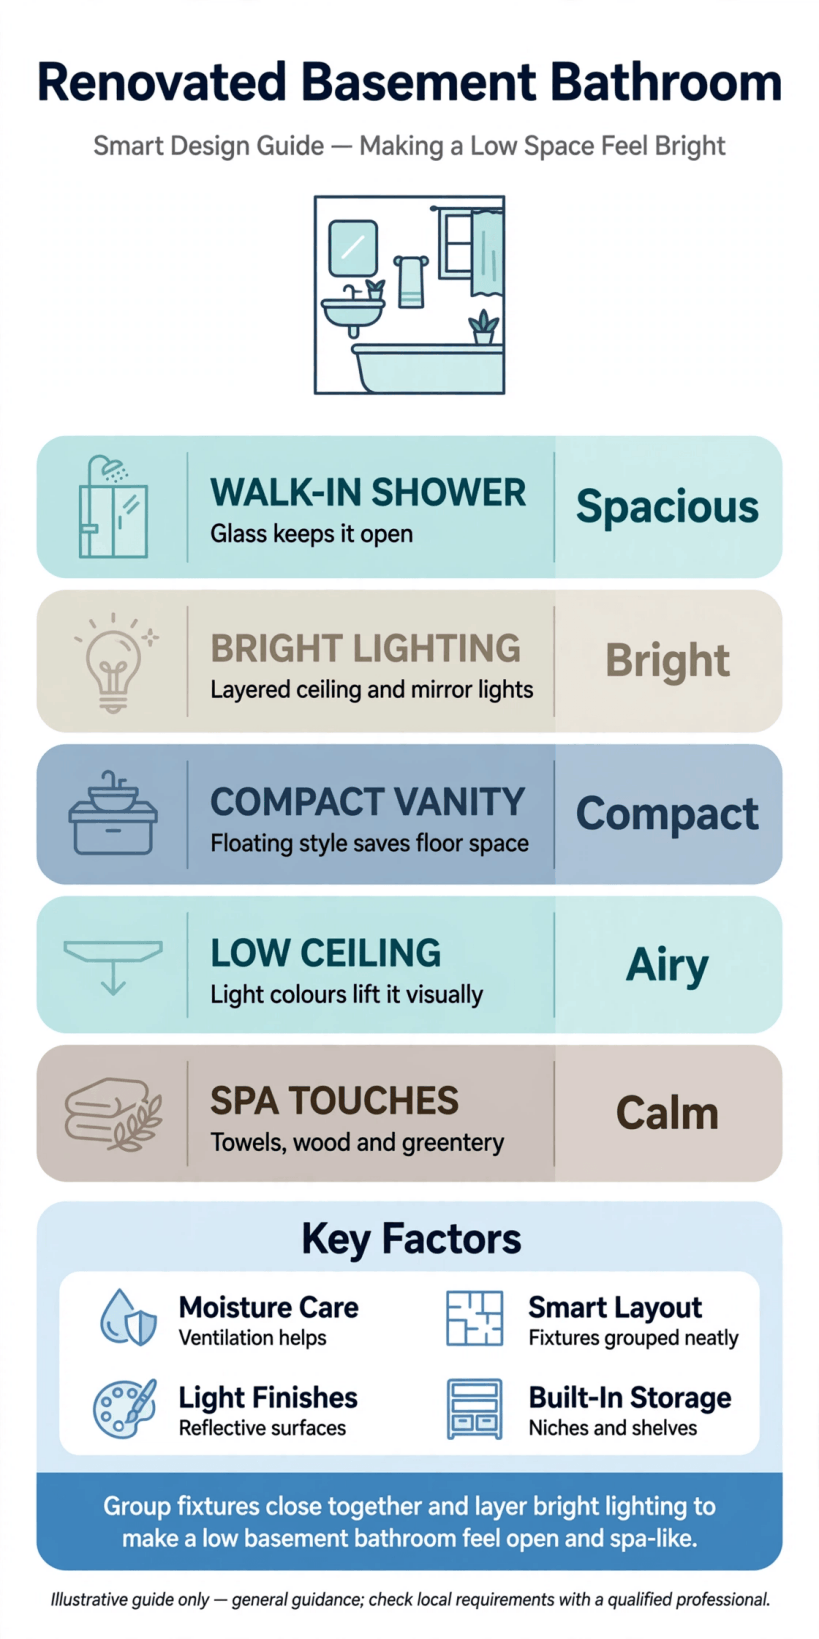
A quick-reference summary of priorities, layout logic and spending order for a lower-level bathroom project.
That sketch becomes your filter for everything that follows. When a product, colour or layout idea cannot survive the measurements, it leaves the list early, which protects both the budget and your patience. Designers who work in small footprints, like the ones behind these basement interior design ideas, plan this way instinctively: fixed points first, beautiful things second. It is the same discipline that turns a renovated basement bathroom from a patched-together afterthought into a room that feels planned from the slab up.
2. Layouts That Make Low Ceilings and Tight Corners Work
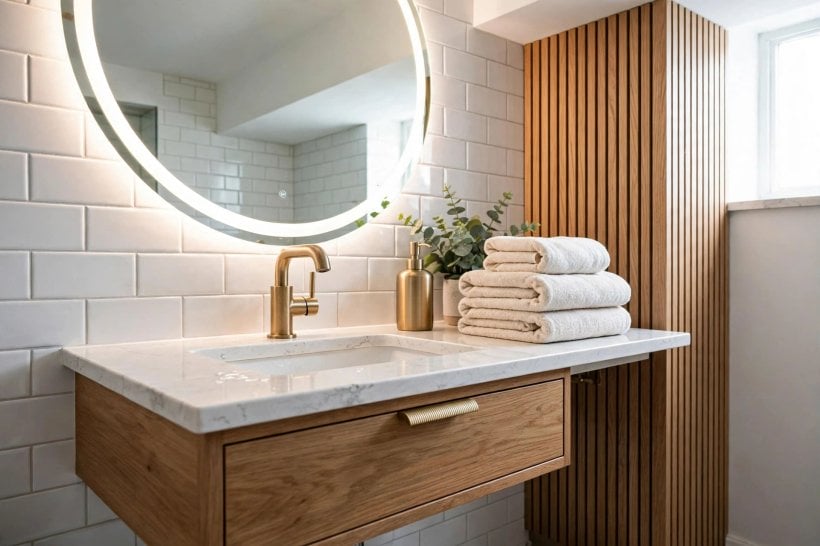
Three layout families solve most basement bathrooms. The single-wall layout lines the shower, toilet and vanity along the plumbing wall, leaving the opposite side open for a linen tower or a bench. The L-shaped layout bends around a post or duct instead of fighting it, tucking the shower into the short leg. The ensuite split keeps the shower and vanity in the bedroom zone and gives the toilet its own small, private compartment, which feels generous even in a modest footprint.
Whatever shape you choose, protect the walking path. A clear route from door to vanity, wide enough to move without turning sideways, makes a small room feel calm instead of cramped. Pocket or outward-opening doors rescue precious floor area, and a corner shower with a curved or angled front softens circulation where a square enclosure would jut. For more small-room thinking, these bathroom interior design ideas for tiny houses show how ruthlessly edited layouts still feel welcoming.
Head height deserves the same honesty. Stand in the shower position and raise your arms; if the ceiling or a duct crowds that simple test, shift the shower rather than shrinking your life to fit it. Keep the toilet where knees and elbows stay clear of walls and vanity edges, and let the vanity take the lowest corner if something has to. Rooms feel generous when the tallest activities get the tallest space, a principle so simple it is easy to forget until the first shower in a badly planned room reminds you.
3. Waterproofing and Moisture: The Unglamorous Hero
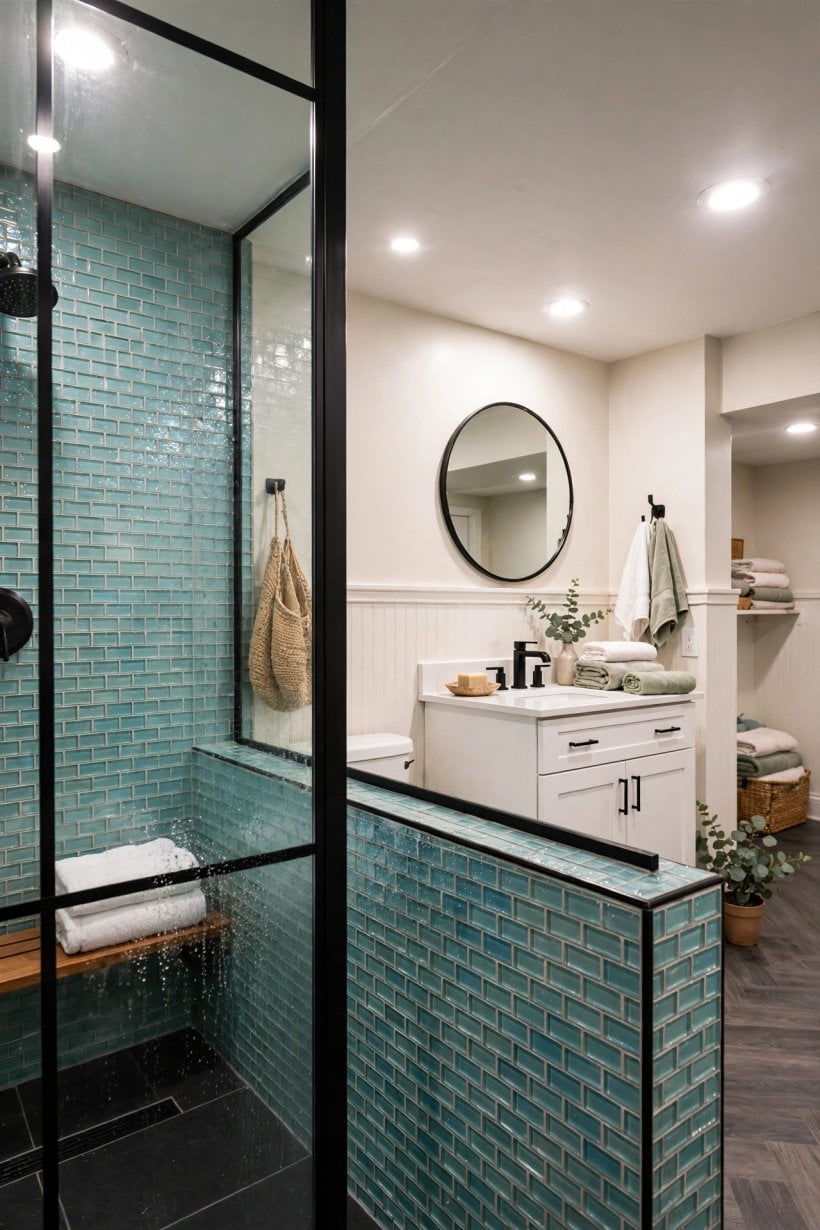
Basements sit below grade, wrapped in cool earth, so condensation and the occasional seep are facts of life rather than bad luck. Before finishes go in, the floor and lower walls want a proper waterproofing approach suited to your home: sealed joints, a membrane system in the shower, and materials that tolerate humidity without swelling, peeling or feeding mould. Cement-based backer boards, porcelain tile and quality sealants all earn their place here. If the house has any history of water at the foundation, solve that story outdoors and in the drainage first, because no interior finish outruns a wet wall forever.
Equally important is what happens after a shower. Warm, damp air needs somewhere to go, and in a basement that means mechanical extraction ducted properly to the outside, sized for the room and run long enough to clear lingering steam. A humidity-sensing switch removes the guesswork for guests. Think of moisture control as invisible design: nobody compliments it in photos, yet it is the reason the paint, grout and cabinetry still look fresh years later, and the reason the room smells like a bathroom rather than a cellar.
4. Light Without Windows (or With Very Small Ones)
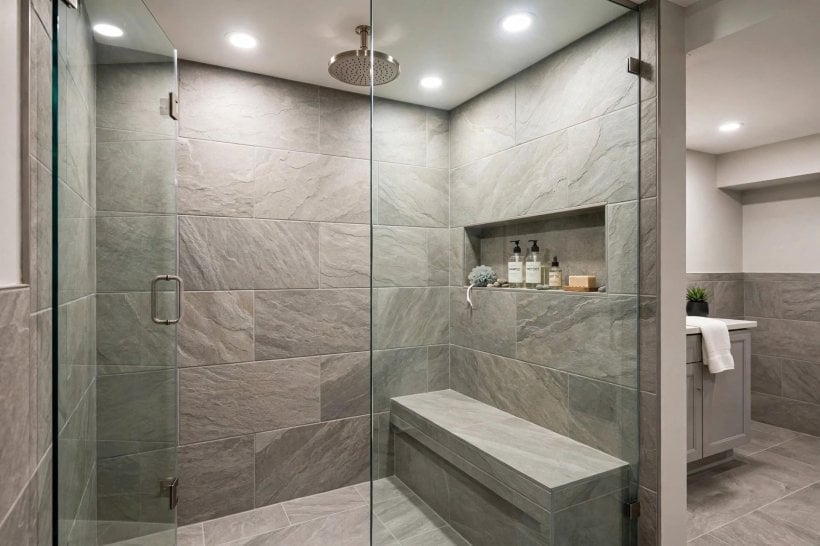
Many basement bathrooms have one small high window or none at all, so lighting has to do the work daylight does upstairs. Plan it in layers. Even, shadow-free ambient light from the ceiling sets the base. Focused light at the mirror, ideally from both sides or a backlit mirror, makes shaving and makeup honest rather than flattering guesswork. A soft accent, perhaps a low night light near the floor, keeps midnight visits gentle and saves guests from hunting for switches in an unfamiliar room.
Surfaces multiply whatever light you install. Pale walls, a light floor and one large mirror bounce brightness into corners that would otherwise stay gloomy, while glossy tile should be used with restraint so the room glows rather than glares. Warm-white bulbs keep skin tones friendly in a windowless space. If you are lucky enough to have a small window, frost it for privacy and treat it as a bonus rather than the plan. The layering principle is borrowed from living areas; these living room interior design ideas show how small rooms use mixed light levels to feel larger, and the trick translates beautifully below stairs.
5. Plumbing Realities: Drains, Pumps and Access
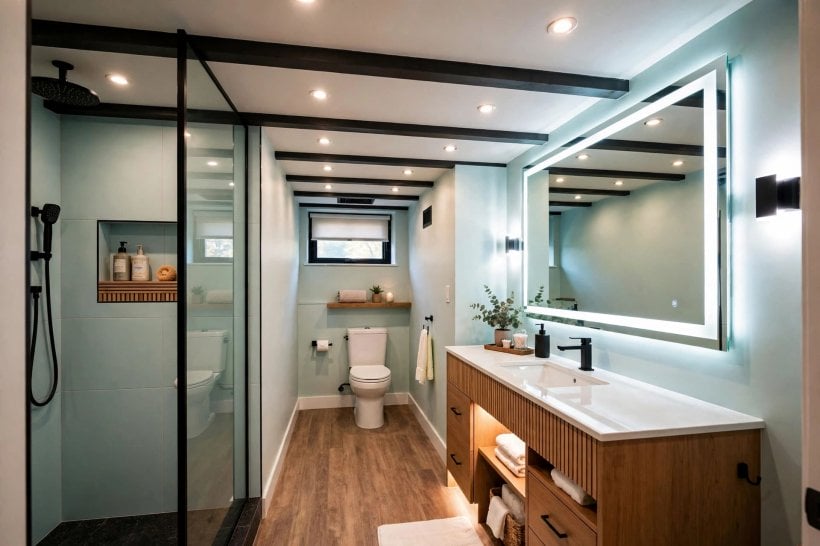
Below-grade plumbing works with gravity only when the drains cooperate. Where the main sewer line sits higher than your new fixtures, solutions such as upflush systems or ejector pumps enter the conversation, and a qualified plumber should judge which, if any, your home needs. This is the one area where optimism is expensive: get the assessment early, before floors are finished and layouts are promised to anyone. Ask, too, about permits and inspections in your area, because below-grade work is exactly the kind that future buyers and their surveyors ask about.
Access is the quiet twin of installation. Shut-off valves you can reach, cleanouts that stay uncovered, and pump lids that are not tiled over will save real money and real tempers later. If a bulkhead or lowered ceiling is needed to hide pipe runs, treat it as a design feature: align it with the shower edge, paint it with the walls, and it reads as architecture rather than apology. Good plumbers think in decades; borrowing that mindset at the planning stage keeps the whole project calmer. Label the valves while you are at it, in plain language, so a stressed guest or a future owner can act quickly at midnight without a torch and a guess.
6. Fixtures Sized for the Space You Actually Have
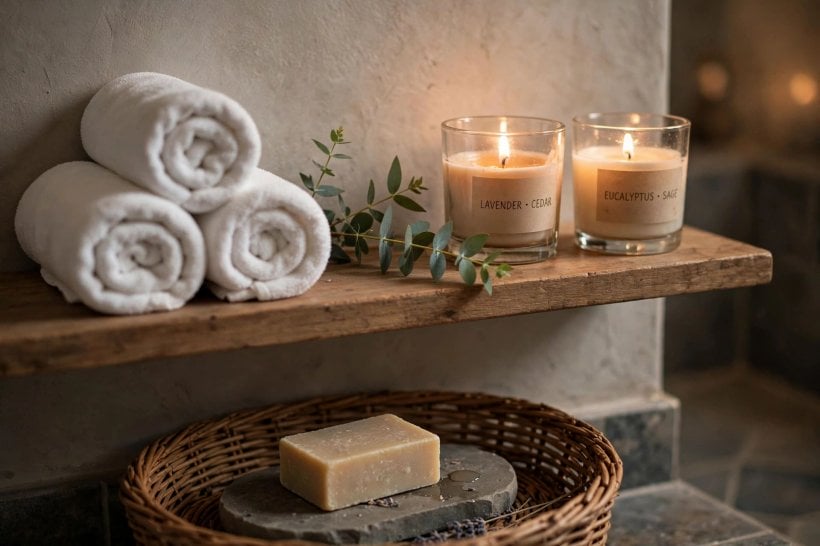
Standard fixtures in a shrunken room create the squeezed feeling people blame on square footage. Compact options change the maths: a shorter-projection toilet, a wall-hung basin or a narrow vanity with deep drawers, and a shower sized honestly for one person standing comfortably rather than two people performing. Each saved inch returns as elbow room, which is the luxury a small bathroom actually trades in. A frameless glass panel instead of a framed enclosure also returns visual inches, because the eye travels to the tile beyond rather than stopping at metal edges.
Test before you commit. Tape the footprint of a proposed vanity or shower onto the floor and live with the outline for a day, walking the path, miming the door swing, standing where you would dry off. Cardboard tells the truth that showrooms hide. Compact does not mean flimsy, either; small-space kitchens face the same discipline, and the approach in this tiny house kitchen design guide — measure honestly, choose fewer, better pieces — applies fixture for fixture in a bathroom.
7. Colour, Tile and Finishes That Earn Their Keep
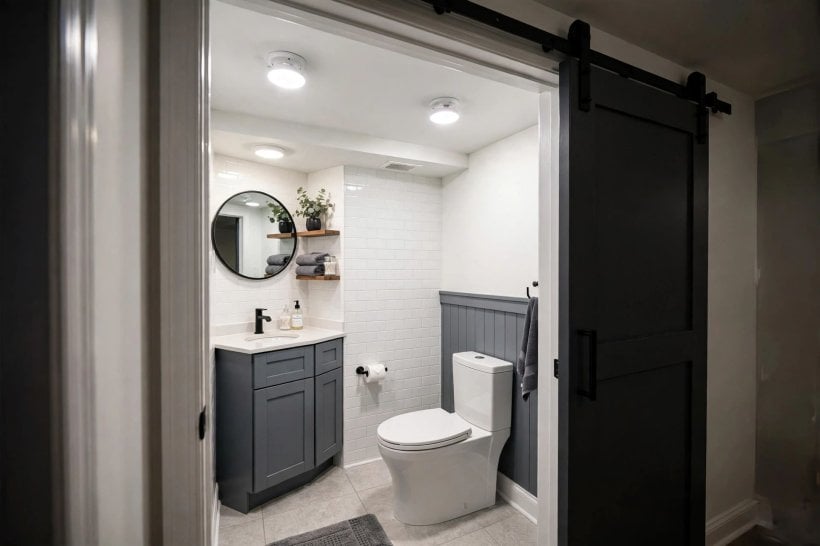
Colour downstairs behaves differently because the light is entirely yours to control. Soft whites, warm greys and muted stone tones keep the room serene, while one deeper accent — a vanity in ink blue, a shower wall in forest or charcoal — gives the eye a resting place and stops pale from becoming bland. Large-format tiles reduce grout lines and visual noise, which quietly enlarges the room, and running floor tile straight through the shower threshold removes another visual stop sign. Keep grout tones close to the tile colour for the same seamless effect, reserving contrast only where you truly want the grid to show.
Finishes should be chosen for forgiveness. Matte and satin surfaces hide water spots better than polished ones, textured floor tile grips under wet feet, and metal finishes repeated two or three times — taps, handle, mirror frame — make a modest scheme feel intentional. If you love pattern, spend it in one place only, perhaps the floor, and let everything else stay quiet. Calm is the aesthetic that survives daily use, guests, teenagers and time itself. Before ordering, live with samples in the actual room under the actual bulbs, because a swatch that sings in a sunlit shop can sulk under basement lighting.
8. Storage That Disappears Into the Walls
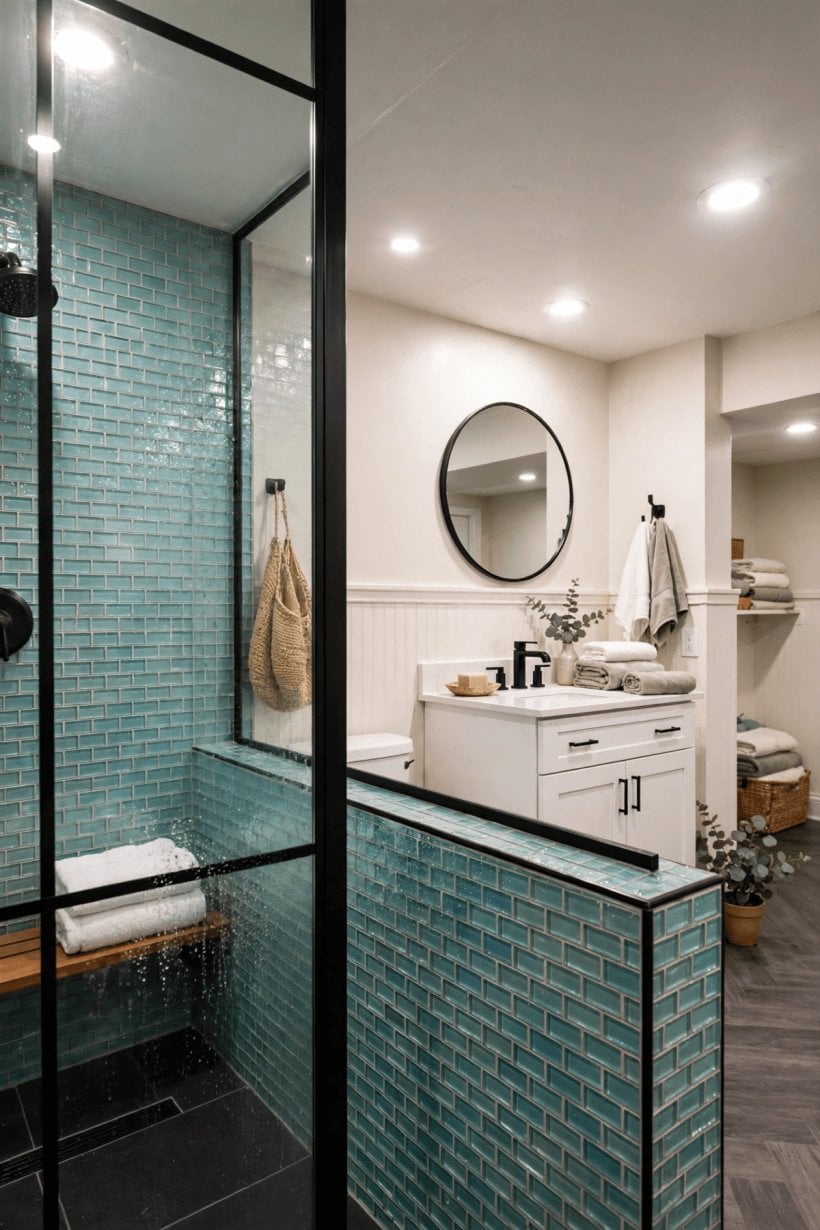
Basement bathrooms collect clutter fast because they often serve a bedroom, a gym corner and guests all at once. The storage that works hardest here is the storage you barely see: a recessed cabinet between studs, a niche in the shower wall for bottles, drawers inside the vanity instead of cavernous cupboards, and a shallow shelf run along the bulkhead that nobody else wanted. Every hidden cubic inch keeps counters clear, and clear counters are what make small rooms photograph well and live well. Even the back of a door can carry a slim rack for spare towels if the hinges and swing allow it.
Plan storage by user, not by object. Guests need a spare towel, a hook and somewhere to set a wash bag. Residents need daily items at arm’s reach and cleaning supplies out of sight. Hooks beat bars where wall space is tight, and a lidded basket corals the overflow that no cabinet fully tames. For more disappearing-storage inspiration, browse these modern living room interior design ideas and notice how built-ins carry the visual calm from room to room.
9. Ventilation, Heat and Everyday Comfort
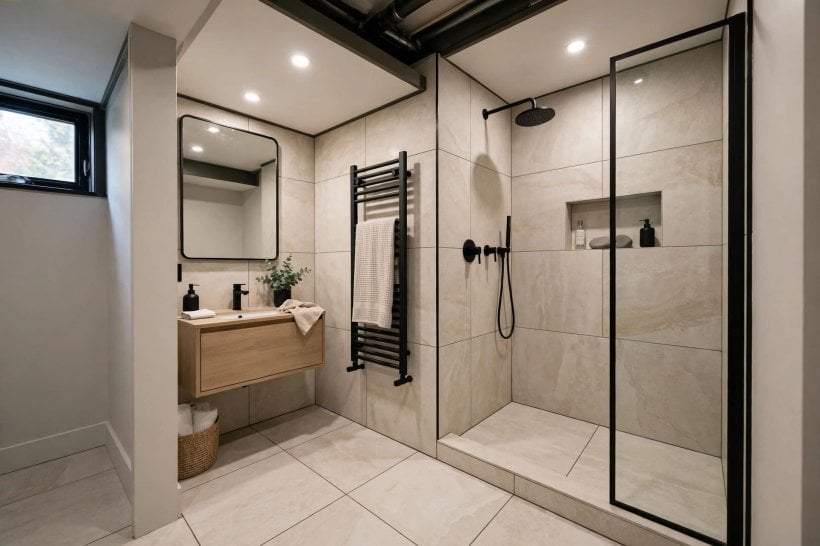
Comfort is what turns a functioning basement bathroom into one people choose. Basements run cool, so stepping from a shower onto cold tile is the moment the room loses its fans. Heated flooring is the dream where budget allows; otherwise a generously sized bath mat, a heated towel rail, and warm-toned lighting close most of the gap. Even a small, quiet fan heater on a timer can make winter mornings civilised, and a soft-close seat spares everyone the midnight clatter.
Sound matters too. Soft-close seats and drawers, a quiet extractor, and a solid door with decent seals keep the bathroom discreet when the lower level doubles as guest space or a home office. Add the small mercies: a hook at the right height, a shelf for a phone, a mirror that does not fog instantly. None of these items headline a budget, yet together they decide whether the room feels like a favour or a feature, and they cost the least when planned from the start rather than retrofitted in frustration.
10. Styling, Budget Order and Finishing Touches
Styling a basement bathroom means editing harder than you would upstairs. One plant that tolerates low light, a single piece of art that can handle humidity, towels in a tight colour palette, and a tray that groups the daily bottles into one tidy footprint. That restraint reads as confidence. If the room serves a guest suite, a small basket with spare essentials turns practicality into hospitality, and a scent you keep consistent becomes part of the home’s signature. Rotate textiles with the seasons if you like change; the bones stay calm while the mood can still move.
Spend in the order the room will forgive least: waterproofing and plumbing first, ventilation and light second, fixtures third, finishes fourth, styling last. That sequence protects you if the budget tightens mid-project, because the hidden layers are already right. The same whole-home thinking runs through these home interior design ideas, where lower levels are planned as real living space, and through the community stories like this tiny house community profile, where small bathrooms serve full, busy lives. And if your lower level also squeezes in guests or work, these small living room interior design ideas pair naturally with a well-planned bathroom down the hall.
Final Considerations
A basement bathroom asks you to solve honest problems — water, light, gravity, cold — and rewards you with the most useful room in the house when you solve them in the right order. Measure first, group the plumbing, waterproof like you mean it, light in layers, and keep every finish forgiving. Do that, and a renovated basement bathroom stops being the tricky room you apologise for and becomes the quiet success story of the whole lower level, serving guests, family and everyday routines without drama for years. Start with the sketch, keep your nerve when the catalogue tempts you, and let the constraints do what they have been trying to do all along: design the room with you.

0 Comments