
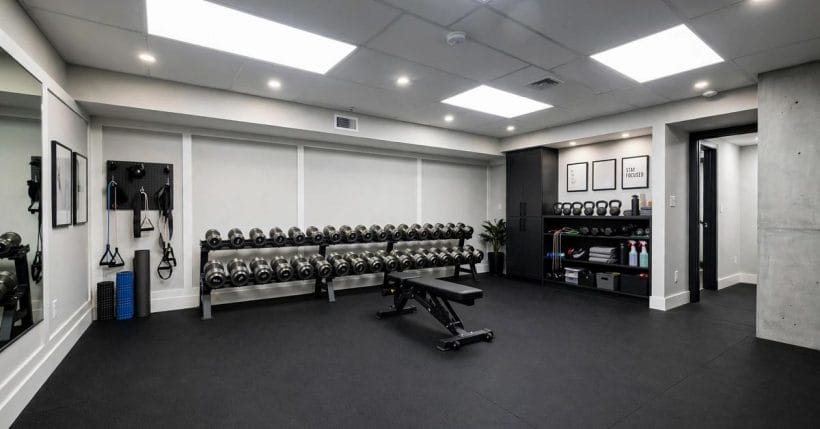
A basement gym turns the least-loved room in the house into the most-used one. Basements offer space, privacy and separation from the rest of the home, but they also bring low ceilings, limited light, moisture and air quality challenges that a good gym layout has to solve before any equipment arrives.
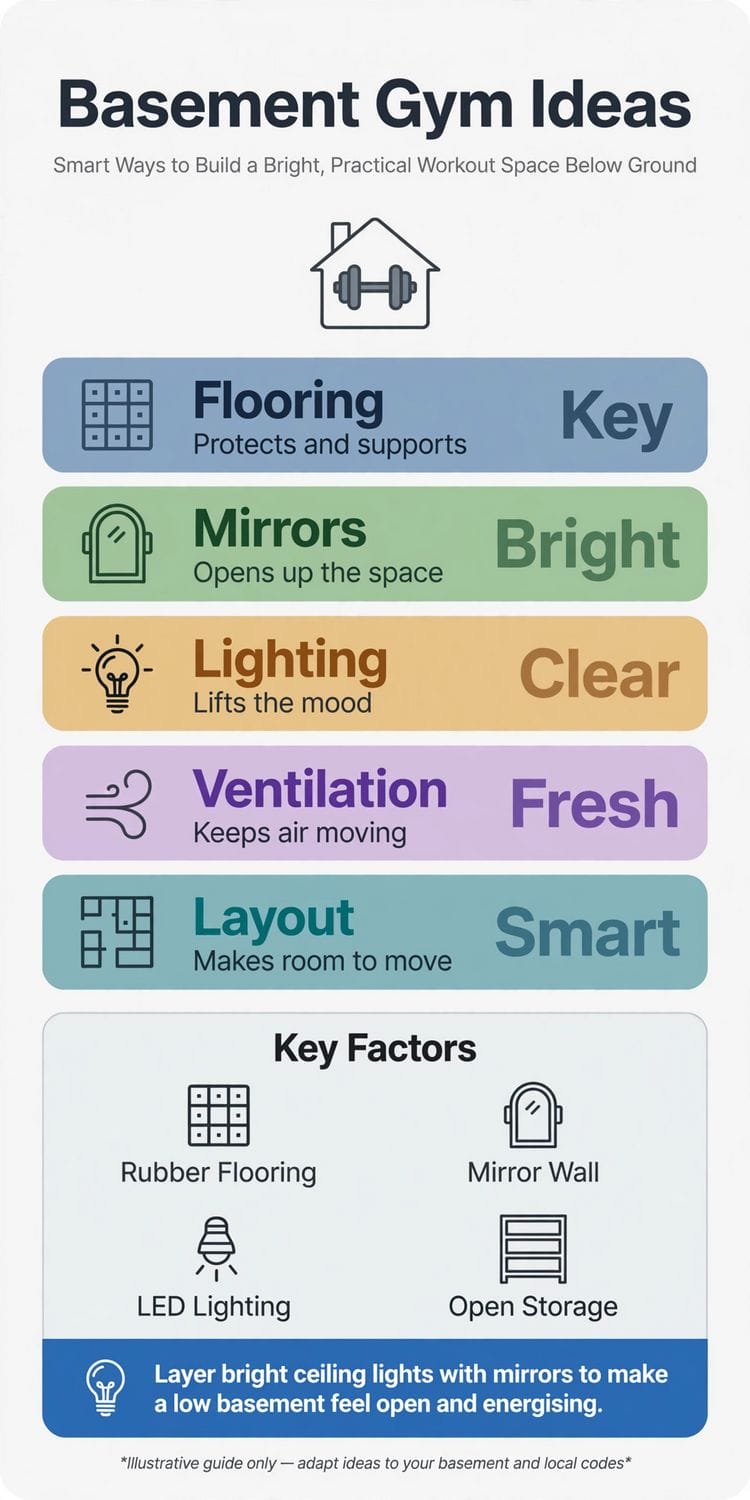
This guide covers layouts, flooring, lighting, mirrors, ventilation, moisture-smart finishes, storage, equipment zones, sound and everyday use, all in general terms. Electrical work and any structural changes belong to qualified professionals, and dimensions or costs are deliberately left general, since every basement differs.
Before spending anything, spend a week noticing how the basement actually behaves: where it feels cold, where air seems still, whether any wall shows damp after rain, and how the light falls at the times you would train. That week of observation, costing nothing, prevents more mistakes than any amount of equipment research, because it grounds every later decision in the room as it really is.
Layout and Headroom First
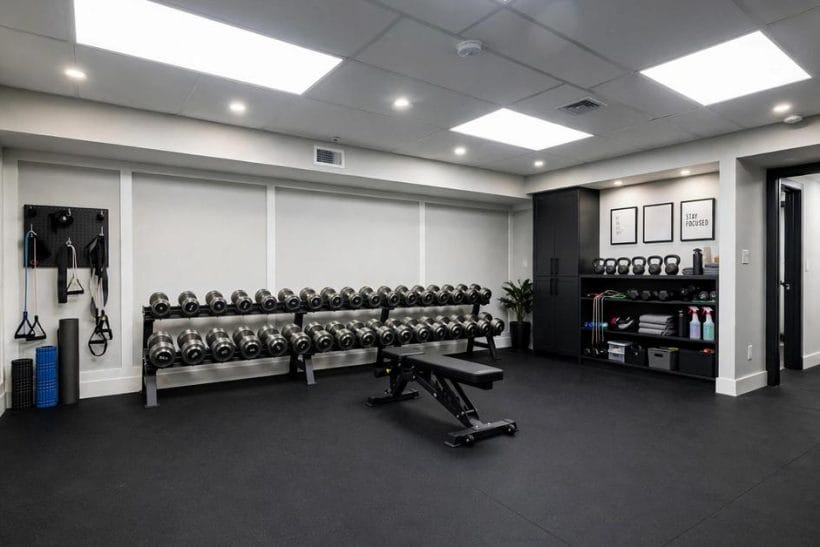
Start with the layout, not the equipment. Map the room’s zones before buying anything: a cardio corner, a weights area, a stretching space and a clear path between them, with the bulkiest equipment against the longest straight wall and the centre kept open for movement.
Leave more circulation space than you think you need. A gym that feels generous on day one stays inviting, while one packed tight from the start becomes a room you avoid, and the difference is usually a single clear metre down the middle that was never sacrificed to another machine.
Measure ceiling height and door swings before choosing equipment, since both constrain what the room can take. A machine that fits the floor plan but not the headroom, or that blocks the door when in use, will frustrate daily, so the tape measure belongs at the very start of the project rather than after delivery.
Rubber flooring comes in different thicknesses, and heavier weights call for thicker protection, so match the floor to the equipment rather than buying one thickness for the whole room. A thin mat under a heavy rack is a false economy, while an overly thick floor under a cardio zone can feel spongy and unstable.
Flooring That Protects
Flooring is the basement gym’s most important surface. It protects the concrete below, cushions joints above, and absorbs the impact of dropped weights, so it deserves more thought than any other finish in the room.
Rubber flooring, in tiles or rolls, is the usual choice for weight areas, while a firmer, smoother surface suits cardio and stretching zones. Whatever the material, it should be suited to a below-ground room, laid on a dry, level base, and chosen with the maker’s guidance for basement conditions rather than on price alone.
Prepare the subfloor properly before laying gym flooring, since even the best surface performs poorly on a dusty, uneven or damp base. Cleaning, levelling and confirming dryness first costs little time and prevents the curling edges and soft spots that otherwise appear within months.
Air quality can be checked simply: if the room smells musty after a day closed up, ventilation needs attention before equipment arrives. That smell is the room telling you something, and answering it early is far cheaper than redecorating around damp later.
Lighting That Lifts
Basement gyms live or die by their lighting. Without windows, or with only small ones, the room needs layered artificial light: bright general lighting for safety, focused light over equipment zones, and ideally a dimmer option for stretching and cool-down work.
Bright, even ceiling light with mirrors to bounce it around makes a low basement feel open and energising. Dark corners, by contrast, make the room feel like a cellar, however good the equipment, so light the corners deliberately rather than leaving them to a single central fitting.
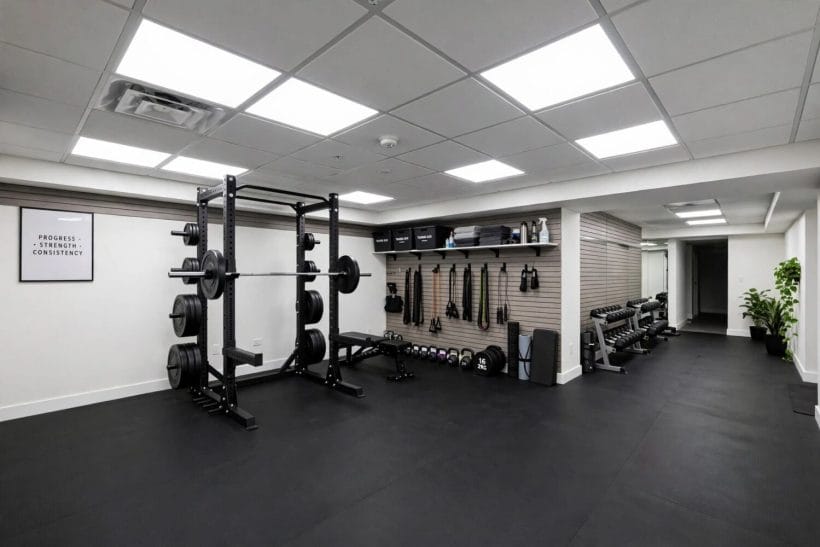
Watch for glare as well as brightness when placing lights and mirrors together. A bright fitting reflected directly into the eyes from a mirror wall is worse than a dimmer room, so angle lights to wash walls and equipment rather than to bounce straight back at the person training.
Keep a small toolkit in the gym for adjustments: spanners for equipment bolts, a pump for inflatable items, and spare batteries for any monitors. Equipment that cannot be adjusted on the spot tends to stay broken, while a two-minute fix keeps the session on track.
Mirrors and Walls
Mirrors do double duty in a basement gym: they open the room visually and they let you check form while training. A large mirror wall opposite the main training area is the single most effective visual trick for a low, enclosed room.
Walls themselves should be finished for a below-ground room, with moisture-appropriate paint and detailing, and any existing damp investigated before decorating rather than covered over. A mirror hung on a damp wall hides a problem that will only grow behind it.
Fix mirrors securely and with appropriate backing, since a large gym mirror is heavy and a training room vibrates. This is practical safety rather than decoration: a mirror that is properly fixed stays an asset, while one that is merely leaned or lightly hung becomes a hazard the first time equipment knocks it.
Ventilation and Air
Ventilation matters more in a basement gym than in any other home gym, because exercise generates heat and moisture in a room that already struggles to breathe. Fresh air supply and a route for warm, damp air to leave are not luxuries but basics, and they should be planned before the room is fitted out.
If the basement has no opening windows, mechanical ventilation or a dehumidifier, specified for the room’s size and use, becomes part of the gym’s essential kit. A room that smells stale after a workout will not stay in use for long, however well equipped it is.
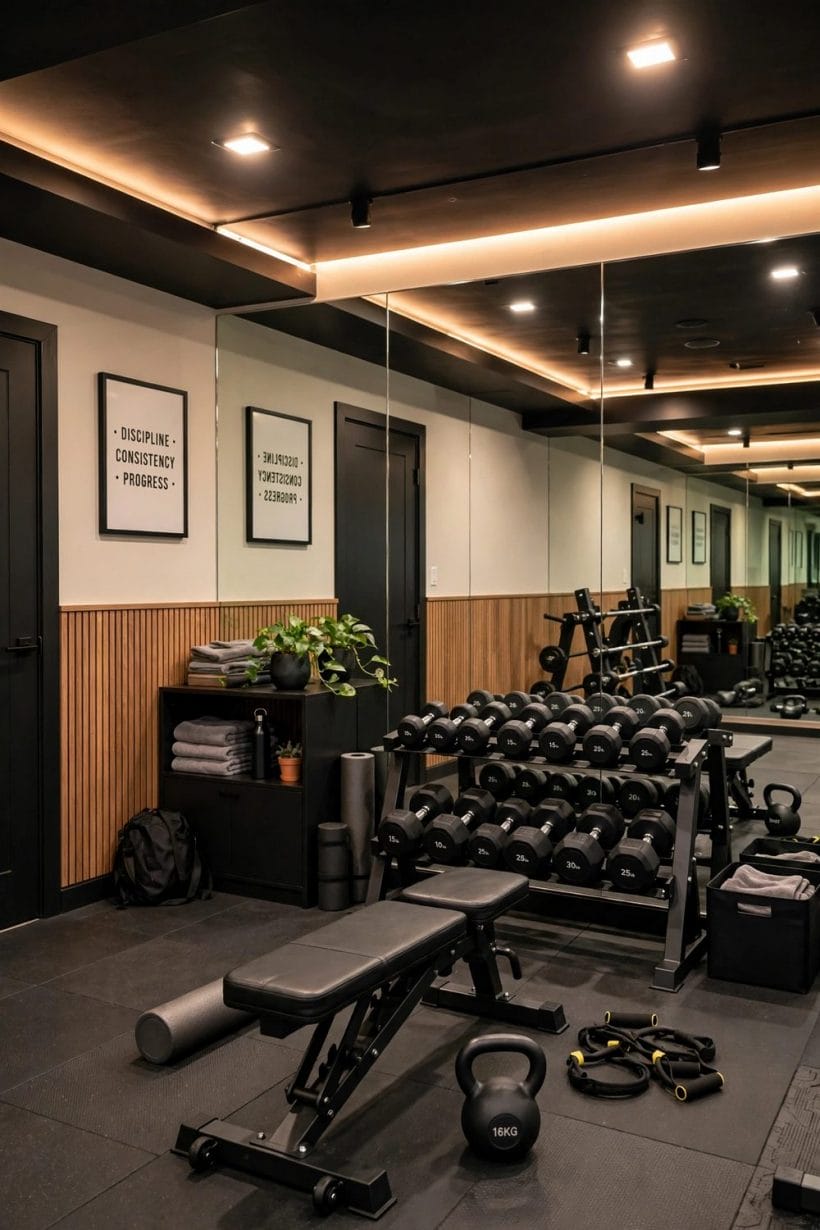
Condensation on walls, windows or cold pipes is an early warning that ventilation is not keeping up. Noticing it early lets you adjust airflow or dehumidification before damp takes hold in finishes, whereas ignoring it turns a ventilation shortfall into a redecoration job.
Moisture-Smart Finishes
Moisture is the basement’s permanent companion, and gym finishes must respect it. Choose materials that tolerate damp air, avoid trapping moisture behind impermeable layers, and keep the room’s existing damp-proofing intact rather than puncturing it with fixings it was not designed for.
Check the basement across seasons before committing to finishes. A room that looks dry in summer may show damp in winter, and discovering that after the gym is built means undoing work that a seasonal check would have prevented.
If the basement has a pump, drain or waterproofing system, keep it accessible and in working order rather than building over it. Gym equipment can be moved, but a buried pump cannot be serviced, and the system that keeps the basement dry is worth more than the square metre it occupies.
Storage That Works
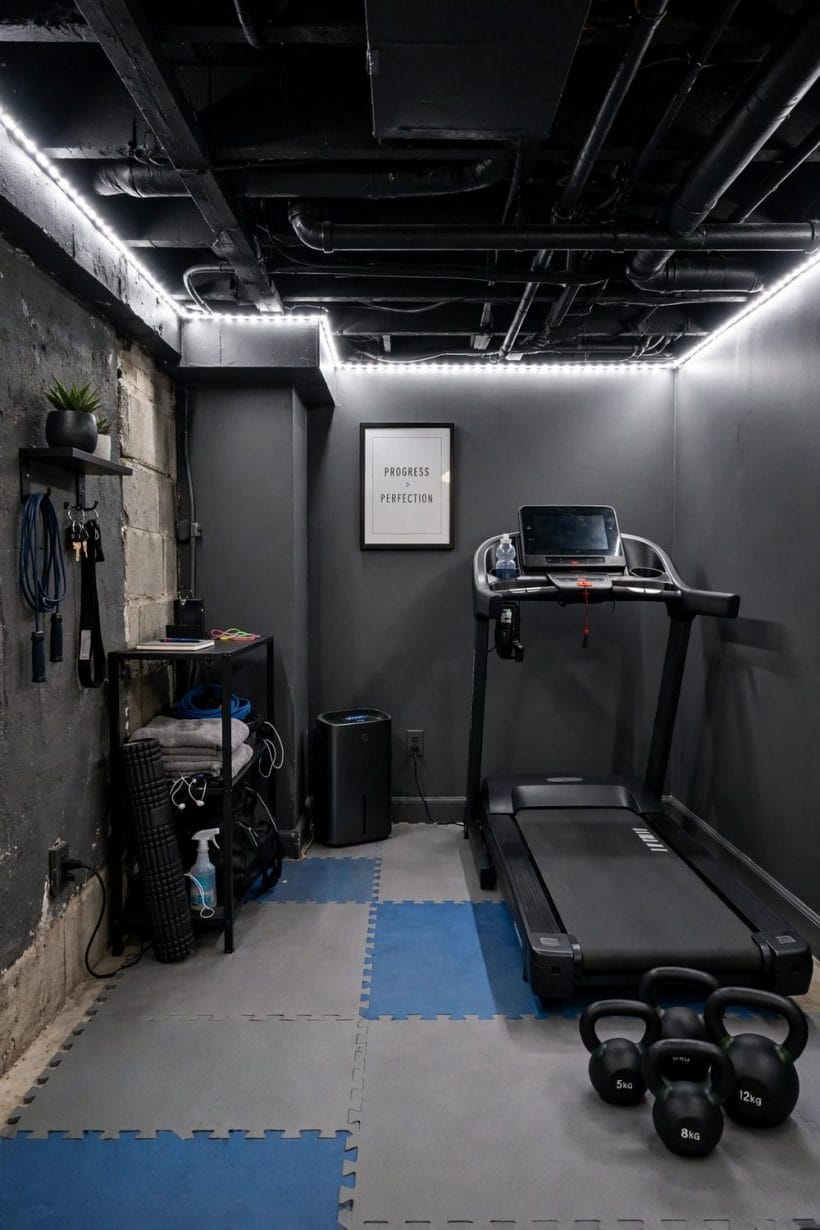
Storage keeps a basement gym usable. Racks for weights, wall hooks for bands and ropes, shelving for towels and bottles, and a place for cleaning supplies all stop equipment from migrating across the floor, which is how gyms become obstacle courses.
Open storage suits a gym better than closed cupboards, since equipment is grabbed and returned many times per session. Visible, reachable storage also makes it obvious when something is missing or out of place, which keeps the room tidy with less effort.
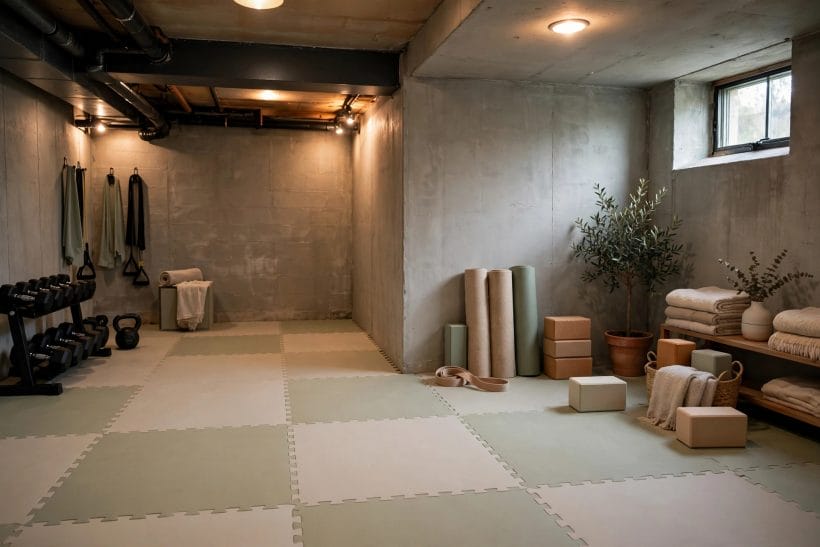
Add a small cleaning station to the storage plan: cloths, a spray bottle of mild cleaner and a towel bin within arm’s reach of the training area. Equipment that is wiped after use lasts longer and smells better, and a station that is visible gets used, while supplies hidden in a cupboard tend to be forgotten.
Equipment Zones
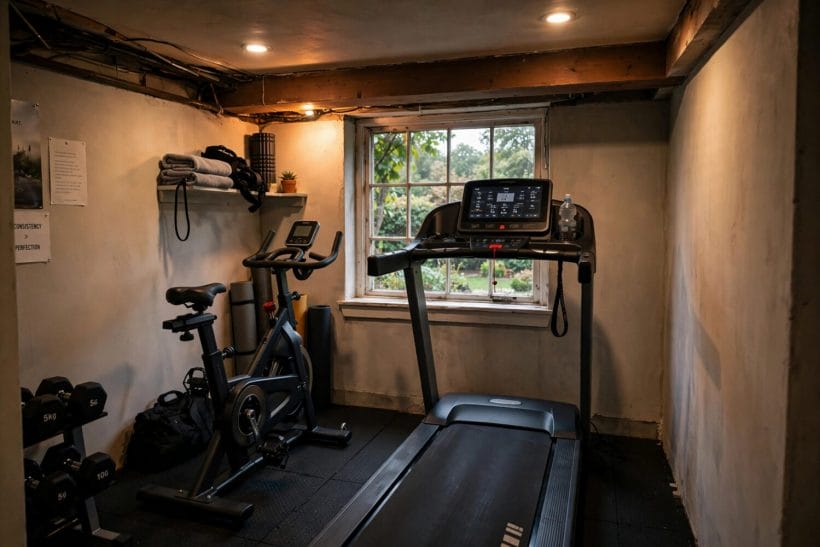
Zone the equipment by how it is used rather than by how it looks. Heavy, static equipment belongs against walls where it cannot be knocked; cardio equipment needs air and space around it; and free weights need a clear, well-lit area with a firm floor and room to move safely in every direction.
Buy for the room you have, not the gym you imagine. One versatile setup used daily beats a roomful of specialist machines that crowd each other, and equipment that fits the ceiling height, with headroom to spare for its full range of movement, is the only equipment worth owning.
Reserve a corner for warm-up and cool-down work, with space to stretch and a mat that lives there permanently. A dedicated corner encourages the habit, since the mat is already out and waiting, and it keeps stretching clear of the weights area where space is tightest.
Sound and Neighbours
Sound travels through basements in both directions: thuds and dropped weights travel up through the house, and the gym’s own noise can disturb the rooms above. Thick flooring, rubber mats under heavy equipment, and avoiding direct fixing of vibrating equipment to joists all reduce transmission in general terms.
Consider the household’s rhythm as well as the building’s. A gym used early in the morning above a sleeping household needs more sound care than one used at midday, so plan the noisiest zones furthest from bedrooms where the layout allows.

Ceiling height is the basement gym’s hardest constraint, and it should be measured before any equipment is chosen. Low ceilings rule out some equipment entirely, and the honest response is to choose equipment that fits rather than to force a tall machine into a room that cannot take it.
Exposed joists, pipes and ducts also shape the room, and working with them, by painting, boxing or simply routing zones around them, usually beats fighting them. A gym that acknowledges its basement character feels intentional, while one that pretends to be a ground-floor room rarely convinces.
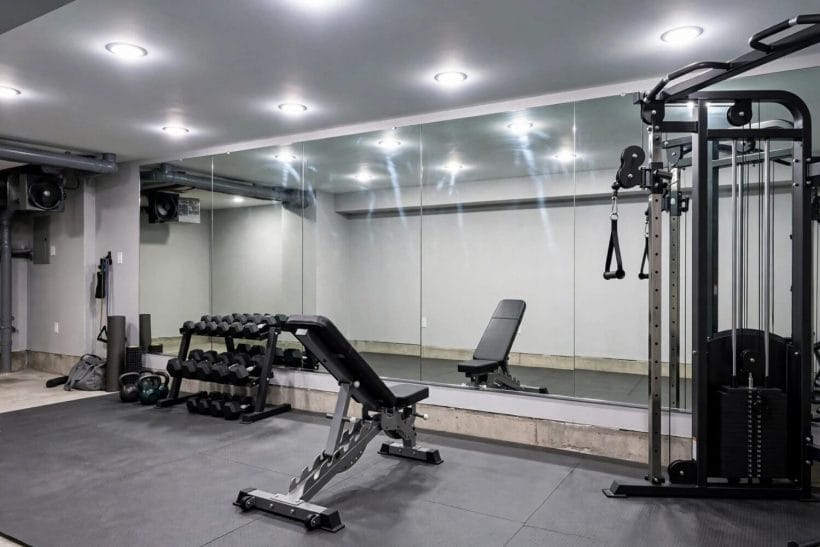
Layering mats under the noisiest equipment, such as a treadmill or a weights platform, cuts transmitted sound more than any single thick mat alone. Two layers with different densities absorb more vibration than one, which is a simple, inexpensive way to be a better neighbour to the rooms above.
Everyday Use and Upkeep
A basement gym stays in use when it is easy to enter, pleasant to be in, and quick to tidy. Keep the door route clear, the lighting on a simple switch, towels and water within reach, and a cleaning routine that takes minutes rather than a full session to complete.
Revisit the layout after a month of real use. The zones that work will be obvious from wear and habit, and the ones that do not can usually be fixed by moving a rack or a mat rather than by rebuilding the room, which is the advantage of a layout planned around zones rather than fixed installations.
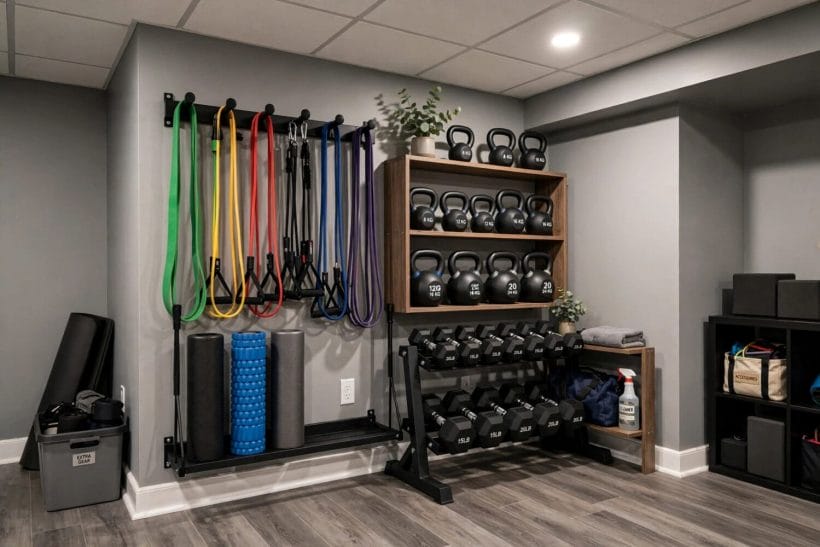
Refresh the room seasonally rather than waiting for it to feel tired. A twice-yearly tidy, checking mats, wiping mirrors, clearing storage and reviewing what equipment is actually used, keeps the gym inviting, and a room that is regularly refreshed is a room that stays in use.
Final Considerations
A good basement gym is a dry, bright, well-aired room with a clear layout and flooring that protects both body and building. Get the room right first, then the equipment, and the basement stops being the house’s forgotten floor and becomes its hardest-working one.
The basement gym that lasts is rarely the most expensive one. It is the room that was planned around its own constraints, kept dry and bright, laid out for movement rather than display, and tidied after every session, so that walking downstairs still feels inviting a year after the novelty has worn off.
For the wider home picture, see our exterior entryway ideas, fence gates, false ceiling design and Mediterranean pool ideas, plus the general guides at tiny house designs and interior design ideas.
One last practical point: agree the gym rules with the household before the first session, covering hours of use, noise, shared spaces and who tidies what. A gym that everyone has agreed on stays a shared asset, while one imposed on a household quickly becomes a source of friction.
And remember that the best basement gym is the one that gets used. Perfect equipment in an unloved room loses to modest equipment in a room that feels bright, dry and welcoming, so spend the effort on the room first and let the equipment follow.
For households sharing the gym, a simple rota or booking note on the door avoids the most common friction: two people wanting the room at once. It need not be formal, just a shared understanding of who trains when, so the basement gym serves everyone in the house rather than becoming one person’s territory.
Above all, start small and grow into the room: a clear floor, good light, fresh air and one or two well-chosen pieces of equipment will tell you, within a month, what the basement gym really needs next, far better than any amount of advance purchasing.




0 Comments