

Bathroom walls do more work than any other surface in the house: they take steam, splashes and daily wiping while setting the whole room’s mood. These bathroom wall ideas cover tile, panels, plaster, paint and paper, matched to real layouts, vanities and budgets, so you can choose a treatment that looks beautiful on day one and still behaves on day one thousand.
1. Bathroom Wall Ideas at a Glance
Start with the room’s conditions, not the catalogue. Walls inside a shower need a fully waterproof treatment; walls behind a vanity need to shrug off splashes; the remaining walls can be almost anything that tolerates humid air. Match the treatment to the zone, mix two or three treatments in one room for character, and keep one eye on cleaning, because the best-looking wall is the one that still looks good after a year of family mornings.
| Treatment | Best for | Good to know |
|---|---|---|
| Full-height tile | Showers and busy family bathrooms | Most durable; grout is the part that needs care |
| Half-height tile with paint above | Classic rooms and smaller budgets | Easy to refresh the colour later |
| Large shower panels | Fast renovations and low-maintenance homes | No grout lines; edges and joints must be sealed well |
| Tadelakt and microcement | Soft, seamless, spa-style rooms | Skilled application; follow the maker’s sealing guidance |
| Limewash and clay paints | Calm, textured walls outside wet zones | Cloudy, forgiving finish; not for inside showers |
| Wallpaper (vinyl or treated) | Guest baths and vanity walls | Choose ranges made for humid rooms; ventilate well |
| Wood panelling and shiplap | Warm, traditional and cottage styles | Use suitable boards and finishes; keep out of direct spray |
| Stone and brick slips | Feature walls behind freestanding baths | Seal porous surfaces; sample the weight on your wall |
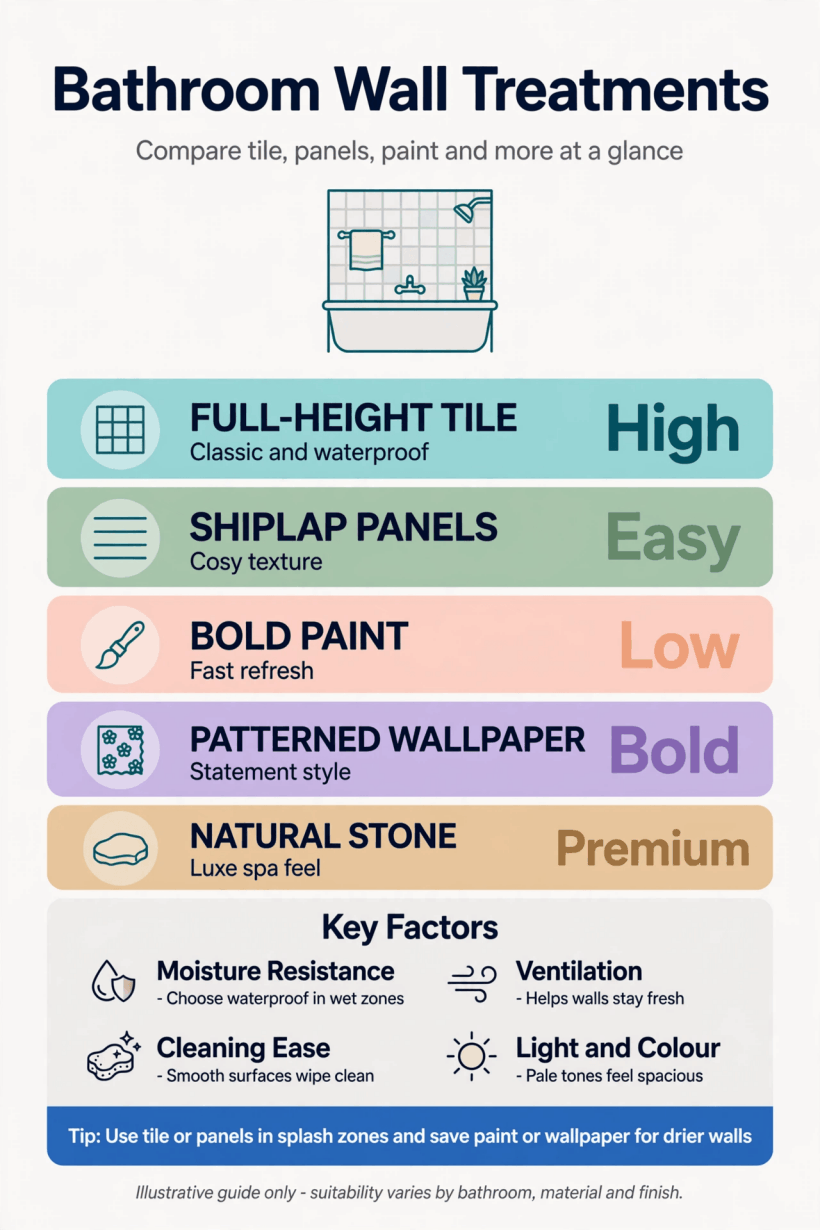
The wall-treatment shortlist at a glance: waterproof inside the wet zones, splash-proof behind the vanity, and freedom everywhere else.
2. Zone the Room Before Choosing Anything
Every bathroom has three invisible zones, and treating them as one is the costliest beginner mistake. The wet zone, inside the shower and around the bath, needs a genuinely waterproof surface and sealed joints. The splash zone, behind basins and along the side of the bath, needs cheerful tolerance of water and easy wiping. The dry zone, everywhere else, needs only to cope with humid air and the occasional condensation film.
Zoning is liberating, because it means the expensive waterproof treatments only have to cover part of the room, and the dry walls can carry the personality: colour, texture, artwork, panelling. It also protects your budget for the vanity and fixtures, which is where the room’s comfort is really decided. Compact bathrooms benefit most of all, and the zoning habit is the same one behind our tiny house bathroom ideas, where every surface in a small footprint is chosen for the job it actually does.
Walk the zones with your layout in hand. A shower over a bath widens the wet zone up and over the taps; a separate walk-in shower keeps it contained and frees the bath wall for something softer. A vanity under a window may need more splash tolerance on the sill and reveals. Sketch the zones on a simple plan before you price anything, and you will stop paying to waterproof walls that never see more than steam.
3. Full-Height Tile: The Dependable Classic
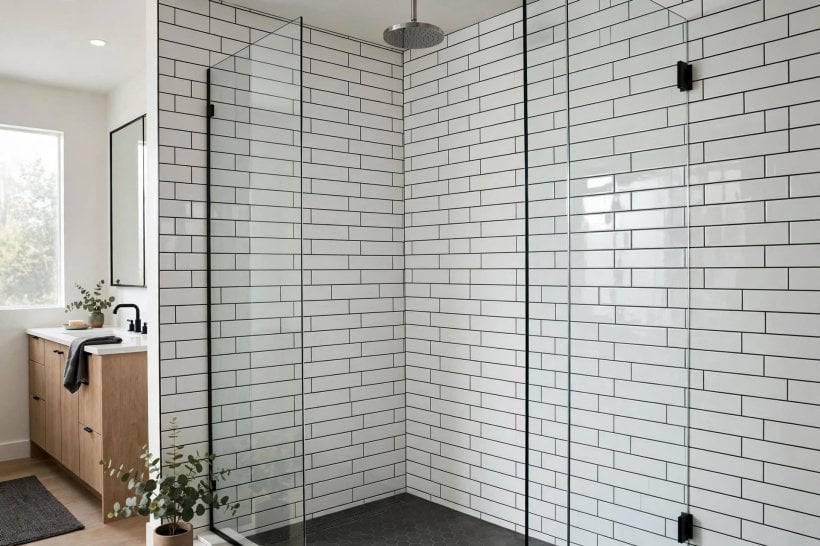
Tiling every wall to the ceiling is the traditional answer for busy family bathrooms, and it earns its reputation: nothing shrugs off decades of showers, splashes and enthusiastic toddlers like a well-fixed tile. Large-format tiles make full-height coverage feel calm rather than clinical, with fewer grout lines to interrupt the surface, while smaller tiles bring pattern and grip to shower floors and niches where they are genuinely useful.
The craft is in the decisions around the tile. Choose grout for the life you lead: mid-tone grout hides the week between cleans far better than bright white, and matching grout to tile keeps big rooms serene. Take tiles behind the vanity and toilet too, because those hidden stretches are where splashes and dust quietly gather. And pay for good preparation: flat, properly tanked walls in wet areas are invisible when done well and painfully obvious when skipped.
Full-height tile also changes the room’s acoustics and light. Hard surfaces bounce sound, so a fully tiled small bathroom can feel echoey until towels, a bath mat and a wooden stool soften it. Gloss glazes bounce daylight around windowless rooms beautifully, while matt stone-effect tiles keep bright rooms calm. Plan the soft layer at the same time as the tile order, not as an afterthought.
Layout pattern is the final tile decision, and it is more powerful than colour. A simple stacked grid reads modern and calm; brick-bond softens the same tile toward the traditional; herringbone and vertical stacks stretch a wall’s apparent height or width without a single extra material. Keep the pattern consistent across the room’s tiled walls, and let niches, edging trims and the shower floor carry the small variations, so the room reads as one composed idea rather than a sampler of everything the tile shop offered.
4. Half Tiling and the Painted Upper Wall
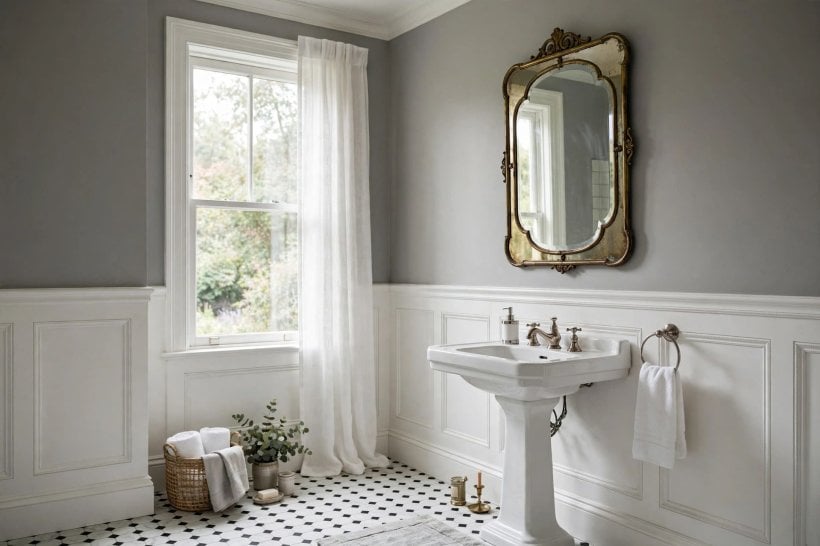
Half-height tiling, with paint above, is the friendliest scheme in the whole list: practical where water lands, flexible everywhere else. Tile to just above splash height behind the basin and bath, finish with a cap, pencil rail or simple metal trim, and paint the upper walls in a colour you can change in a weekend when tastes move on. It is the treatment that lets a bathroom evolve with a family instead of being renovated by it.
The junction line wants thought. Aligning the tile top with the top of a door frame, a window sill or the vanity mirror gives the room a designed horizontal order rather than a random stop. In period homes, a deeper tile field with a chunky cap rail suits the architecture; in modern rooms, a slim trim in the tap finish keeps it crisp. Choose bathroom-suitable paints for the upper walls and keep a labelled tin for touch-ups, because steam rooms mark more readily than bedrooms and a five-minute repair beats a slow spread of tired paint.
5. Panels and Seamless Finishes
Large shower panels have quietly become the low-maintenance favourite: full-height sheets in stone, marble or tile effects that install fast, wipe clean in seconds and eliminate grout altogether. They are especially kind in hard-water areas, where grout lines are the first thing to discolour. Quality varies, so look at edges, joint systems and the maker’s fitting guidance before falling for a finish in a photograph.
At the handcrafted end of the family sit tadelakt and microcement: seamless, softly undulating coatings that give showers and whole rooms a calm, sculptural feel with no visible joints to clean. Their beauty depends on skilled application and correct sealing, so they reward specialist installers and honest conversations about upkeep. Both approaches share one promise, continuity, and in small bathrooms continuity is space: an unbroken wall reads larger than the same wall chopped into a grid, a trick the small-space schemes in our tiny house living room ideas use with continuous flooring for exactly the same reason.
Panels also suit phased renovations and occupied homes, because a shower can often be panelled and back in use far faster than a tiled one can be stripped, tanked and re-tiled. If you are doing the work yourself, panels are the more forgiving route, provided you follow the system maker’s instructions on boards, adhesives and trims to the letter. Self-builders will recognise the principle from our guide to how to build your own tiny house: systems succeed when each layer is installed in the right order, and waterproofing is never the layer to improvise.
6. Paint, Limewash and Wallpaper With Courage
Outside the wet zone, paint is the great entertainer. Bathroom-formulated paints handle humidity and wipe clean, and they let you test the bold colours, deep greens, inky blues, warm clays, that tiles would commit you to for decades. Limewash and clay finishes add a cloudy, hand-worked texture that flatters older walls and pairs beautifully with simple white sanitaryware and natural wood.
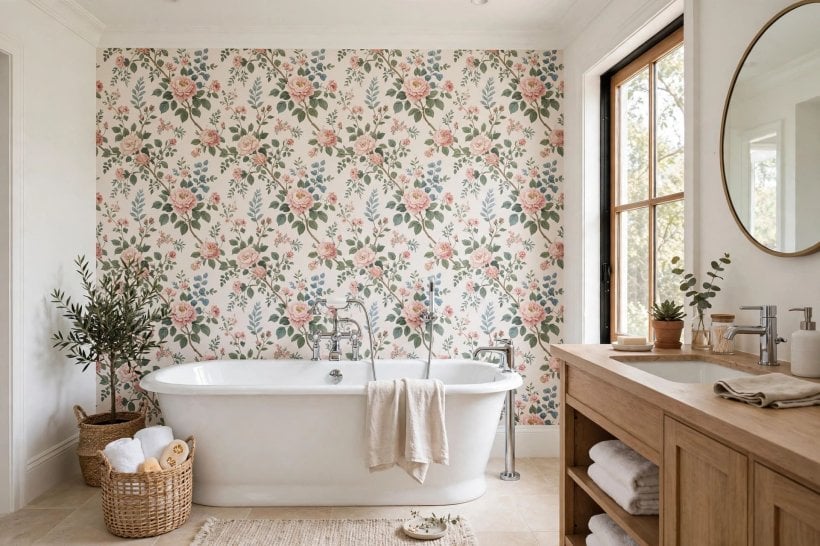
Wallpaper has earned its place back too, in ranges made for humid rooms, especially vinyl and properly prepared papers on vanity and dry walls. A confident pattern behind a plain vanity can carry an entire guest bathroom, and because it avoids the wet zone it lasts far better than its reputation suggests. Ventilation is the honest condition for both paint and paper: an extractor that actually gets used, or a window opened after showers, protects every finish in the room and the ceiling above it. Colour confidence, incidentally, is a transferable skill; our colorful tiny house interior tour shows the same bold-on-one-wall logic working in small living spaces.
7. Wood, Panelling and Texture You Can Touch
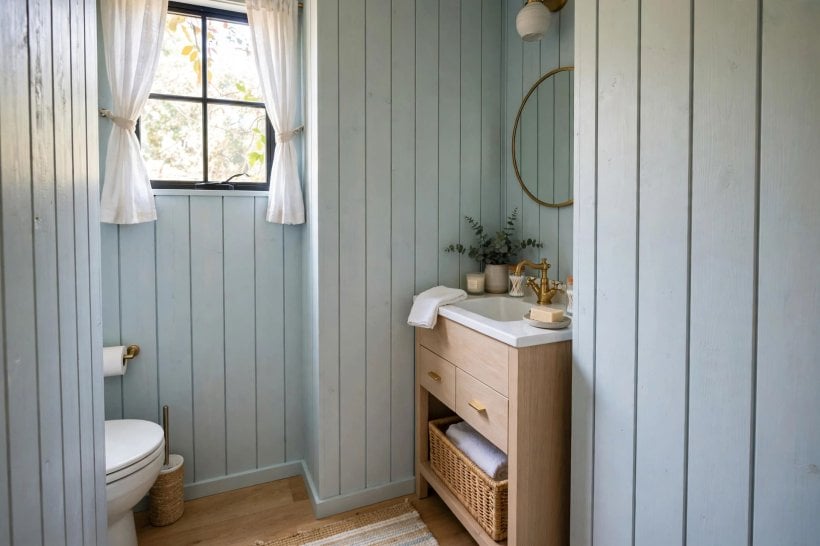
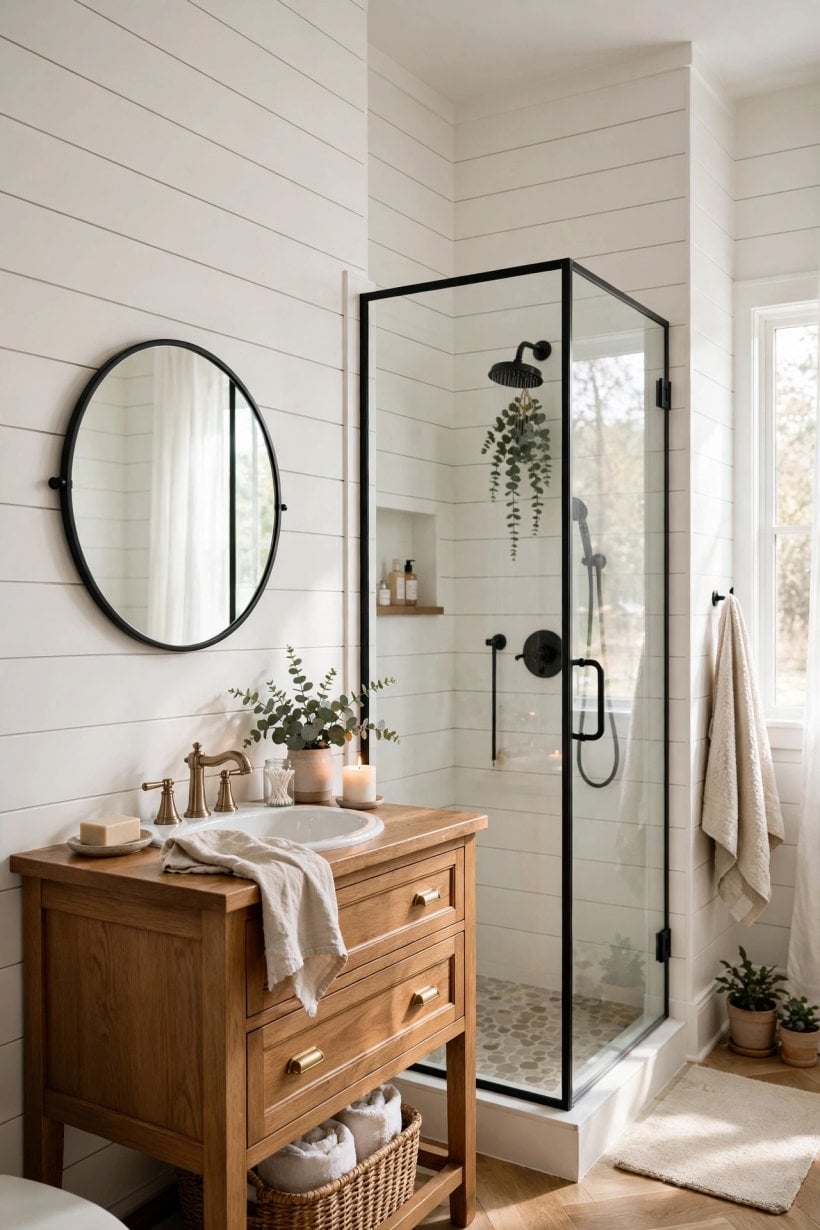
Wood brings the warmth bathrooms chronically lack. Tongue-and-groove panelling, shiplap and simple board-and-batten, painted in a bathroom-suitable finish, suit vanity walls, bath panels and the dry half of the room, adding shadow lines and character that flat plaster cannot imitate. Keep timber out of direct spray, seal cut ends and the backs of boards before fitting, and let the maker’s guidance decide which products belong near water at all.
Panelling also solves practical problems with unusual grace. It hides tired plaster, gives hooks and shelves something solid to hold, and its horizontal or vertical lines can correct a room’s proportions: vertical boards lift a low ceiling, horizontal runs stretch a narrow wall. Pair it with a simple tiled splash zone behind the basin and you have the classic country scheme that never dates. The rustic rooms in our look at tiny barn house interior design rely on the same honest timber textures to make small spaces feel crafted rather than merely finished.
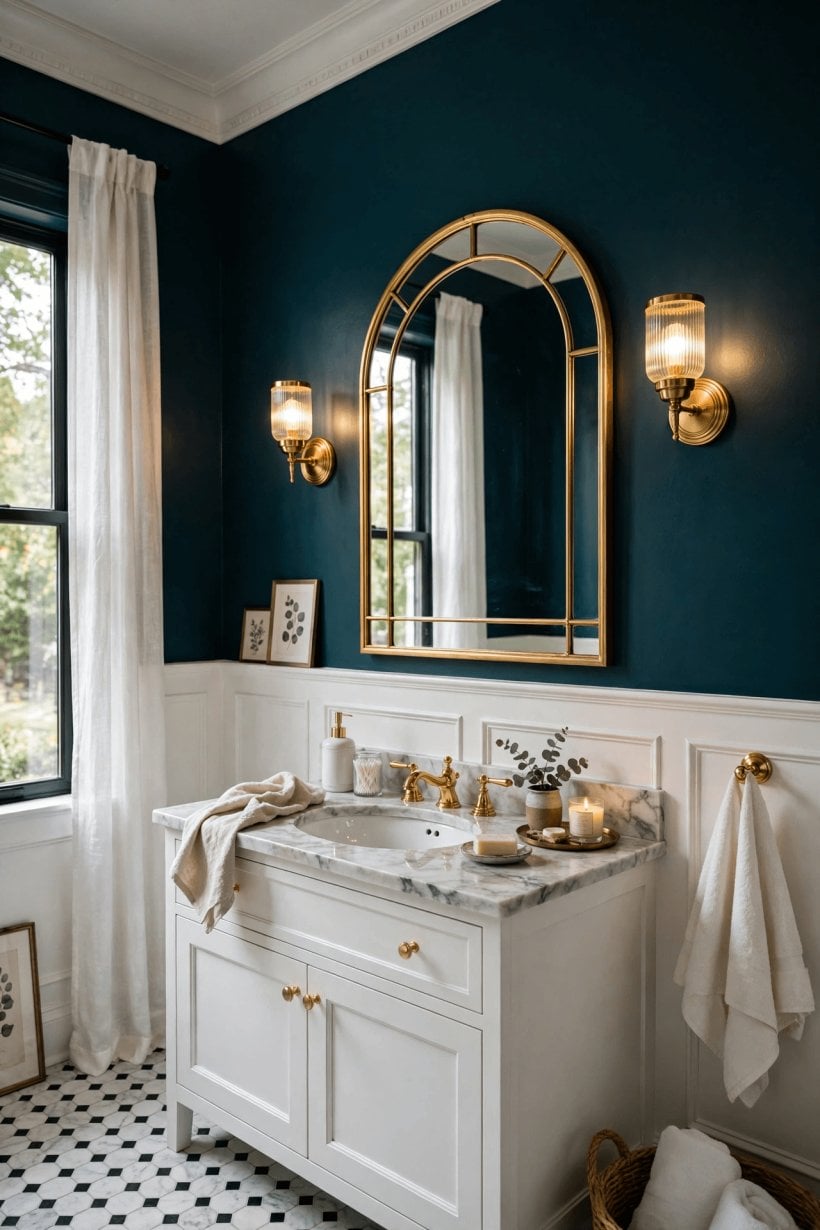
Above the panelling line is a natural place for a second act: plain paint for calm, or one of the bolder wallpapers from the previous section for a room with real personality, since the paper sits safely in the dry zone. The combination, wainscot below and pattern above, is a classic for good reason, and it works in bedrooms too, as the panelled walls in our tiny house bedroom ideas prove. Keep the panelling colour quieter than the paper so the two layers support rather than shout over each other.
8. Stone, Brick and Statement Walls
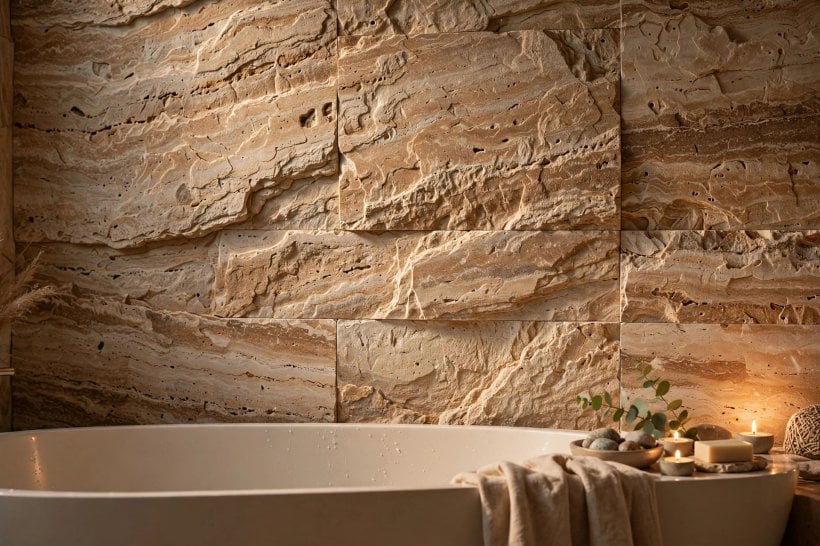
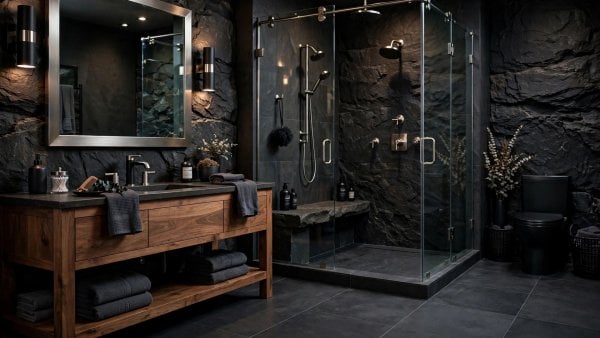
One statement wall can do the decorative work of a whole room. Natural stone, sealed properly, brings movement no manufactured pattern can copy, while brick slips give loft-style warmth and texture behind a freestanding bath or a pair of basins. Large porcelain slabs that imitate stone deliver most of the effect with easier care, and they are light enough for walls that could never carry the real thing.
Restraint is the skill here. A statement wall wants plain companions: simple tiles or quiet paint on the other walls, sanitaryware with clean lines, and accessories kept few and deliberate. Lighting decides whether the texture sings; a soft wash of light down the surface shows every ridge, while a single harsh spotlight flattens it and glares. Choose the wall you see from the door or from the bath, the one your eyes rest on longest, and let the rest of the room applaud quietly.
9. Vanity Walls, Mirrors and Splashbacks
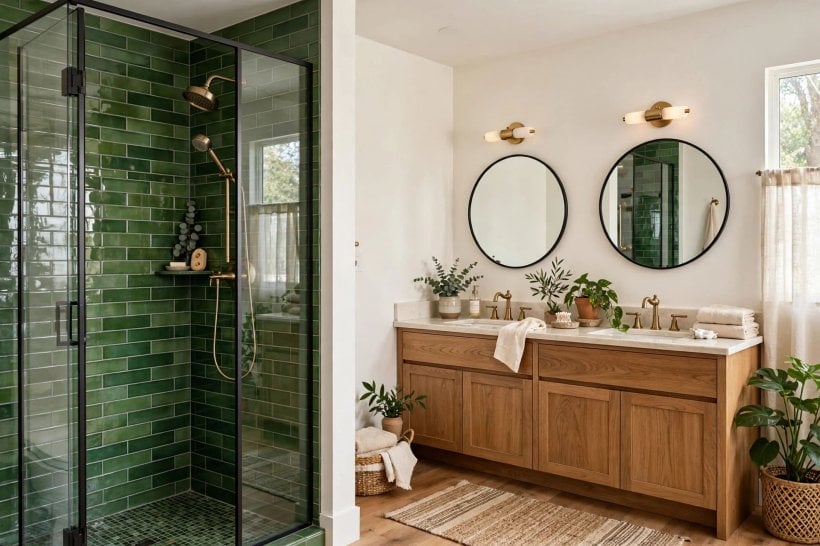
The vanity wall is the hardest-working square metre in the bathroom and deserves its own plan. A splashback that runs from worktop to mirror, or a full tiled or panelled wall behind the vanity, protects against the daily weather of toothpaste, soap and wet hands, and it frames the mirror as the room’s portrait. Extending the worktop material up the wall gives a calm, tailored result; a contrasting tile gives the vanity a stage.
Mirrors are wall treatments too. A large mirror or mirrored cabinet bounces light into the room’s darkest corner and visually doubles a small vanity wall, while a pair of smaller mirrors over twin basins keeps the wall breathing. Think about what the mirror reflects: a tiled statement wall doubles its effect for free, while a cluttered shelf doubles the clutter. This is the wall to coordinate with taps and lighting, since all three are seen together every single morning, a daily-view discipline our bedroom interior design for tiny houses guide applies to dressing areas for the same reason.
Finish the vanity wall with its electrics in mind. Lighting at face height on either side of the mirror serves make-up and shaving far better than a single downlight, and any sockets for toothbrushes and shavers need planning before the splashback goes on, because adding them afterwards means cutting into your finished wall. Demister mirrors and in-mirror lighting are worth considering at this stage too; they are modest upgrades that only exist if someone remembered them while the wall was still open.
10. Practical Details: Ventilation, Sealing and Upkeep
The treatments that fail early almost never fail because of taste; they fail because of water management. Seal every junction where a wall meets a bath, tray or worktop with suitable sanitary sealant, and renew it when it sulks, because that humble bead is the hardest-working line in the room. Behind tiles in wet areas, proper tanking or backer systems protect the wall itself; surface beauty over a rotting substrate is a debt that always comes due.
Ventilation is the second guardian. Extract humid air at source, keep trickle vents and windows doing their quiet work, and every paint, paper, grout and timber in the room will live years longer. Finally, plan upkeep honestly at the choosing stage: grout wants periodic cleaning and occasional resealing, seamless coatings want their maker’s care routine, timber wants its finish renewed, and even tile wants its sealant checked. The right treatment is the one whose maintenance fits the household you actually are, which is why these bathroom wall ideas always pair every beautiful option with its practical price.
Sequence the budget like the build: preparation and waterproofing first, because they are invisible and eternal; the wet-zone surfaces second; the dry-zone character third; and mirrors, shelves and accessories last, where money can be saved without consequence and upgraded later. Keep a few spare tiles, a labelled paint tin and the sealant colour noted in a drawer, and future repairs will vanish into the scheme instead of announcing themselves. A bathroom planned in that order rarely needs rescuing, only refreshing.
Final Considerations
Choose bathroom walls the way the room will use them: waterproof where the water truly falls, splash-proof behind the vanity, expressive everywhere else. Zone first, spend on preparation and sealing second, and let colour, texture and one confident statement carry the style. Keep ventilation honest and maintenance realistic, and your walls will reward you daily, in a room that looks composed, cleans quickly and ages gracefully. That balance of beauty and behaviour is, in the end, what every good bathroom wall treatment is really selling.
If the choice still feels wide open, narrow it with three questions: how wet does this wall get, how much cleaning will we honestly do, and which wall do we look at longest? The answers point to a treatment almost every time, and they protect you from buying a beautiful surface that your household’s real life will quietly ruin. Start from those answers, and the style decisions become the enjoyable part.

0 Comments