

The best solar kit tiny house owners can rely on is not the one with the most panels in the photograph or the largest number in the headline. It is the system whose panels, charge control, battery storage, and inverter were sized together from an honest list of what the home actually uses, on the shortest, greyest week of the year, not on a sunny afternoon in the month it was installed. Tiny homes use less energy than conventional houses, which tempts buyers to under-size. But fridges still run all night, pumps still surge, laptops and lights still gather in the evening, and winter still arrives.
This guide names no brands and no specific packages, deliberately. The eight complete packages promised in the title are covered here as eight kit configurations, from small essentials setups to full-time off-grid systems, each judged by the same criteria: a loads audit first, panel mounting that suits the home, battery storage treated as the budget it really is, a pure-sine inverter for real appliances, and a credible plan for the grey week when the sky gives you almost nothing. Read the audit section before the table, because a kit bought before the audit is a guess, and electrical guesses are expensive to correct once cables are cut and holes are drilled.
| Option type | What it suits | What to verify |
|---|---|---|
| Small essentials kit | Lights, phones, a laptop, and very modest daily use | That no fridge or pump is quietly assumed in the plan |
| Medium cabin kit | Weekend and part-time homes with a small fridge and lights | Usable battery capacity across two dull days, not one |
| Full-time off-grid kit | Homes living on solar as the main supply all year | Winter generation, storage depth, and backup charging |
| Expandable starter kit | New builds planning to grow panels and storage later | Controller and inverter headroom for the planned growth |
| Portable or folding panel setup | Travelling homes that park in shade and chase sun with panels | Cable length, secure standing, and theft-aware storage |
| Roof-fixed kit | Stationary or rarely moved homes with a sound roof | Roof structure, shading, and safe access for cleaning |
| Ground-mount kit | Plots where the roof is shaded, curved, or too small | Distance losses, trenching, and protection from damage |
| Hybrid kit with backup input | Homes combining solar with a generator or shore supply | Changeover method and charging rates in poor weather |
1. Audit Your Loads First: The List That Sizes Everything
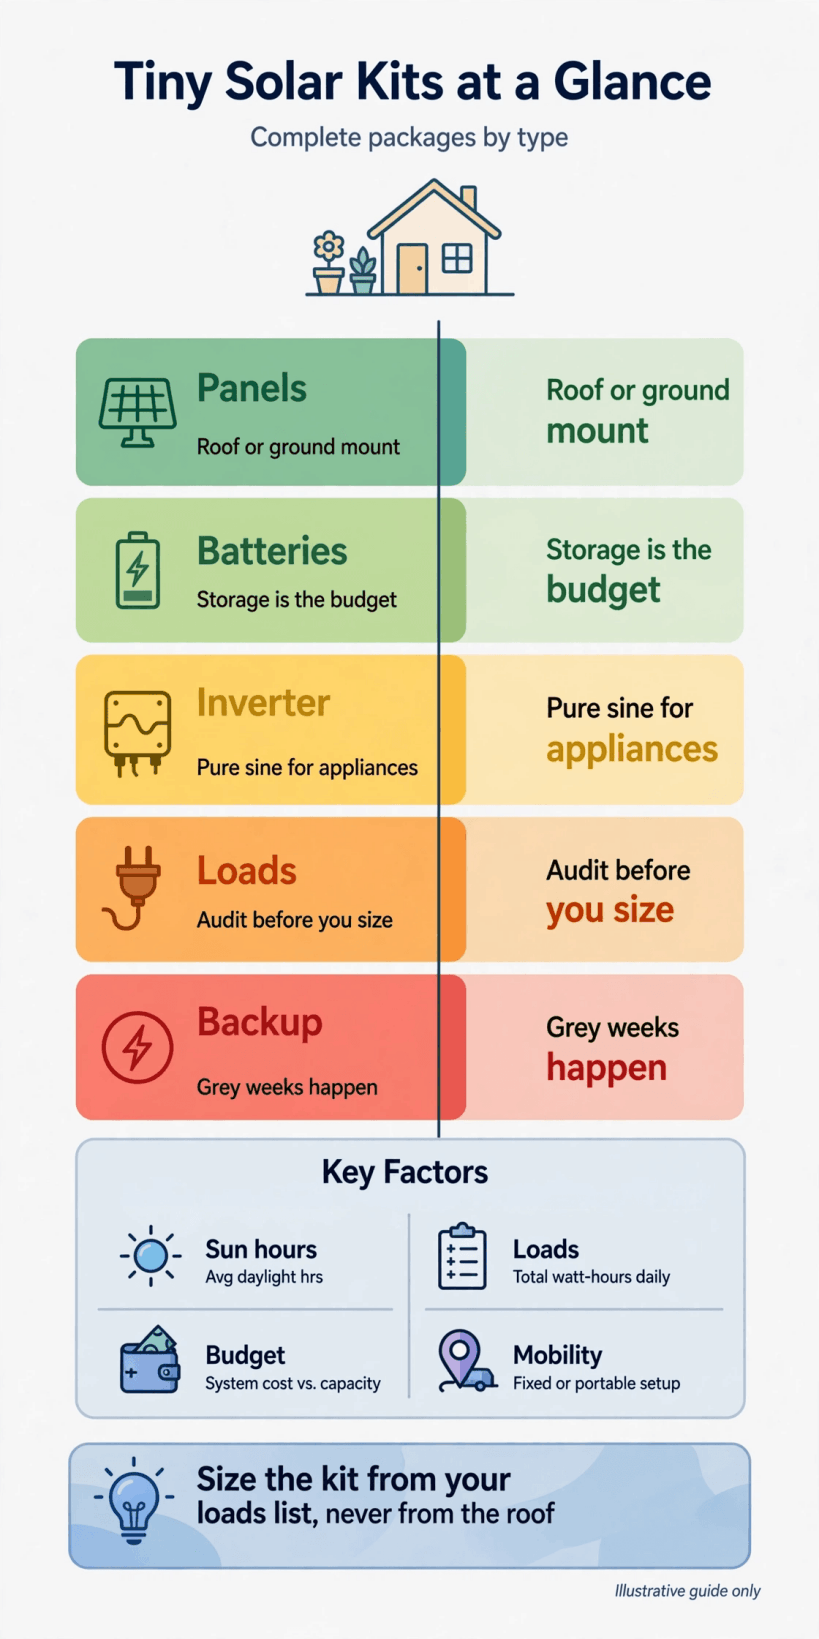
Every reliable solar design starts as a list, not a purchase. Write down everything that will use electricity: lights, fridge, water pump, fans, phone and laptop charging, router, television if you have one, tool charging, and the small standby draws nobody notices until the battery is flat at dawn. Beside each item note how long it runs on a heavy day, and be pessimistic. Winter evenings stretch lighting hours, guests add devices, and working from home turns a modest setup into a full-time office supply. The total daily energy figure from that list, not the size of your roof, is what the kit must serve.
Work through the method in our guide to solar panel kits for tiny homes and how to size your battery bank alongside your own list, and cross-check it against the wider picture in tiny house utilities: power, water and off-grid sewage, because pumps and water heating choices change electrical demand more than any gadget. Separate the list into essentials that must never fail, comforts that can pause on dull days, and luxuries that only run when the battery is full and the sun is out. That three-part split becomes your operating system for the whole installation.
2. Read a Kit as a System: Panels, Controller, Inverter, Storage
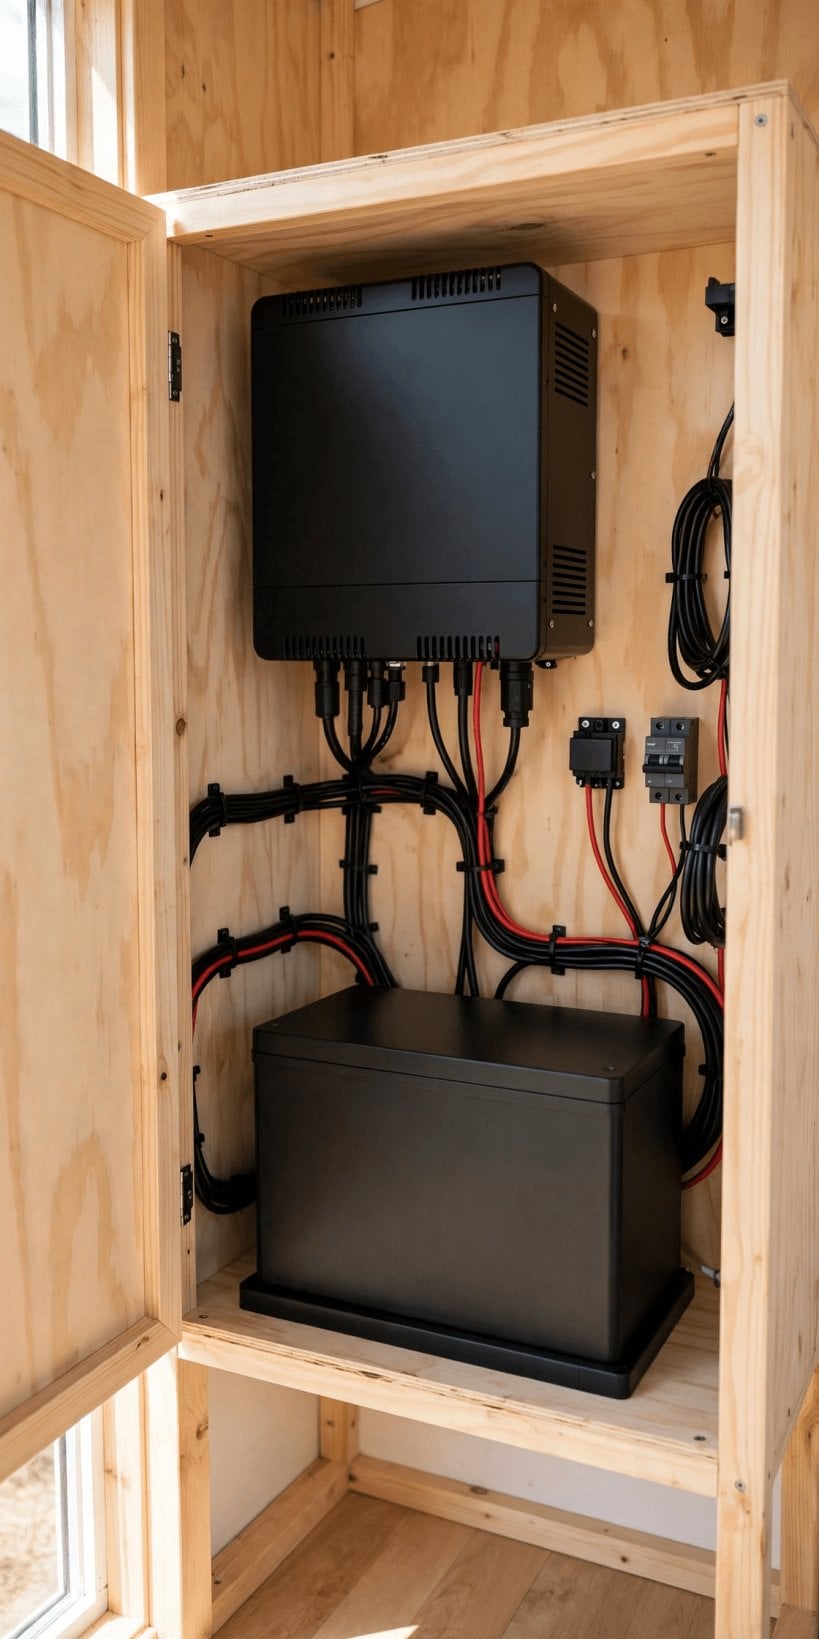
A kit is a chain, and the chain is only as strong as its least-considered link. Panels generate when light falls on them. The charge controller manages that energy safely into the batteries and protects them from overcharge. The batteries store energy for the night and the dull day. The inverter converts stored low-voltage power into the household supply your appliances expect. Cables, fuses, and switches connect and protect all of it. When a kit disappoints, the cause is rarely one bad component; it is a mismatch, generous panels feeding small storage, a large inverter idling wastefully against a small battery, or cables and protection treated as an afterthought.
So compare kits by balance, not by the single biggest number. Ask how much energy the panels can realistically harvest on a short winter day in your location, how much usable storage sits behind them, what continuous and surge load the inverter can honestly serve, and whether the controller has headroom if you add a panel later. Ask also what the kit leaves out. Mounting hardware, battery cables, fusing, monitoring, and a backup charging option are frequently the difference between a headline price and a working system, and discovering that at installation stage is how budgets quietly double.
3. Size Battery Storage as the Budget, Not an Afterthought
Storage is where off-grid life is actually lived, and it is usually the most expensive part of the system over its lifetime. Panels get the glory, but the battery decides whether the fridge survives the night, whether two grey days mean candlelight, and how deeply the system is discharged in daily use, which in turn shapes how long the storage lasts before replacement. Treat usable capacity, the energy you can actually draw in normal operation, as the real figure of merit, and size it from your audit with dull-weather days included, not from the minimum that works in June.
Placement matters as much as size. Batteries need the temperature conditions, ventilation arrangements where their type requires it, secure mounting for travel, and cable runs kept short and protected. In a tiny home that usually means negotiating with the same under-bench and tongue-box spaces that store everything else, which is another reason to size honestly at the start. A storage bank chosen as the leftover after panels and inverter were bought will be too small, worked too hard, and replaced too soon. Budget storage first, and let the rest of the kit serve it.
4. Choose Panel Mounting for Your Roof, Ground, and Travel
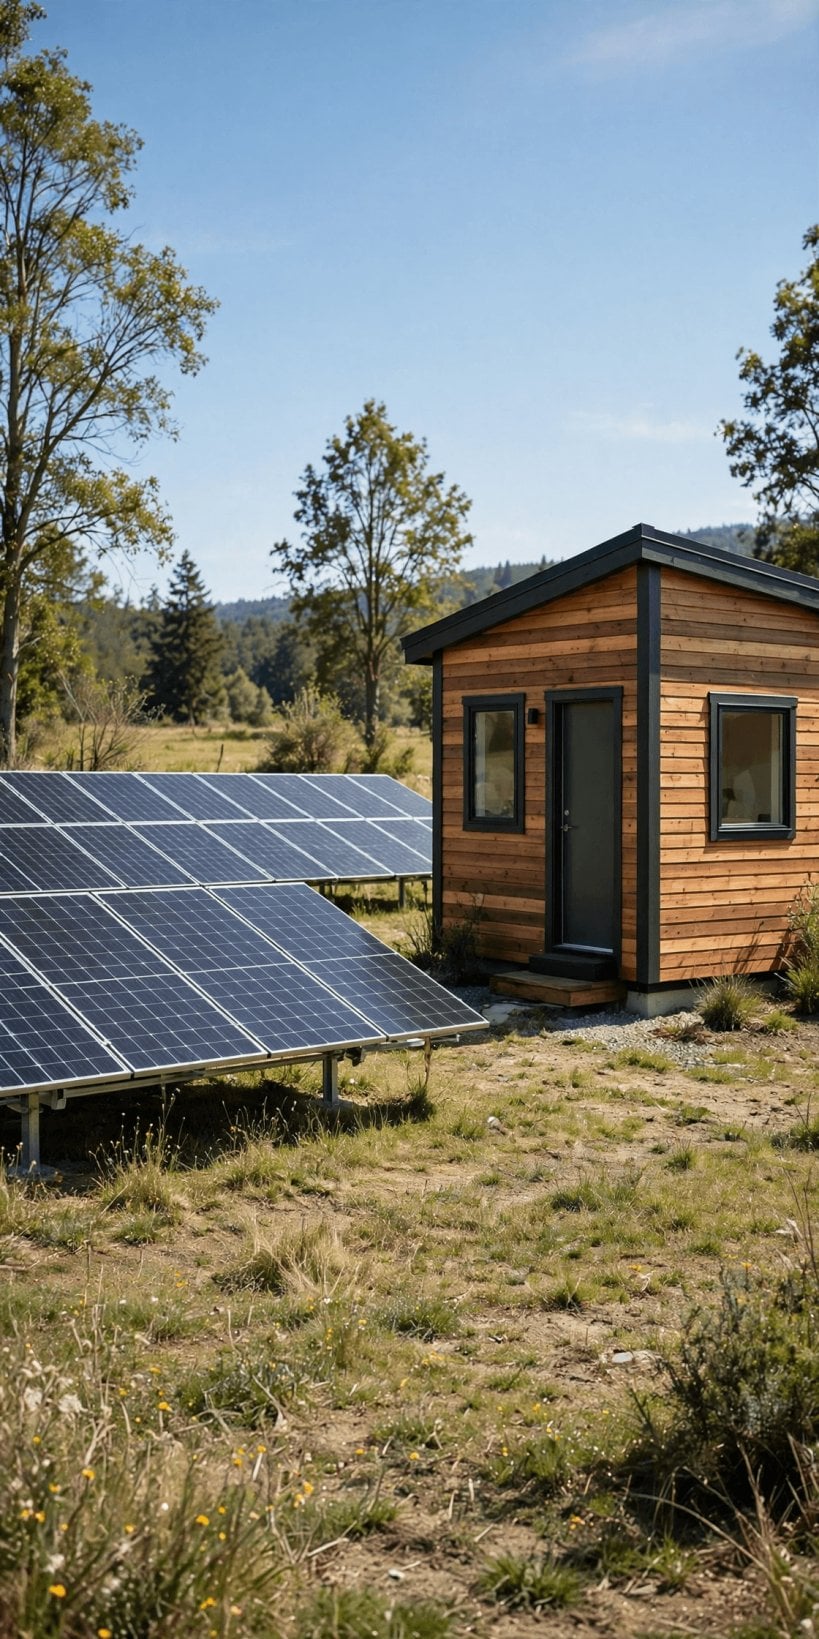
Mounting decides how much of your panels’ potential you actually collect. Roof mounting is tidy, secure, and uses dead space, but it fixes the angle to the roof’s pitch, inherits any shading from trees and chimneys, and makes cleaning and inspection a ladder job. Tilting arrangements can improve seasonal yield where they are practical, at the cost of complexity and wind exposure. Homes designed around solar from the start, like the layouts in solar-ready tiny house layouts with battery storage space, show how roof direction and internal storage space are planned together rather than improvised later.
Ground mounting frees the panels from the roof entirely, which suits shaded roofs, curved roofs, and plots where the house parks under trees for summer coolth. Portable panels go further, letting travelling homes park in shade and place the generation in sun, joined by a cable, at the cost of setup time, security attention, and connectors handled daily. Whichever route you choose, think about wind loading, water shedding, cable protection, and how snow, leaves, and dust will be cleared. A mounting plan that cannot be cleaned safely will quietly underperform for years.
5. Demand a Pure-Sine Inverter for Real Appliances
The inverter is the component your appliances actually meet, and its output quality matters. A pure-sine output matches the smooth supply household equipment is designed for, which is the safe assumption for modern electronics, variable-speed motors, chargers, and anything with sensitive controls. Cheaper modified-output designs can run simple resistive loads, but they can also make some motors run hot or noisy, upset some chargers and audio equipment, and leave you troubleshooting strange behaviour that is really a waveform problem. For a full-time home, treat pure-sine as the default specification, not an upgrade.
Size the inverter from your audit’s simultaneous loads, not from the largest single appliance alone and not from fantasy. Running the pump, the fridge compressor starting, lights, and a laptop together is a realistic evening peak; running every heating and cooking appliance at once is a lifestyle solar should not be asked to fund. Remember that inverters consume power simply by being on, so an oversized unit idling all night taxes the battery it serves. The elegant solution is a right-sized inverter, a household habit of staggering heavy loads, and, where the design allows, keeping suitable small loads on the low-voltage side where conversion losses never happen.
6. Wiring, Protection, and Safe Installation Basics
Low-voltage systems carry high currents, and high currents punish sloppy wiring with heat, voltage drop, and, in the worst cases, fire. Cable sizes, fuse and breaker positions, disconnect switches, and secure terminations are the unglamorous core of a safe kit, and they should follow the kit design and competent guidance rather than improvisation. Every source of energy in the system, panels, batteries, inverter, and any backup charger, needs a deliberate way to be isolated for maintenance. If a kit’s documentation does not discuss protection and disconnection clearly, that silence is information about the kit.
Decide honestly who installs what. Many owners competently mount panels and run prepared looms, while final connections, protection checks, and any household-voltage work belong with a qualified electrician where rules require it, and sometimes where they merely recommend it. Photograph and label runs before walls close, keep a diagram of the system in the house, and record component serials and settings with your other house documents. The next person to fault-find the system may be you, at night, in rain, and that diagram will be worth more than any single component upgrade.
7. Plan for the Grey Week: Backup and Load Discipline
Every climate has a grey week: a run of short, overcast days when generation collapses and storage drains no matter how well the system was sized. A credible kit plan names its answer in advance. Options include a backup charging source, a connection for shore or generator power where available, a portable power station kept for essentials, or a strict load-shedding routine that protects the fridge, lights, and communications while comforts pause. Our look at off-grid power stations for tiny houses is useful here as a backup layer, not a substitute for a house system.
Load discipline is the free half of the grey-week plan. Heating water, space heating with electricity, and electric cooking are usually the loads that break a solar budget, which is why many off-grid tiny homes pair solar electricity with other fuels for heat, as explored in propane versus electric systems in tiny houses and tank sizing. Shift flexible jobs, laundry, tool charging, baking with electric appliances, to bright middays when panels are producing and batteries are full. A household that lives by the battery gauge in winter, without resenting it, gets far more from the same kit than one that treats every day like June.
8. Monitoring, Maintenance, and Seasonal Habits
You cannot manage what you cannot see. A simple monitor showing battery state, daily generation, and consumption turns solar from a mystery into a routine: you learn what the fridge costs overnight, what a dull day really means, and when a creeping new load appears. Check the display at the same times each day for the first season and the patterns will teach you your own system better than any manual. Monitoring also catches faults early, a shaded or failed panel, a charger setting lost, a battery aging, while they are still small problems with cheap answers.
Maintenance is light but real. Keep panels clean enough that dirt does not become a permanent shade, following the routines in our guide to solar panel maintenance to maximise efficiency, check terminals and cable condition on a schedule, keep battery areas ventilated and tidy, and review the system before winter rather than during it. Seasonally, adjust expectations and habits: panel angle if your mount allows, load timing as days shorten, and the grey-week plan rehearsed before it is needed. Solar rewards attentive owners with years of quiet service and punishes neglect slowly, then suddenly, at the least convenient moment.
9. Grid Tie, Permits, Insurance, and Moving House
Not every tiny-house solar system is off-grid in the same way. Some homes connect to the grid where it exists and use solar to cut bills or provide backup; others, on wheels or remote plots, are fully independent. The rules, permits, and equipment approvals that apply differ between those worlds and between places, so check the position for your site before buying a kit designed for a different one. Exporting power, in particular, is a regulated arrangement, not a default, and a kit bought for island use may not be the kit a grid connection requires.
Tell your insurer what you have installed, as you would for a stove or any other major system, and keep the documentation together: invoices, diagrams, component records, and installer details. Our tiny house insurance guide for homes on wheels versus a foundation shows how much classification drives cover, and a home that travels raises its own questions about panels, mounting, and batteries in transit. If you sell or move the home, that same folder demonstrates a system installed deliberately and maintained properly, which is worth money and trust in any negotiation.
10. Budget the Whole System and Its Replacements
Compare kits on whole-system cost, installed and running, not on panel count or headline price. The honest total includes mounting, cables and protection, monitoring, installation help where needed, delivery to a possibly awkward plot, and the future replacement of the storage bank, which is a when, not an if, in any battery system. It also includes the cost of under-buying: a kit too small for the audit will be supplemented, expanded, or replaced within a couple of winters, and expansion is always dearer than headroom bought once at the start where the design genuinely allows it.
That is the same accounting habit we urge for the build itself in the true cost of tiny houses, prefab versus DIY: the first price is the least interesting number. Judge value over years of dependable service, lights on, fridge cold, water pumped, in the worst month as well as the best. A balanced kit, bought after an audit, installed safely, and lived with attentively, is one of the most satisfying systems in a tiny home. A bargain kit bought on a headline will remind its owner of the saving every grey week, at dawn, with the battery gauge low.
Final Considerations
Buy in this order: audit, storage, generation, inversion, protection, mounting, backup. Let the eight configurations in the table frame the conversation, then eliminate by your loads list, your site’s shade and mounting options, and your honest grey-week plan. Be wary of any package described only by its largest component, any seller who discourages a loads audit, and any design with no answer for December.
Finally, remember that a solar kit is a living system in a small home, not a trophy on the roof. The households that thrive on solar are the ones that know their numbers, watch their gauge, shift their loads with the light, and maintain the system in the quiet seasons. Choose the balanced kit, install it safely, document it well, and it will return that care with independence every single day.


0 Comments