

Day three of gray skies. The fridge is warm, the laptop is dead, and the battery monitor reads eleven percent. Undersized solar does not fail dramatically — it fails on a random Tuesday in November, exactly when you need it most. This guide runs the full sizing math: the load audit, the winter sun hours, the array, and the battery bank that bridges the storms.
Solar Panel Kits for Tiny Homes: At a Glance
Sizing solar panel kits for tiny homes is an arithmetic problem before it is a shopping problem. The sequence never changes: audit every load in watt-hours, read your location’s winter sun hours honestly, size the array to refill the day in that weak sun, then size the battery bank to bridge the cloudy stretches the array cannot cover. The worked example running through this guide is the original’s own: a house using 5,000 watt-hours a day, in a place with four winter sun hours, ends up with a 1,600–2,000W array and a roughly 15 kWh lithium battery bank — and a complete system budget of $9,000–15,000. Every figure below comes from that same worked math, so you can rerun it with your own audit numbers. The ten sections follow the build order: mindset, audit, sun, array, storage, electronics, buying, safety, backup, and budget.
| Topic | What It Covers | Key Fact or Figure |
|---|---|---|
| 1. Energy Independence Is a Math Problem | The sizing mindset behind the whole system | Audit first, buy second |
| 2. The Load Audit | Every device listed in watt-hours | Modest house: 3,000–5,000 Wh/day |
| 3. Sun Hours | Your location’s fuel supply | Seattle winter: ~1.5 peak sun hours |
| 4. Sizing the Array | Panels matched to the audited load | Worked example: 1,600–2,000W |
| 5. Sizing the Battery Bank | Storage for the cloudy stretches | Worked example: ~15 kWh LiFePO4 |
| 6. The Charge Controller and Inverter | Harvesting and delivering the power | MPPT harvests 20–30% more than PWM |
| 7. Kits vs DIY | The buying decision | Kits: 400W–3,000W+, $500–4,000 |
| 8. Wiring, Fusing, and Safety | High current handled properly | Fuse every circuit |
| 9. The Generator Question | Backup for the darkest weeks | The 5% rule |
| 10. Costs: The Full Budget | The complete off-grid system, priced | $9,000–15,000 all-in |
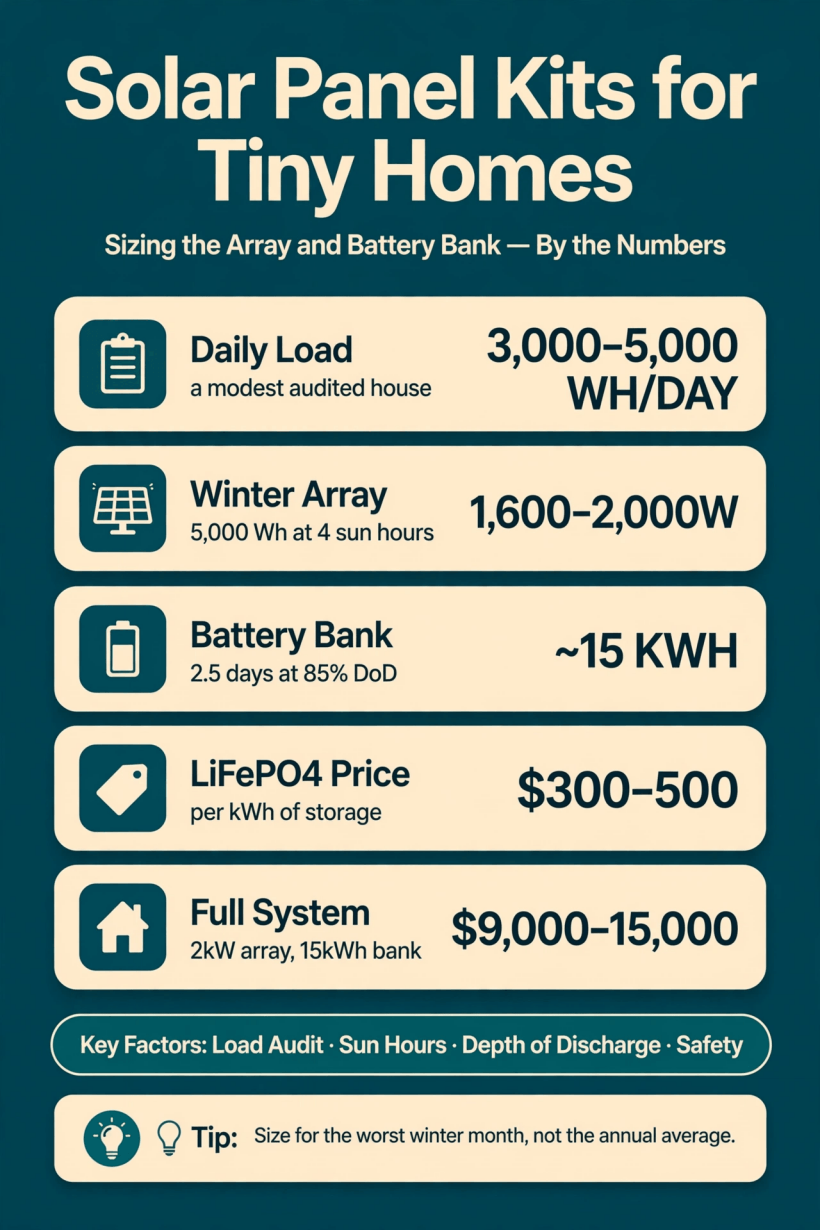
Solar sizing by the numbers: a modest house audits at 3,000–5,000 Wh a day, the winter-sized array lands at 1,600–2,000W, and the battery bank that bridges the storms holds roughly 15 kWh.
1. Energy Independence Is a Math Problem
Solar for a tiny house is not “put panels on the roof and hope.” It is a load audit, a sun-hours calculation, and a battery bank sized to bridge the cloudy days — three pieces of arithmetic that have to agree with each other. Get the math right and the lights stay on through a week of rain; get it wrong and you are running the generator at midnight, listening to it burn fuel to cover an error you made on paper months earlier.
The order of operations matters as much as the numbers. The audit comes first because every downstream figure multiplies it: an audit that flatters your usage by a fifth produces an array a fifth too small and a bank a fifth too shallow, and the shortfall only announces itself in the worst month. The sun hours come second, because they are the supply side of the same equation — the fuel your location actually delivers. Only then does buying start, and by that point the shopping list has largely written itself. Houses designed from the first sketch around this sequence — roof angle, orientation and array space planned rather than improvised — are collected in our roundup of solar-ready tiny house layouts. This guide walks the full sizing process in that order, so do the arithmetic once and sleep through the storms.
2. The Load Audit: Know Your Appetite
The audit is a list, nothing more exotic: every electrical device in the house, its watts, and the hours it runs each day, multiplied out into watt-hours. The original’s worked list shows the shape of it. LED lights: 60W total × 5 hours = 300Wh. A laptop: 65W × 6 hours = 390Wh. Phone charging: 20Wh. The water pump: 100W × 1 hour = 100Wh. Miscellaneous loads: 300Wh. And then the two elephants — the mini-split at 800W × 8 hours = 6,400Wh, and the fridge at a 100W average × 24 hours = 2,400Wh. Heating and cooling loads dominate any audit they appear in, which is why the sizing conversation and the heating conversation are the same one — the systems compared in our guide to how to heat a tiny house are the loads this audit has to feed.

Total the watt-hours and two bands emerge. A modest tiny house runs 3,000–5,000Wh/day. A comfortable one — mini-split running, full-size fridge — runs 8,000–12,000Wh/day. The gap between those bands is the single most expensive surprise in off-grid design, because the system that serves the second band costs roughly double the first. Be honest at this step: the audit is the foundation, and every downstream number multiplies its errors. Rather than guessing at nameplate watts, measure real usage with a Kill-A-Watt meter ($30) for a week — cycling loads like fridges almost never draw what their labels imply. The pump on the list is its own small system, incidentally: the pressurised side of the water setup is covered in our guide to off-grid tiny house water systems, and its electrical appetite belongs in this audit like everything else.
3. Sun Hours: Your Location’s Fuel Supply
Peak sun hours are not daylight hours. They are the equivalent hours of full 1,000W/m² sun your location delivers — the number that turns a panel’s rating into the energy it will actually produce in a day. The original’s two reference points bracket the range most builders face. Phoenix: ~6.5 peak hours in summer, ~4.5 in winter. Seattle: ~5 in summer, ~1.5 in winter. Same panels, same house, a threefold difference in winter fuel — which is why a system design can never be copied from a sunnier climate and expected to work.
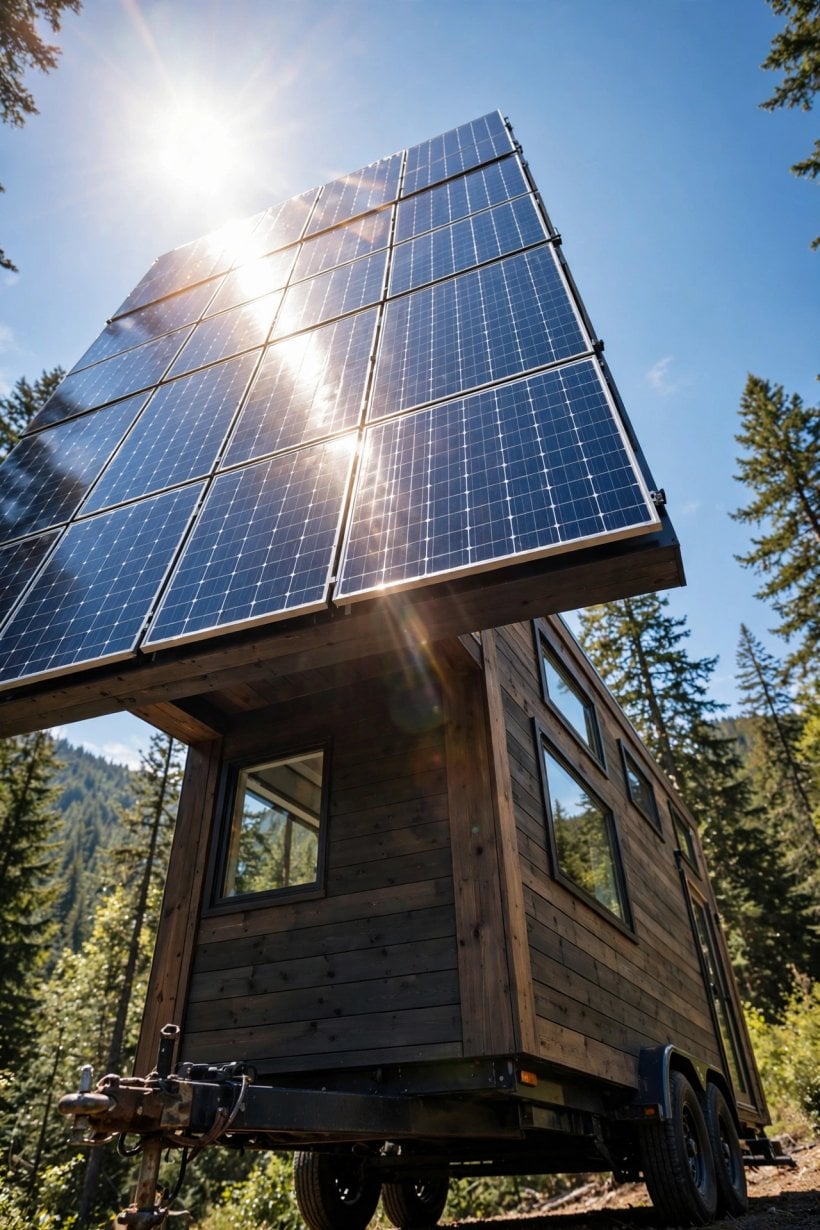
The design rule follows directly: design for the worst month you will occupy the house — usually December or January — and size the array for winter sun hours, not the annual average. A system that sings in June and starves in January is not an off-grid system; it is a summer system with a generator habit. Look up your own location’s figures before running any of the formulas below: the NREL PVWatts calculator is free and gives month-by-month numbers for your exact spot. Every sizing step after this one divides by your winter sun hours, so an optimistic figure here quietly shrinks the whole system — the audit’s honesty rule applies to the sky as much as to the appliances.
4. Sizing the Array: Panels
The array formula has three terms: array watts = daily Wh ÷ sun hours ÷ 0.75. The 0.75 is the honesty factor — it accounts for the real-world losses between a panel’s label and your battery: heat, wiring, inverter inefficiency, dust, and panel aging. Run the worked example: 5,000Wh/day ÷ 4 winter sun hours ÷ 0.75 = 1,667W — which rounds to a 1,600–2,000W array in practice, built from 4–5 × 400W panels. Skip the 0.75 and the same arithmetic flatters you into an array a quarter too small; the factor is not pessimism, it is the difference between rated and delivered power.
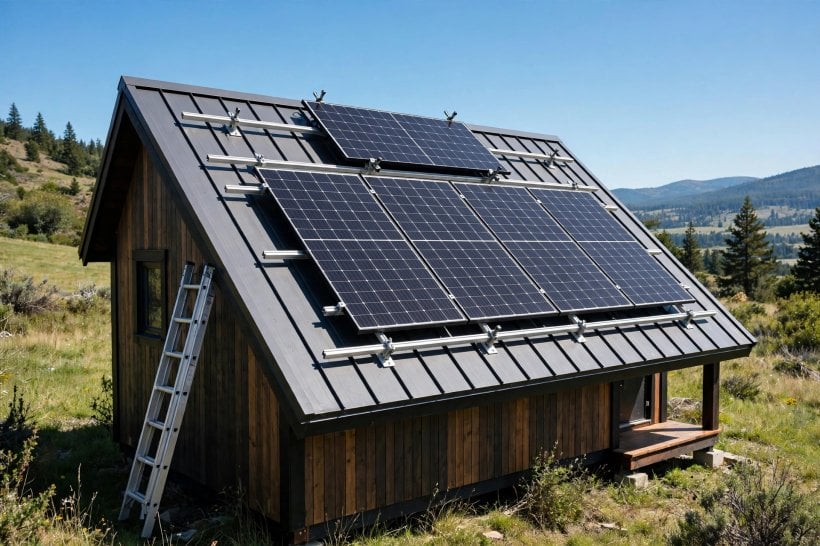
Panel choice for a tiny house is constrained by roof space, and the constraint decides it: monocrystalline panels, the highest-efficiency option, are the tiny house standard precisely because the roof is small. Choose 400W+ panels and the count stays low — fewer panels, fewer mounts, less wiring, fewer penetrations. The remaining decision is roof mount versus ground mount. Roof mounts are clean and use space that is otherwise wasted, but the angle is fixed by the roof you have. Ground mounts tilt seasonally, which is worth +15–25% winter yield — the season when yield is scarcest — and they stay clean instead of collecting roof grime. If you have the land, ground-mount wins; if you do not, the roof array sized by the formula above still does the job, because the formula never assumed a perfect angle in the first place.
5. Sizing the Battery Bank: The Heart of the System
If the array is the harvest, the bank is the granary — the part of the system this post’s title points at. The formula: battery Wh = daily Wh × autonomy days ÷ depth of discharge. Autonomy days are how many cloudy days the bank must ride through with no meaningful harvest: 2–3 for most houses, where more days mean more batteries and more cost. Depth of discharge is the fraction of the bank you may actually use: lithium (LiFePO4) allows 80–90%, lead-acid only 50% — a difference that doubles the lead-acid bank’s nameplate size for the same usable energy. The worked example: 5,000Wh × 2.5 days ÷ 0.85 = 14,700Wh — a ~15kWh lithium bank.
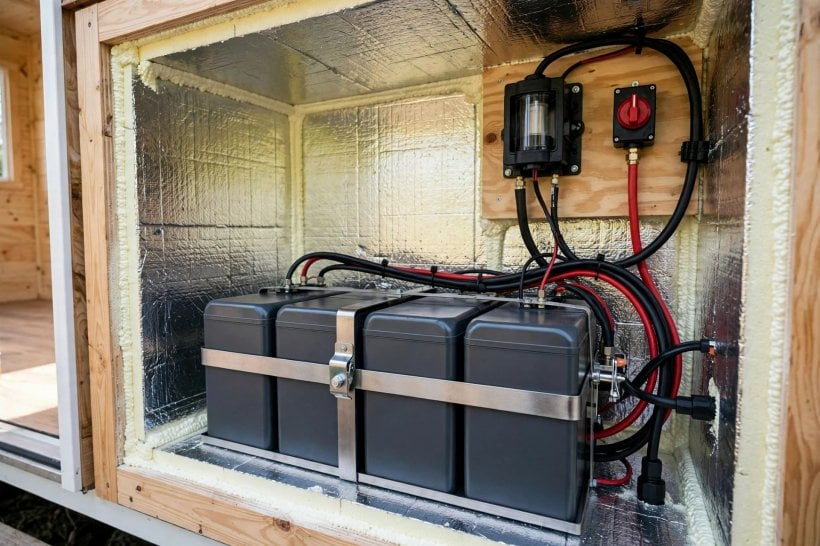
The chemistry decision is effectively made for you. LiFePO4 is the tiny house standard: 3,000–6,000 cycles, light, maintenance-free, at $300–500/kWh — so the 15kWh worked-example bank runs $4,500–7,500. Lead-acid is cheaper upfront at $150–250/kWh but heavier, shorter-lived, and needs maintenance; for full-time living it is a false economy that repurchases itself sooner. Voltage follows system size: 48V for systems over 2,000W — lower current, thinner wires, more efficient — with 24V or 12V reserved for small systems. One cold-climate caveat belongs with the bank itself: LiFePO4 hates charging below freezing, so cold-climate houses need heated batteries or an insulated compartment — the same winter discipline covered in our guide to tiny house living in cold climates, with the compartment itself detailed in our guide to insulating a tiny house.
6. The Charge Controller and Inverter
Between the panels and the bank sits the charge controller, and the choice is not close: MPPT, not PWM. An MPPT controller harvests 20–30% more from the same array — on a winter-sized system, that margin is the difference between the formula working and nearly working — and it is mandatory for larger arrays. Size it with its own formula: array watts ÷ battery voltage × 1.25. The worked example: 2,000W ÷ 48V × 1.25 = 52A, which specifies a 60A MPPT controller at $400–600; the Victron SmartSolar is the standard choice.
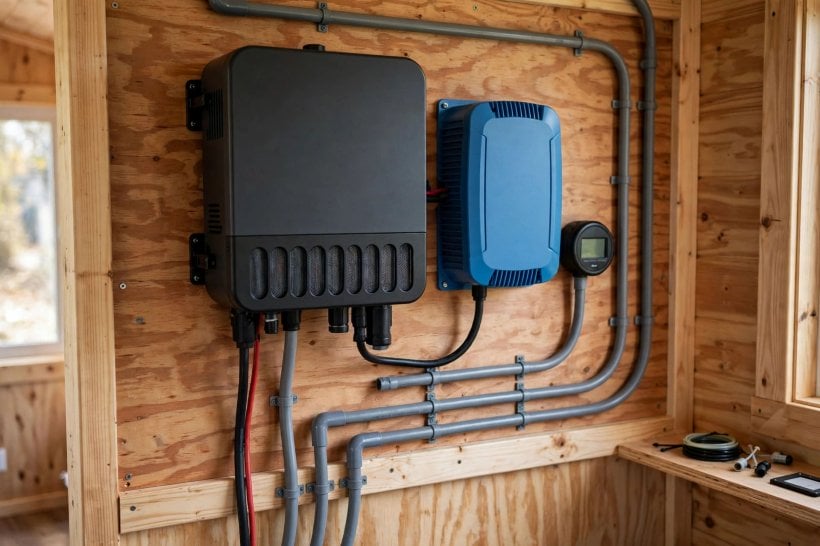
The inverter turns stored DC into household AC, and two rules govern it. It must be pure sine wave, not modified — electronics and motors need clean power. And it is sized to the maximum simultaneous load plus 25% headroom: 2,000–3,000W covers most tiny houses, while electric cooking pushes the requirement to 5,000W. The tidiest implementation is the inverter/charger combo — the Victron MultiPlus at $1,000–1,500 — which charges from shore power or the generator, inverts off-grid, and auto-transfers between them: the tiny house all-in-one that simplifies the whole system. How this solar stack sits alongside the house’s other services — water, sewage, shore connections — is mapped in our guide to tiny house utilities for power, water and off-grid sewage.
7. Kits vs DIY: The Buying Decision
With the sizes known, the buying decision splits in two. Solar panel kits for tiny homes — from Renogy, Eco-Worthy and Rich Solar, spanning 400W to 3,000W+ at $500–4,000 — put panels, controller, mounting and wiring in one box: good value, matched components, one throat to choke. Their two weaknesses are consistent: batteries are often sold separately, so the headline price is not the system price, and kit inverters can be weak — the component most likely to be undersized against the +25% rule above.
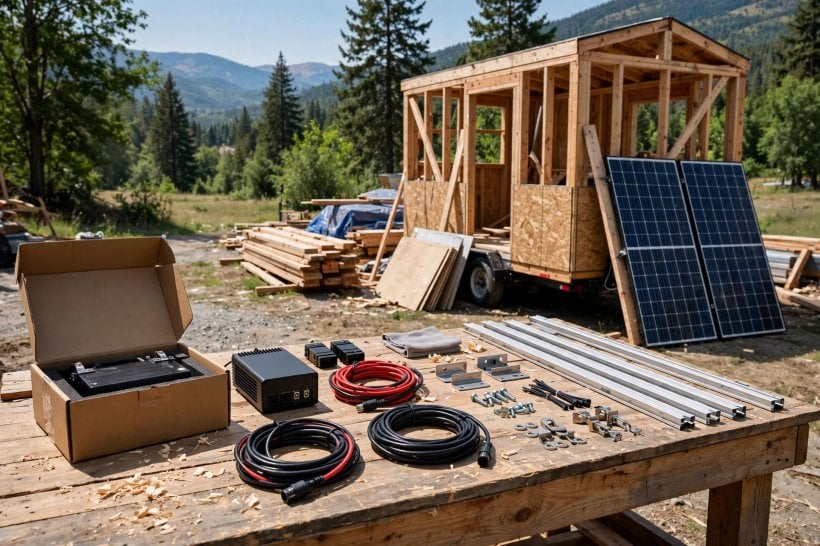
DIY component selection picks each piece on merit — the panels, a Victron controller, LiFePO4 batteries, a MultiPlus — at 10–20% more cost for a significantly better system and full control over every specification. The verdict scales with the system: kits for small, simple systems under 1,500W; component DIY for full-time off-grid houses, where the worked example in this guide lives. Either way, one component refuses all compromise: buy the battery bank from a reputable LiFePO4 brand — Battle Born, SOK, EG4. Cheap no-name lithium is the most dangerous corner to cut in the entire build, because the bank is simultaneously the most expensive component, the highest-energy one, and the one whose quality you cannot inspect from outside the case.
8. Wiring, Fusing, and Safety
Solar is low-voltage DC — which means HIGH current, and real fire risk if it is wired wrong. Low voltage fools people; the amperage is what burns houses, and a 48V bank can deliver it in quantities mains wiring never sees. The disciplines are absolute. Fuse everything: a battery positive terminal fuse — Class T or ANL, sized to the wire — and every circuit fused individually. Size wire gauge for the current it will actually carry, not the current you hope for. Fit disconnects — a battery disconnect and a PV disconnect — labeled and accessible, so any part of the system can be isolated in seconds. Ground the panel frames and mounts, and add a lightning arrestor in storm country.
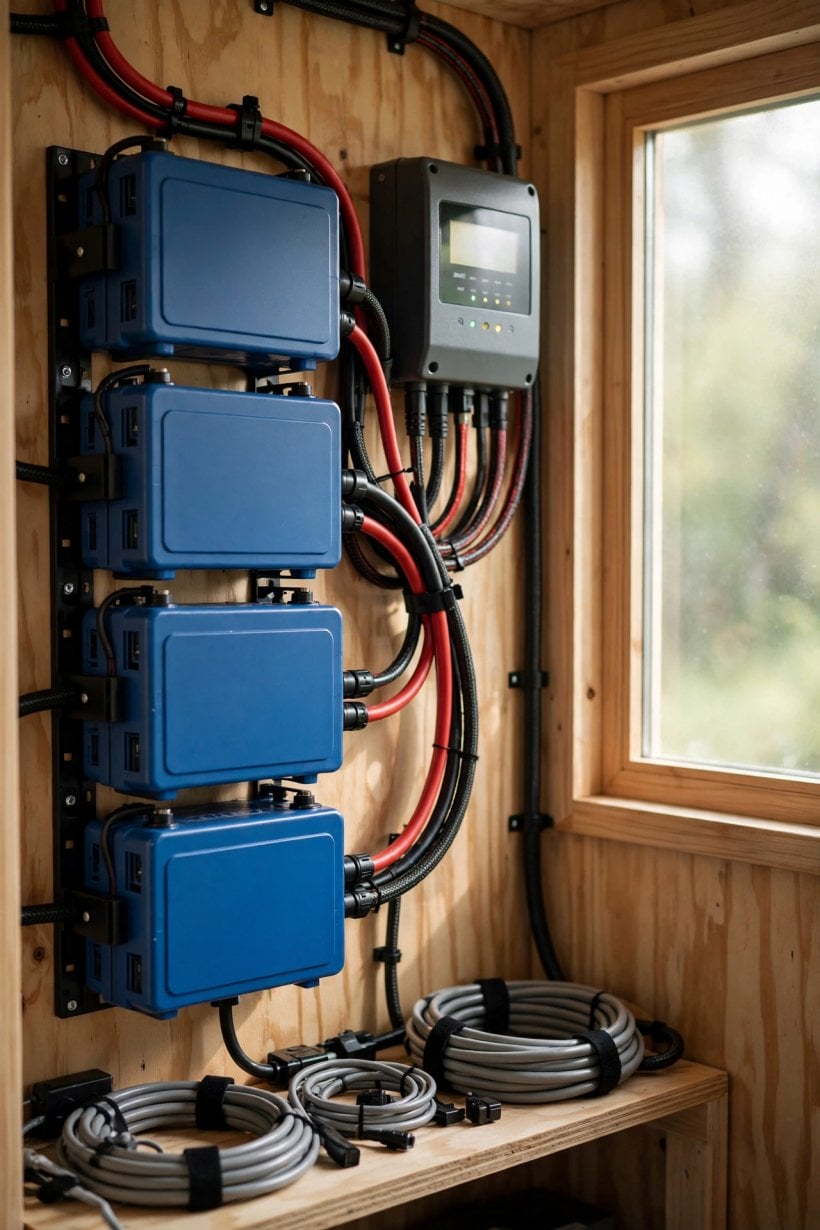
Battery placement carries its own rules: a ventilated, temperature-controlled space — the below-freezing charging limit from section 5 makes the compartment a heating problem as much as a storage one — and the bank secured against movement, because the house moves and batteries must not. None of this is decoration on the design; it is the difference between a system and a hazard, and it interacts with the house’s AC wiring at the inverter — the two halves of the electrical design are laid out together in our guide to tiny house electrical wiring for 30-amp and 50-amp service. Do the safety work with the same care as the sizing math: the audit decides whether the lights stay on, and this section decides whether the system deserves to be trusted while they do.
9. The Generator Question
Even great solar needs backup, and admitting it is part of sizing honestly. A 2,000–3,000W inverter generator — a Honda EU2200i or equivalent, quiet and efficient at $1,000–1,500 — covers the darkest weeks and equalizes the batteries. Size the generator to the battery charger’s draw rather than to the house’s loads, because its real job is refilling the bank: run it during the day, when it charges the batteries and powers the loads simultaneously, and the bank — not the generator — carries the night.
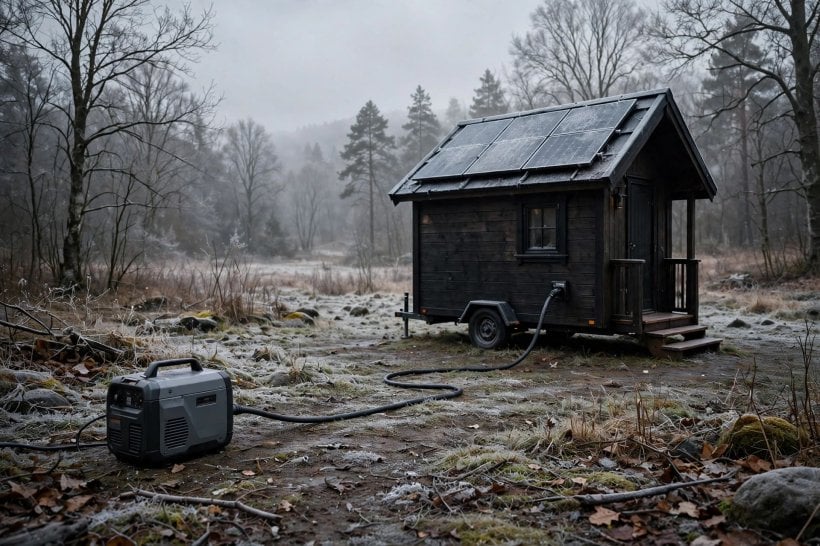
The generator comes with a diagnostic rule, the 5% rule: treat it as the 5% solution, and if it runs more than 5% of the time, the array or the bank is undersized — the generator’s runtime is a meter reading on your sizing math, not a lifestyle. That reframes the machine entirely. The generator is not failure; it is the insurance policy, bought once and claimed rarely. A system sized by this guide’s formulas, in a climate read honestly, should be able to go weeks of ordinary winter without it — and when the exceptional stretch arrives, the policy pays out in hot showers and a full bank instead of the eleven-percent Tuesday this guide opened with.
10. Costs: The Full Budget
Here is the complete worked-example system — the 2kW array and 15kWh bank this guide has been sizing — priced line by line from the original’s budget. Panels: $1,500–2,000. Mounting: $300–600. MPPT controller: $400–600. LiFePO4 batteries: $4,500–7,500 — the bank is the budget’s centre of gravity, exactly as its sizing importance predicts. Inverter/charger: $1,000–1,500. Wiring, fuses and disconnects: $500–800. Generator: $1,000–1,500. Total: $9,000–15,000 for genuine energy independence. Smaller systems — weekend use, propane appliances shrinking the audit — land at $3,000–6,000, which is why the audit’s band matters more than any single component price: the modest house and the comfortable house are buying different systems.
The long-view math deserves its own paragraph because it reframes the purchase. At $0.15/kWh grid power, a 5,000Wh/day system offsets roughly $275/year — over the 25-year view, solar does not beat grid prices, and pretending otherwise corrupts the decision. Solar is not about beating the grid; it is about independence where the grid does not reach — the land with no pole to connect to, the winter with no bill and no outage, the house that makes its own weather-proof power. Priced as independence, $9,000–15,000 is the honest number: not cheap, not a saving scheme, and — sized by the audit rather than by optimism — paid once.
Final Considerations
Size from the load audit, design for winter sun, buy LiFePO4, fuse everything, and keep the generator as backup. Solar rewards the careful planner and punishes the optimist — every shortcut taken in the arithmetic is repaid, with interest, on a gray Tuesday in November. Do the math once, buy once, and the sun — free, silent, and maintenance-free — powers the house for decades. The wider discipline this system belongs to, the daily practice of living beyond the pole line, is laid out in our guide to how to live off grid in a tiny house.




3 Comments