

Panels bolted onto the wrong roof are just expensive decorations. Dormers, vents and shade can halve a tiny house’s solar harvest, while the right orientation and tilt can double it. These ten layouts design the roof as a power plant first and a shelter second — so every panel you buy works at full strength from day one.
At a Glance: Roof Orientation, Tilt and Array Size Compared
Every layout below answers the same four questions: which way does the array face, how steep is it, how much power does it carry, and what does the floor plan give up to make room for it? The strongest of these solar-ready tiny house layouts share one discipline — an unbroken, unshaded panel surface, a tilt matched to latitude, and the shortest possible wire run between array, battery bank and inverter. If you are still sketching, it helps to design your tiny house online with the roof plane drawn first, because the roof decision quietly fixes the floor plan under it.
| Layout | Array placement | Size from the plans | Best for |
|---|---|---|---|
| 1. South-Facing Shed | Single south slope, 4/12 pitch | 192 sq ft, 3.5–4 kW | Maximum harvest per roof |
| 2. Dual-Pitch East-West | Both gable slopes | Two arrays, two MPPT inputs | Flatter all-day power curve |
| 3. Ground-Mount Yard | Tilted rack 20 ft south of the house | 5+ kW | Total floor-plan freedom |
| 4. Solar Porch Roof | 10×12 panel canopy over the porch | Porch-sized array | Shade and power in one structure |
| 5. Adjustable-Tilt Rack | Rack on a low-slope roof | 60° winter / 20° summer | High-latitude seasonal swings |
| 6. North-South Split | Panels south, skylights north | Half the roof generates | Daylight plus power, zoned |
| 7. Carport Array | 12×20 panel roof over parking | 240 sq ft, 4–5 kW | Expandable, house roof stays clean |
| 8. Tracking Pole Mount | Single-axis tracker in the yard | 8–12 panels, 3–4 kW | Most harvest per panel |
| 9. Integrated Solar Roof | BIPV laminates on standing seam | The whole south slope | Clean architectural finish |
| 10. Community Array | Shared ground-mount solar farm | 20–50 kW shared | Villages and tiny home communities |
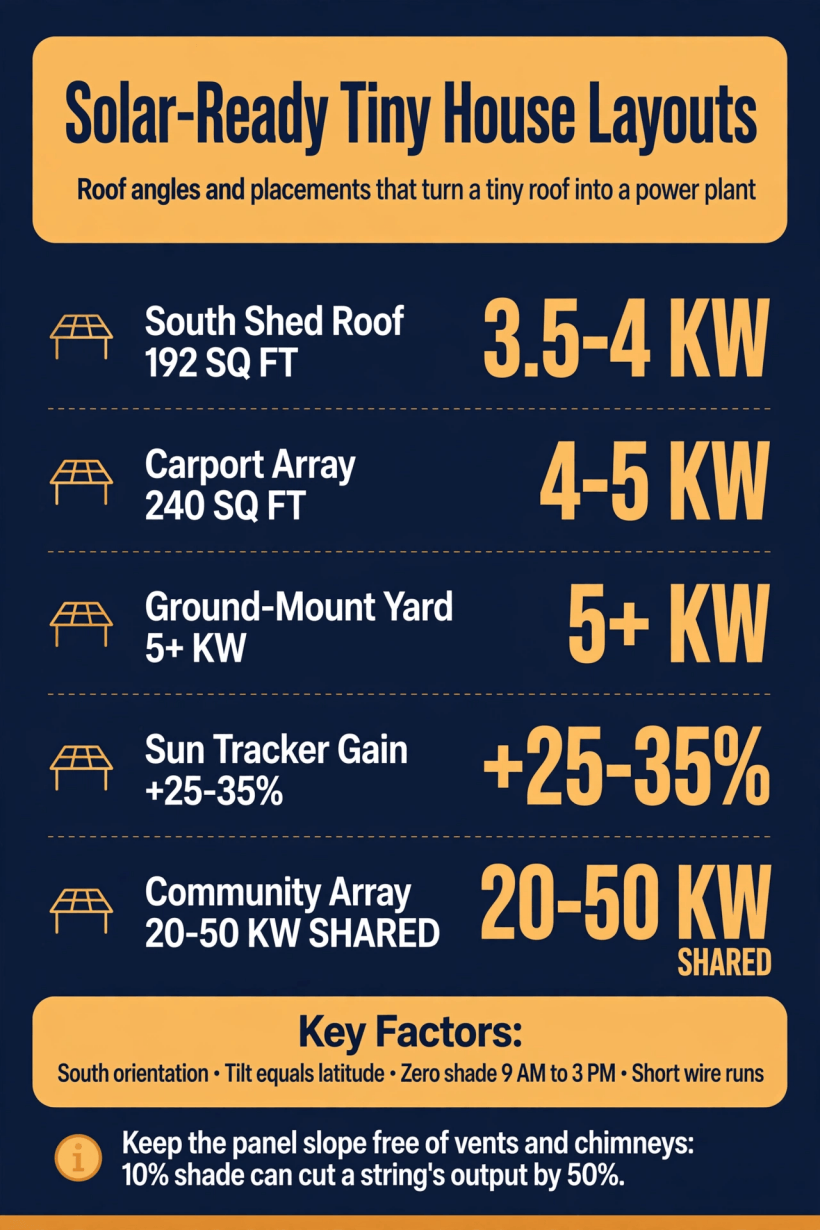
The five placements that carry the biggest arrays, with the output figures given in the plans — and the shading rule that protects all of them.
One sizing reference is worth memorising before the tour: a standard residential panel measures roughly 3.5 by 5.5 feet and produces around 400–450 watts, so the 192 square feet of an 8×24 south shed roof works out at 3.5–4 kW and roughly 14–16 kWh on an average-sun day. Keep 3 feet clear at ridges and eaves for fire access, as most US codes require, and treat shade as a hard design constraint, not an afterthought — the layouts below are organised around exactly that discipline.
1. The South-Facing Shed: An 8×24 Roof That Is All Panel
The simplest solar roof is a single slope facing due south, and the shed design commits to it completely. At 4/12 pitch — 18 degrees — the whole 8×24 roof plane is unbroken panel real estate: 192 square feet with room for 3.5 to 4 kW, no dormers, no valleys, no ridge splitting the array in two. The floor plan underneath is an equally simple linear layout. The high wall faces south and carries the panels above it; the clerestory windows face north, pulling in soft diffuse light with no glare. The entire house is a solar collector with rooms inside.
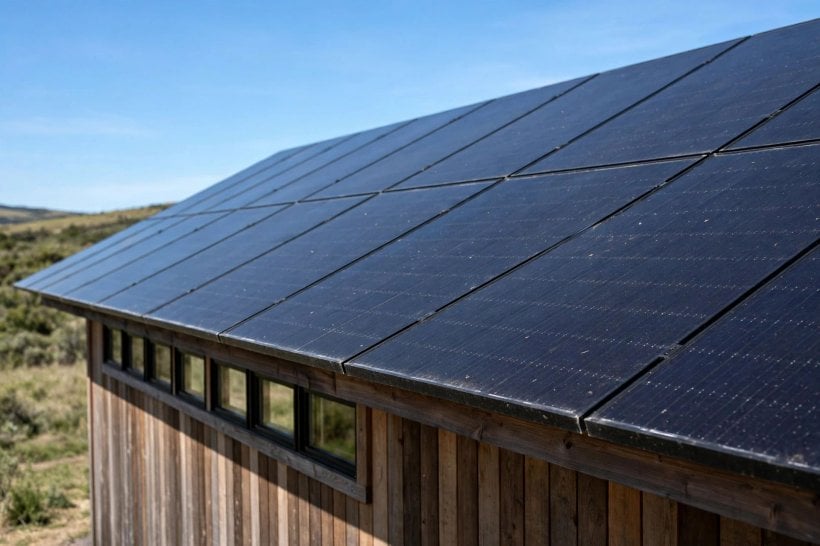
The tilt math decides whether this roof favours summer or the whole year. Optimal year-round tilt roughly equals your latitude: at 40°N, a 4/12 slope at 18° favours the high summer sun, while a steeper 7/12 slope at 30° balances production across the seasons. The design rule from the plan is to pick the tilt for your worst season, not your best — winter is when off-grid systems fail, so the angle that keeps December alive is the angle to build. Before committing, run the numbers on how much solar panels for a tiny house cost at this array size, because the shed’s whole point is that its roof and its power plant are the same purchase.
2. The Dual-Pitch East-West Gable: Panels on Both Slopes
Not every site lets a house face due south — a road, a view or a tree line can fix the ridge the “wrong” way. The dual-pitch design answers by covering both slopes of a conventional gable roof: morning sun hits the east array, afternoon sun hits the west array, and the total daily harvest rivals a single south-facing array. What changes is the shape of the power curve. Instead of one big midday peak, production spreads across the day — less at noon, more at breakfast and in the evening — which actually matches residential usage patterns better, since tiny houses draw power hardest when people are awake, cooking and running lights.
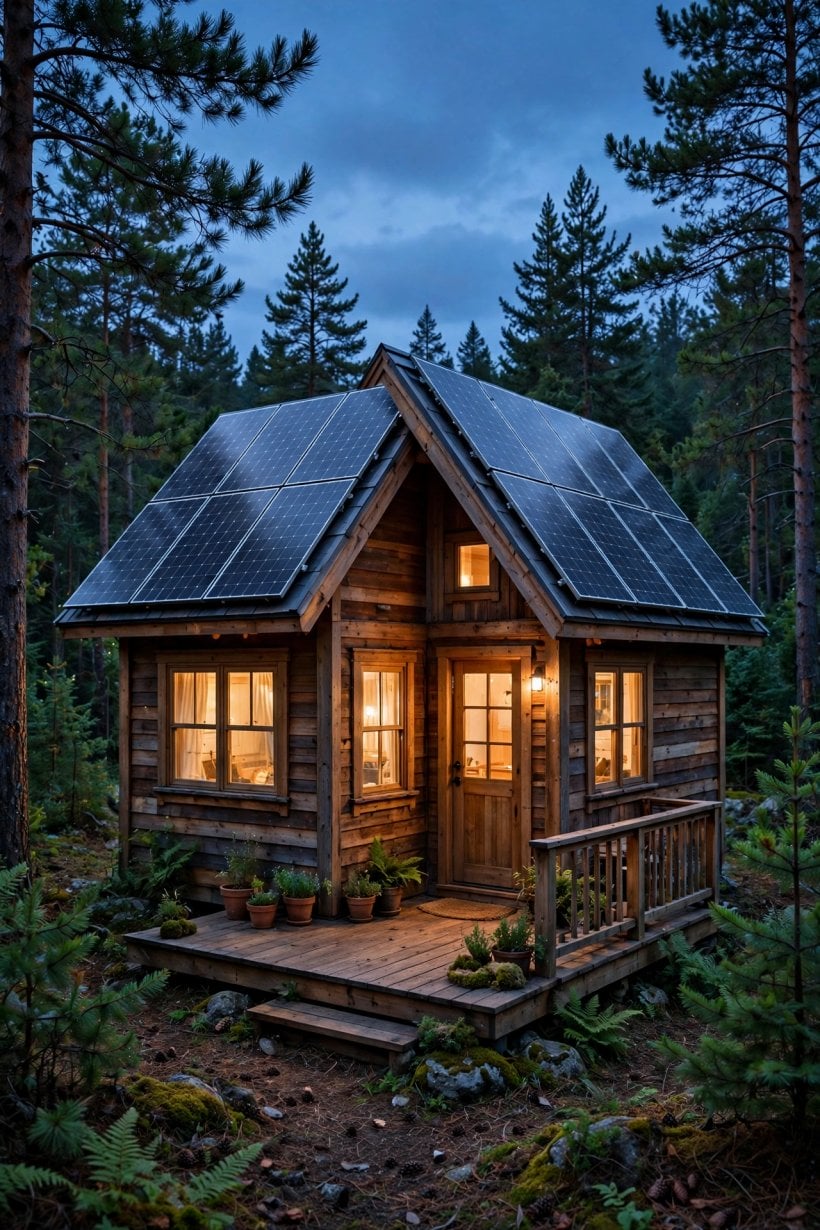
The floor plan is a conventional gabled layout; the innovation is all in the electrical design. Each slope gets its own input on the inverter — two MPPT inputs, one per slope — so the shaded or off-angle side never drags the producing side down. That separation is what makes east-west viable: wired as a single string, the weak slope would throttle the strong one all day. For lots where the ridge cannot run east-west, this layout turns a siting problem into a genuinely different, and in some ways friendlier, power profile.
3. The Ground-Mount Yard: Panels Off the Roof Entirely
The third layout asks why the array needs a roof at all. A ground-mounted array on a tilted rack stands about 20 feet south of the house, sized for 5+ kW on an 8×24 house — more than any roof in this list carries — while the roof itself stays simple: any pitch, any orientation, any material. The panels sit at the perfect tilt and azimuth because nothing architectural compromises them, and cleaning and snow removal take minutes at ground level instead of a ladder trip. The floor plan is freed from solar constraints completely, which makes this the natural partner for an existing house whose roof was never drawn for panels.
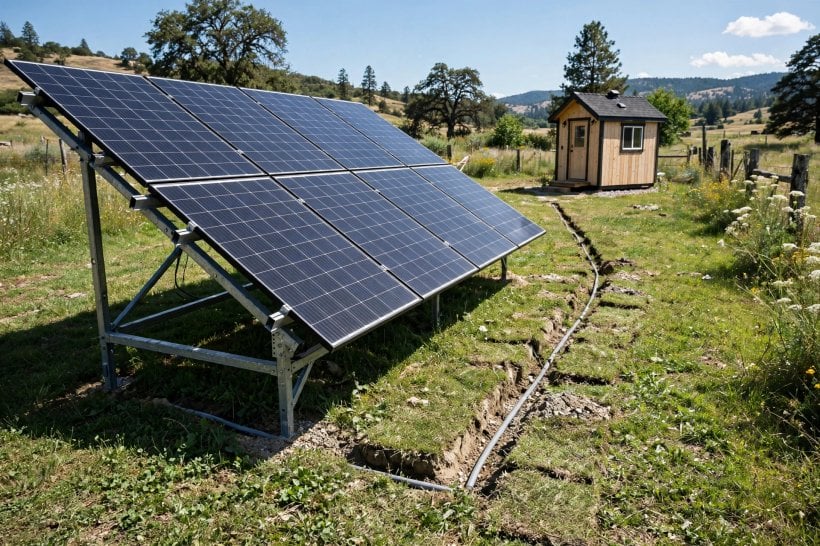
The engineering lives underground. The DC or AC feed runs back to the house in buried conduit, 18 inches deep minimum, and the conductors are sized for less than 2% voltage drop over the run — on a long trench, cable gauge matters more than panel count. The trade is land: you need an unshaded yard patch that stays unshaded, which is why this layout pairs naturally with the placement questions covered in where to park a tiny house — the parking spot and the array are competing for the same sunny ground, and the plan has to settle that contest before either is staked out.
4. The Solar Porch Roof: Panels as the Patio Cover
The porch layout makes the array do double duty. A 10×12 south-facing porch is roofed with the panels themselves: the canopy powers the house and shades the deck at the same time, so the porch stays cool in summer precisely when the array above it is producing hardest. Because the panels are the roof, there is no separate roofing material under them — and because they sit at porch height, they are the most accessible array on this list for cleaning, inspection and snow clearing. The floor plan connects the porch to the living zone with full-width sliding doors, so the shaded outdoor room reads as an extension of the interior rather than an add-on.
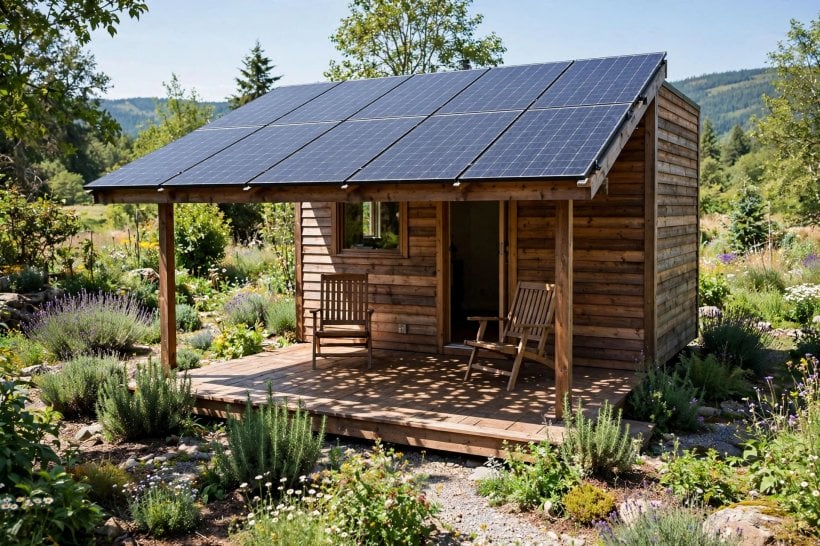
The design point to steal, even if you build a different layout, is the layering: one structure, two jobs. Every element of a tiny house that can carry a second function should, and a south-facing porch roof was always going to sit at close to solar tilt doing nothing but shedding rain. As a generator it earns its footprint — a useful mindset whenever a plan includes awnings, carports or wood-store covers on the sunny side of the house.
5. The Adjustable-Tilt Rack Roof: Seasonal Optimization Twice a Year
A fixed tilt is a compromise frozen in steel. The adjustable-tilt layout mounts the panels on a rack integrated into a low-slope roof, so the array can be cranked steep — 60° in winter, for the low sun and for shedding snow — and laid shallow at 20° in summer for the high sun. Two adjustments a year gain 10–15% more annual harvest than a fixed tilt at the same site. The floor plan below is conventional; the roof is a machine, and the gain comes purely from geometry.
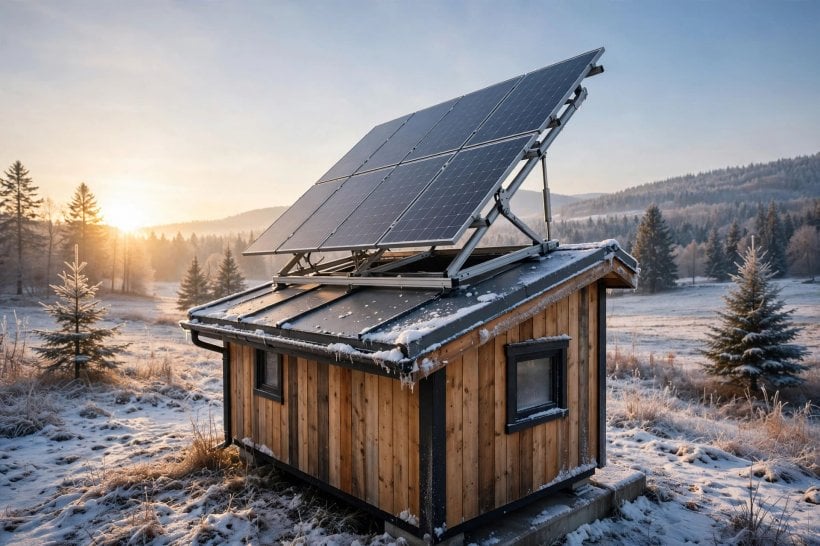
This is the high-latitude layout. Where the seasonal sun angle swings dramatically, a fixed array is badly aimed for half the year no matter where it is set, and the adjustable rack is the only roof design that follows the swing. The honest cost is participation: the 10–15% gain belongs to owners who actually make both adjustments, on schedule, every year. If you are the kind of owner who will — and many people who build their own tiny house are exactly that kind — the rack converts a twice-yearly chore into the cheapest capacity upgrade available.
6. The North-South Split: Half Panels, Half Skylights
The split layout zones the roof the way the floor plan zones the rooms. The south slope gets full panel coverage. The north slope gets skylights and a green roof section — surfaces that would generate almost nothing facing away from the sun, reassigned to daylight and insulation instead. The floor plan zones accordingly: the solar-dependent systems, the battery bank and inverter, sit under the south slope where the conduit runs down to them are shortest, while the living spaces sit under the north skylights and enjoy beautiful diffuse light that never glares and never overheats the room the way a south-facing window wall can.
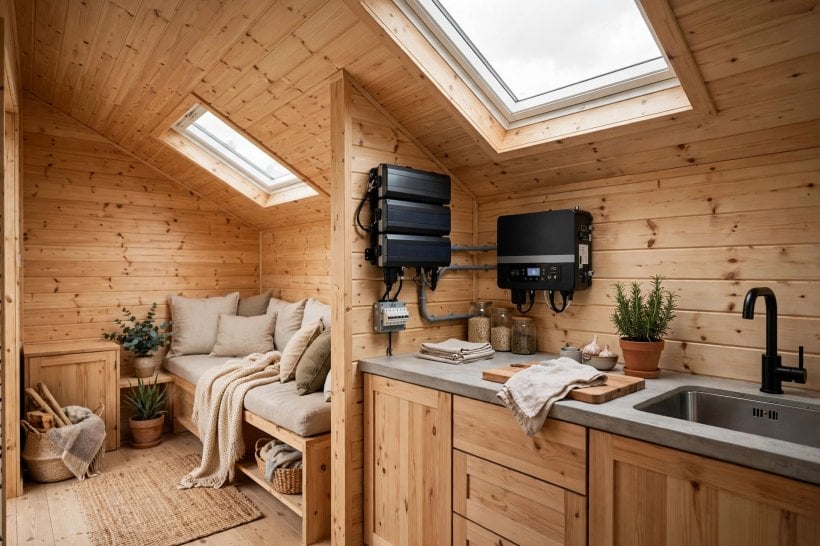
Each slope does what it does best, and the wiring discipline is the quiet hero: every foot of cable between panel, charge controller, battery and inverter is a small permanent tax on the harvest, so clustering the electrical room directly under the array is worth real percentage points. North skylights have their own detailing rules — flashing a skylight into any sloped roof is leak-prone work — and the site’s metal roof skylight flashing guide walks through the layer order that keeps them dry for decades.
7. The Carport Array: Panels Over Parking
Like the porch, the carport makes a structure that was happening anyway carry the array. A 12×20 carport with a panel roof stands about 10 feet from the house: 240 square feet of array, 4–5 kW, that also shelters the vehicle and the firewood. The house roof stays clean and simple — no penetrations, no racking, no compromises to the floor plan — while the carport carries the entire electrical load. All the house needs is a trench for the feed and a wall for the inverter.
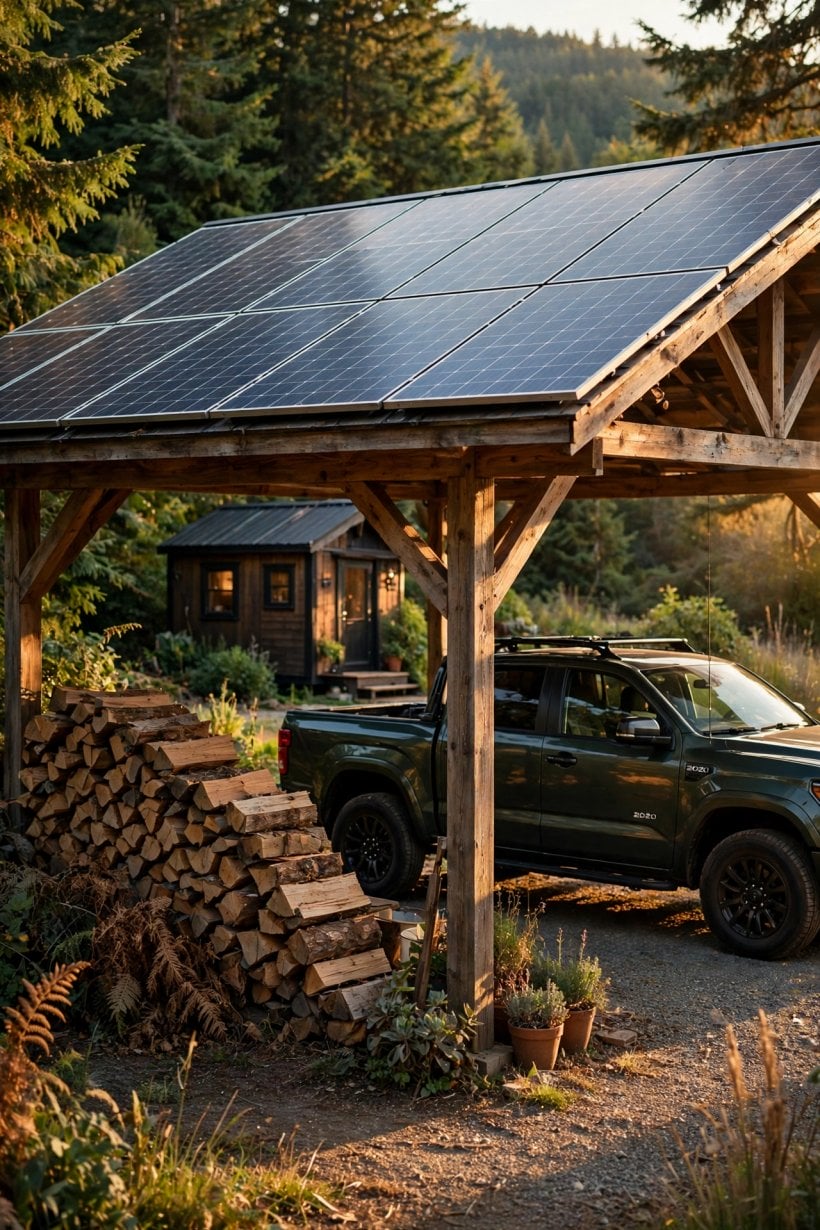
This is also the most expandable option on the list: when the household’s appetite grows — a workshop, a second vehicle, an EV — a second carport bay extends the array without touching the house at all. The siting check is the one that matters: the carport must stand where the sun is, not merely where parking is convenient, and its 10-foot separation from the house has to satisfy the same placement and access rules as the dwelling itself, covered in where you can place a tiny house. Get the sunny spot first and let the driveway adapt.
8. The Tracking Pole Mount: The Most Harvest per Panel
Every layout so far aims a fixed surface and accepts the sun’s terms. The tracker negotiates. A single-axis (or dual-axis) tracker on a pole mount carries 8–12 panels — 3–4 kW — and follows the sun across the sky, gaining 25–35% over a fixed array of the same panels. Fewer panels for the same harvest is the whole argument: where panels are expensive to mount but ground is cheap, one moving array beats a larger still one. The floor plan impact is zero — the tracker stands 30+ feet from the house — and the visual impact is a sculptural, sun-following machine slowly turning in the yard.

The engineering caveat is wind. Trackers must stow flat in high wind, automatically at 30+ mph, and the tracker’s wind rating has to be verified against your site’s exposure before purchase — an exposed ridge and a sheltered valley are different machines’ worth of stress. Moving parts also mean the only layout here with a maintenance schedule of its own. For the right site, though, nothing else on this list touches its harvest per panel.
9. The Integrated Solar Roof: BIPV on Standing Seam
Building-integrated photovoltaics remove the visible array altogether. Solar laminates bond directly to a standing-seam metal roof, turning the entire south slope into a power plant with no racks, no roof penetrations and a clean architectural finish — from the street, it is simply a handsome metal roof. The honest trade is efficiency: laminates produce less per square foot than framed panels. But the entire roof generates rather than just the panelled patch, and the installed cost competes once you subtract the roofing material the laminates replace.
The floor plan is a standard south-slope shed; the roof is the innovation — which makes this the layout for design-sensitive settings, historic districts and owners who want the harvest without the hardware aesthetic. If the standing-seam route appeals, the metal roofing installation material calculator works out the panels, seams and trim a roof of this size needs, so the solar and roofing budgets can be planned as the single purchase they really are.
10. The Community Array Plan: One Solar Farm for the Village
The final layout leaves the individual house behind entirely. For tiny house communities, the plan skips individual arrays and builds one shared ground-mount array — 20–50 kW — serving the whole village through a microgrid. Each house’s floor plan is freed from solar completely: any roof, any orientation, any design. The community array sits in the optimal unshaded location on the site, professionally maintained, and the microgrid enables shared battery storage that no single tiny house could justify alone.
The economics are the argument: per-house cost drops 30–40% versus individual systems, because one large array buys panels, inverters and installation at a scale ten small roofs cannot. The cost is coordination — a shared asset needs shared governance, metering and a maintenance agreement. Communities weighing the model can browse the villages already operating in the tiny home communities locator and look at how established sites handle shared utilities before drafting their own rules.
Final Considerations: Shading Discipline Decides Everything
Whichever layout you choose, one enemy outranks all others: shade. Ten percent shade on a single string can cut its output by half, so the professional rule is to keep arrays shade-free from 9 AM to 3 PM, the six hours that carry the harvest. That discipline starts on the drawing board. Design the roof with zero penetrations on the panel slope — move every vent, chimney and antenna to the north slope or the gable ends. The floor plan implication is real, since kitchen and bath vents must route accordingly, but a single vent pipe’s shadow across a string at 10 AM can erase an hour of harvest, and the harvest gain dwarfs the plumbing inconvenience.
A solar-ready floor plan treats the sun as a design client with non-negotiable demands: south orientation where the site allows it, a tilt matched to latitude and to your worst season, zero shade in the working hours, and short wire runs between array and batteries. Meet those demands in the plan — in whichever of these solar-ready tiny house layouts fits your land, your roofline and your appetite for moving parts — and the panels become the cheapest, most reliable utility the house will ever have. The sun does not send a bill.



1 Comment