
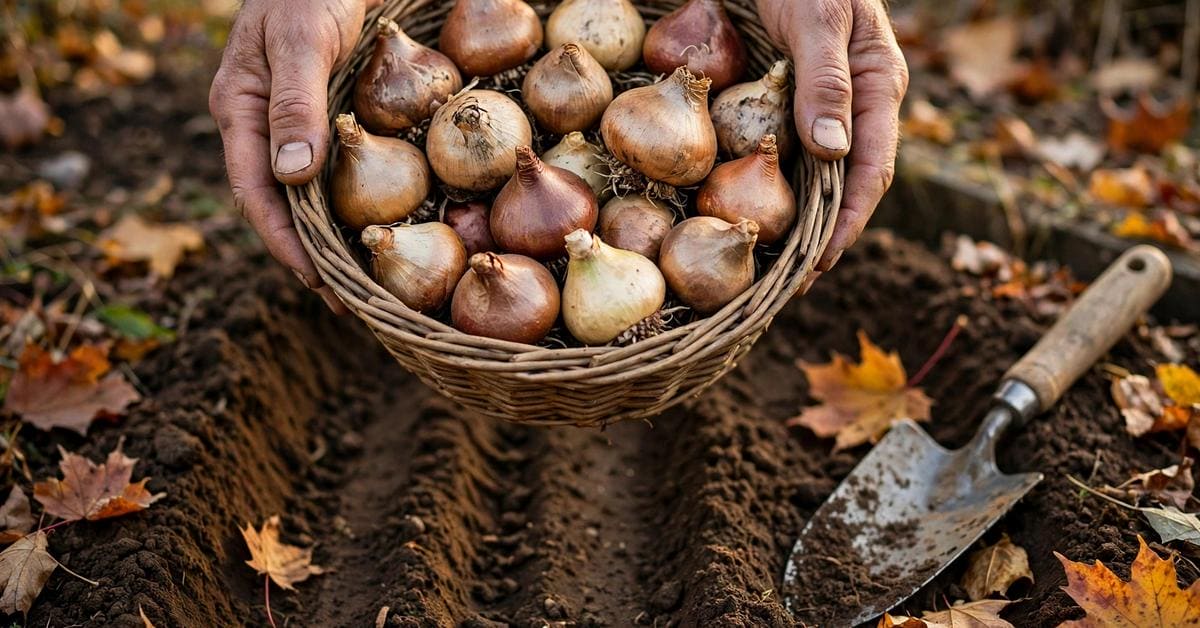
Buying flower bulbs is a small decision that shapes a garden for a whole season, and it rewards a slow look before anything goes into the ground. A bulb is a compact store of energy, and the signs of a healthy one are visible to anyone who takes the time to handle it, turn it over, and compare it with its neighbours. This guide walks through those checks in general terms, so you can shop with confidence and plant with a clear plan, whatever the size of your plot.
The checks below cover the bulb itself, the season it belongs to, the spot where it will grow, and the simple habits that help after planting. Nothing here promises a particular display, because soil, weather, and care all play a part in how any planting turns out. Treat each section as a prompt to look, ask, and note down what you find, rather than as a rule that fits every garden in every climate.
1. Start With Size and Firmness
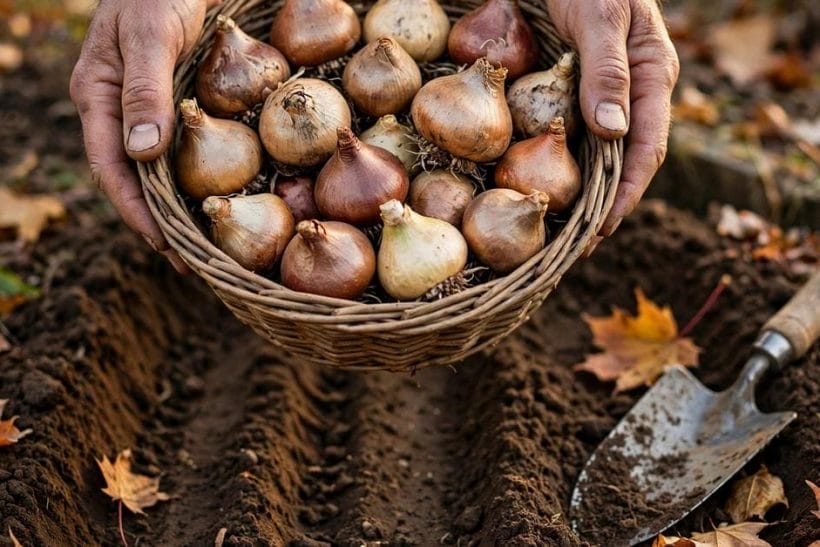
Size is often the first thing people notice, and it is worth paying attention to, because a larger bulb of a given type generally holds more stored energy than a smaller one of the same type. That does not mean the biggest bulb on the table is always the right choice for your space, but it does mean that comparing bulbs of the same type side by side tells you a lot. Look for bulbs that feel solid and weighty for their size, and set aside any that feel hollow, papery-light, or oddly soft when gently squeezed.
Firmness matters as much as size. A healthy bulb should feel taut and even all the way around, with no sunken patches and no spots that give way under light pressure. If a bulb feels spongy in one place, or if its outer layers slide loosely over a soft centre, it is reasonable to leave it behind. Shopping in person has a real advantage here, because touch tells you what a photograph cannot, and a few minutes of handling can save a season of waiting on a weak start.
When you cannot handle bulbs before buying, read the description with care and look for plain, specific wording about size grading and condition on arrival. A description that names the type, the expected flowering season, and the general planting window gives you something concrete to plan around. Keep a note of what you ordered, so that when the parcel arrives you can check each bulb against the same firmness and fullness tests you would have used in a shop. For broader garden planning ideas, see the tiny house garden ideas collection, which shows how small plots can still carry generous seasonal planting.
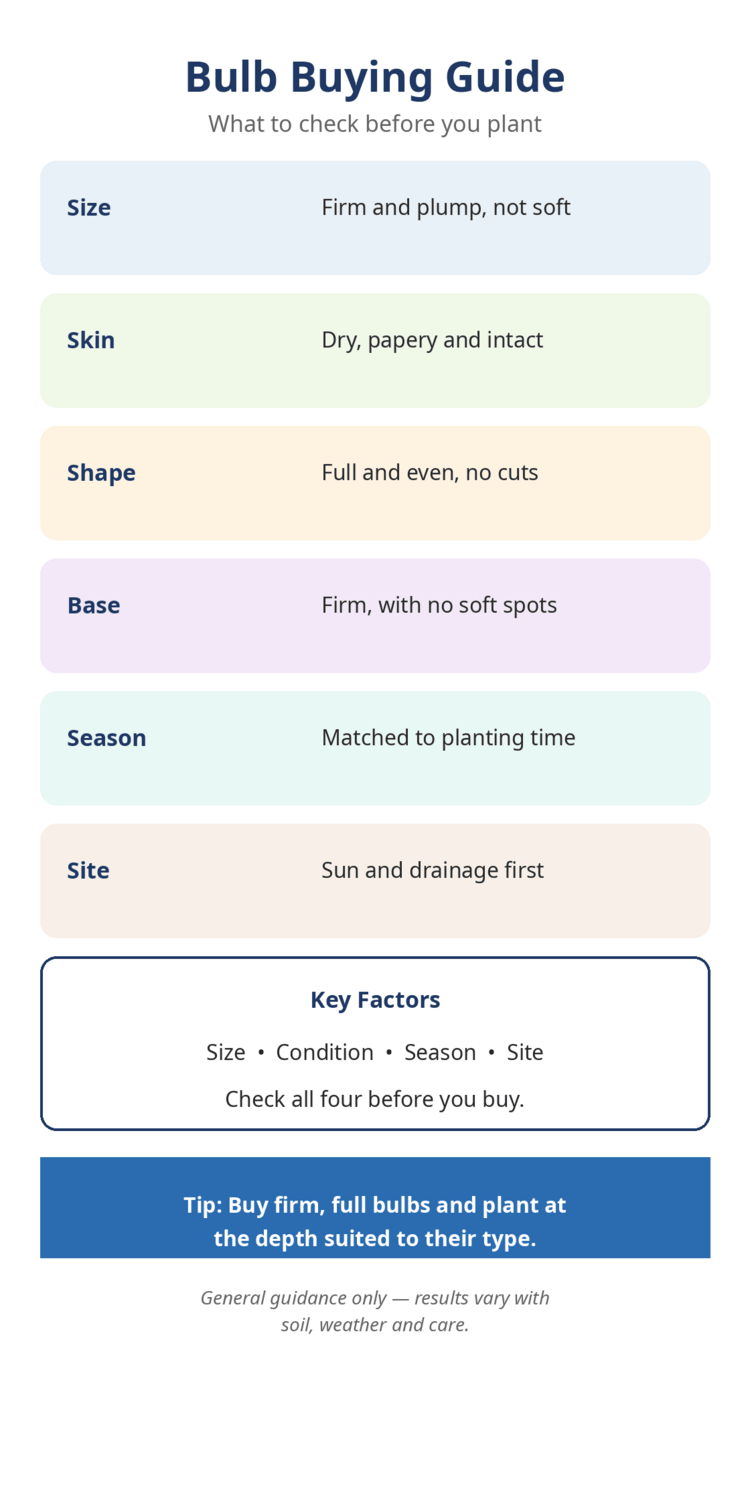
| Check | What to look for |
|---|---|
| Size | Firm and plump, not soft |
| Skin | Dry, papery and intact |
| Shape | Full and even, no cuts |
| Base | Firm, with no soft spots |
| Season | Matched to planting time |
| Site | Sun and drainage first |
2. Sorting and Comparing at the Table
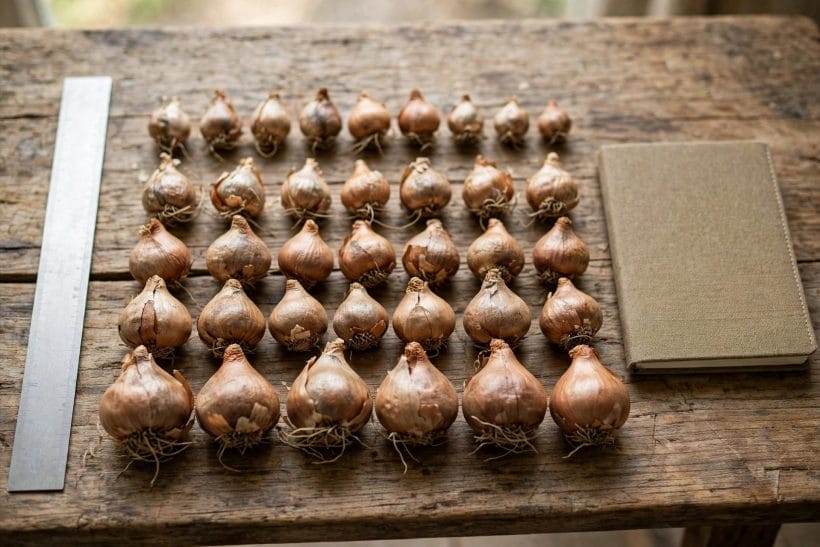
Once bulbs are in front of you, sorting them into groups makes comparison far easier than judging each one in isolation. Lay them out by type, then look across each group for consistency of size, shape, and skin. A group that looks even and well matched is easier to plan with, because plants of similar vigour tend to grow at a similar pace, which helps a border look settled rather than patchy as the season unfolds.
Sorting also helps you spot the odd one out. A single bulb that is much smaller than its neighbours, or one whose skin is torn or peeling heavily, can be set aside without fuss. There is no need to make a drama of it, and there is no virtue in planting something you already doubt. Keeping only the bulbs you feel good about is a quieter way of gardening, and it leaves your beds to the plants most likely to reward the space you give them.
Take a moment to count and label your groups before they go back into bags or boxes. A short note of type, quantity, and intended spot prevents the familiar spring puzzle of unlabelled shoots, and it makes autumn planting far simpler when you repeat a combination that worked. A notebook kept by the potting bench, or a few lines on a garden plan, is often enough. For outdoor layout inspiration around the home, the backyard landscaping ideas collection offers planting arrangements that suit modest gardens.
3. Picture the Spring Border First
Before buying, it helps to picture the border you want in spring rather than the bare bed you see in autumn. Think about where you will actually stand to enjoy the display, which windows look out onto it, and which path you walk past each day. Bulbs planted where they are seen often give more pleasure than bulbs tucked into a far corner, even when the far corner is larger, because a garden is lived in from its paths and doorways as much as from its beds.
Colour and height deserve the same forward look. Soft, mixed colours tend to sit calmly beside a house wall, while stronger blocks of one colour can anchor a path or frame a doorway. Height matters too, because low growers can disappear behind taller neighbours, and tall growers can shade smaller ones if they are placed in front. Sketching a rough plan, even as a few lines on paper, lets you test these relationships before a single bulb is planted.
Finally, think about what follows the bulbs. A border that looks bare once flowering ends can be planned around from the start, with later plants ready to take over the same ground. This is not about crowding the bed, but about giving each planting its own season in turn. A border planned this way feels alive for longer, and the bulbs themselves benefit from neighbours that keep the soil covered and settled. Entry and path plantings pair naturally with the tiny house porch ideas collection, where planting frames the approach to a small home.
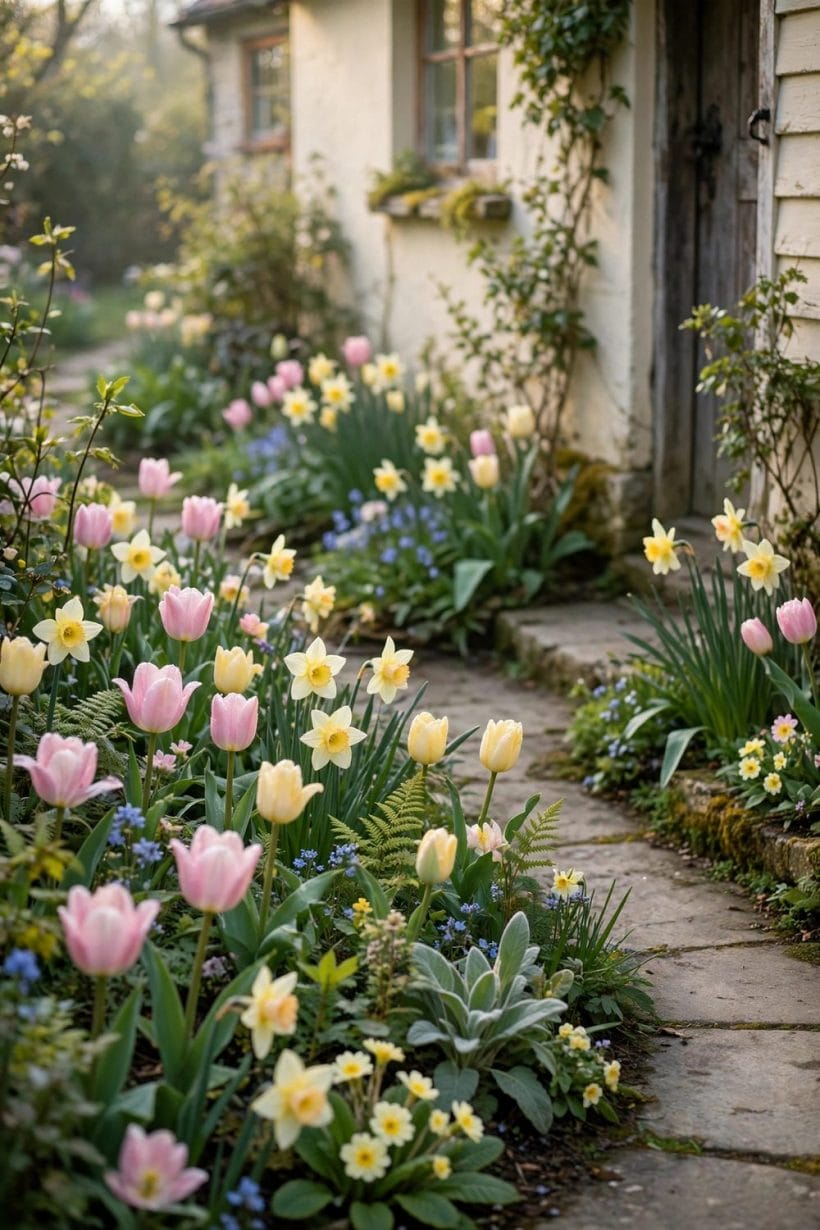
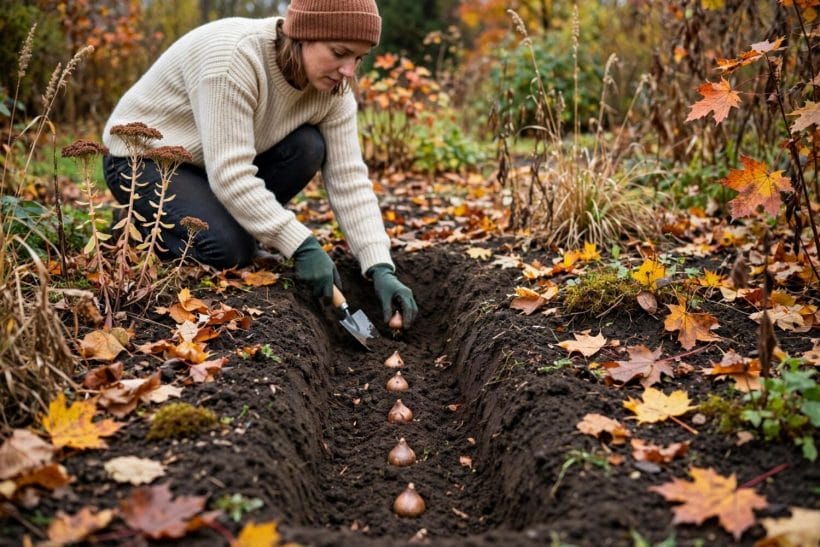
4. Planting in Beds in General Terms
Planting itself is straightforward in outline, and the general principles are the same whether you are filling a long border or a single small bed. Each bulb goes into the soil with its growing point facing upward and its base settled onto firm ground, at a depth suited to its type and size. Guidance that comes with the type you have bought is the best starting point for depth and spacing, because different types vary, and a general rule copied from one type may not suit another.
Spacing deserves as much thought as depth. Bulbs planted close together can give a full, generous drift, while bulbs given more room can spread their display over a wider area and leave space for neighbouring plants. Neither approach is right in every case, and the choice depends on the effect you want and the size of the bed. A short trial in one corner, planted a little more openly, can teach you more about your own taste than any amount of reading.
After planting, water gently if the soil is dry, and mark the area so that later digging does not disturb the bulbs by accident. A few discreet markers, or a note on your garden plan, will do. Then patience takes over, because much of the work now happens out of sight, underground, over weeks and months. Resist the urge to dig up a bulb to check on it, since disturbance at the wrong moment can set back the very growth you are hoping to see.
5. What to Carry Home With Your Bulbs
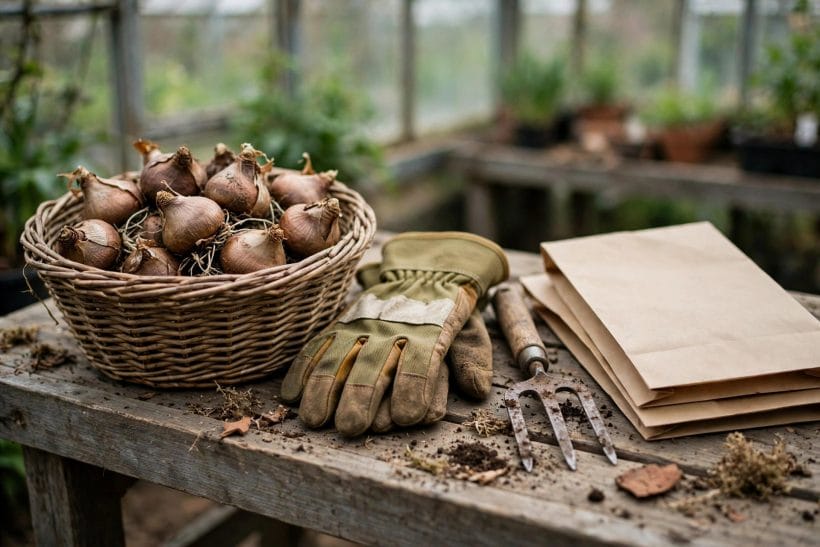
A little preparation before shopping makes the trip home easier and the bulbs happier on arrival. A sturdy basket or box keeps bulbs from rolling around and bruising, and a bag that breathes is kinder to them than a sealed plastic sack on a warm day. Gloves, a hand fork, and a trowel are the everyday tools of bulb planting, and having them ready means planting can begin while the bulbs are still fresh and firm.
Labels and a pencil are easy to forget and hard to do without. Bulbs of different types can look remarkably alike once they leave their packets, and a label written at the moment of purchase saves guesswork later. If you buy loose bulbs, ask for the type name to be written down, and keep that note with the bulbs until they are planted and labelled in the ground. This small habit is one of the most useful in the whole routine.
On the way home, keep bulbs out of prolonged heat and away from heavy items that could crush them. Once home, open the bags and look each bulb over again, since a bulb that seemed fine in the shop may show a soft spot or a torn skin in better light. Set any doubtful bulbs aside, and store the rest somewhere cool, dry, and airy until planting day, out of reach of damp and direct sun.
6. Designing the Display
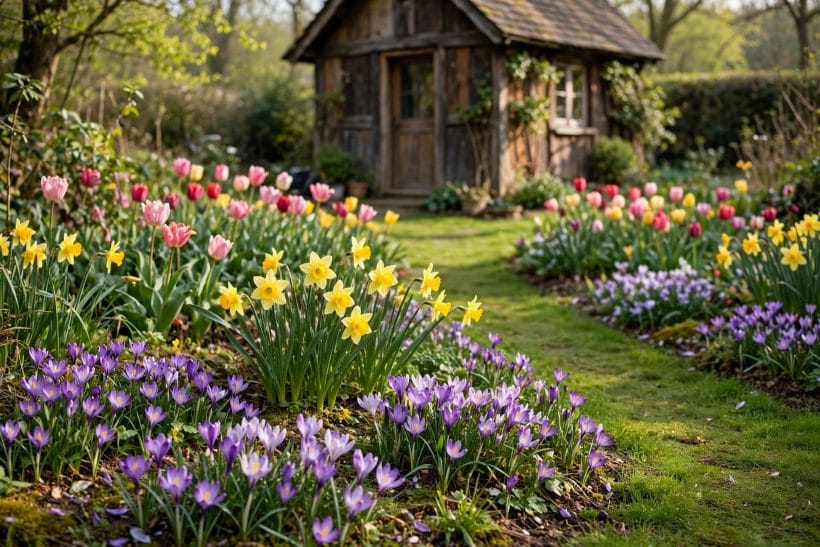
A satisfying display usually comes from thinking in drifts and layers rather than in single rows. Drifts of one type, planted in loose, natural shapes, read as a generous sweep of colour, while a straight single line can look thin even when the bulbs themselves are healthy. Layers work in a similar way, with low growers at the front of a bed and taller growers behind, so that each layer is visible from the path or window you view it from.
Mixing types can extend the season, because different types flower at different times, and a bed planned with early, mid, and late flowerers can stay interesting for weeks. The trick is to keep the mixture calm, with colours that sit well together and heights that do not fight. Two or three types, well chosen, often give a richer result than a dozen types competing for attention in the same small bed.
Consider the backdrop as well. A fence, a hedge, a wall, or a stretch of lawn all change how a drift of colour reads, and a plain backdrop can make even a modest planting feel intentional. If your garden is small, a single well-placed drift beside a path or patio may give more pleasure than bulbs scattered thinly everywhere. The tiny house patio ideas collection shows how planting and paved outdoor living can share a small footprint gracefully.
7. Keeping Spares Until Planting
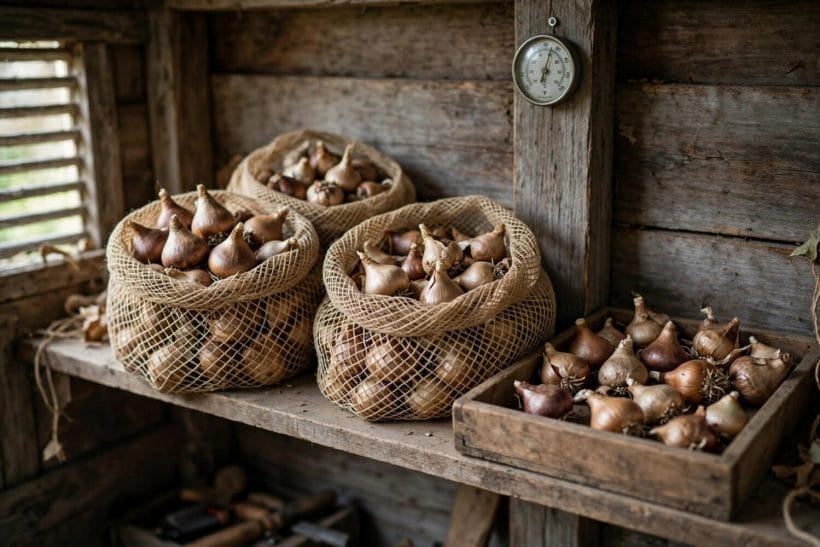
Not every bulb needs to go into the ground on the day it arrives, and knowing how to hold spares for a short while is a useful skill. A cool, dry, airy spot suits most types for short-term keeping, with bulbs spread out rather than piled deep, so that air can move around them. Mesh bags, open trays, and shallow boxes all work well, and each lets you see at a glance whether anything has softened or changed.
Check stored bulbs every so often, and remove any that have gone soft or show signs of mould, so that a single poor bulb does not affect its neighbours. This is routine housekeeping rather than a cause for worry, and it takes only a few minutes. Keep stored bulbs away from ripening fruit and from damp corners, since both can hasten decline in ways that are easy to avoid once you know to look out for them.
Label stored bulbs just as carefully as planted ones, with type and intended spot, because a few weeks of storage is long enough for any gardener to forget which bag held which type. When planting day arrives, handle each bulb once more, keep the firm and full ones, and set aside anything you doubt. A short spell of careful storage, followed by a fresh check, is a far better start than hurried planting of bulbs you have not looked at since purchase. Storage thinking for small homes carries over to the tiny house storage ideas collection, where labelled, airy keeping is a recurring theme.
8. Planting One Bulb at a Time
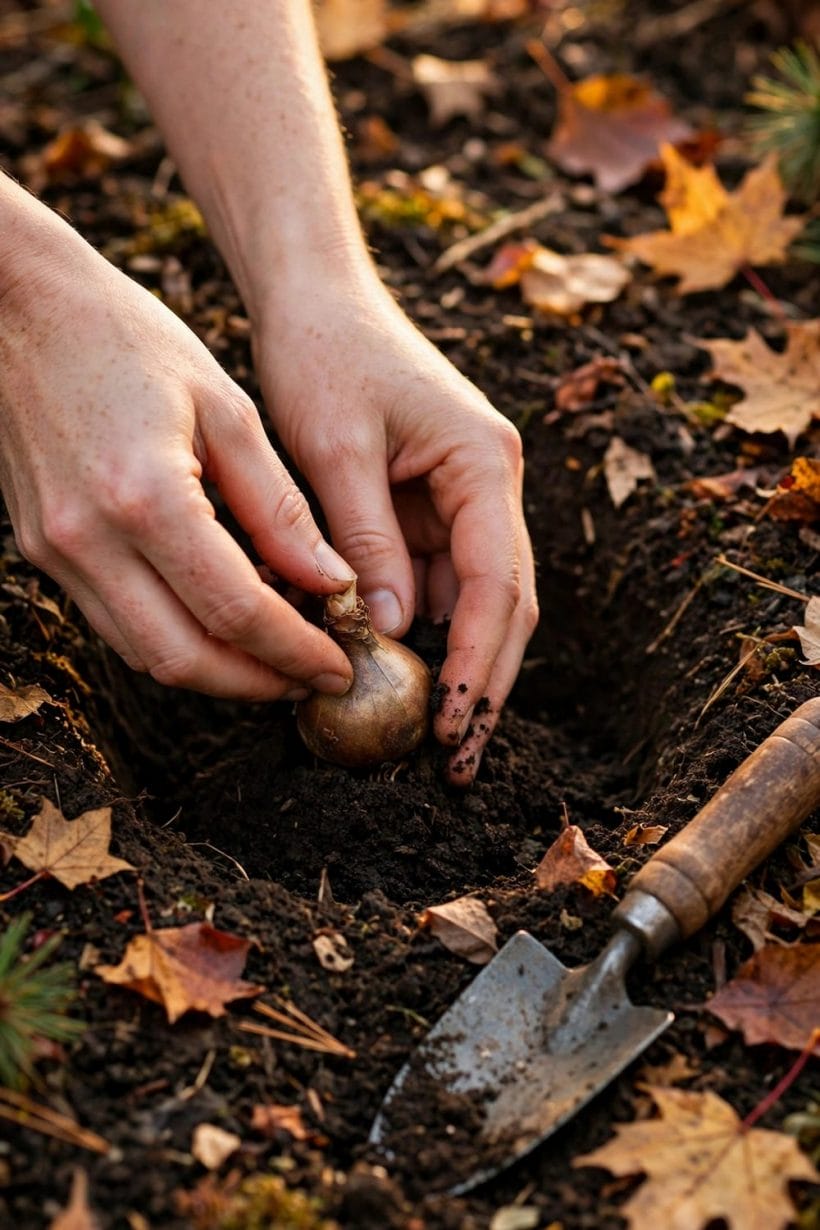
There is something quietly satisfying about planting bulbs one at a time, and the slower pace has practical benefits too. Each bulb gets its own moment of attention, its own check for firmness and orientation, and its own settled place in the soil. Mistakes are easier to catch this way, because a bulb placed upside down or at an awkward depth is noticed at once, while it can still be corrected without disturbing its neighbours.
Working slowly also lets you read the soil as you go. You may find a patch that drains poorly, a root that needs working around, or a stone that would have sat awkwardly under a bulb. Small adjustments made in the moment, such as moving a bulb a handspan to firmer ground, can make a real difference over the season, and they cost nothing but a little patience. Gardening rewards this kind of attention more reliably than it rewards speed.
If you plant with others, the unhurried pace makes the work pleasant rather than frantic, and it gives children or newcomers a chance to learn by doing. Show how the growing point sits uppermost, how the base rests on firm soil, and how the soil is firmed gently back over the top. These are simple movements, but they are the movements the whole display depends on, and they are worth teaching well.
9. Bulbs in Pots for Small Spaces
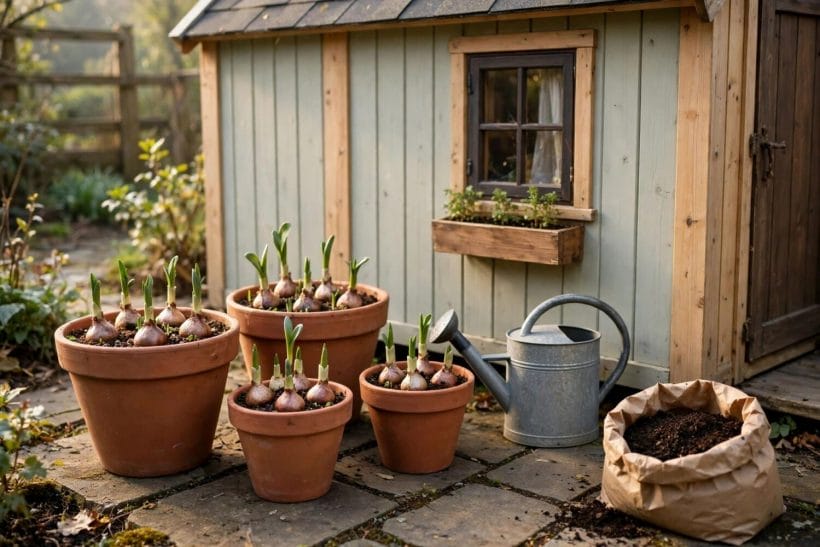
Pots are a generous option for small gardens, balconies, and patios, and they suit bulbs particularly well. A pot lets you control the soil, move the display to where it will be seen, and try a type in a small way before committing a whole bed to it. Choose a pot with drainage holes, fill it with a free-draining mix suited to container growing, and plant at the depth suited to the type, just as you would in open ground.
Layering works beautifully in pots, with larger bulbs lower down and smaller ones above, so that one container can carry several waves of flowering. Water with care, since pots dry out faster than beds in wind and sun, and also waterlog faster in prolonged rain if drainage is poor. A pot that can be moved under cover during the worst of wet weather gives you a flexibility that open ground cannot, and that flexibility is worth a lot in a small space.
After flowering, let the leaves die back naturally before tidying, because the leaves feed the bulb for the following season. This waiting period can look untidy, so pots have another advantage here: a spent pot can be moved to a quiet corner while its leaves finish their work, and a fresh pot can take its place on display. Container growing of all kinds is explored further in the container garden ideas collection, which suits tiny-house plots especially well.
10. Ordering, Paperwork and Keeping Notes
Ordering bulbs, whether in person or from a catalogue, is easier when you know what information to look for and what to keep. Note the type name, the flowering season, the general planting window, and the quantity, and keep that note with your garden plan. When the order arrives, check it against the note before planting, counting types and quantities and looking each bulb over, so that any shortfall or mix-up is noticed while it can still be put right.
Paperwork also includes your own records, which become more valuable with each passing season. A line noting where each type was planted, how it performed in general terms, and whether you would plant it again turns guesswork into memory. Over a few years, these notes build into a personal guide to your own garden, shaped by your soil and climate rather than by general advice alone, and they make each autumn’s ordering quicker and surer.
Finally, keep expectations gentle. A bulb is a living thing, and weather, soil, and timing all influence how it performs. Some plantings will delight you, others will teach you something, and both outcomes are part of gardening. What the checks in this guide offer is not a promise of a particular result, but a better starting point: firm bulbs, suited to their season and site, planted with care, and watched with interest. That is a sound foundation for any garden, whatever its size, and it is one that improves with every season you practise it. For fitting garden plans into a wider home design, the home design ideas collection places planting within the whole look of a house and plot.
Final Considerations
Good bulb buying comes down to a handful of habits: handle the bulbs, trust firmness and fullness, match type to season and site, and keep notes as you go. None of these habits requires special equipment or expert knowledge, and all of them grow easier with practice. A basket of firm bulbs, a plan sketched on paper, and a patch of prepared ground are often all it takes to begin.
If you remember one thing from this guide, let it be the value of looking before you plant. A few minutes spent sorting, checking, and labelling can shape months of spring colour, and it turns shopping itself into part of the pleasure of gardening. Plant in general accordance with the guidance for the types you have chosen, give the bulbs time and room, and enjoy watching a quiet autumn task turn into a lively spring display.


0 Comments