
A car under cover, a dry walk to the door, and a house that looks finished from the street: an attached carport earns its keep every single day of the year.
Browse these carports attached to house pictures and 75 practical ideas by layout, colour and cost, then steal the details that fit your driveway, your climate and your weekends.
1. Layouts First: Where an Attached Carport Works Best
Placement decides everything, so start with the driveway you actually have. Most attached designs lean against a side wall or extend the front of a garage line, sharing the house’s roof rhythm and sheltering the shortest possible walk to a door. Measure the vehicles that will live here, allow door-opening width on both sides, and watch how cars actually turn in and out on a rainy evening, because that swept path, not the rectangle on paper, is what your posts must keep clear of.
| At a Glance | Good Starting Point |
|---|---|
| Most popular position | Against a side wall, over the existing driveway, beside the kitchen or side door |
| Clear width | Room for the widest regular vehicle with both doors fully open |
| Clear height | Headroom for tall vehicles and roof boxes, with the door path kept generous |
| Roof styles | Lean-to, gable extension, hip or flat, echoing the main house roof |
| Structure | Timber, steel or aluminium posts on proper footings, fixed soundly to the house |
| Surface | Slip-resistant, well-drained driveway finish that falls away from the walls |
| Extras worth planning | Lighting, a weather-rated socket, storage along one wall, an EV charging point |
| First check | Setbacks, height limits and rules with your city or county before designing in detail |
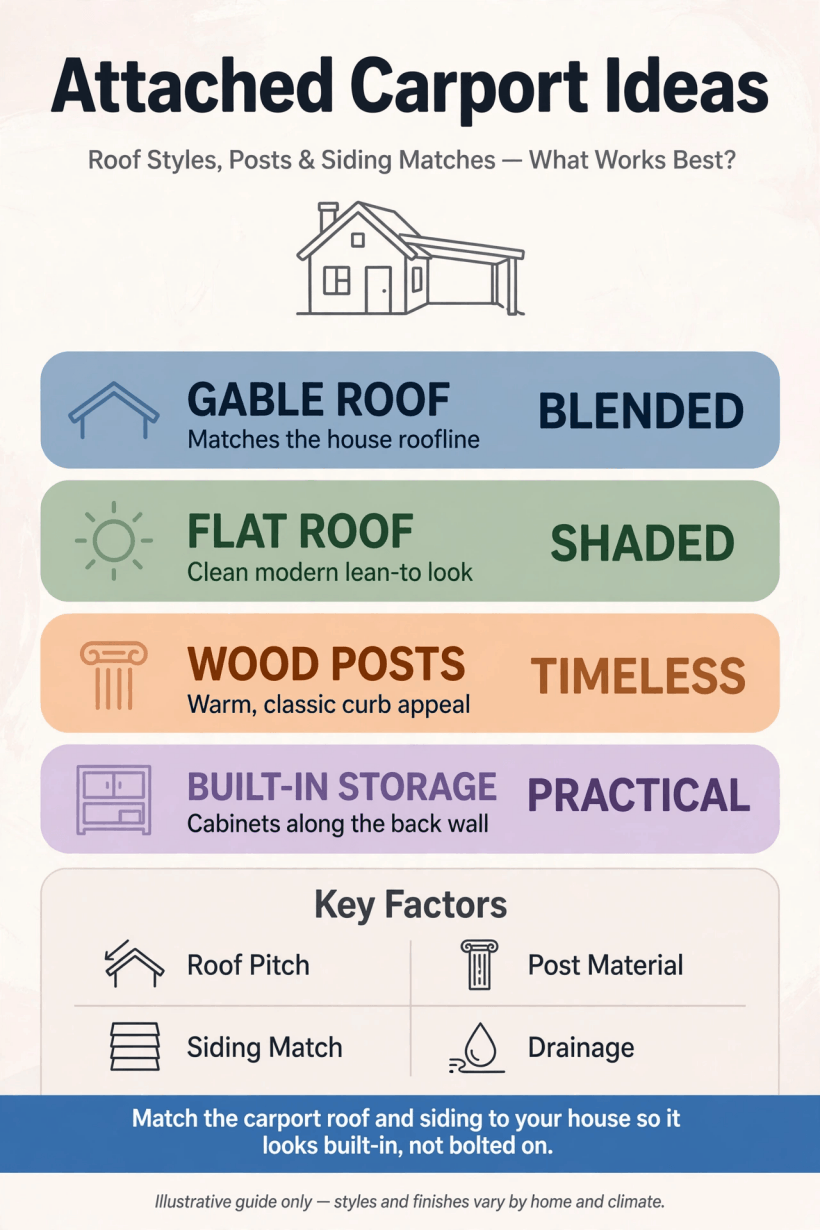
A quick visual summary of the layouts, sizes and checks in this collection.
1. Side-wall lean-to: the classic layout, sharing one long wall with the house and opening to the drive.
2. Front-of-garage extension: continue the garage roofline forward to shelter a second car in tandem.
3. Front facade design: centre the carport on the frontage where plots are wide and setbacks generous.
4. Tandem layout: one long bay for two cars nose-to-tail when width is tight but depth is plentiful.
5. Side-by-side double: two bays under one roof for households that leave at different times.
6. Wrap-around corner: turn the roof around a corner plot to shelter the drive and the side path together.
7. Drive-through bay: open both ends so cars enter from the street and exit to a rear yard or workshop.
2. Sizes, Clearances and Turning Room
Generosity here is invisible until the day it is missing. Plan for the largest vehicle that visits regularly, a tall SUV, a pickup, a van conversion, and remember that roof boxes, bike racks and open tailgates all eat headroom. Keep posts out of the door-swing zones, give the driver’s side the extra elbow room, and make the walking route from car door to house door level, lit and out of the drip line. If two cars share the space, rehearse the morning shuffle on paper before anyone pours a footing.
8. Allow both front doors to open fully without the posts entering into negotiations with the paintwork.
9. Raise the roof’s low edge for tall vehicles, and check the slope never threatens a raised tailgate.
10. Widen the apron at the street end so turning in feels easy in the dark and the rain.
11. Keep a clear pedestrian lane along the house wall, marked by the surface change if you like.
12. Position posts at the bay corners rather than mid-span wherever the structure allows. Driveway surfaces underneath deserve the same thought as the roof, and our guide to eco-friendly driveway alternatives to asphalt and concrete compares the options honestly.
13. Plan bin, bike and mower routes through the bay so daily life never has to squeeze past mirrors.
14. If a boat, trailer or camper visits seasonally, measure it now and let it vote on the height.
15. Leave space at the house end for the door to open and a person with shopping to pass comfortably.
3. Roof Styles That Match the House
The roof is what the street sees, so borrow the house’s own language. A lean-to repeating the main pitch looks inevitable; a gable end can echo the front elevation and add welcome headroom; a hip softens a wide structure; and a flat or shallow mono-pitch suits modern homes with crisp lines. Match the covering to the house roof where you can, tiles, shingles, metal sheet, or deliberately contrast it in a darker metal so the addition reads as a designed pavilion rather than an apology.
16. Lean-to roof: the simplest, most economical line, ideal against a tall side wall.
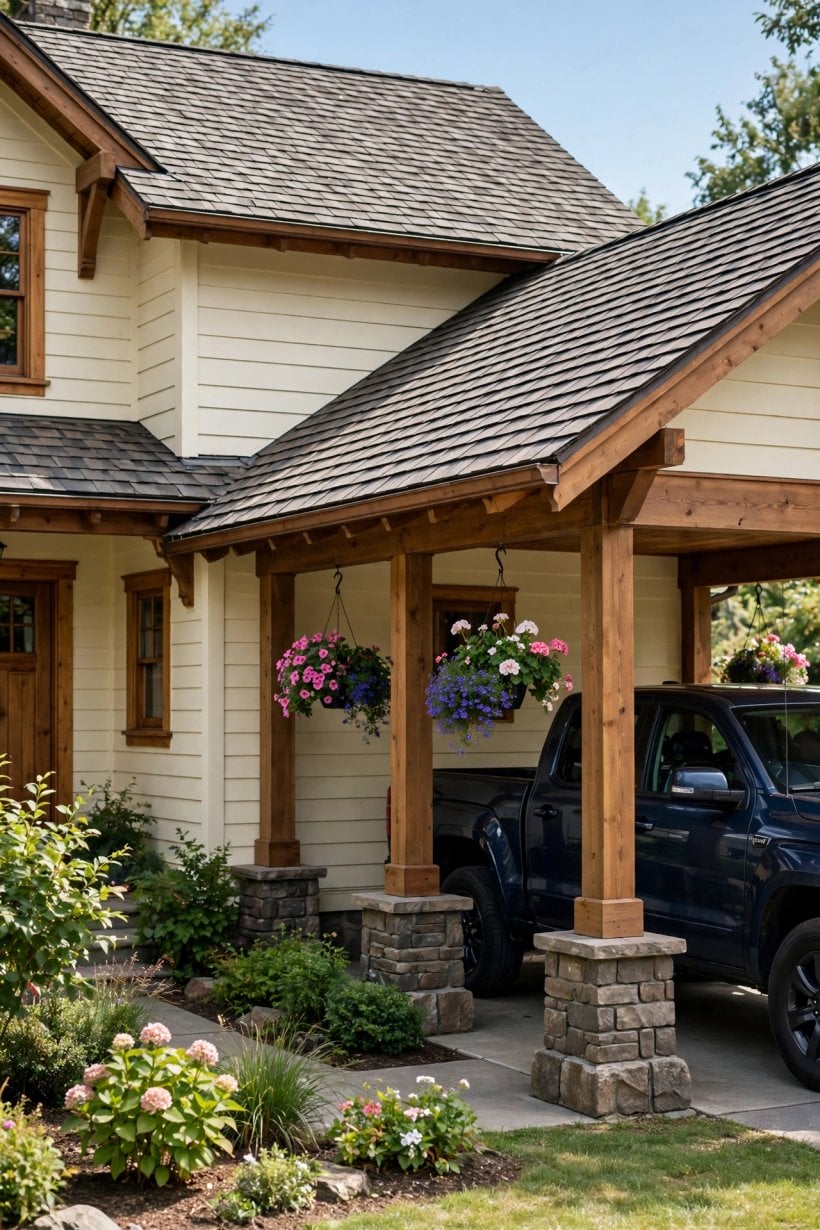
17. Gable extension: continue the house’s own gable for a built-with-the-house look and lofty centre height.
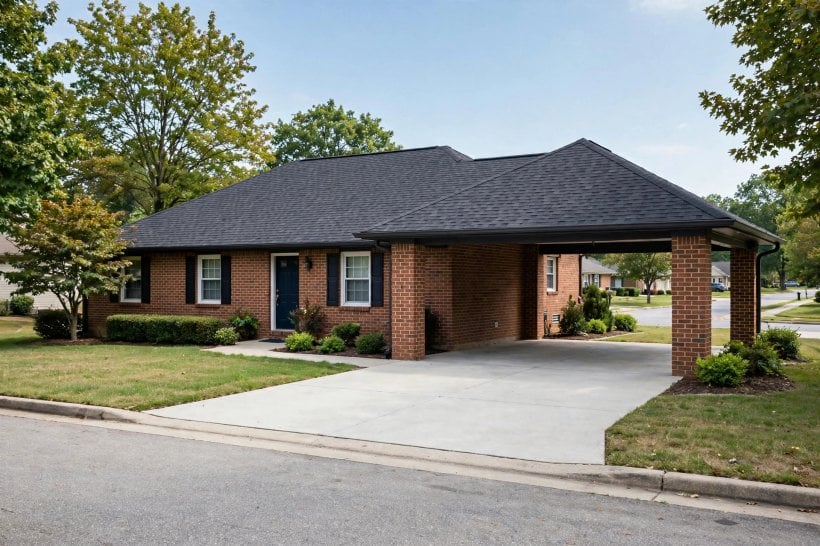
18. Hipped roof: soft corners and a settled silhouette that flatters traditional brick homes.
19. Flat roof with a deep fascia: calm and modern, demanding excellent falls and drainage detailing.
20. Curved or skillion accent roof: one confident sweep for contemporary homes that like a gesture.
21. Pergola-style slatted roof: partial shade for mild climates, beautiful with a climber woven through.
22. Roof overhangs all round: a small extra projection that throws drips clear of cars and walkers alike.
4. Posts, Beams and Materials That Last
Structure is the unglamorous purchase that decides whether the carport feels solid in a storm in year ten. Timber posts are warm, repairable and friendly to traditional homes; steel and aluminium are slimmer, opening up light and views; masonry piers feel permanent and pair with brick houses. Whatever you choose, footings must suit your soil, fixings to the house must be into structure rather than hope, and an experienced builder or engineer should confirm sizes for your span, snow and wind conditions.
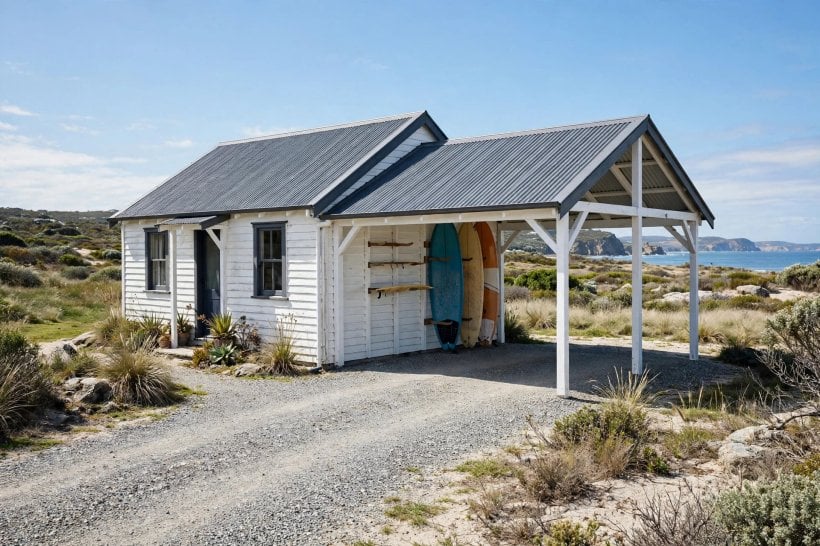
23. Choose chunky timber posts with protected end grain and a finish you can re-coat without scaffolding.
24. Use galvanised or powder-coated steel where slim lines and low maintenance matter most.
25. Build brick or stone piers to match the house for the most permanent, built-in feeling.
26. Add diagonal bracing or knee braces; they kill the wobble and add craft to the silhouette.
27. Set posts on raised shoes or stone plinths so timber never sits in standing water.
28. Keep a simple materials palette, two finishes at most, so the structure looks calm from the street. That discipline runs through our tour of tiny barn house interiors with rustic-modern style, and it works just as well outdoors.
29. Specify fixings and connectors rated for exterior use, and keep the receipts with the house paperwork.
30. Design one bay to be enclosed later, with posts positioned so a future garage door could fit.
5. Colours, Cladding and Curb Appeal
Colour is where an attached carport either joins the house or argues with it. The safest schemes borrow from the existing palette: match the trim, echo the front door, or take the roof a shade deeper than the walls. Timber can be stained to sit with fencing and decking, while metal frames disappear gracefully in charcoal, deep green or the house’s own window colour. Stand across the street with a coffee and judge it as a passer-by would, because that is the view you are designing.
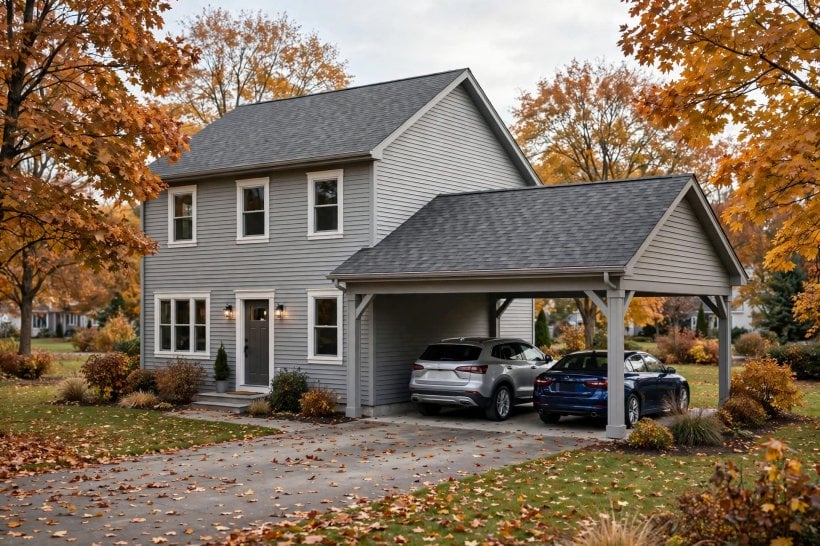
31. Paint the frame to match window trim so the whole frontage reads as one composition.
32. Repeat the front door colour on the carport’s end beam or gate for a deliberate, linked accent.
33. Stain timber silver-weathered to sit quietly with stone and gravel tones.
34. Clad the house-side wall or a storage section in vertical boards for texture and privacy.
35. Keep the ceiling pale, painted boards or a light soffit, so the bay feels bright at midday.
36. Use house numbers, a lantern and a planted pot at the corner post as the finishing trio. Colour confidence outdoors follows the same rules as indoors, as our guide to tiny house interior paint colours and combinations explains with combinations that genuinely work.
37. Test stain and paint on an offcut and view it in morning and evening light before committing.
6. Drainage, Surfaces and Weather Details
Water management is the difference between a carport and a car wash. The roof needs gutters that actually capture its runoff, downpipes that discharge away from the drive and the house footings, and falls that never send a drip line across the spot where the driver steps out. Underfoot, the surface should slope gently away from the walls, stay grippy when wet, and handle the slow turning of steering wheels at a standstill, which scuffs weak surfaces faster than motorway miles.
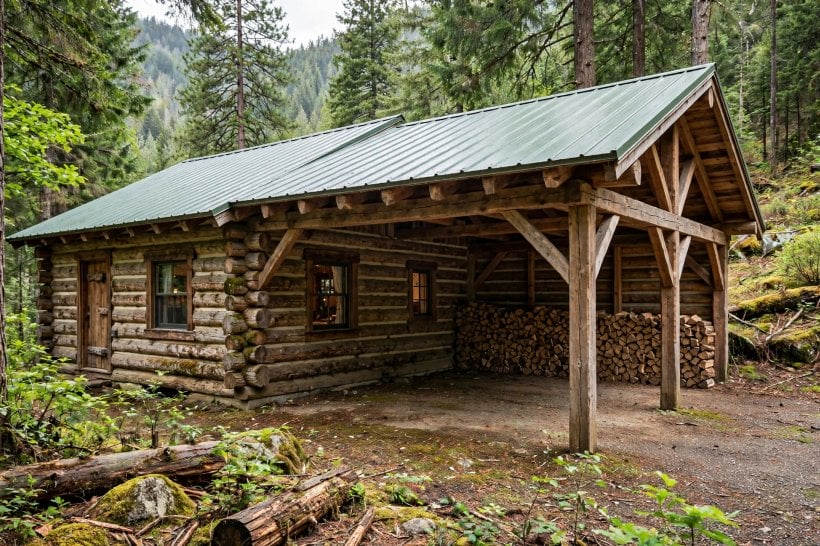
38. Fit gutters on the low edge and a downpipe into a proper drain or a planted soakaway area.
39. Add a drainage channel across the bay entrance where levels try to send street water in.
40. Choose permeable surfacing where local rules and soil suit it, and keep the base properly compacted.
41. Seal the junction between the house wall and the driveway so splashback never soaks the masonry.
42. In snowy regions, plan where roof snow will slide or be retained, well away from the walking route.
43. Keep a broom and a leaf routine; blocked channels are how small drainage plans quietly fail. The planted edges around the bay matter too, and our collection of tiny house landscaping ideas for small plots shows borders that soften posts without stealing parking width.
44. Light any level change at the threshold, and keep the door landing itself under the roof’s driest zone.
7. Lighting, Power and EV-Ready Extras
Plan electrics while the structure is open, not after the ceiling is lined. A soft overhead light on a sensor makes night arrivals feel like a hotel entrance; a switched fitting by the door helps with keys, locks and shopping; and a weather-rated socket serves vacuums, tyre pumps and pressure washers without a cable through a window. If an electric car is even a rumour in your household’s future, ask an electrician now about cable routes and capacity, because retrofitting across a finished drive is the expensive way to learn.
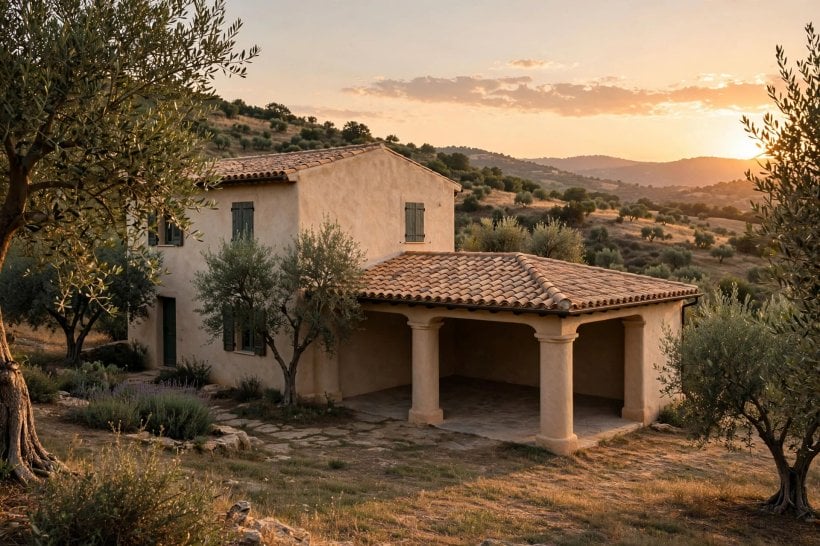
45. Run a warm LED strip or battens along the ceiling for even, shadow-free light over the doors.
46. Put the entrance lantern and the carport lights on separate switches so each works alone.
47. Add a motion sensor aimed at the drive approach, angled to ignore passing street traffic.
48. Install one double weather-rated socket at working height near the house wall.
49. Pre-wire for an EV charger with a draw cord in conduit, even if the charger comes years later.
50. Choose fittings rated for outdoor use and keep bulbs consistent in colour temperature throughout.
51. Label the new circuit clearly at the consumer unit, a kindness to every future electrician.
8. Storage, Screens and Second Jobs
A good carport moonlights. A run of lidded storage along the house wall swallows bins, boots and sports kit; a bike rack under the dry end keeps cycles ready rather than buried; and a bench with hooks by the door turns the bay into the house’s mudroom in all but name. Screens deserve planning too: a slatted panel at the street end gives privacy and wind shelter without the fortress feeling of a solid wall, and it takes a climber beautifully.
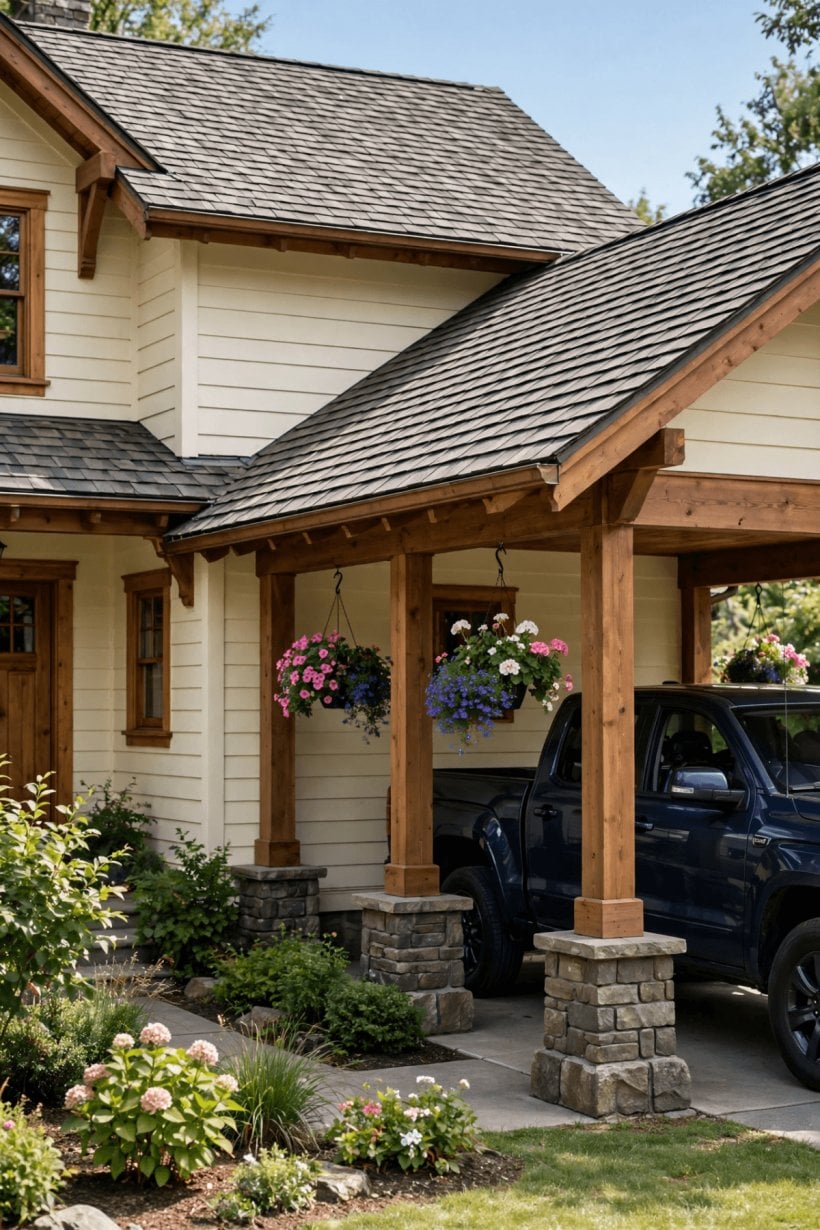
52. Build a slim storage wall of ventilated cupboards along the house side for bins and tools.
53. Mount bike hoops or a rail at the dry end, clear of door swings and the pedestrian lane.
54. Add a boot bench with a drip tray beneath and hooks above at the house door.
55. Screen the street end with horizontal slats that filter wind and headlights while keeping air moving.
56. Log-store one bay end in firewood season; stacked timber is storage and decoration in one.
57. Keep a covered parcel spot by the door, a bench or box that couriers find without instructions. Small-space discipline like this is the whole theme of our guide to tiny house living room ideas for compact spaces, and the driveway deserves the same respect.
58. Fit a hose tap and a drain point so car washing happens under cover, out of the sun.
9. Planting and Softening the Structure
Greenery turns a structure into a place. Narrow beds along the posts, a pair of big pots flanking the entrance, or a climber trained up one corner will soften every line without eating parking space. Choose plants that tolerate splashback, reflected heat and a little benign neglect, and keep anything thorny or enthusiastic well away from door swings and the pedestrian lane. Evergreen bones with seasonal pots on rotation give a finished look in January as well as June.
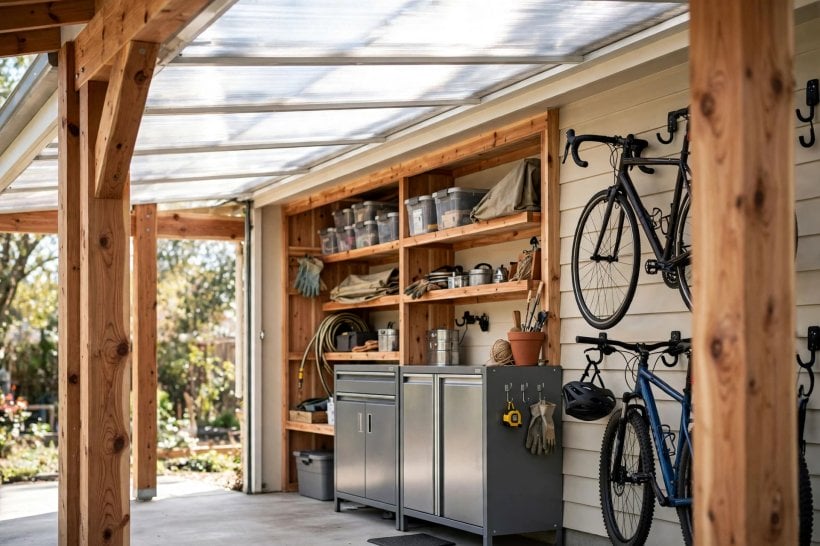
59. Train a scented climber up the sunniest post, tied to wires held off the timber.
60. Plant a narrow evergreen hedge along the open side where a screen is wanted year-round.
61. Use two oversized pots at the entrance rather than six small ones that wander into the drive.
62. Edge beds with stone or steel so gravel and mulch stay out of the tyre tracks.
63. Pick drought-tolerant planting for the strip under the eaves, the driest soil on the whole plot.
64. Add window boxes or a herb trough by the kitchen door the carport serves.
65. Keep one planted corner deliberately loose and wildlife-friendly, with a shallow water dish in summer.
10. Costs, Permissions and a Calm Build
Budgets for attached designs vary with size, materials and ground conditions, so build your figure from parts: structure and roofing, footings and groundwork, drainage corrections, surfacing repairs, electrics and finishing. Timber and simple lean-to forms sit at the modest end; masonry piers, tiled roofs and long spans cost more, and the surprise items are almost always below ground. Get itemised quotes against the same written scope, and spend first on footings, fixings and water management, because finishes can be upgraded later and foundations cannot.
Permissions are the other calm-before-the-storm item. Rules about size, height, distance to boundaries and the street, and any homeowners association or conservation constraints, differ by place, so check with your city or county planning office before ordering materials, and ask specifically about sight lines where cars exit. The background questions mirror those in our guide to where you can build a tiny house and what rules apply. Choose an installer who has built attached structures before, see one in person, and agree the sequence, groundwork, frame, roof, electrics, making good, in writing.
66. Price three scopes identically, and be suspicious of the quote that forgot the drainage.
67. Phase the project if needed: structure and roof first, ceiling lining and storage next season.
68. Keep a contingency for the ground; old drives hide old surprises with impressive consistency.
69. Confirm who checks the local rules and who keeps the paperwork; assume it is you until told otherwise.
70. Agree how the wall junction will be flashed and sealed, in writing, before the frame goes up.
71. Photograph footings, fixings and cable runs before they are covered, for the house file.
72. Protect the driveway surface during the build with boards where skips and mixers will stand.
73. Plan the first maintenance date at handover, gutters cleared and timber checked, in the diary.
74. Keep spare finish, a labelled tin of the stain or paint, so touch-ups always match.
75. Stand across the street when it is finished and enjoy the rarest view in home improvement: a house that looks more itself than before.
Final Considerations
An attached carport succeeds when it disappears into daily life: the dry arrival, the frost-free windscreen, the door reached without a dash through rain. Get the layout generous, the structure honest, the water managed and the colours related to the house, and the rest is pleasure. Start with the checks that cannot be changed later, rules, levels, clearances and footings, then choose the roof and finishes that make you smile from across the street. Built that way, it is not an accessory to the house at all; it is the house, finished properly.


0 Comments