

A dead kitchen corner can hold more than almost any other spot in a compact home. This guide gathers 75 built-in ideas for a corner pantry, from full walk-in layouts to a single run of shallow shelves, so you can match the design to the space you actually have. Sections group the ideas by layout, shelving and finishing detail, with honest notes on what each option asks of your budget, tools and daily routine.
1. Layouts at a Glance: Pick Your Shape First
Every successful design starts with the shape of the corner itself. Measure both wall runs, note where doors swing and where the fridge door lands, and check for sockets, pipes and skirting that will interrupt shelving. The table below compares the five layout families covered in this guide, so you can shortlist before you fall in love with a photograph.
| Layout | Best for | Watch out for |
|---|---|---|
| Walk-in L-shape | Homes with a genuinely spare corner and lots of bulk buying | Floor space lost to the entry swing |
| Reach-in cabinet | Standard kitchens that need one tall, tidy storage wall | Deep shelves hiding items at the back |
| Diagonal front | Narrow walkways where a flat door would block movement | Angled doors cost more to make and fit |
| Blind-corner unit | Existing base cabinets with an awkward void | Pull-out hardware needs careful sizing |
| Open shelving nook | Renters and anyone who wants a light, low-cost fix | Dust, and the discipline to keep jars looking neat |
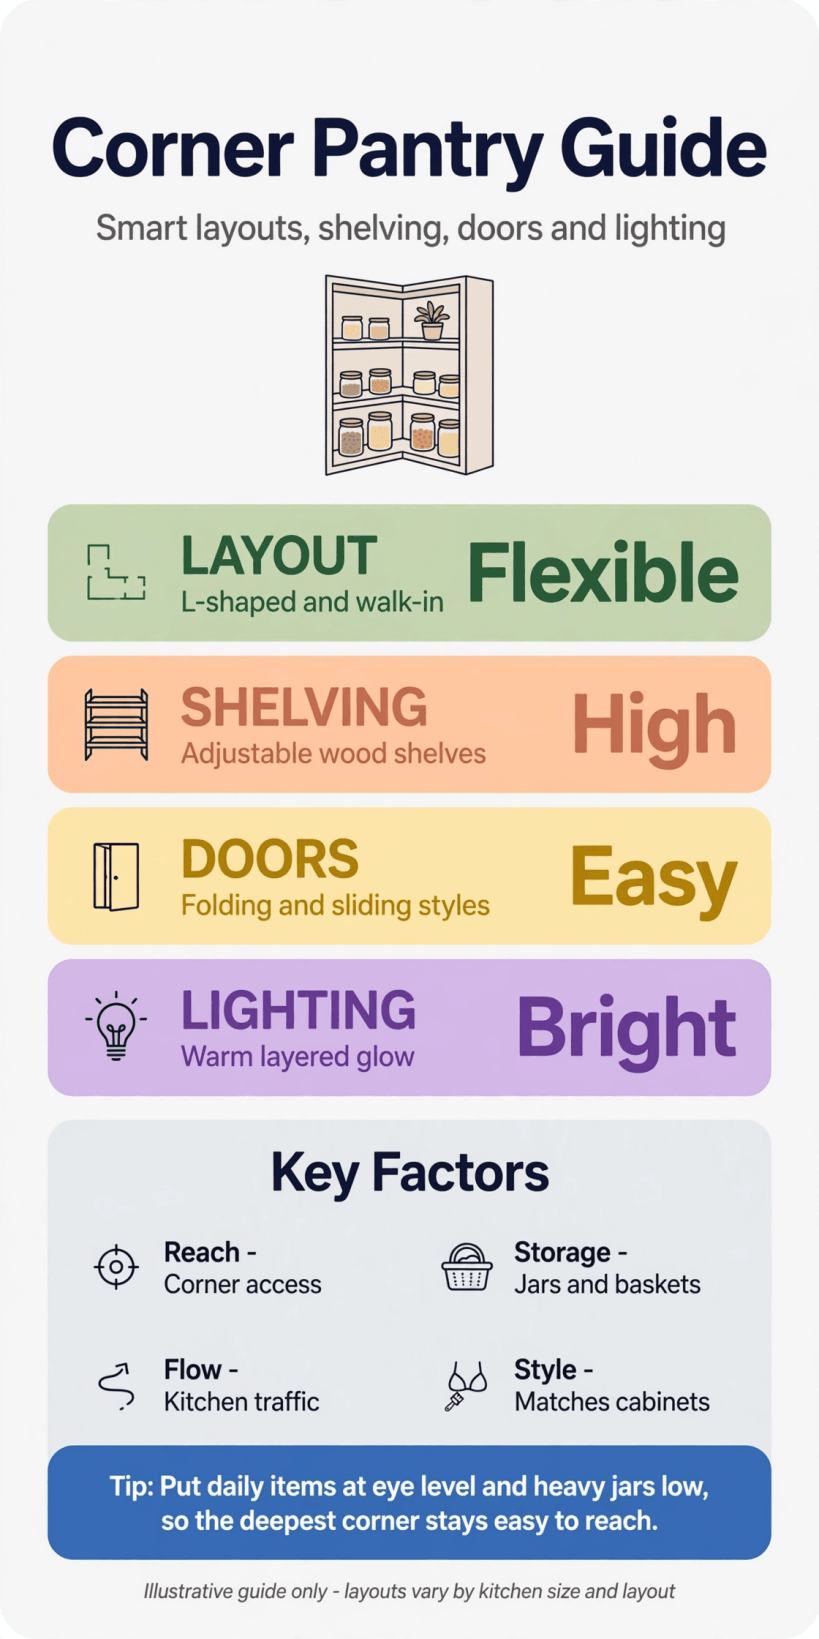
The five layout families in this guide, compared by footprint, storage style and the rooms they suit best.
2. Walk-In Corner Layouts That Earn Their Footprint
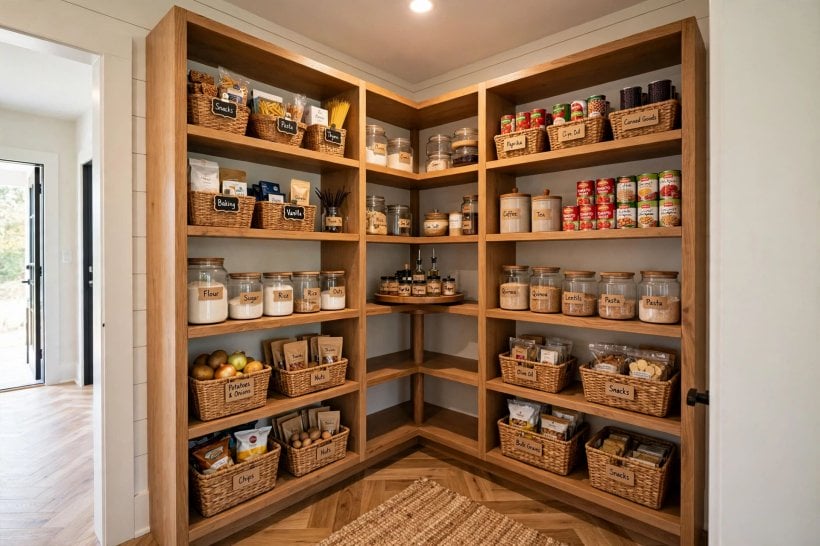
A walk-in only makes sense if you can step inside without turning sideways, so treat honest measurements as the entry ticket. Idea 1: wrap shelves around two walls in a true L, keeping the deepest storage at elbow height. Idea 2: leave one wall bare for a folding step stool and tall items like mops. Idea 3: fit a pocket door so the swing never steals shelf space. Idea 4: run a counter-height shelf along one side as a landing zone for heavy bags. Idea 5: add a small worktop under a window for decanting and labelling.
Idea 6: build a shallow bulk bin zone along the floor for pet food and root vegetables. Idea 7: angle the entry at 45 degrees to soften the walkway, a trick that also works in open-plan rooms inspired by tiny house living room ideas, where every transition is on show. Idea 8: paint the interior a shade lighter than the kitchen so the space feels borrowed from the room, not carved out of it. Walk-ins reward households that buy in bulk, batch cook, or store preserving jars, and they punish anyone who skips the tape measure.
Plan the inside like a tiny shop you visit daily. Keep breakfast things near the door, baking supplies together at worktop height, and the heaviest tins low where your legs, not your back, do the lifting. Walk the route from door to shelf with a bag in each hand before you fix anything permanently: if you have to shuffle sideways or duck, the layout is asking too much of the footprint. A walk-in that flows well will still feel generous in five years; one that fights you will quietly become a dumping ground within a month, however handsome the doors look from the kitchen.
3. Reach-In Designs for Tight Kitchens
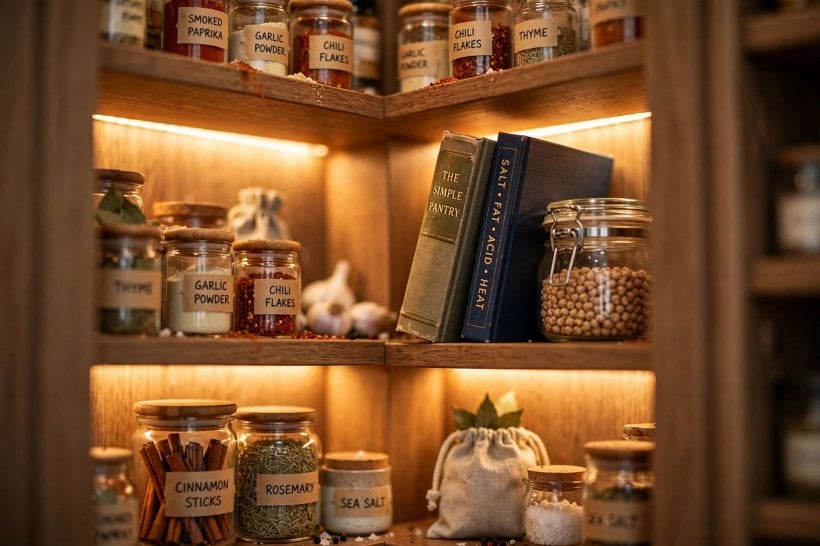
Most homes do better with a reach-in: a tall cabinet or shallow closet you access from the front, with nothing stored beyond arm’s length. Idea 9: cap shelf depth at what you can reach comfortably and fill the leftover void with a vertical tray store. Idea 10: fit full-extension drawers in the lower half so heavy tins glide out instead of hiding. Idea 11: use a pair of narrow doors rather than one wide door that blocks the walkway when open. Idea 12: hang a slim rack inside each door for wraps, foils and spice packets.
Idea 13: choose bi-fold doors where a swing door would clash with the oven. Idea 14: build the unit as two stacked cabinets so the top half can hold lighter, seasonal items. Idea 15: add a pull-out vertical frame for baking trays and chopping boards. Idea 16: line the back panel with wipe-clean board, because reach-in units collect crumbs in their corners. The reach-in is the honest workhorse of this list: less glamorous than a walk-in, but kinder to small kitchens and far cheaper to build well.
4. Diagonal Fronts That Soften the Walkway
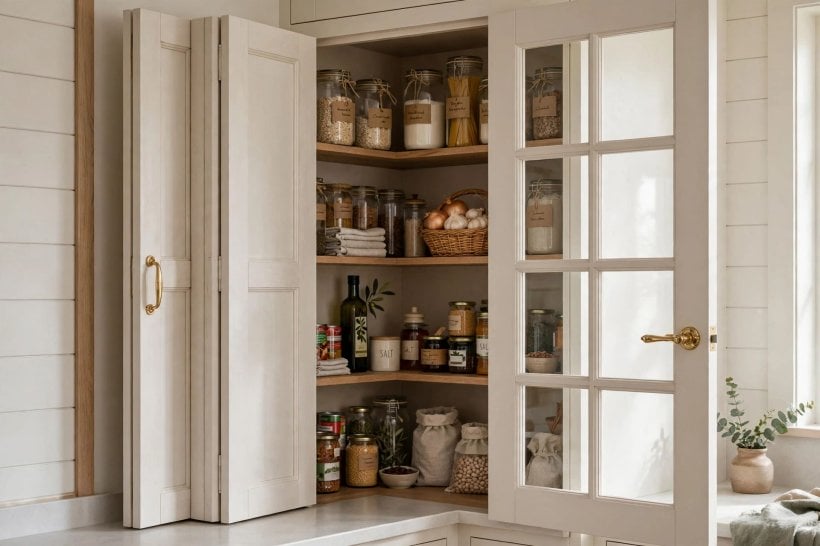
Cutting the corner at an angle is the oldest trick in kitchen design, and it still earns its place. Idea 17: a diagonal front with a glazed door turns storage into a display for jars and crockery. Idea 18: pair the angled door with curved internal shelves so nothing lurks in the point of the triangle. Idea 19: use the diagonal on base cabinets only, and run a straight wall cabinet above for a lighter look. Idea 20: fit a diagonal drawer stack, which gives surprisingly usable storage for cutlery and linens.
Idea 21: echo the angle in a small breakfast ledge on the opposite side of the room to balance the geometry. Idea 22: choose a handleless angled door with a push latch for a calm, modern front. Idea 23: tile the angled face to match the splashback so the unit reads as part of the kitchen architecture. Idea 24: if you are building from scratch, model the angle on paper first; a few degrees either way changes how the door sits against the walkway, much like the planning stage in any how to build your own tiny house guide, where small layout decisions compound.
Be honest about cost here: angled doors and frames are usually custom work, and a good joiner will charge for the extra setting-out time. If the budget is tight, you can fake the effect by angling only the worktop and one open shelf run while keeping a standard flat door beneath. The walkway still gains the breathing room, your hips stop catching the corner, and the kitchen keeps its budget for the shelving and hardware you will touch every day.
5. L-Shaped Shelving That Uses Both Walls
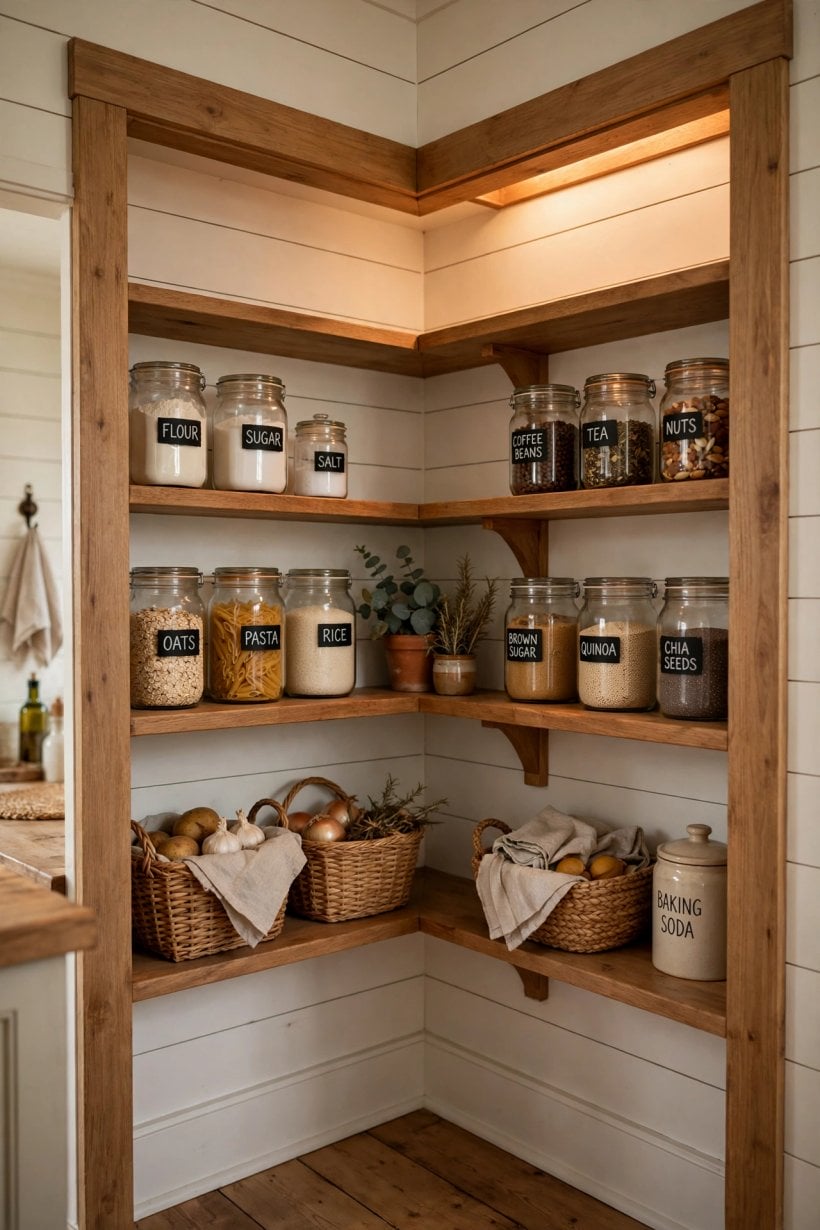
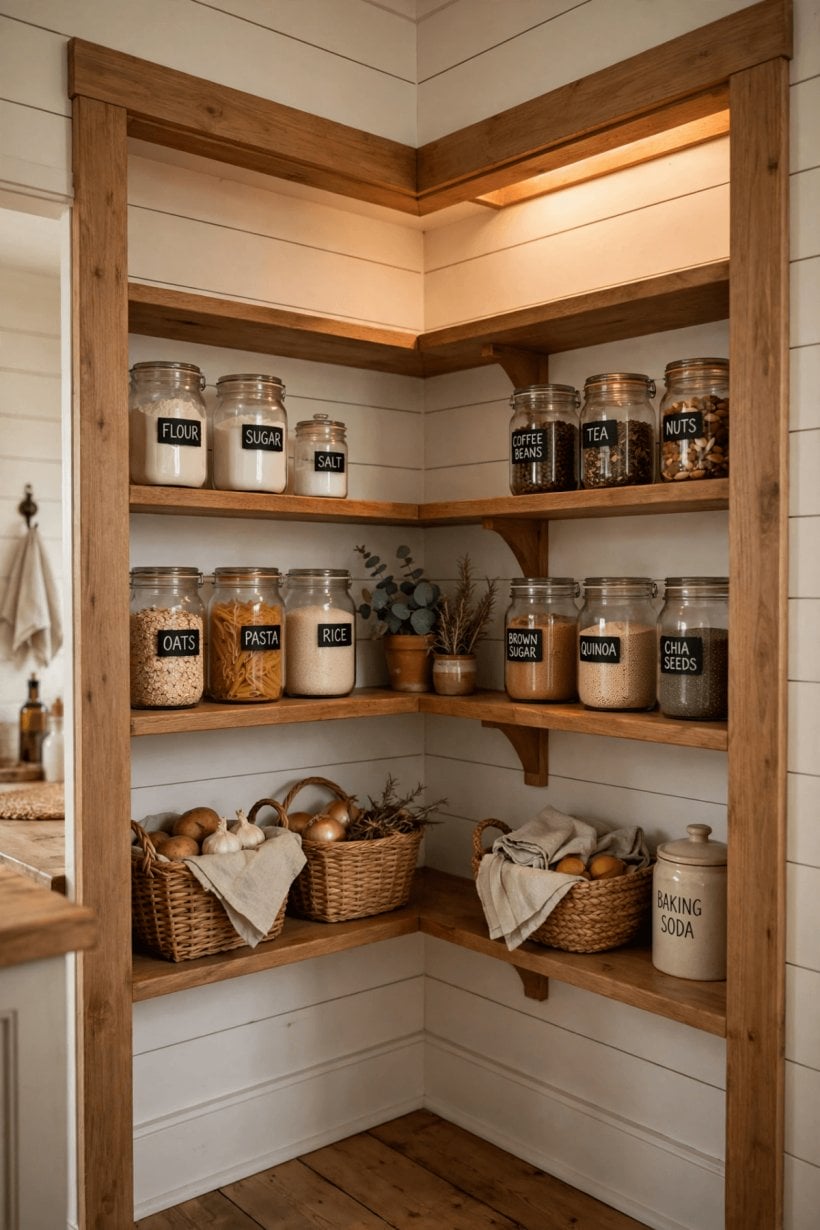
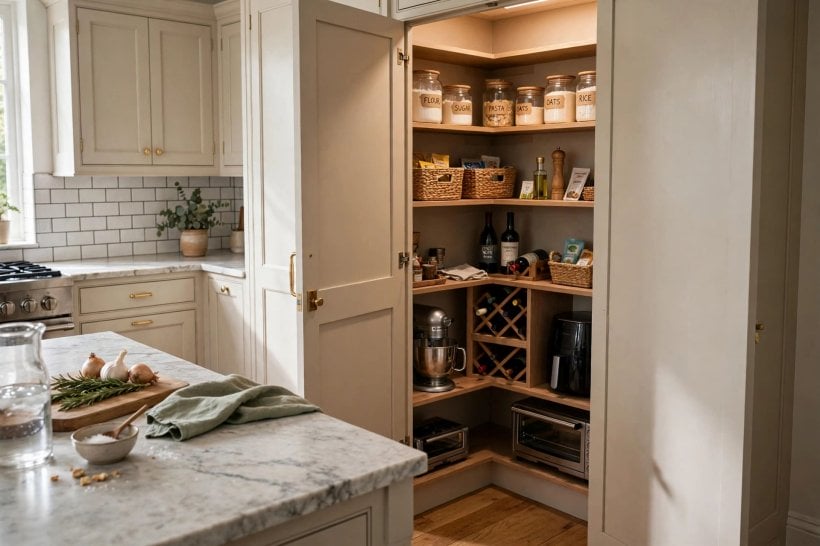
Inside the unit, the L is where storage is won or lost. Idea 25: run continuous shelves around the inside corner rather than butting two runs together, so the corner shelf itself becomes usable. Idea 26: make the corner shelf deeper and reserve it for appliances you use weekly, like a stand mixer. Idea 27: stagger shelf heights: tall for cereal and bottles on the bottom run, shallow for jars above. Idea 28: fit adjustable shelf pins every few centimetres so the layout can evolve with your shopping habits.
Idea 29: add a lazy Susan only where the corner is truly blind; on open L shelves it wastes the edges. Idea 30: use L-shaped baskets that slide along both runs for onions, garlic and bread. Idea 31: mount a rail under the top shelf for hanging utensils and measuring cups. Idea 32: leave the lowest shelf off entirely and park a step stool or crate trolley in the gap. Idea 33: label shelf edges, not jars, so the system survives a change of containers. Thoughtful L shelving is also the backbone of many compact homes, echoing the space discipline found in tiny barn house interior ideas.
Shelf material matters more than shelf styling. Solid timber and good plywood carry tins and preserving jars without sagging, while thin melamine boards bow within a year under the same load. Whatever you choose, add a support batten along the back wall for any shelf carrying real weight, seal raw edges against steam from the kettle, and leave a finger’s width between shelf front and door so labels stay readable and jars slide out without catching on the frame.
6. Floor-to-Ceiling Builds for Serious Storage
Height is free storage, provided you can reach it safely. Idea 34: take the unit to the ceiling and store party ware, preserving gear and bulk paper goods on the top shelves. Idea 35: build a pelmet or cornice across the top so the unit looks architectural rather than stacked. Idea 36: fit a library-style rolling ladder only in a walk-in; in a reach-in, a folding step is safer. Idea 37: divide the tall unit into a grid of cubbies for a larder feel that keeps categories separate.
Idea 38: put a slim vertical slot beside the main unit for a folded step ladder. Idea 39: use the highest shelf as a charging and small-appliance garage with a socket strip inside. Idea 40: add glass-fronted top boxes for pretty but rarely used pieces. Idea 41: paint tall units the same colour as the walls to reduce visual bulk, a lesson borrowed from colorful tiny house interior ideas, where colour is used to stretch small rooms. Idea 42: anchor every tall build to the wall studs; a loaded larder is far heavier than it looks.
7. Shallow Shelves for Small Items and Spices
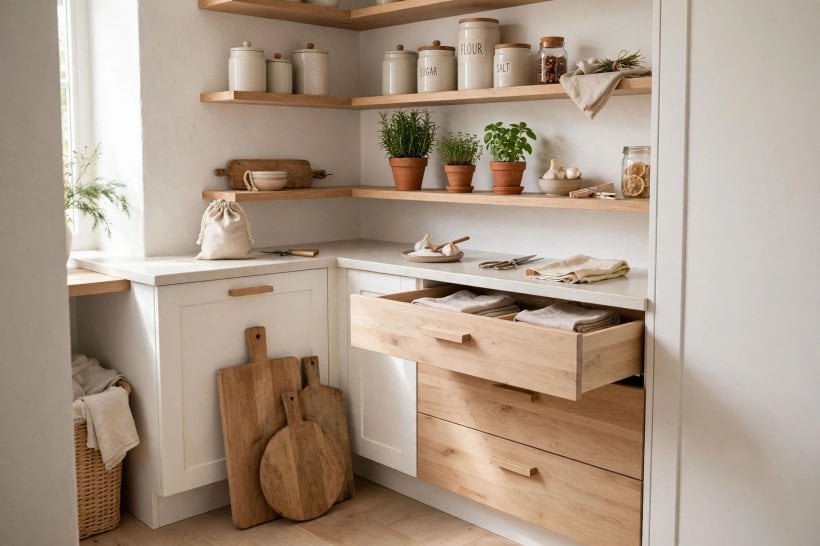
The most-used shelves in any larder are the shallow ones at eye level. Idea 43: build a spice run only as deep as a single jar, so labels face you and nothing hides behind. Idea 44: add a stepped riser on a standard shelf to lift the back row of tins into view. Idea 45: mount shallow racks on the inside of doors for packets, stock cubes and seasoning sachets. Idea 46: dedicate one shallow shelf to breakfast things at child height if little hands help in the morning.
Idea 47: fit a narrow pull-out, the width of a cereal box, into the sliver of space beside the fridge. Idea 48: use clear rails or a slim retaining bar on shallow shelves in homes that move, so jars stay put when the building is a tiny house on wheels. Idea 49: group baking ingredients on one shallow shelf with a small scoop tin, ready for weekend projects. Idea 50: reserve a shallow shelf near the door as a shopping-list station with a notepad rail. Shallow storage feels modest, but it is what you will touch every single day.
A decanting habit makes shallow shelves work twice as hard. Tip flour, rice and pasta into matching jars with the cooking time and date written on a label underneath, keep a small funnel clipped beside them, and the whole system stays legible for guests and teenagers alike. One shelf, one category, nothing double-stacked: that simple rule prevents the quiet duplication that turns good storage into a graveyard of forgotten, out-of-date packets.
8. Doors, Panels and Open Fronts
What covers the corner changes how the whole kitchen feels. Idea 51: classic framed doors painted to match the cabinets give the calmest, most built-in look. Idea 52: a sliding barn-style door suits wide openings where swing space is precious. Idea 53: curtains on a rail soften a rental-friendly nook and cost very little. Idea 54: fluted glass panels hide clutter while letting you sense what is inside. Idea 55: leave the front fully open and commit to matching jars for a market-larder look.
Idea 56: fit mesh-fronted doors where air flow matters for onions and potatoes. Idea 57: use a chalkboard panel on one door for lists and meal plans. Idea 58: choose soft-close hinges throughout; larder doors open dozens of times a day and cheap hinges announce themselves. If the kitchen doubles as a sleeping space in a studio or tiny home, a solid, quiet door also matters as much as the ideas in tiny house bedroom ideas, where calm finishes are the whole point.
9. Lighting, Outlets and the Finishing Details
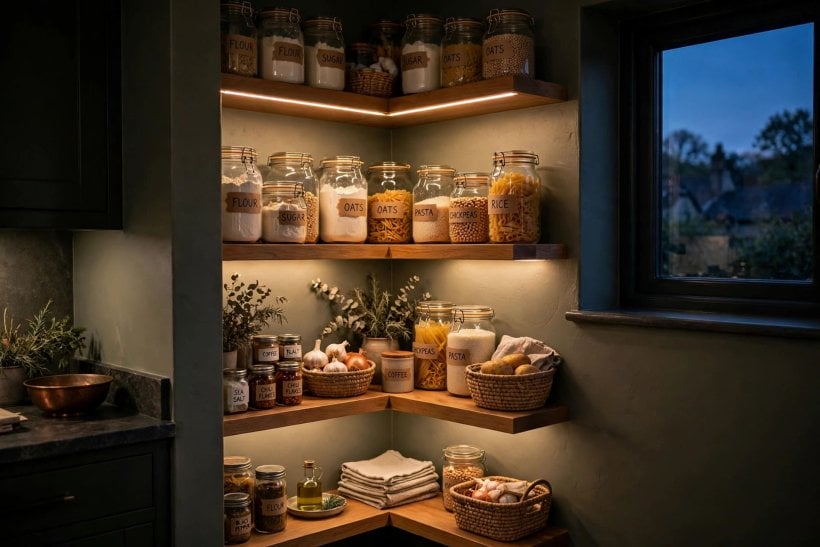
Details decide whether a larder is a joy or a chore. Idea 59: fit an LED strip under each shelf so labels are readable at the back. Idea 60: add a motion-sensor light that switches on when the door opens. Idea 61: plan one internal socket for a handheld vacuum or a label printer. Idea 62: line shelves with washable liner paper and replace it seasonally. Idea 63: add small brass or timber label holders to shelf edges for a finished, deliberate look.
Idea 64: ventilate a walk-in with a discreet grille if it stores onions, garlic or home preserves. Idea 65: choose handles you can use with floury hands: bar pulls beat tiny knobs. Idea 66: finish the floor inside to match the kitchen, not with offcuts, because you will see it every day. These finishing choices mirror the thinking in bedroom interior design for tiny houses: in small spaces, the details are not decoration, they are the design.
Build a tiny maintenance rhythm around those details. Once a season, empty one shelf at a time, wipe it down, check dates and rewrite any faded labels. Twice a year, tighten hinge screws and test the lights. It takes less than an hour, and it is the difference between a larder that quietly serves the household for a decade and one that slowly dissolves into a cluttered cupboard everyone avoids opening.
10. Layouts for Tiny Kitchens and Compact Homes
In a genuinely small kitchen, the larder has to share its corner gracefully. Idea 67: steal the corner from a hallway cupboard instead of the kitchen if the wall layout allows. Idea 68: build a half-depth unit under a window so light and storage coexist. Idea 69: combine the larder with a broom cupboard in one tall unit with two doors. Idea 70: use the corner above the worktop as open mini-shelving for daily items, and keep bulk storage elsewhere.
Idea 71: in a studio, let the larder double as a room divider with shelving on the kitchen side. Idea 72: choose a mirrored or pale finish to bounce light, as compact bathrooms do in tiny house bathroom ideas. Idea 73: keep a folding crate inside for overflow weeks instead of designing for the maximum shop. Idea 74: if the home has a garden, pair the indoor larder with outdoor storage inspired by tiny house landscaping ideas for tools and preserving gear. Idea 75: build in stages: shelves this year, doors next year, lighting when budget allows.
Renters can borrow most of this thinking without touching a wall. A freestanding corner shelving unit, tension-rod racks inside an existing cupboard and a curtain in place of a door deliver perhaps seventy percent of the benefit with zero permanent changes. Photograph the corner before you start, keep every original fitting you remove, and your deposit and your landlord stay safe while your kitchen works noticeably harder.
Final Considerations
The best corner pantry is the one that matches how your household actually shops, cooks and tidies, not the one with the most features. Start with the layout table, be honest about reach and swing space, and spend your money on hinges, lighting and shelf adjustability before decorative extras. Measure twice, build once, and leave a little empty shelf space: a larder that is stuffed to the door is a larder that stops working. With a sound layout and patient finishing, that awkward corner becomes the hardest-working spot in the kitchen.

0 Comments