

An outdated brick fireplace can dominate a room long after it has stopped suiting it. The good news is that the surround, the face you actually see, can usually be reimagined in tile, new brick or stone.
This article compares the three routes honestly: what each material gives a room, how the surface must be prepared, and the finishing details that make the result look built-in rather than stuck on.
1. A New Fireplace Surround at a Glance: Tile, Brick or Stone
Every surround project starts with the same three questions: what mood should the fireplace set, how much change can the existing structure sensibly take, and who will do the work. Tile is the great transformer; it can take a heavy red-brick face and return it as something sleek, patterned or quietly classic, and covering brick fireplace with tile is often the least invasive route because the brick itself becomes the base. Brick, restyled with veneer, a new bond pattern or a limewash-style finish, keeps the room’s traditional heartbeat while removing whatever dated it. Stone brings the most weight, literally and visually, and suits rooms that want the fireplace to be architecture rather than furniture. All three routes share the same ground rules: the existing surround must be sound, clean and well bonded; anything loose, crumbling or soot-softened has to be dealt with first; and the firebox, flue and anything to do with actual combustion stay in professional territory. Homeowners who like a clear overview before committing will appreciate the way tiny house living room ideas treat the fireplace wall as one composition of seating, light and focal point. The table below compares the three materials at a glance.
| Material | Character it brings | Good to know |
|---|---|---|
| Tile | Clean, patterned or classic; the widest colour range | Needs a flat, sound base and careful layout planning |
| Brick veneer or restyled brick | Warm, traditional, textured | Thinner veneer keeps added weight and depth modest |
| Stone and stone veneer | Deep texture and strong presence | Heaviest option; support and fixing must be checked |
| Painted or limewashed brick | Softens colour while keeping brick texture | Semi-permanent; test a small area first |
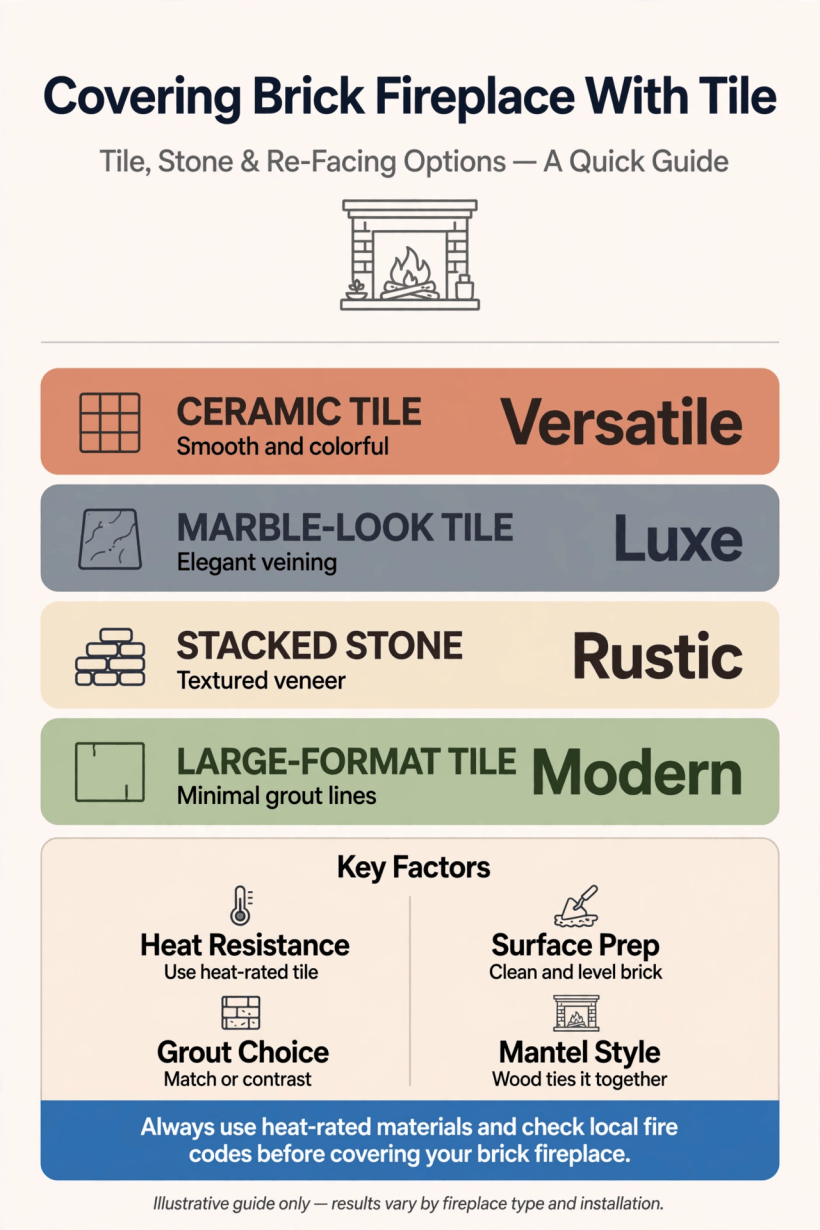
A quick visual comparison of tile, brick and stone surrounds and the preparation each one needs.
2. Tiling Over Brick: What Makes It Possible
Brick makes a surprisingly good base for tile when it is handled properly. It is rigid, it does not flex, and its texture gives adhesives something to grip. The conditions are that the brickwork is sound, the face is reasonably even, and the surface is free of the things tile adhesive hates: loose paint, flaking mortar, soot, grease and dust. Where the brick face is deeply uneven, a levelling approach is needed first, because tile magnifies every bump beneath it, especially large-format tile with its unforgiving flat planes. This is where covering brick fireplace with tile stops being a weekend whim and becomes a small building project in the best sense: assess honestly, prepare thoroughly, and the decorative part almost takes care of itself. Many tilers prefer to create a flat, stable surface over rough brick before the visible tile goes on; the exact method depends on the fireplace’s construction and condition, which is why a professional opinion at this stage is money well spent. What you should not do is tile over doubt. If bricks move when pressed, if mortar powders away at a touch, or if there are signs of damp or heat damage, those problems get diagnosed and fixed first, because a beautiful surround over a failing base is only a postponement.
3. Choosing Tile: Porcelain, Ceramic and Stone Looks
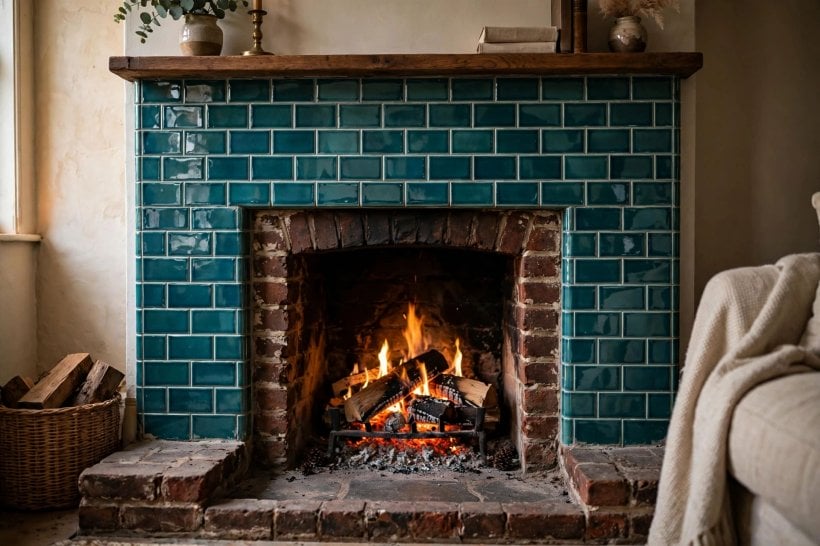
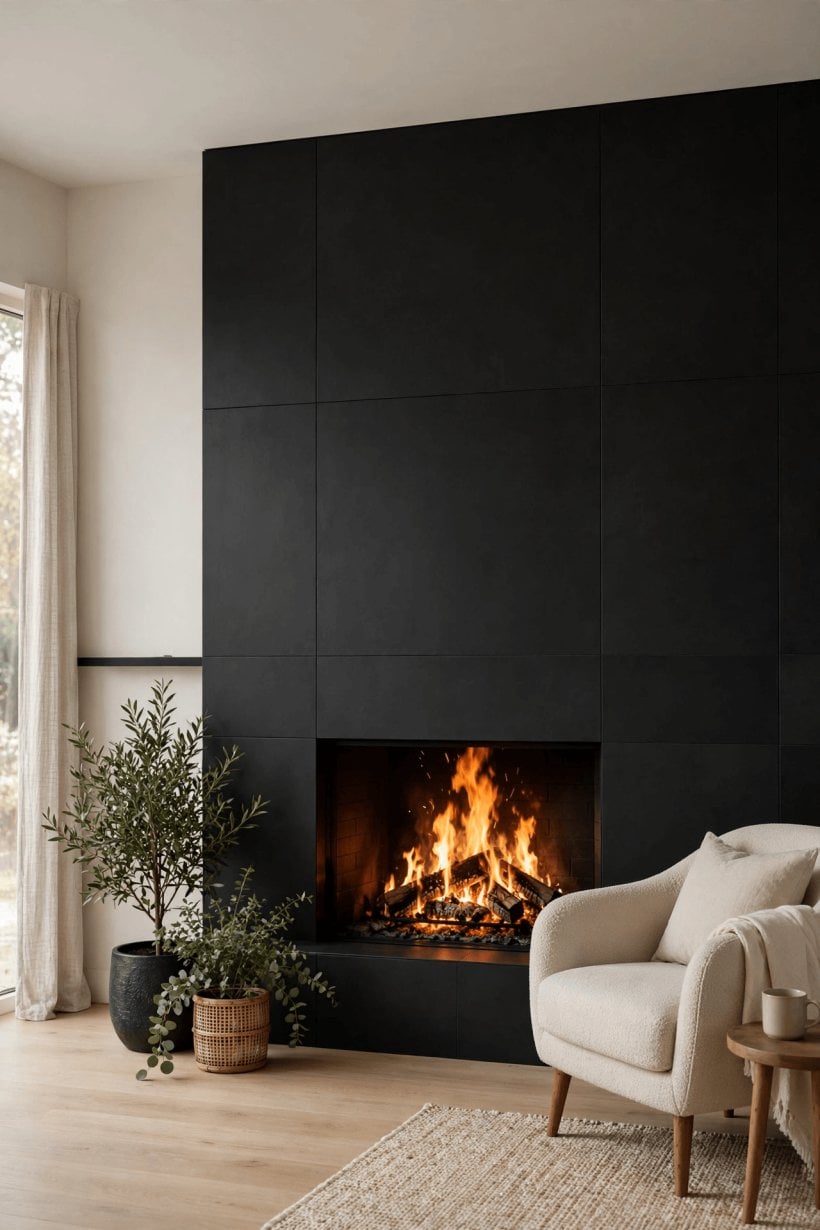
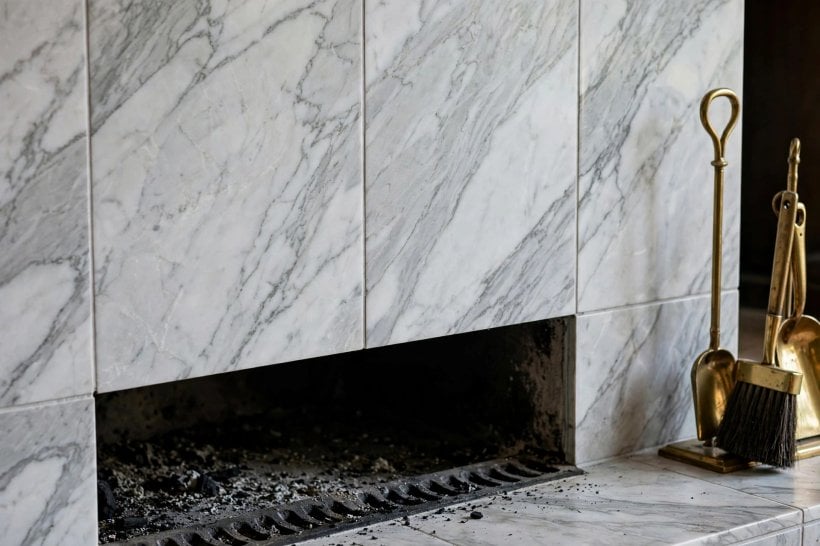
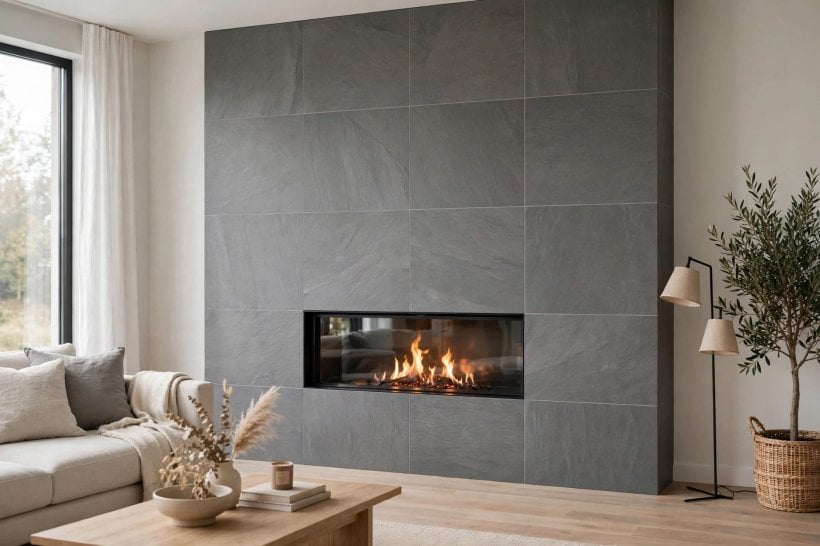
Tile choice is where the room’s new personality gets decided. Porcelain is the hard-wearing all-rounder, dense and available in everything from stone and timber looks to deep glazed colours, and it copes calmly with the warmth a surround experiences in normal use. Ceramic tiles bring the handmade, glossy, slightly uneven charm that suits cottage and traditional rooms, with glazes that pool in the edges and catch firelight beautifully. Marble and other natural stone tiles deliver real veining and cool elegance, at the price of sealing, more careful cutting and a tolerance for natural variation. Format matters as much as material: small tiles and mosaics follow slightly uneven surfaces kindly and suit intricate hearths; metro tiles offer a timeless middle path; large slabs minimise grout lines and make a surround feel like a single carved surface. Think about grout as part of the design rather than an afterthought, because on a fireplace the grout grid is always on show. A grout colour close to the tile reads as one calm surface; a contrasting grout turns the grid into pattern. Order samples and live with them beside the fire for a few evenings, since tile colour shifts between daylight and firelight more than almost any surface in the house. Anyone who has compared glazed tiles for tiny house bathroom ideas will know how different the same tile looks at noon and by lamplight.
4. Brick on Brick: Veneer and Painted Finishes
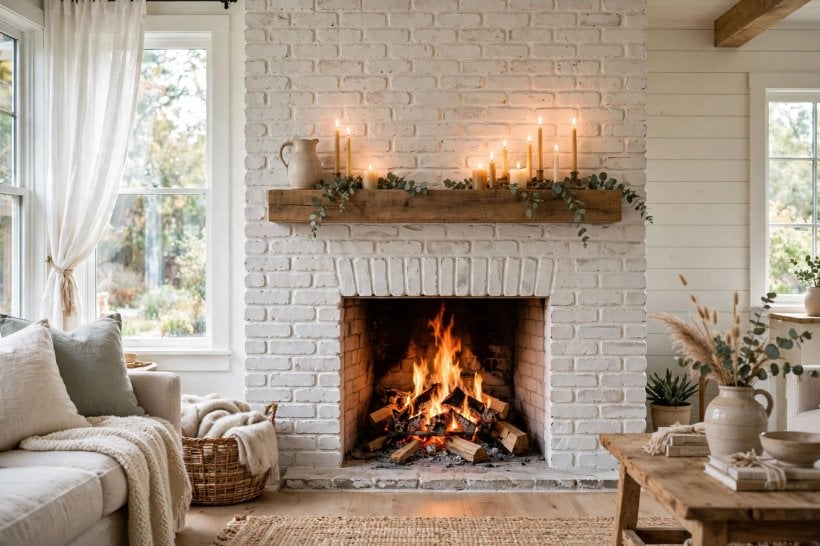
Sometimes the answer is more brick, better chosen. Brick veneer, real clay cut thin or manufactured slips, lets you cover a tired surround with the colour, bond and texture you actually want: a soft, pale, lime-toned brick for a calm room; a longer, darker format for something moodier. Because veneer is thin, it adds far less depth than full brick, which helps where the hearth and floor levels leave little room to build out. The layout rules mirror tiling: start from the centre or the most visible edge, keep joints even, and plan cuts so slivers do not land in the most noticeable places. If the existing brick is sound and its only crime is colour, gentler finishes deserve a hearing first. Limewash-style coatings and brick stains soften red brick toward stone and putty tones while letting the texture show through, and they can be layered gradually, which makes them forgiving. Paint gives the boldest change and the least texture, and once brick is painted, returning to bare brick is a long road, so test on an inconspicuous patch and live with it through a few evenings of firelight. A brick surround, old or new, pairs naturally with timber mantels and woven textures, the same palette celebrated in tiny barn house interiors.
5. Stone Surrounds: Weight, Texture and Presence
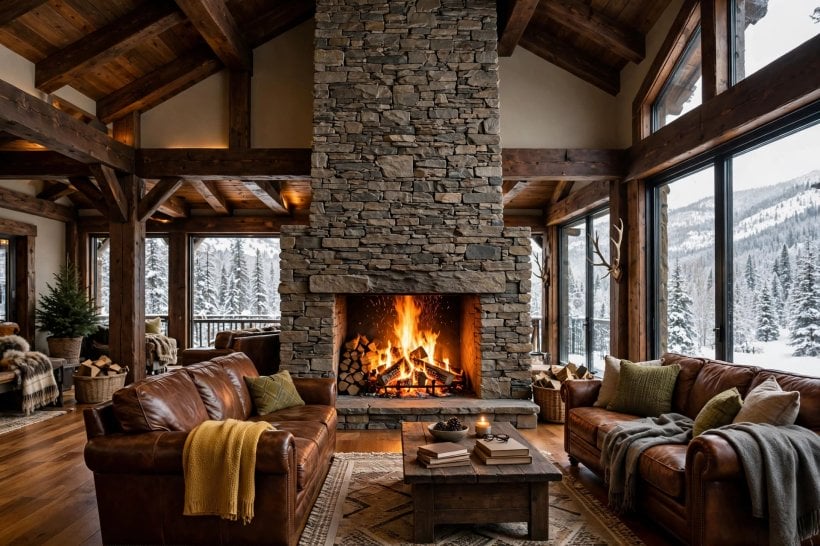
Stone is the material a fireplace seems to remember being made from. A full stone surround, or a well-made stone veneer, gives the room a focal point with genuine depth: split faces catch raking light, honed surfaces feel calm and architectural, and large-format stone slabs read as quietly luxurious. The honest considerations are weight and support. Stone, even as veneer, is heavier than tile, and the wall or surround behind it must be able to carry it, fixed with the right system for the material chosen; this is a point to verify with the supplier’s guidance and, where there is any doubt, a professional installer. Texture choice shapes the room more than colour does. Rough, stacked looks pull a room toward the rustic and pair with leather, wool and dark timber; smooth, book-matched slabs suit pared-back rooms where the fire itself should be the only drama. Keep the rest of the wall quiet around a strong stone surround, and let the mantel, if there is one, be simple. Stone also asks a little more of maintenance: porous surfaces may need sealing, and ash and soot should be lifted gently rather than scrubbed across the face. Treated kindly, a stone surround is the longest-lived of the three routes and the one most likely to be admired by the next owners too.
6. Preparing the Surface: Clean, Sound and Level
Preparation is unglamorous and completely decisive. Begin by emptying the firebox area of ash and debris, protecting the floor and nearby furniture, and giving the whole surround a thorough clean; years of soot, polish and household grease settle into brick pores and will defeat adhesives if left in place. Sound out the surface by tapping and pressing: hollow sounds, movement or crumbling mortar all need attention before anything decorative happens. Loose material comes off, failed mortar joints are made good by someone who knows the work, and the surface is left dust-free and dry. Level is the next judgement. Tile, especially, telegraphs the truth about what lies beneath, so high spots, slumped joints and uneven brick courses must be levelled or covered by a suitable flat base as advised for the chosen system. Take the time to check what sits behind or above the surround if you plan to fix battens, boards or a new mantel; hidden flues, cables and pipes are not surprises anyone enjoys mid-project. This patient groundwork mirrors the logic of building a tiny house in the right order: structure and surfaces first, finishes second, and no stage asked to hide the stage before it. A surround prepared this way gives the decorative layer, tile, brick or stone, the fair chance it needs to last.
7. Pattern, Layout and the All-Important Dry Run
Before any adhesive opens, the layout gets decided on the floor. Lay the tile or veneer out dry across a space the size of the surround, and solve the pattern where mistakes cost nothing. Decide what sits at the centre: a whole tile, a joint, or the pattern’s feature point, then work outward and see where the cuts fall. The rules of thumb are kind ones: avoid thin slivers at visible edges, keep the pattern level with the mantel and hearth lines rather than the ceiling, and let the firebox opening, the part the eye checks first, receive the neatest arrangement. Patterns carry personalities worth matching to the room. Stacked grids feel modern, brick bonds feel classic, herringbone adds movement to a plain room, and large chevrons or book-matched slabs create a single statement. Consider the hearth at the same time, because surround and hearth meet at the room’s most-scrutinised corner; continuing the same material onto the hearth reads as deliberate, while a contrasting hearth can frame the fire beautifully if the junction is crisp. Photograph the dry layout before you dismantle it, number rows if the pattern is complex, and mix tiles from several boxes as you go so colour variation spreads evenly instead of collecting in one patch.
8. Grout, Edges and the Mantel Junction
Finishing details decide whether a surround looks built or applied. Grout width should suit the tile: narrow joints for rectified, precise tiles; slightly wider for handmade or rustic pieces whose edges wander charmingly. Work grout in fully, clean it at the right moment for the product in use, and expect the colour to dry lighter than the wet mix suggests, another reason the sample board matters. Edges are the other giveaway. Where the new surface ends against the wall, a tile trim, a neat bead of suitable sealant, or a deliberate shadow gap all look intentional; a ragged adhesive edge never does. The mantel junction deserves a decision early: tile up to the mantel, tile behind it, or let a stone or timber shelf cap the surround and hide the junction entirely. Each works when it is planned; each looks like an apology when improvised. If the mantel is being replaced, its material can carry the room’s story, reclaimed timber for warmth, stone for continuity, painted wood for calm. Keep anything combustible in its proper place, follow the fireplace manufacturer’s guidance on clearances, and where the design touches the firebox or flue in any way, hand that part to a qualified professional. Beauty and safety are not rivals here; the most elegant surrounds are the ones where every junction was considered twice.
9. Styling the Finished Surround
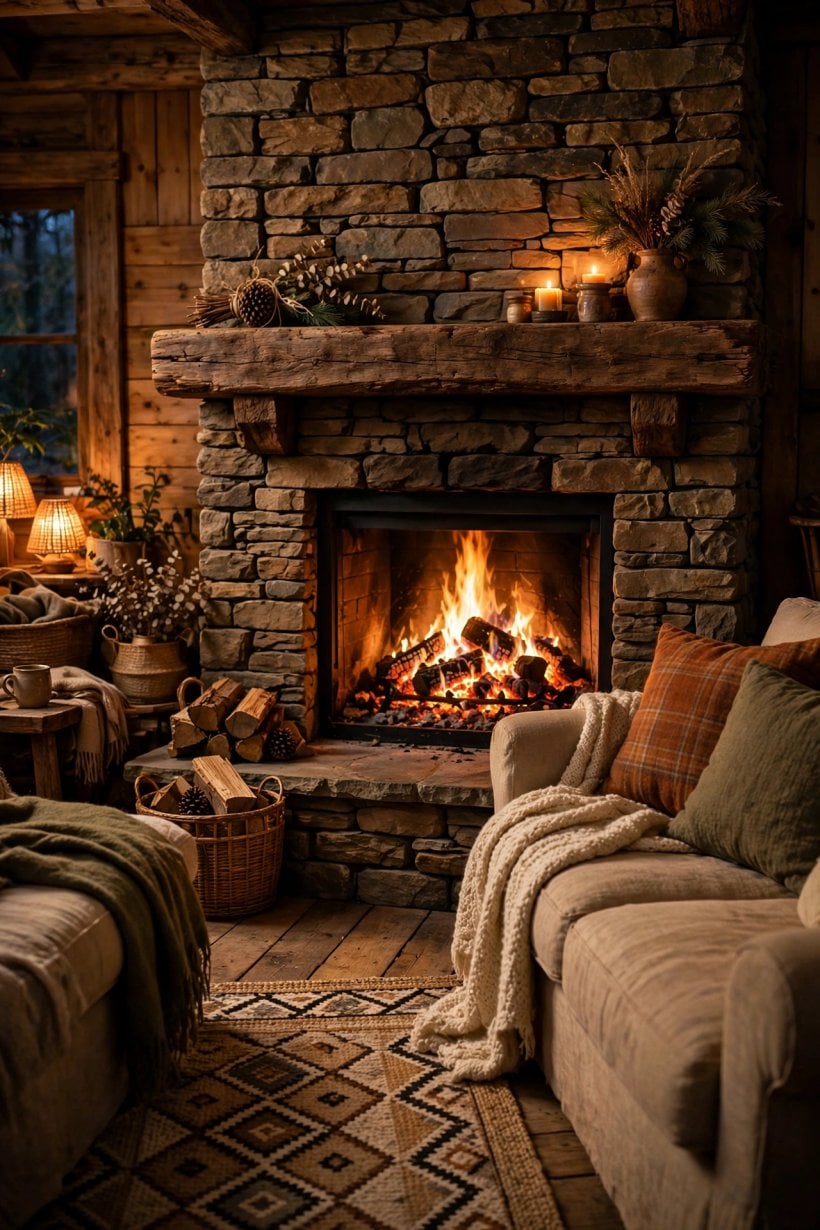
A new surround changes how the whole wall wants to be dressed. Start by letting it be the picture for a while: clear the mantel, then rebuild slowly with fewer, larger things rather than a crowd of small ones. A mirror or a single piece of art above the mantel gives the fireplace its traditional crown; a pair of objects at either end keeps the composition balanced without matching fussiness. Fire tools and log storage earn their place honestly and look best in materials that echo the surround, blackened steel with stone, brass with glossy tile, woven baskets with brick. On the hearth, keep the working zone clear and safe, and let styling live on the mantel and the wall instead. Seasonal dressing is the fireplace’s privilege: greenery and candles in winter, a vase of branches or a stack of art books in summer when the fire rests, so the surround keeps earning its place all year. If the room feels unbalanced after the change, adjust the surroundings before blaming the fireplace: curtains, a rug that acknowledges the hearth, or seating angled to include the fire usually completes the picture. The colourful confidence of colourful tiny house interiors offers a useful reminder here: one strong feature works best when the rest of the room answers it quietly.

10. Care, Heat Awareness and When To Call a Professional
A finished surround asks for modest, regular care. Dust tile, brick and stone with a soft brush or cloth, wash tile and sealed stone with mild cleaners suited to the material, and avoid harsh or acidic products on natural stone and on grout you want to keep its colour. Soot marks lift best when dealt with promptly and gently. Re-check grout and edge seals once a year, especially around the hearth junction, and make good any cracks early, because small gaps invite moisture and movement. Heat awareness is part of ownership rather than a worry: use the fireplace as its manufacturer intends, keep the area in front of it sensibly clear, and have the chimney and fire itself inspected and maintained by qualified professionals on the schedule they advise. Know the boundary of this project clearly. Re-facing a sound surround is decorative work; the firebox, flue, ventilation, gas supply and anything structural are professional territory, and local rules about combustion appliances must be followed rather than guessed. If a survey or installer flags the existing surround as unsound, treat that as the project changing, not as an obstacle to argue with. The homeowners who end up happiest with a transformation are the ones who prepared carefully, finished patiently, and let the fire’s own experts guard the parts that matter most. Gardeners planning an outdoor hearth next will find the same material questions waiting in tiny house landscaping ideas, where stone, brick and weather meet in the open air.
Final Considerations
Tile transforms, brick reassures and stone endures, and any of the three can give an old fireplace back its dignity when the base is sound and the preparation is honest. Decide the mood first, plan the layout dry, sweat the grout and edges, and keep professional hands on anything involving the fire itself. Do that, and the surround stops being the room’s apology and becomes, once again, its heart.




0 Comments