

A good path does more than get you from the gate to the door. It slows you down, shows off your planting and makes even a tiny plot feel like somewhere worth wandering.
These garden path ideas are grouped by material, planting and season, so you can borrow one small stretch at a time and build a route that suits your soil, slope and budget.
1. Planning the Route: Layout, Width and Flow
Start by watching how people already move through the space on wet days and busy weekends. The strongest garden path ideas follow those desire lines, then soften them with a curve, a wider landing or a view worth pausing for. Sketch the route on paper, mark gates, taps and doors, and think about barrows, bins and muddy boots before you lift a single slab. If you are shaping the whole plot at the same time, our guide to Tiny House Landscaping Ideas shows how routes, beds and seating can be planned together.
| At a Glance | Good Choice | Why It Works |
|---|---|---|
| Easiest first path | Stepping stones or gravel | Forgiving to lay, easy to adjust later |
| Most formal look | Brick or cut pavers | Crisp lines suit cottages and town gardens |
| Softest, most natural feel | Bark, woodchip or stone and thyme | Blends into planting and suits shady corners |
| Best for slopes | Wide steps with landings | Safer footing and space to rest or turn |
| Biggest watch-out | Drainage and edging | Most failures start with puddles or creeping edges |
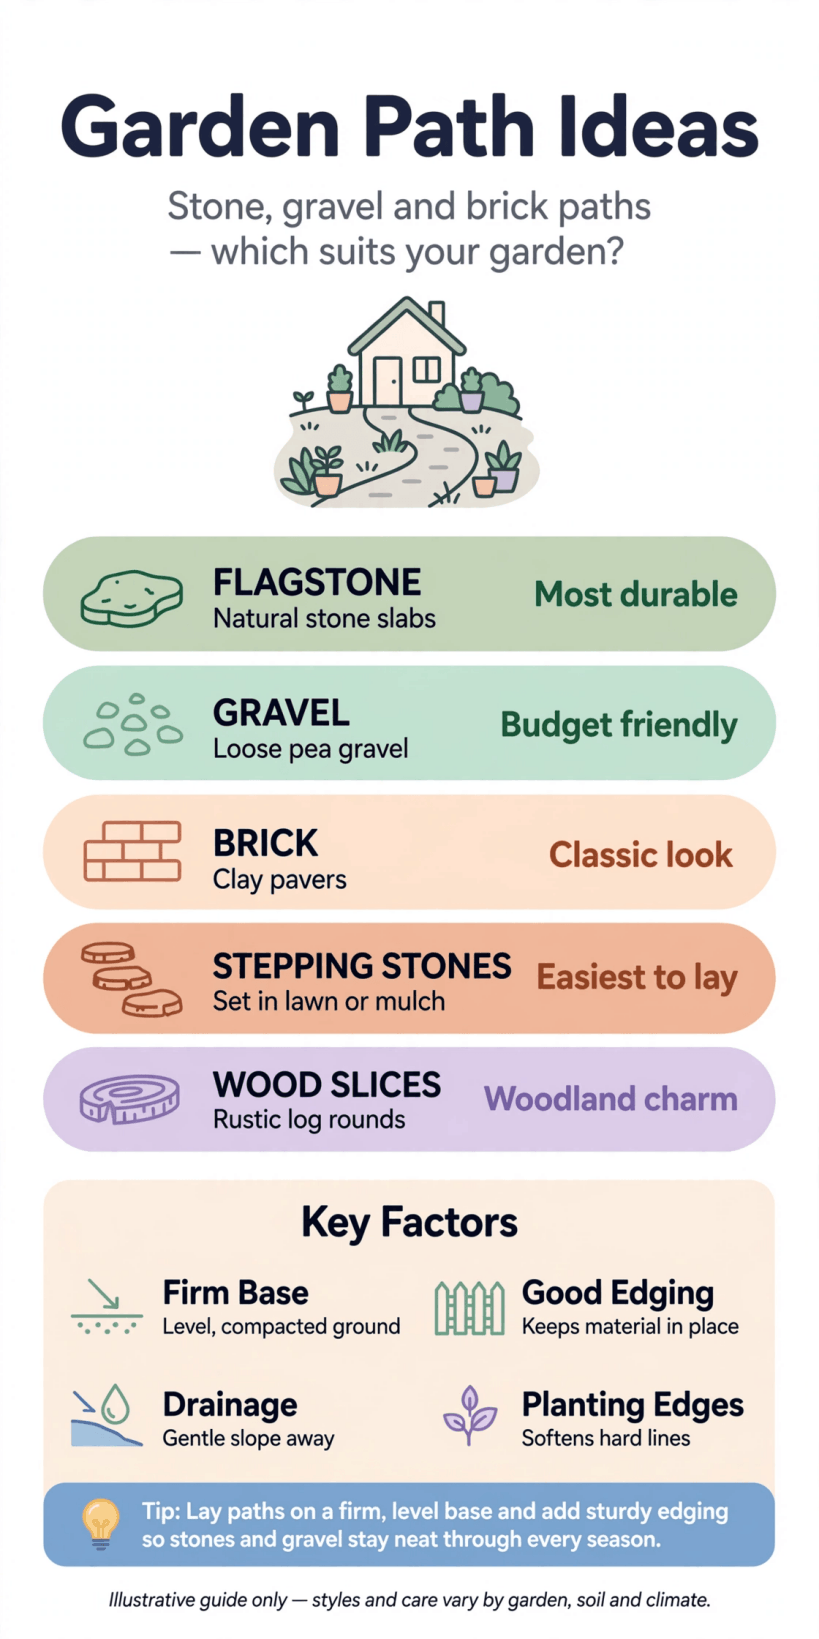
A quick at-a-glance guide to choosing a surface, width and planting style before you start digging.
2. Stone, Gravel and Natural Surfaces
Natural materials settle into a garden quickly and forgive small mistakes. Choose one main surface for the whole route so the garden feels calm, then use a second material only for edges, steps or a small feature area near the door.
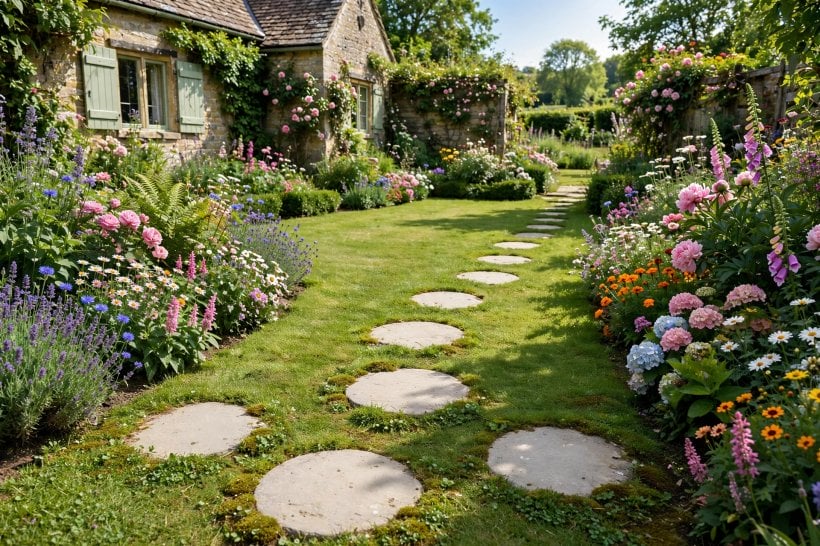
1. Stepping stones through lawn. Lay large, flat stones just below mowing height, spaced for a comfortable stride. The grass stays the star, the route stays clear, and you can lift and adjust a stone in minutes.
2. Crushed gravel with a firm edge. Rake angular gravel over a compacted base and hold it with timber or metal edging. It crunches pleasantly underfoot, drains freely and suits both cottage borders and simple modern plots.
3. Crazy paving from offcuts. Fit irregular stone pieces like a jigsaw, keeping joints narrow and even. The relaxed pattern hides imperfect cutting and works beautifully for short links between a gate, shed and patio.
4. A river pebble ribbon. Run a narrow band of smooth pebbles beside a main path or through a gravel area. It reads like a dry stream, guides the eye and adds texture without much digging.
5. Slate slabs on a sand bed. Dark slate looks smart after rain and contrasts with green planting. Bed each slab firmly so it cannot rock, and brush sand into the joints for a tight finish.
6. Stone with thyme in the joints. Leave slightly wider gaps between slabs and plant low, creeping herbs that tolerate light foot traffic. You get scent when you brush past and a softer, older-looking route.
7. Boulders flanking the entrance. Place two or three weathered rocks where the path begins, then repeat smaller stones further along. The grouping marks the start clearly and helps the route feel anchored to the landscape.
8. Pea gravel inside a paver grid. Set square pavers in a regular grid and fill between them with fine gravel. The pattern gives firm footing for heels and barrows while the gravel keeps the overall feel light.
3. Brick, Paver and Patterned Walks
Pattern brings order. Brick and pavers suit front gardens, vegetable plots and any route used daily in all weathers. Take time over the base and edging, because a crisp pattern shows every wobble, while a well-laid one still looks good decades later.
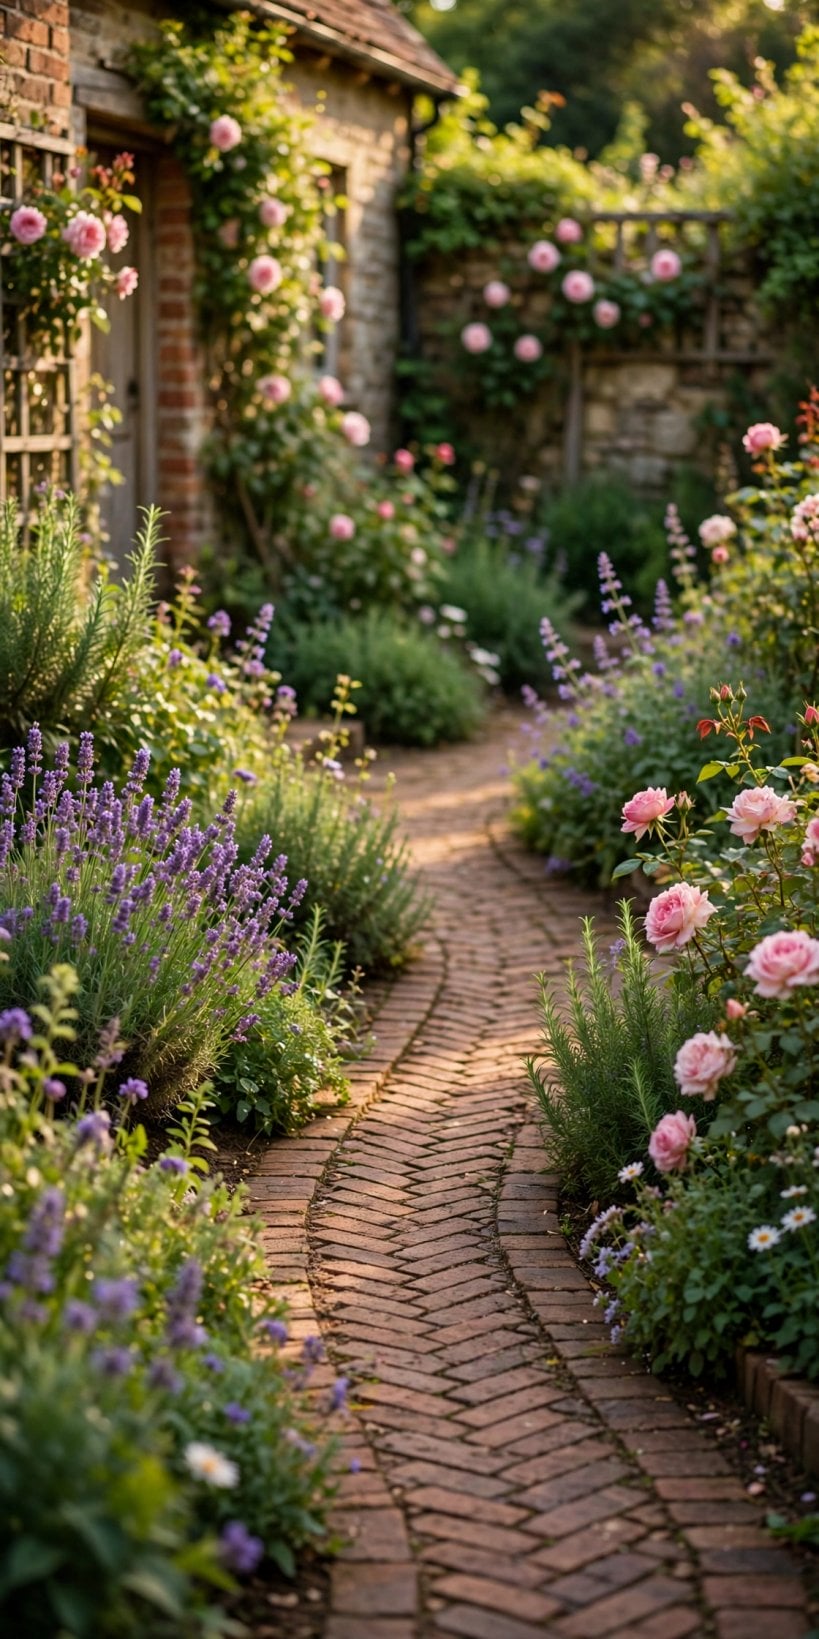
9. Herringbone brick. Lay bricks at alternating angles for a classic, hard-wearing surface that resists movement. The busy pattern disguises stains and suits a straight run from street gate to front door very well.
10. Basket-weave pattern. Pairs of bricks laid in alternating directions create a woven look with plenty of character. Keep the surrounding edge simple so the pattern stays the focus and the path feels wider.
11. A gentle reclaimed-brick curve. Reuse sound old bricks, mixing tones gently rather than grouping them by colour. A slow curve feels welcoming, and the varied surface hides the small chips that come with reclaimed material.
12. Soldier-course edging. Stand bricks upright along both sides of a gravel or stone path. The neat raised line stops surface material spilling into beds and gives mowers and strimmers a clear boundary.
13. Chevron pavers. Large pavers in a chevron layout point walkers forward and suit wider, contemporary gardens. Use a restrained palette so the geometry, not the colour contrast, does most of the work.
14. A terracotta-toned accent band. Cross the path with one warm band of colour at a gate or junction. Check any tile or paver you fancy is suitable for outdoor use in your local climate first.
15. A circular medallion at a junction. Where two routes meet, lay a simple circle of pavers or setts. It turns an awkward crossing into a feature, gives people room to pass and helps everyone choose a direction.
16. Mixed stone and brick bands. Alternate short sections of stone with bands of brick across the width. The rhythm slows walkers down, breaks up a long straight run and uses up useful leftover material sensibly.
4. Wood, Sleepers and Rustic Routes
Timber suits woodland corners, damp ground and informal gardens where straight lines feel out of place. Keep wood off wet soil where you can, allow for grip in winter, and remember that the same route-planning care used in How to Build Your Own Tiny House applies outdoors: measure twice, then build once.
17. Sleeper steps. Chunky timber sleepers make generous, comfortable steps on a slope and double as low retaining edges. Pin them securely, keep treads level and leave a small gap for drainage behind each one.
18. A low boardwalk over damp ground. Raise planks on simple supports so boots stay dry and delicate soil is protected. A boardwalk turns a boggy shortcut into one of the most enjoyable walks in the garden.
19. Log-slice stepping rounds. Thick rounds of durable timber set into gravel make a playful route for children and a charming link through planting. Sink each slice firmly and expect to replace individual pieces over time.
20. A straight decking-plank walk. Run decking boards across the direction of travel for a clean, modern line. The grooves help with grip, and the raised surface works well over roots you would rather not disturb.
21. Rustic pole edging. Short upright poles or half-round rails give a woodland edge to bark and gravel paths. Replace a damaged section in minutes and let moss and low plants soften the line.
22. Woodchip for the working path. Behind sheds and beside compost bins, simple woodchip is cheap, quiet and kind to knees. Top it up as it settles and keep a firm edge so it stays put.
23. Raised planks with gravel below. Float a narrow plank walk just above a gravel bed so rain drains away and the timber lasts longer. The shadow gap underneath makes the route look light and deliberate.
24. A timber checkerboard. Alternate square timber sections with gravel or planting squares for a structured but friendly pattern. It suits a small courtyard where every metre has to earn its place visually.
5. Planting Along the Edges
Planting is what turns a route into a journey. Keep the clear width honest, choose plants that stay roughly the size you expect, and repeat a few favourites along the whole path so the garden feels joined up rather than bitty. Ideas from Tiny House & Small-Space Interior Design: The Complete Guide about repeating colour and texture work just as well outside.
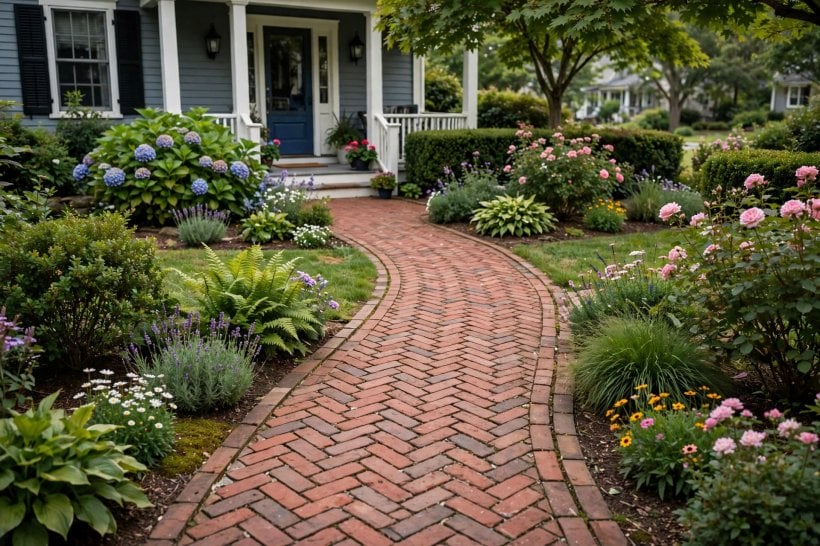
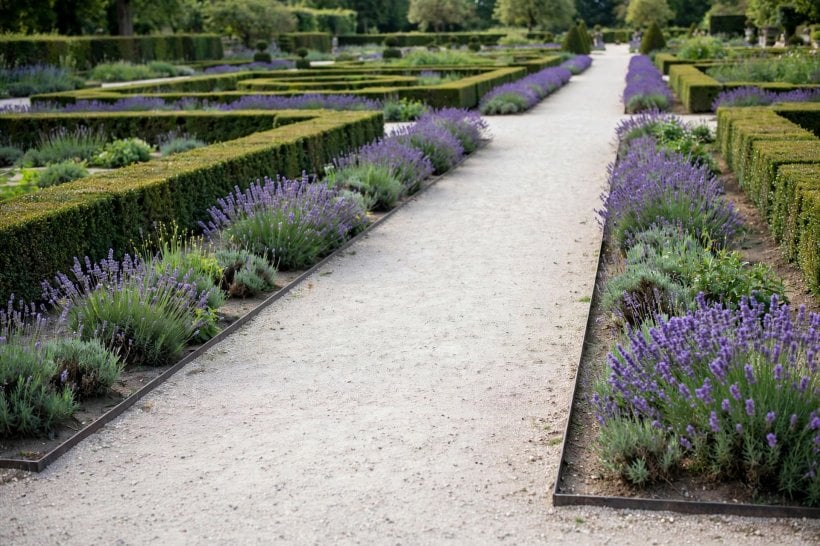
25. A low lavender edge. Plant lavender where sun and drainage suit it, set back enough that bees and walkers share happily. The scent, colour and gentle hum make an ordinary trip to the shed feel special.
26. A clipped evergreen edge. A low, neat hedge line gives winter structure and makes summer planting look tidier. Choose a plant suited to your soil and local conditions, and ask a nursery for current advice.
27. Creeping plants in the joints. Soften hard paving with low creepers in the widest joints and corners. They cool the surface, slow weeds and make a new path look settled within a single season.
28. Ornamental grasses that sway. A few grasses at bends and entrances add movement and a soft rustle. Keep them off the walking line so wet foliage does not flop across the route after rain.
29. Herbs to brush past. Rosemary, sage and similar sturdy herbs near a frequently used stretch release scent as coats and hands brush them. They are practical, pretty and earn their space near the kitchen door.
30. Alpine pockets in the cracks. Tiny plants in gravel pockets and wall bases reward anyone walking slowly. Group them in drifts rather than scattering singles, and water them while they settle in their first season.
31. Ferns for a shady stretch. Where sun rarely reaches, ferns bring rich texture without demanding flowers. Pair them with pale stone so the path stays readable on dull days and in early evening light.
32. A seasonal bulb ribbon. Tuck bulbs along one edge for a spring surprise, then let later planting cover the fading leaves. Mark the ribbon on your plan so autumn digging does not slice through it.
6. Curves, Steps and Sloping Ground
Slopes and turns are opportunities, not problems. A curve can hide and then reveal a bench, while well-spaced steps make a steep plot feel generous. Before building on tricky ground, the placement questions in Where Can I Build a Tiny House? Land, Zoning & Placement Guide are a useful reminder to check local rules and site conditions first.
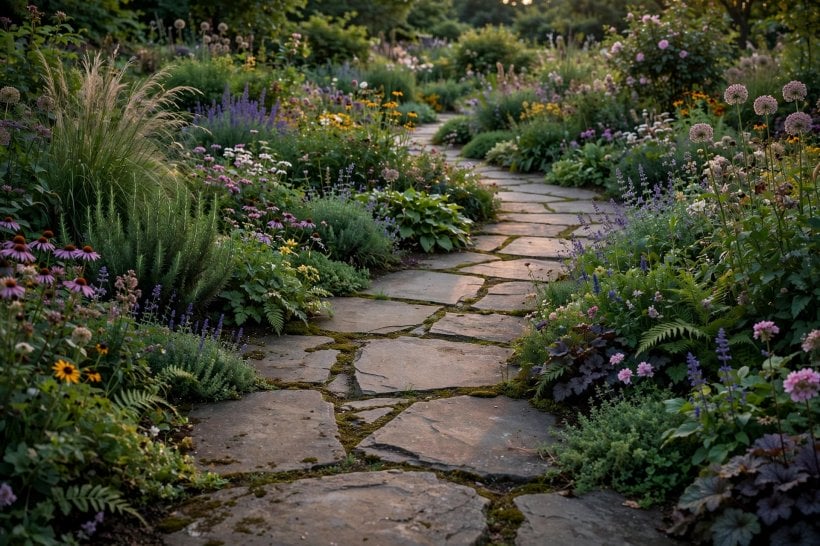
33. A gentle S-curve. Swing the route in two easy bends so walkers cannot see the whole garden at once. The hidden stretches make even a modest plot feel larger and more varied.
34. Terraced steps on a slope. Build short flights separated by level sections of path. It is kinder on knees than one long staircase and gives planting pockets at every change of level.
35. A landing every few steps. Landings are places to put down a basket, greet a neighbour or simply look back at the view. Make them wide enough for two people to stand without shuffling.
36. Low cheek walls beside steps. Short side walls hold back soil, define the flight and give a home to trailing plants. Keep them modest and check local guidance if the wall will retain much height.
37. A switchback for steep plots. Zigzag across the slope instead of fighting it directly. Each leg stays comfortable, drainage is easier to manage and the bends become natural spots for a feature plant or seat.
38. Grippy tread details. On smooth stone or timber, add texture where feet land most often. Keep the treatment consistent along the flight so there are no surprises halfway down on a wet evening.
39. A simple timber handrail. One well-fixed rail helps children, older visitors and anyone carrying a tray. Set it at a comfortable height and round the ends so it feels friendly to hold.
40. Gravel steps with timber risers. Timber fronts with gravel treads are forgiving to build and easy to repair one step at a time. They suit informal slopes and blend quickly into surrounding planting and trees.
7. Beds, Borders and Path Junctions
This is where a path earns its keep, dividing beds for easy weeding, leading to seats and sheds, and giving the garden its structure in winter. Plan junctions as small rooms outdoors, with room to turn a barrow and somewhere for the eye to land.

41. A path through deep borders. Slip a narrow route through the middle of a deep bed so you can weed, divide and pick without trampling soil. Surrounded by plants, it becomes a secret walk in summer.
42. A fork marked by a feature pot. One generous pot at a fork tells walkers this is a decision point and gives the junction importance. Repeat the pot style elsewhere so the garden feels connected.
43. A circular seating spur. Branch off the main route into a small paved circle for two chairs and a tiny table. It uses awkward corners well and invites people to stay longer outside.
44. An arch over a junction. A simple arch with climbing plants frames the moment one area becomes another. Keep growth trimmed off the walking line and choose climbers suited to your aspect and soil.
45. Mirror planting on both sides. Repeating the same plants opposite each other suits formal front gardens and short straight paths. The symmetry calms busy planting and makes a narrow route feel wider and grander.
46. Deliberately uneven planting. For a relaxed, modern feel, plant one side taller and looser than the other. The contrast feels natural, guides walkers onward and gives wildlife more varied shelter along the route.
47. A path to a hidden bench. Let the route disappear around planting before revealing a quiet seat. People use hidden benches more than exposed ones, and the small journey becomes part of the rest.
48. Edging that keeps mulch in place. A firm, slightly raised edge stops bark and compost washing onto the path after heavy rain. It also makes sweeping quick and keeps the whole garden looking cared for.
8. Lighting, Drainage and Safer Footing
The prettiest path fails if it puddles, trips or disappears after dark. Sort water first, then footing, then light, and the decorative choices will last far longer. The practical, room-by-room thinking in Home Interior Design Ideas for Tiny Houses & Small Spaces has an outdoor echo here: small spaces work when every detail is deliberate.
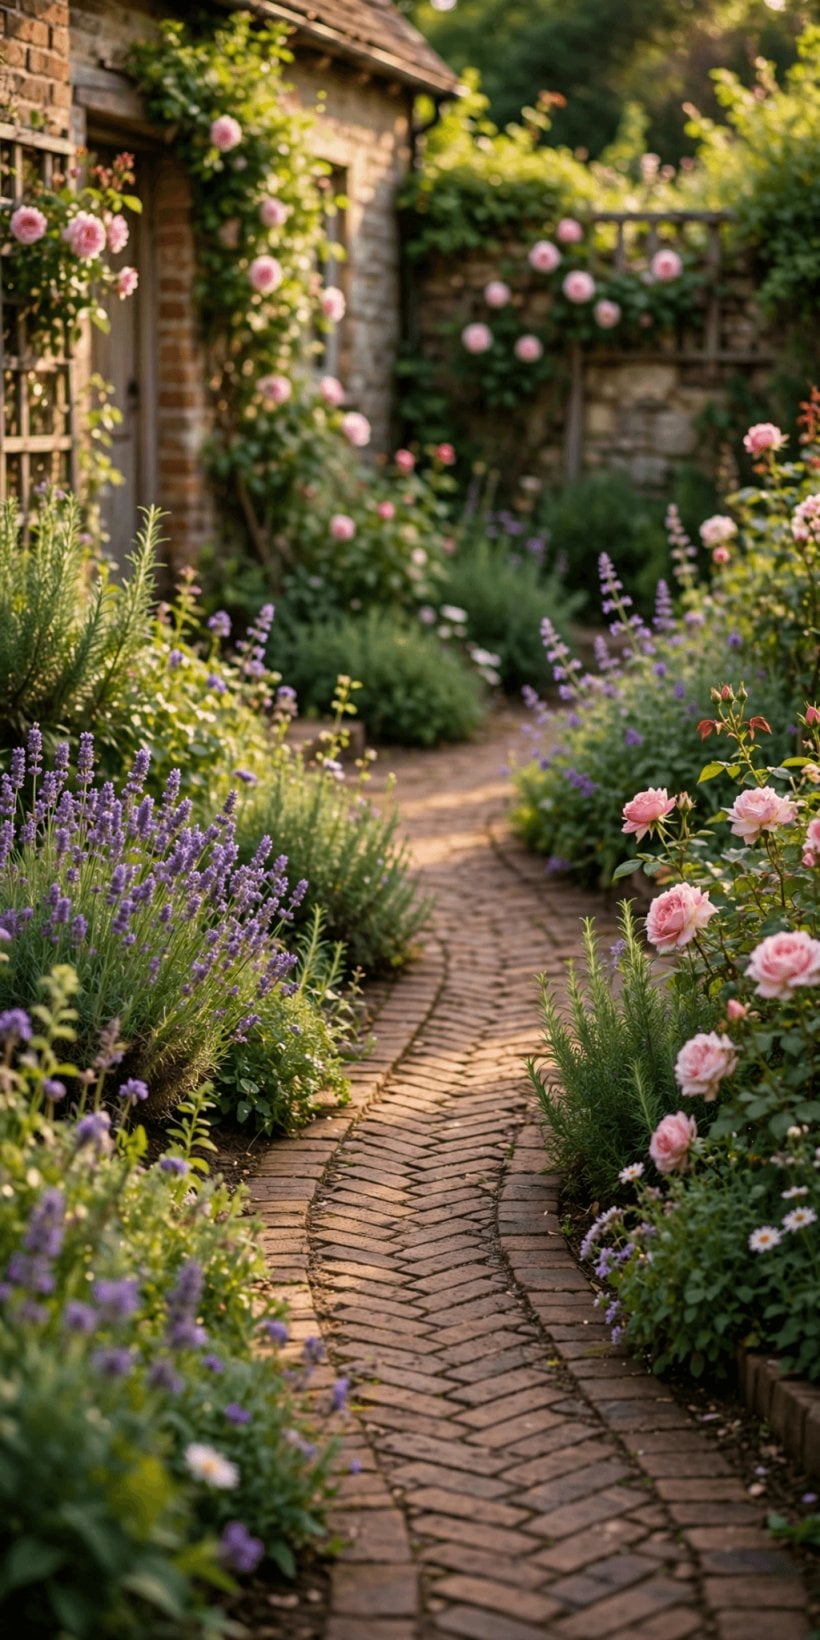
49. Low lights at changes of level. Mark steps, gates and junctions with low, warm lighting rather than flooding the whole garden. Walkers see what matters and the planting keeps its soft, evening atmosphere.
50. Light tucked under a step. A shaded fitting beneath a tread washes the step below in gentle light. It looks smart, avoids glare and makes a flight far easier to judge at night.
51. A gravel drainage channel. Run a shallow gravel channel beside stretches that collect water, leading it to a planted area that tolerates moisture. Check local guidance before altering where runoff goes.
52. A slight camber to shed water. Build the surface very slightly higher in the middle so rain falls to the edges instead of pooling. The difference is invisible but the path dries far faster.
53. Permeable surfaces where suitable. Gravel, open joints and similar finishes let rain soak in rather than run off. Ask your city or county what is preferred locally, especially for front-garden paving.
54. A leaf-clearing routine. Wet leaves on smooth stone are a classic slip risk, so little and often beats a big autumn blitz. A quick sweep keeps surfaces grippy and joints free of sludge.
55. A wide passing place. On a long narrow route, widen one stretch so two people, a dog or a loaded barrow can pass comfortably. It is a small luxury everyone notices.
56. Clearance for gate swing. Keep the surface level and planting back where gates open onto the path. Struggling with a gate while standing on a wobbly edge quickly spoils an otherwise lovely route.
9. Seasonal Care Through the Year
A path asks for little, but it asks regularly. Tie small jobs to the seasons and the surface, edging and planting will stay ahead of you instead of slowly slipping into a big, expensive repair. This rhythm of small care is also the secret behind the welcoming plots in Building a Tiny ADU in Charlotte, NC, where outdoor space has to work hard all year.
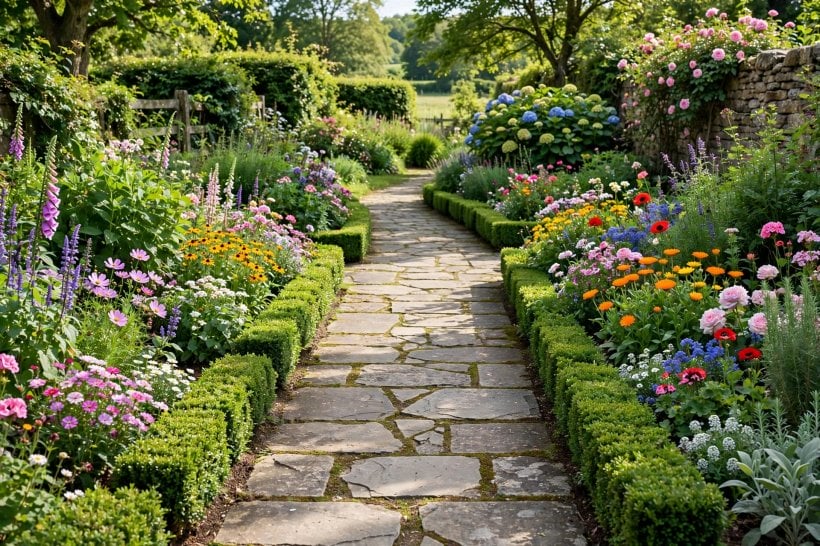
57. A spring reset. Sweep winter debris, check for rocking slabs and refresh joints before growth starts. An hour now prevents most of the wobbles and weeds that appear by midsummer.
58. Summer watering for edge plants. New planting beside a hot, dry path struggles more than plants in open beds. Water deeply at the base in the evening until roots are properly established.
59. Using autumn leaves wisely. Clear leaves off the walking surface, but shred and use them as mulch on beds beside the path. The route stays safe and the soil gets the benefit instead.
60. Winter grit, not harsh treatments. On icy mornings, a sprinkle of grit gives grip without harming nearby plants. Take extra care on smooth stone and timber, and clear snow before it compacts.
61. Re-levelling one wobbly slab. Lift, add or remove a little bedding material, and relay a single loose slab before it cracks or trips someone. Small, prompt repairs are cheap and surprisingly satisfying.
62. Topping up gravel. Rake gravel back from edges and add a thin fresh layer where the base shows through. The path instantly looks cared for and weeds find it harder to settle.
63. Cutting back encroaching growth. Trim plants that flop, trail or lean into the walking line a few times a season. Keep the intended width visible so the route never feels like an afterthought.
64. Checking edging after frost. Freeze and thaw can nudge edging out of line. A quick spring check with a mallet and level keeps gravel in, soil out and the whole path looking crisp.
10. Finishing Touches and Small Upgrades
Once the basics are sound, small additions give a path personality. Add one at a time, live with it, and stop before the route feels cluttered. The best finishing touches are useful as well as pretty: a seat, a scent, a place to put things down.
65. A painted gate at the end. Colour on the destination gate pulls the whole walk together and makes the journey feel purposeful. Choose a shade already used elsewhere outside so it looks intentional, not random.
66. A birdbath as a focal point. Place it where the path turns or ends, visible from a window if possible. Birds bring movement and sound, and the spot becomes a natural place to pause.
67. A small sculpture or stone feature. One modest feature at a bend rewards a slow walk without overwhelming the planting. Weatherproof, heavy pieces need the least fuss and look better as they age outside.
68. A painted house-number stone. A clear number on a stone near the front path helps visitors and deliveries after dark. Keep the lettering large, simple and easy to repaint when it fades.
69. A bench halfway along. Long gardens benefit from a seat in the middle, not only at the end. It breaks the journey, offers a new view and gives carriers somewhere to set things down.
70. Containers clustered at a turn. Group three pots of different heights where the path changes direction. They mark the turn, allow seasonal swaps and bring flowers up closer to passing noses and eyes.
71. Scent at the final stretch. Save the most fragrant planting for near the door, where you pass most often. Evening scent by the last few steps makes coming home feel like an occasion.
72. A washable mat on a wide landing. At a muddy back door, a sturdy outdoor mat on a level landing saves floors inside and gives dogs a natural pause point while paws are dealt with.
73. A boot scraper by the door. Old-fashioned, cheap and genuinely useful, a scraper at the end of the path keeps mud outside. Pair it with a stiff brush and the path stays cleaner too.
74. A storage bench near the shed. Seating that hides tools, twine and gloves where you actually garden saves endless trips indoors. Choose a design that sheds rain and is comfortable enough to use daily.
75. One view worth framing. Finish by standing at the start and choosing the single best view along your route, then prune or plant to frame it. A path with one memorable view feels designed.
Final Considerations
Build the stretch you use most first, get the base and drainage right, and let planting do the softening work over time. Keep a simple seasonal routine, repair small faults while they are still small, and add decoration slowly. If your route leads to a seating area or outdoor room, the ideas in Tiny House Kitchen Design may help you plan what waits at the end of the walk. A well-cared-for path quietly lifts the whole garden, every single day.


0 Comments