
That narrow strip where one floor ends and another begins can make a doorway feel thoughtfully finished, or oddly forgotten.
These twenty real-world examples show how a well-planned join handles height changes, direction swaps and daily wear, so the step from any room into the hall feels calm, safe and deliberate rather than like an afterthought you trip over.
1. Start With the Basics: Heights, Direction and the At-a-Glance Guide
Every good join starts with three simple checks. First, measure the finished height of both floors, including underlay, because even a small lip can catch toes, socks and vacuum heads. Second, decide whether the boards will run straight through the doorway or change direction, since that choice affects both looks and labour. Third, think about movement: timber expands and contracts with the seasons, so most joins need a small, planned gap rather than boards forced tightly together. When people talk about a hardwood floor transition from room to hallway, these three checks are what separate a detail that lasts for decades from one that lifts, squeaks or splits within a year. If you are also rethinking colour nearby, our guide to tiny house interior paint colours shows how wall tones can make a floor join look softer or sharper. Measure twice, dry-lay the strip before fixing anything, and always check the guidance for your specific flooring type and subfloor before you commit to adhesive, pins or screws.
| Detail | What to Check | Why It Matters |
|---|---|---|
| Height difference | Finished levels on both sides | Prevents trips and stubbed toes |
| Board direction | Straight through or turned | Changes the sense of flow |
| Movement gap | Space hidden under the strip | Lets timber expand safely |
| Strip profile | Flat, ramped or T-shaped | Matches the height change |
| Fixing method | Adhesive, pins or screws | Affects future repairs |
| Finish match | Colour, sheen and grain | Keeps the join looking calm |
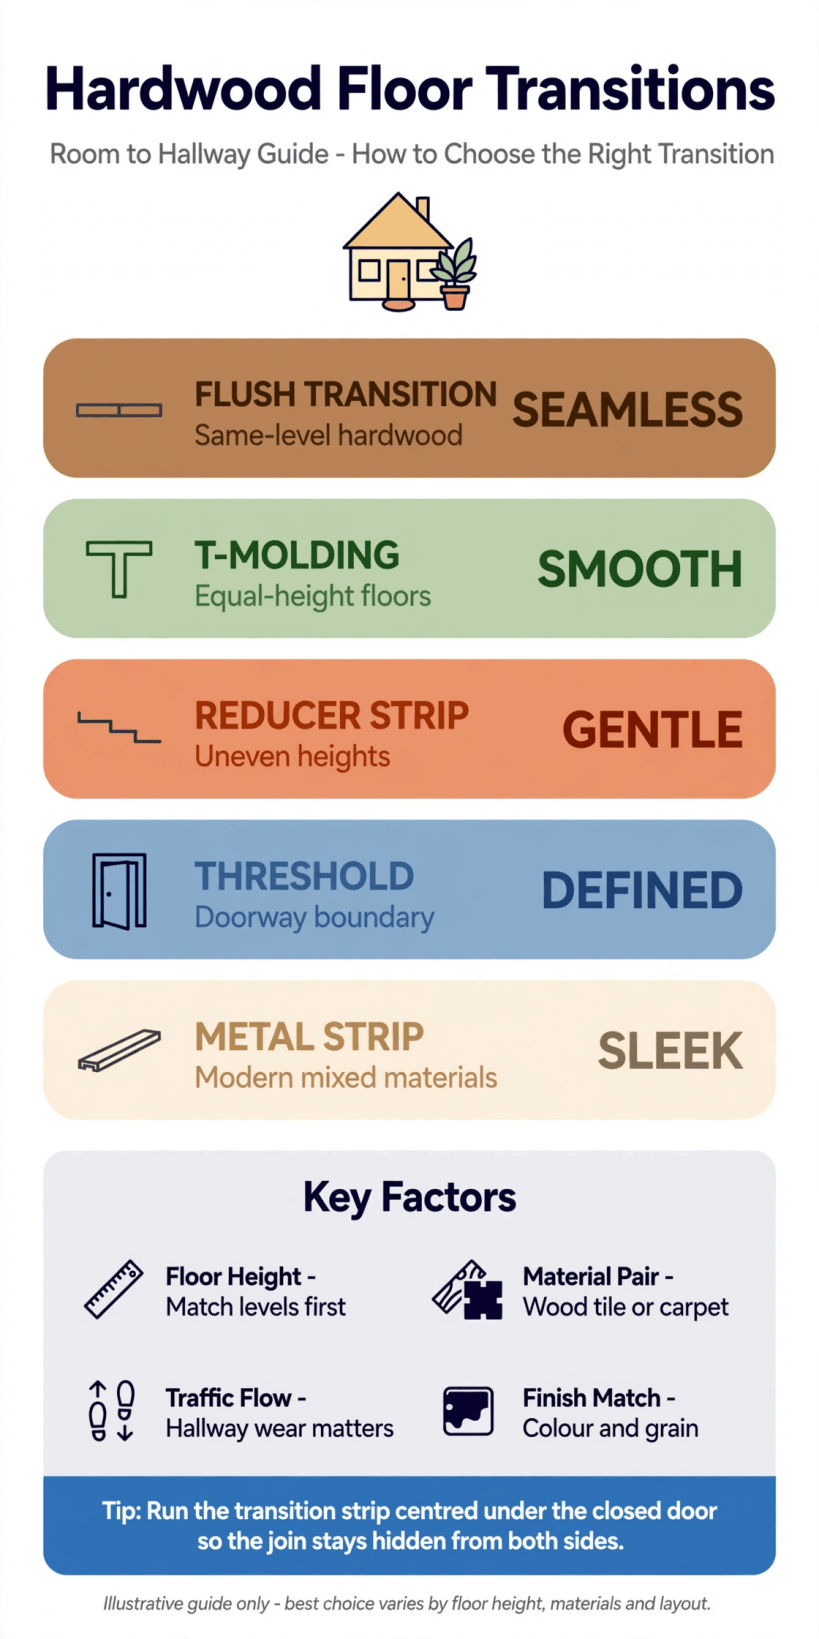
A quick visual summary of profiles, height checks and fixing choices to compare before you buy a single strip.
2. Flush and Seamless Joins That Let the Eye Travel
Sometimes the best join is the one you barely notice. When both floors sit at the same height and share a similar tone, a flush detail keeps the eye moving and makes small homes feel larger and calmer. This approach suits open, connected layouts like those in our favourite tiny house living room ideas, where every visual pause matters. Flush work demands accurate levels, so allow extra time for preparation, shimming and careful sanding rather than hoping the strip will hide uneven boards.
Example 1 — Same boards straight through. The simplest answer is no strip at all: boards continue through the doorway in the same direction, with only a discreet movement gap hidden in the door line. It looks effortless and feels smooth underfoot, but it needs both rooms laid as one field, similar moisture conditions on both sides, and a plan for repairs that does not involve lifting half the home to reach one damaged board later.
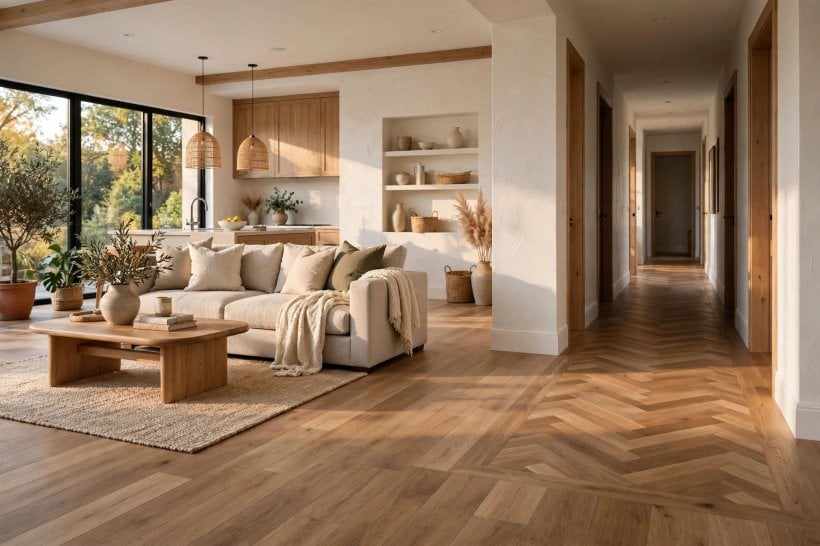
Example 2 — Flush inset strip in a matching tone. A slim timber strip sits level with both floors, filling the movement gap while echoing the board colour as closely as possible. Stain a sample offcut first and view it in morning and evening light, because a match that looks perfect in the shop can turn orange or grey at home. Keep the strip narrow so it reads as a shadow line rather than a border competing with the doorway.
3. Classic Threshold Strips With a Gentle Profile
A traditional threshold gives the doorway its own small moment. Slightly raised profiles protect vulnerable board ends, cover the movement gap completely and forgive tiny height differences that flush work cannot. Choose a profile with softened edges so bare feet and trailing cables are not annoyed by it, and think about how the strip will look from both sides, since a doorway detail is one of the few you see equally from the room and from the passage outside it.
Example 3 — Rounded oak saddle. A gently domed hardwood saddle bridges two levels with a curve that feet read as a soft step rather than a trip edge. It suits older homes where floors have settled unevenly over time. Fix it into the subfloor rather than the floating boards where the system allows, keep screw heads plugged or hidden, and finish it with the same oil or lacquer family as the floor so it weathers at a similar pace.
Example 4 — Slim brass-topped bar. A narrow metal-topped bar adds a quiet line of definition between two timber tones that are close but not identical. The metallic edge turns a near-miss colour match into an intentional contrast, which is far easier to live with. Wipe it when you clean the floors, avoid harsh polishes that could spill onto the wood, and check that the profile height still lets doors swing freely above it through every season.
4. Direction Changes That Turn a Doorway Into a Design Moment
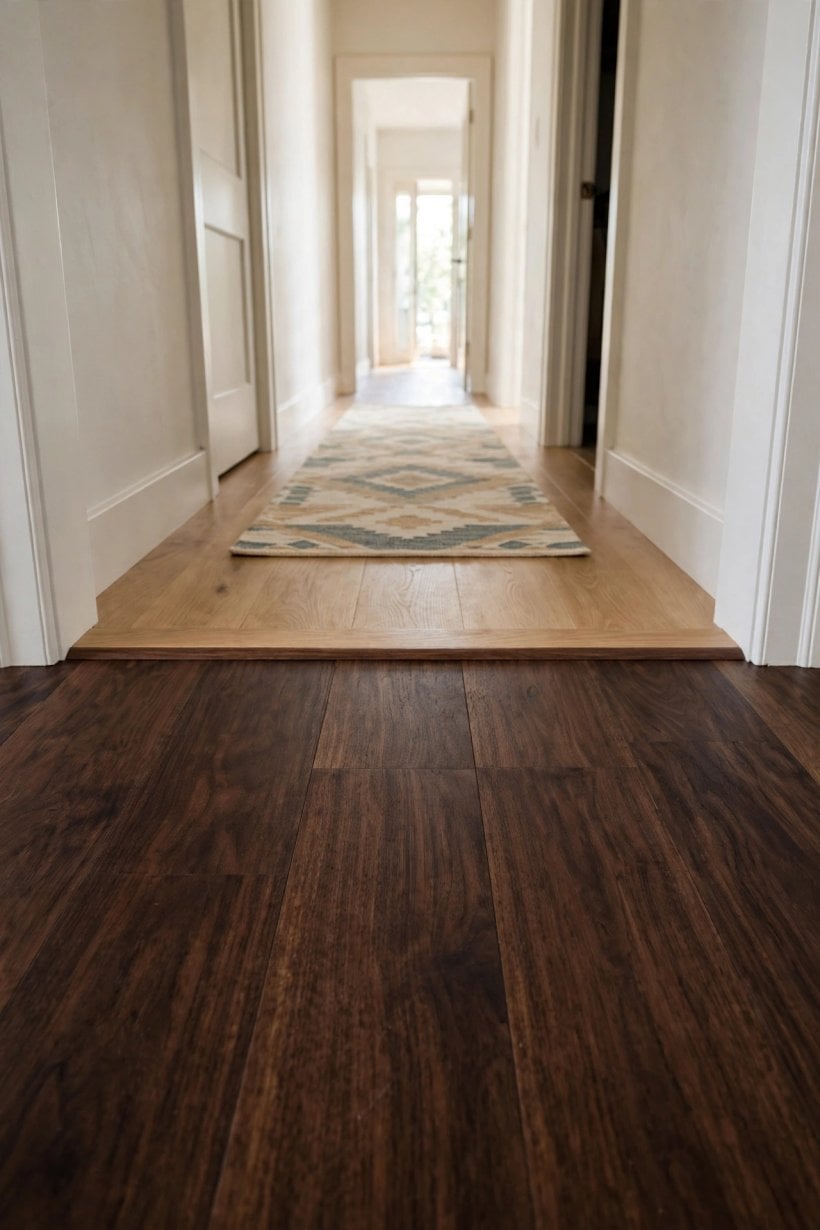
Turning the boards at the doorway can solve practical problems and add pattern at the same time. A change of direction shortens the visual run of a long hall, lets each room keep its most flattering board layout, and creates a natural place for the movement gap. It pairs well with the layered, collected feeling in many modern tiny house interior ideas, where pattern is used sparingly but confidently. Plan the turn carefully, because diagonal and patterned cuts waste more material and reward accurate measuring.
Example 5 — Herringbone turned at the threshold. Straight boards in the room meet a small herringbone panel set into the doorway, like a woven welcome mat made of timber. The panel absorbs the direction change gracefully and hides the movement gap within its pattern. Dry-lay the whole panel first, number the pieces on the back, and keep spare cut pieces labelled in case a future repair needs the same pattern and tone to blend in convincingly.
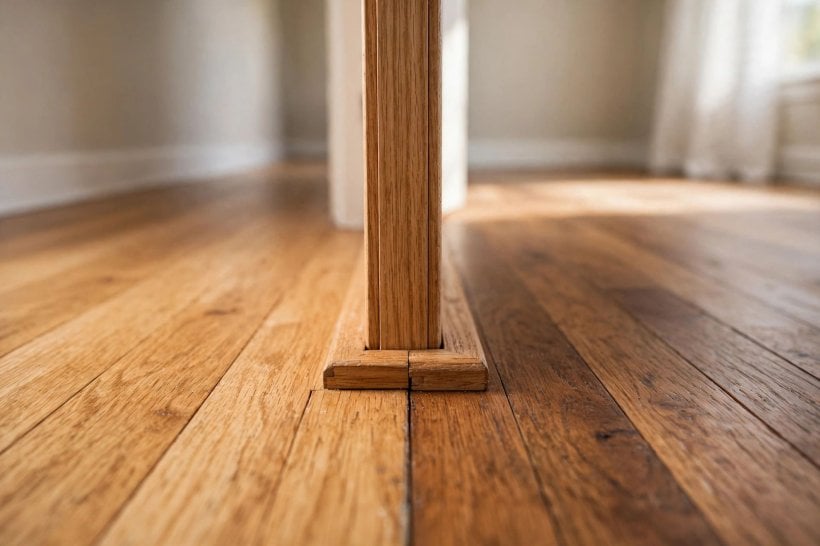
Example 6 — Perpendicular breaker board. One board laid across the doorway, at right angles to both runs, acts as a calm full stop between spaces. It is simple to cut, easy to replace, and honest about the fact that two rooms meet here. Choose a board with attractive grain, align its ends neatly with the door frame, and let it carry a slightly deeper finish if you want the pause to feel deliberate rather than leftover.
5. Handling Height Changes Without a Trip Hazard
Few joins are perfectly level in real homes, especially where a new floor meets an older one. The goal is a change that feet can predict: gradual, visible and consistent. Ramps, reducers and careful packing all have a place, but avoid stacking quick fixes that create a wobbly, hollow-feeling step. If the difference is large, treat it as a tiny step and design it properly, with a clear edge and good light, much as you would plan any level change elsewhere in the home.
Example 7 — Long, shallow reducer ramp. A reducer profile slopes gently from the higher floor down to the lower one, spreading the change over a comfortable distance. It is kinder to wheels, walking aids and sleepy midnight feet than a short, steep strip. Check the slope with a straight edge before fixing, make sure the thin end is well supported so it cannot flex or crack, and keep the surface finish grippy rather than polished and slippery.
Example 8 — Built-up underlay to level the lower side. Instead of bridging a gap, this example removes it: extra underlay or a levelling layer lifts the lower floor before boards are laid, so the join itself can be almost flush. It takes more preparation and may affect door clearances, so check that doors still open and close after the build-up. The reward is a calm, modern result that feels like the two floors were always meant to meet.
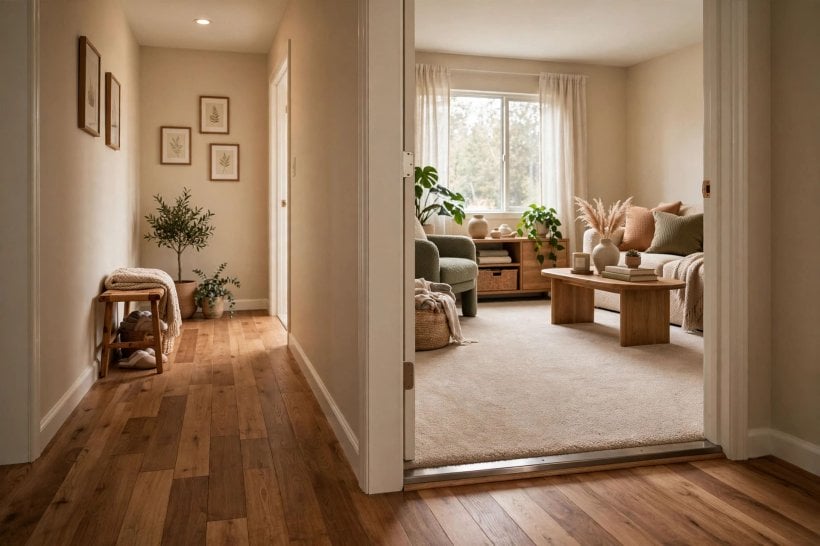
6. Contrasts, Borders and Framed Doorways
A visible join can be a gift. Framing the doorway with a contrasting tone defines each room, hides small colour mismatches and gives busy family traffic a hard-wearing centre strip. The trick is restraint: one clear contrast looks designed, while several competing borders look accidental. Borrow the confidence of the schemes in our round-up of tiny house decorating ideas, where a single strong detail is allowed to do the talking while everything around it stays quiet, simple and supportive.
Example 9 — Dark strip between pale floors. A deep-toned strip between two pale floors reads like an underline beneath the doorway, grounding the opening and hiding scuffs in the busiest spot. Keep the dark tone related to something else nearby, such as door handles, picture frames or a runner edge, so it feels connected. Expect it to show dust more readily than mid-tone timber, and choose a finish that can be refreshed without sanding the whole floor.
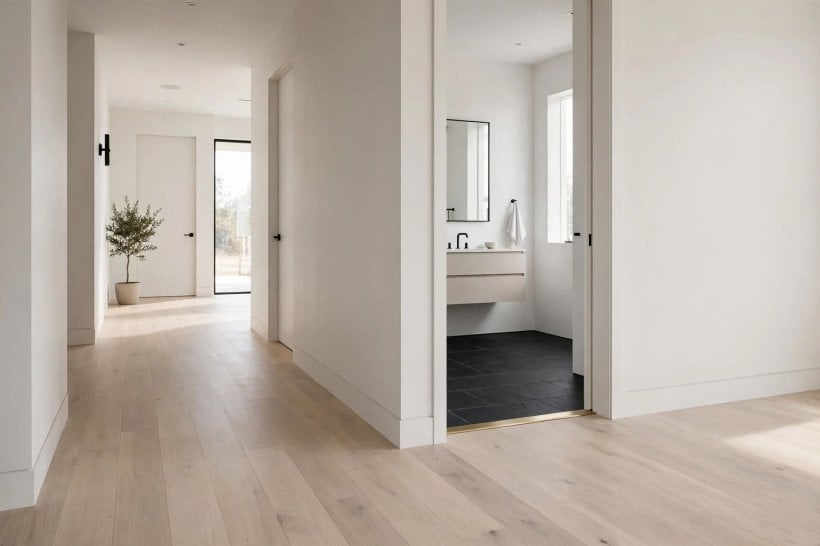
Example 10 — Double border frame. Two slim strips, one echoing each floor, sit side by side to make a small framed panel in the doorway. It is a forgiving solution when neither tone can win, and the symmetry suits formal, panelled doors especially well. Measure so both strips share the width evenly, keep the meeting line centred under the closed door, and test the arrangement with offcuts before cutting the real pieces to length.
7. Tile, Stone and Mixed-Material Meetings
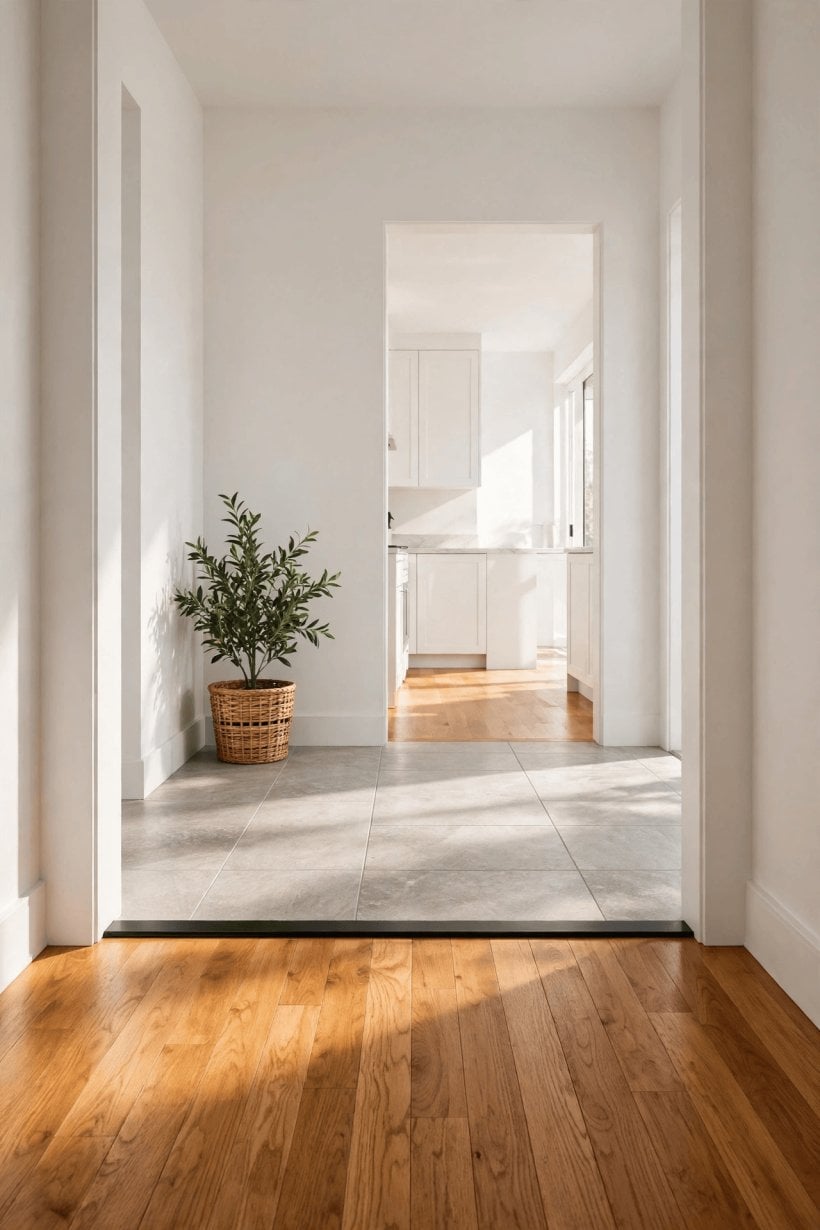
Not every doorway joins timber to timber. Halls often meet tiled entrances, stone flags or practical vinyl, and each pairing needs its own detail. The materials move differently, feel different underfoot and age at different speeds, so the join must be flexible as well as neat. Keep cleaning in mind too: a detail that traps grit at the edge of tiles will annoy you weekly, while a smooth, sealed edge can be swept in seconds and will protect the timber end grain from mop water.
Example 11 — Timber meeting large hall tiles. A flat metal or timber edge protects the board ends where they meet tile, while a flexible sealant line absorbs the different movement of the two materials. Leave the sealant slightly recessed so shoe soles do not pick at it, choose a colour close to the grout, and renew it when it splits rather than letting water reach the subfloor. This is a join worth photographing before covering, for future reference.
Example 12 — Timber meeting a woven runner zone. Where the hall continues in timber but a runner defines the walking line, the doorway join can stay simple and flush, letting the textile do the decorating. The runner also reduces wear exactly where feet pivot through the door. Use a low-profile underlay beneath the runner so it does not create a new lip at the threshold, and check our smart tiny house design ideas for more small details that layer comfort without adding bulk.
8. Narrow Halls, Small Rooms and Space-Saving Details
In compact homes the doorway join has to work harder. Wide strips can overwhelm a narrow passage, while fussy profiles collect dust in corners that are already hard to reach. Slim, calm details keep the floor feeling continuous, which is the cheapest visual space you can buy. Think about light as well: a pale, flush join reflects borrowed light between rooms, while a dark raised bar can visually chop an already short hall into even smaller pieces.
Example 13 — Extra-slim shadow-gap line. A very narrow recessed line, finished in a tone close to the boards, covers the movement gap without adding a visible strip at all. It suits minimalist rooms and narrow halls where every centimetre of visual width counts. Keep the gap consistent in width along the doorway, vacuum it with a nozzle rather than a brush, and accept that it is a detail for people who enjoy precision, because uneven cutting shows immediately.
Example 14 — Continuous tone, different plank widths. The room uses wider boards and the hall narrower ones, in the same finish, with a single breaker board between them. The subtle change adds interest without contrast, and narrower boards can make a short hall feel longer. Order both widths from the same batch if possible so the colour agrees, and store a few spare boards of each width, labelled by room, for the inevitable future repair.
9. Warm, Rustic and Characterful Joins
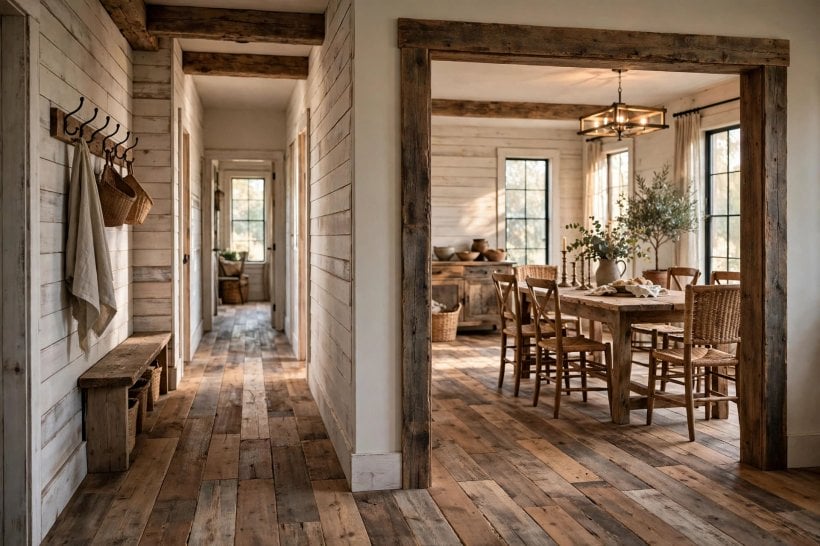
Older homes and relaxed, lived-in schemes can carry a join with more character. Reclaimed timber, visible fixings and gently uneven edges feel honest where a machine-perfect strip might feel cold. The aim is charm without carelessness: rustic still needs to be safe, cleanable and secure. Pair these ideas with the collected, practical storage thinking in our guide to tiny house closet design ideas if your doorway also has to handle shoes, coats and the everyday theatre of leaving the house in a hurry.
Example 15 — Reclaimed board threshold. A single reclaimed board, sanded smooth but keeping its saw marks and old nail holes filled, bridges the doorway with history built in. It will never match either floor exactly, and that is the point. Seal it well so the texture stays pleasant underfoot, round its edges more than you think necessary, and tell your household the story of where it came from, because character details earn their keep in conversation too.
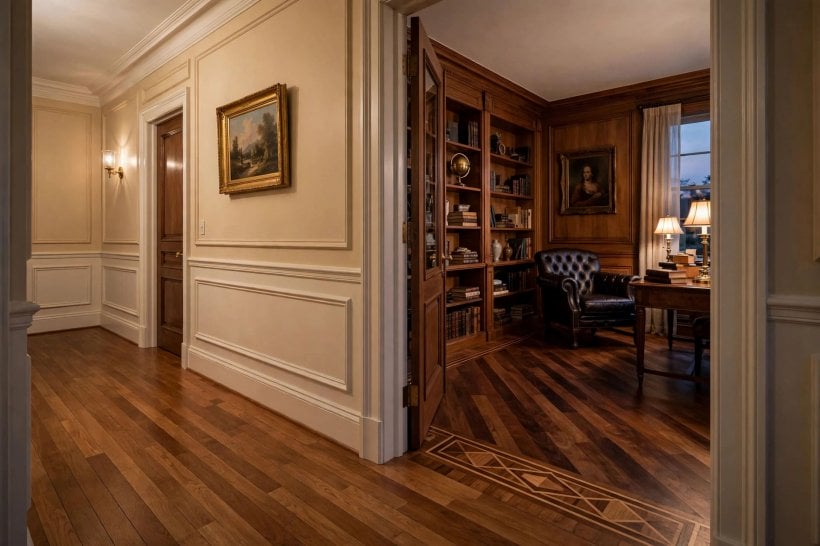
Example 16 — Wide cottage-style threshold with a soft edge. A broader, softly rounded threshold suits cottage doors and generous, slow living. It gives bare feet a pleasant landing spot and protects a wide span of board ends in one piece. Choose a stable, well-seasoned timber so the width does not cup, keep the finish matte, and expect it to gather a gentle patina of wear that only improves its fit with the rooms around it over the years.
10. Fitting, Finishing and Living With Your Join
The last examples are about what happens after the pretty decision: fitting day, finishing, and the first year of real life. Good joins are boring in the best way. They stay quiet, stay put and ask for only simple care. Keep a small repair note with product names, finish types and spare pieces, take photographs before and after fitting, and revisit the join after the first heating season, when timber has moved once and small gaps or lifted edges will honestly show themselves.
Example 17 — Glued-and-pinned strip for a quiet finish. Combining adhesive with discreet pins gives a strip that resists the rocking and clicking a purely glued strip can develop. Fill pin holes with a matching filler, then finish the whole strip in place so the surface is continuous. Note the fixing method in your repair file, because a future owner, or a future you, will be grateful when the strip needs lifting without splitting the boards beside it.
Example 18 — Screw-fixed strip for future access. Where pipes, cables or a subfloor hatch sit beneath the doorway, a neatly screw-fixed strip that can be lifted is the grown-up choice. Use plugs cut from matching timber to hide the screws, keep a note of their positions, and resist the urge to add adhesive just in case. Planned access looks just as tidy as permanent fixing, and it can save a whole floor on the day something underneath needs attention.
Example 19 — Oiled finish refreshed in place. An oiled strip can be cleaned, lightly abraded and re-oiled without touching the rest of the floor, making it ideal for the highest-wear doorway in the house. Tape off the surrounding boards, work a thin coat into the timber, and buff away every trace of excess so socks do not find it later. Our tiny house kitchen design ideas show the same refresh-friendly thinking applied to busy family workspaces.
Example 20 — The seasonal check that prevents small failures. Twice a year, walk every doorway slowly in bare feet. Note any new lip, click, gap or rocking strip, photograph it, and deal with it while it is still a ten-minute job. Re-pin a loose end, renew a tired sealant line, or refresh a worn finish before grit and water move in. This tiny habit is the difference between a join that quietly lasts and one that slowly unravels.
Final Considerations
Choose the join your floors actually need, not the one a photograph made fashionable. Start with heights, respect the movement gap, and let the style of both rooms guide whether the detail disappears or makes a small, confident statement. Dry-lay everything, test finishes on offcuts in real light, and check the specific requirements for your flooring and subfloor with the supplier or a local fitter before fixing anything permanently, especially where underfloor heating, moisture or a large height change is involved. Do that, and the step between room and hall becomes one of those quiet, satisfying details that makes the whole home feel properly finished, every single day, without ever asking for attention.


0 Comments