
A great craft room is not about having the most supplies. It is about finding everything quickly, working comfortably, and clearing away without a battle.
These ideas for craft room layouts, storage and styling cover whole rooms, spare corners and shared spaces, with 75 practical ways to make yours work harder.
1. At a Glance: Craft Room Basics
Start with how you actually make things. List your main crafts, the bulkiest supplies, and the stages each project passes through, from storage to making to drying or finishing. Your room should follow that journey. For wider planning principles that apply to any hardworking small room, see our tiny house building design ideas.
| Question | Short Answer |
|---|---|
| What matters most? | A comfortable work surface, storage you can reach, and light you can trust. |
| How should storage be planned? | By frequency: daily tools closest, occasional supplies higher, deeper or further away. |
| What size table works? | The largest your room allows while still letting you walk, open doors and pull out a chair. |
| What drives cost? | Furniture, fitted storage, lighting and electrical work, in that rough order for most rooms. |
| What should you check first? | Power points, floor level, door swings, window light and where mess and noise will travel. |
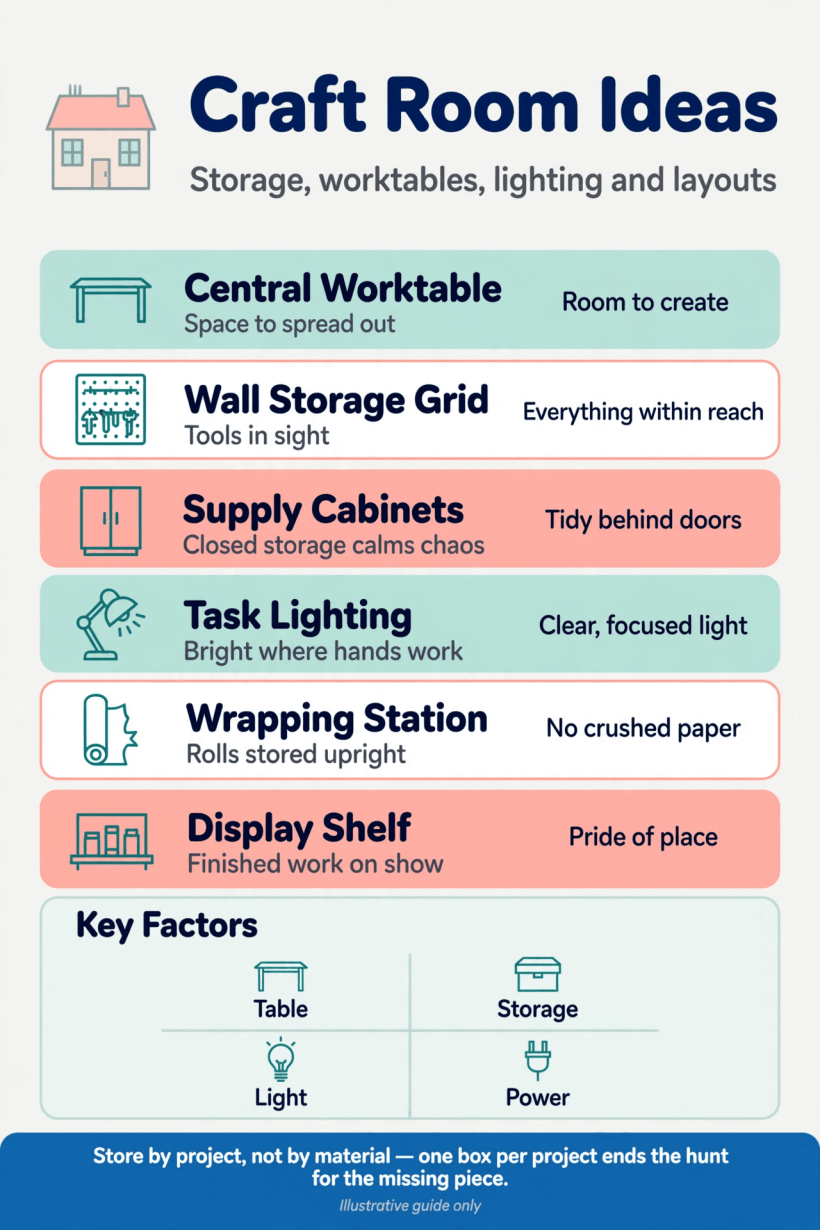
A visual summary of the layout, storage and lighting decisions to make before you start moving furniture or buying boxes.
Measure before you dream in detail. Note the room’s dimensions, socket positions, radiator or vent locations and the direction daylight travels during your usual crafting hours. A quick sketch with those facts marked will prevent most expensive mistakes, and it takes ten minutes.
2. Layout Ideas for Rooms of Every Shape
Layout is the skeleton everything else hangs on. Aim for a triangle between your main work surface, your most-used storage and your finishing area, and keep walkways clear enough that a project in progress never has to be dismantled just to leave the room.
1. Central island table. A table in the middle lets you work from all sides and suits group projects, cutting and assembling large pieces.
2. Wall-run worktop. A long counter along one wall keeps the centre clear and gives sewing, machines and computers a permanent home.
3. L-shaped layout. Two runs meeting in a corner separate making on one side from a computer, printer or finishing zone on the other.
4. U-shaped layout. Storage and surfaces on three sides put everything within a chair’s swivel, ideal for a dedicated room.
5. Window-facing desk. Face your main work toward daylight for colour accuracy, and keep artificial task light ready for evenings.
6. Two-person layout. A shared table with storage at each end lets two makers work without borrowing across each other’s projects.
7. Standing station plus seated desk. Pair a higher cutting or packing surface with a seated area for detailed work and longer sessions.
8. Zone by craft. If you practise several crafts, give each a defined zone with its own tools, rather than one mixed surface.
9. Open centre, storage walls. Keep the middle empty for photography, assembly or floor work, and line the walls with storage.
10. Flexible layout on wheels. Mobile tables and carts let the room change shape for big projects, classes or seasonal crafts.
3. Work Surfaces and Seating That Support Long Sessions
You will spend most of your crafting life at one surface, on one chair, so these choices deserve real care. Think about height, knee room, surface finish and how the edges feel against forearms during a long afternoon.
11. Deep worktop. A deeper surface holds machines at the back and projects at the front without constant shuffling.
12. Smooth, wipeable top. Choose a finish that tolerates glue, ink and blades with a mat, and cleans without fuss.
13. Drop-leaf table. Expand for big projects and fold down for everyday space in smaller or shared rooms.
14. Height-adjustable desk. Useful if several people share the room, or if you alternate sitting and standing tasks.
15. Cutting mat station. Dedicate one flat area, always clear, sized to your largest regular cutting or measuring job.
16. Supportive chair on casters. A chair that rolls between zones and supports your back will be used more than any stool.
17. Footrest and good posture. Small ergonomic additions prevent the aches that quietly shorten crafting sessions.
18. Machine table with cable order. Route cables behind or below the surface so feet, fabric and paper never tangle in them.
19. Project trays on the surface. One tray per active project keeps works in progress contained and stackable at day’s end.
20. Clear-surface rule. Decide what may live permanently on the table; everything else earns a home elsewhere.
4. Storage Ideas That End the Hunt for Supplies
Storage should answer questions instantly: where is it, and can I see it? The principles mirror good wardrobe planning, and our tiny house closet design ideas are a surprisingly useful read before you plan a single shelf.
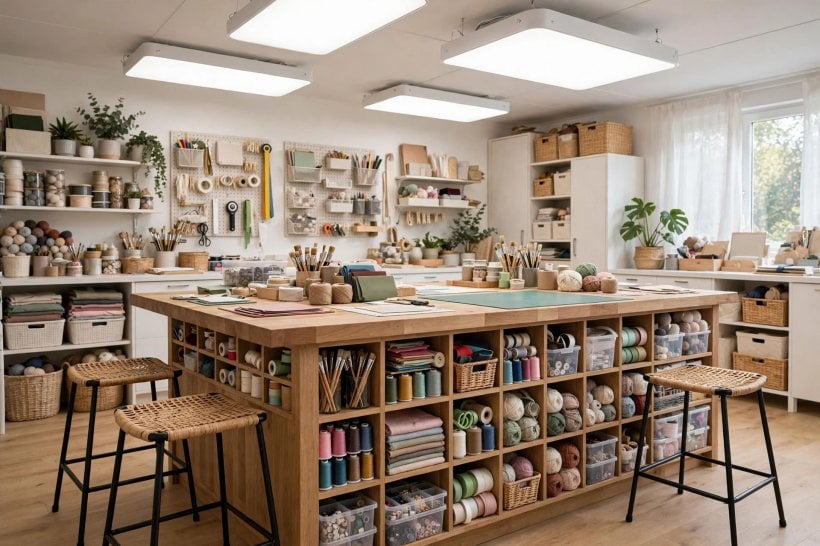
21. Open shelves for daily supplies. What you use constantly should be visible and grabbable, not boxed behind other boxes.
22. Clear boxes for grouped kits. Transparent containers for occasional supplies let you check contents without opening everything.
23. Label everything honestly. Labels that name contents precisely save more time than any storage product ever will.
24. Shallow drawers for tools. One-layer drawers stop tools burying each other and make tidying a two-minute job.
25. Vertical dividers for boards and paper. Store flat materials upright with dividers to prevent curling, bending and forgotten stock.
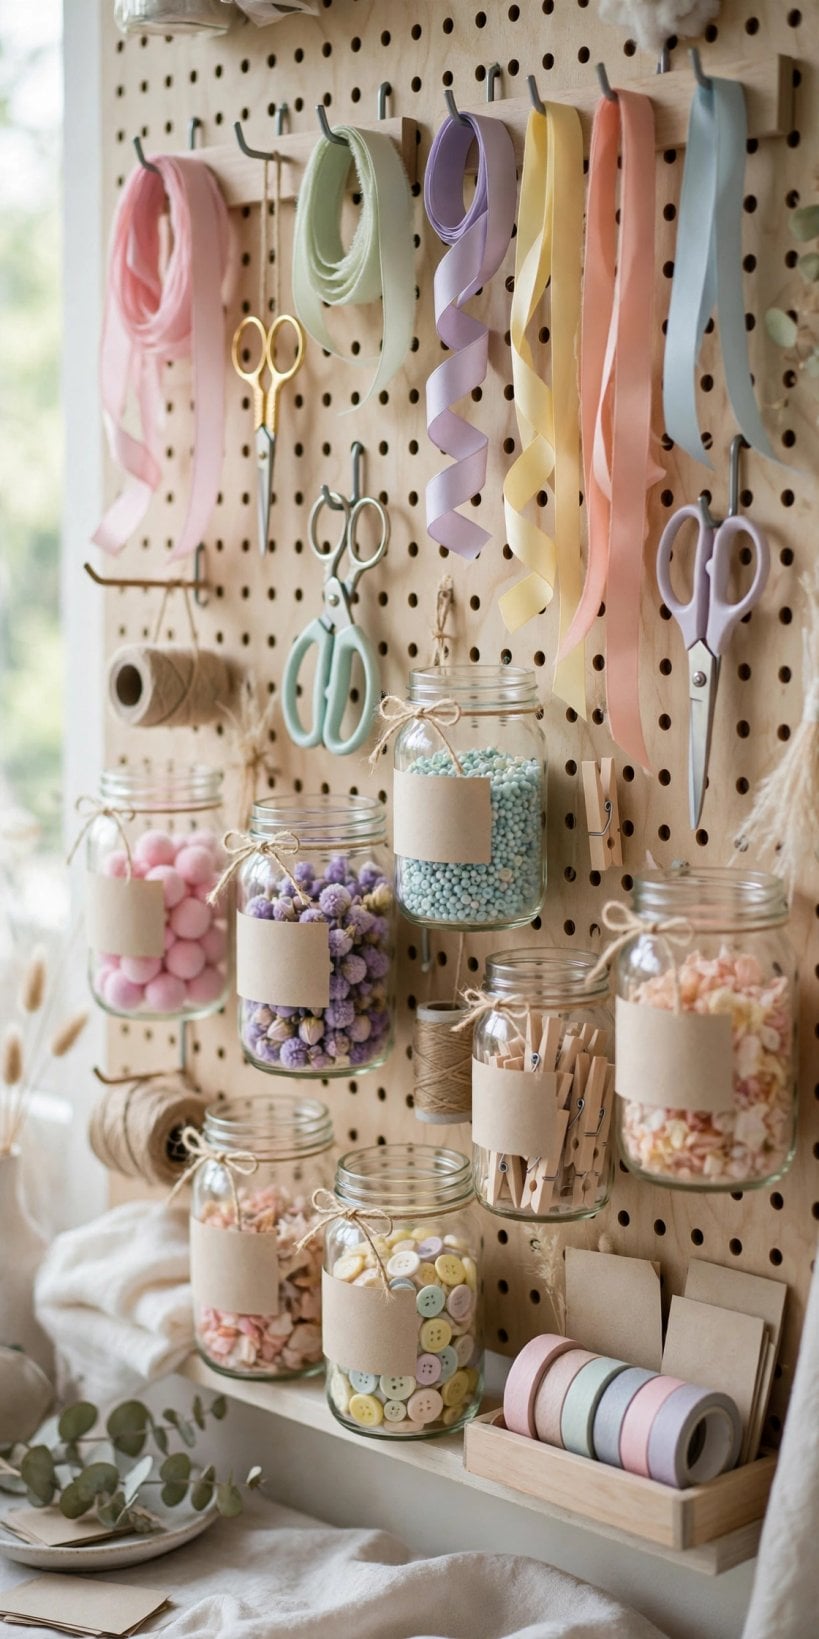
26. Pegboard tool wall. A board above the work surface keeps hand tools visible, ordered and off the table.
27. Rolling cart for current projects. A cart that parks beside you and rolls to storage keeps active supplies mobile.
28. Cupboard for the unsightly. Bulky, rarely used or messy items belong behind doors, out of your visual field.
29. Small parts in divided trays. Beads, buttons, screws and findings need compartments sized to them, not one mixed jar.
30. One-in, one-out stock rule. A simple limit per material type keeps the stash inspiring rather than overwhelming.
5. Paper, Fabric, Yarn and Bulky Materials
Different materials fail in different ways: paper fades and curls, fabric collects dust, yarn tangles, and bulky items eat rooms. Give each family storage that respects how it behaves, and keep precious stock away from direct sun and damp.
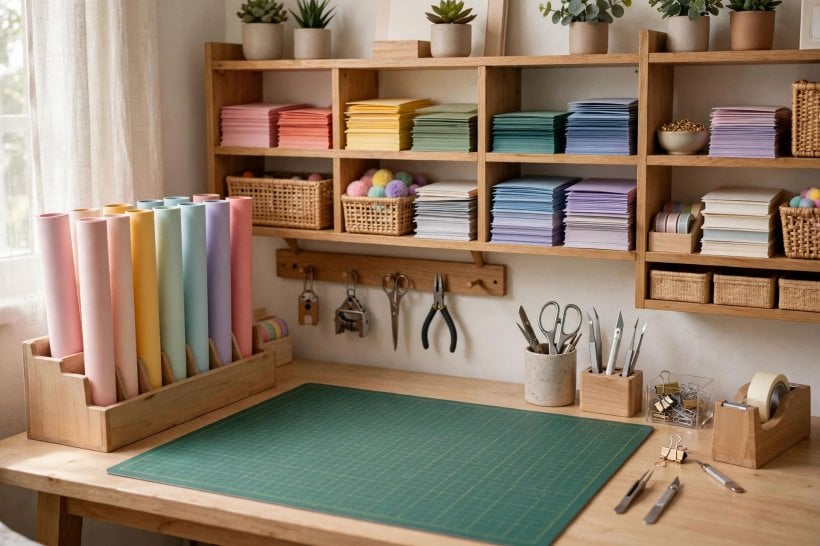
31. Paper in flat, labelled trays. Sort by size and colour family, and keep the active tray on the work surface.
32. Fabric folded on open shelves. Visible folds remind you what you own and stop repeat buying of the same tones.
33. Fabric by project in boxes. Kit fabric, pattern and notions together so starting a project means lifting one box.
34. Yarn in open baskets. Baskets keep balls contained but visible, and odd balls together make colour planning easy.
35. Ribbon and tape on dowels. Rolls stored on rails feed smoothly and never vanish into drawer tangles.
36. Paint upright and grouped. Keep paints, inks and mediums together in a washable tray, lids visible and labelled.
37. Drying rack zone. A rack, line or shelf reserved for drying work protects finished pieces and the work surface.
38. Gift-wrap and packaging corner. Paper, bags, tags and tape in one spot turn wrapping from a hunt into a pleasure.
39. Scrap system with limits. Keep scraps in one sorted box per material; when it is full, use it or recycle it.
40. Archive boxes for finished work. Flat, labelled storage for completed pieces keeps them safe and the room ready for what’s next.
6. Small Rooms, Shared Rooms and No-Room Solutions
Not everyone has a spare room, and you do not need one. A well-planned corner, cupboard or dual-purpose guest room can outperform a chaotic whole room, especially if you borrow the compact discipline from our modern tiny house interior ideas.
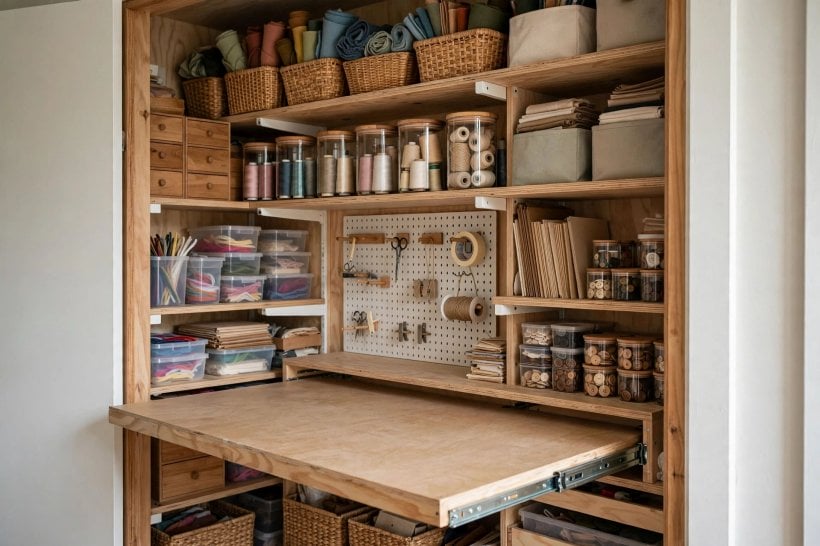
41. Cupboard craft station. A deep cupboard with a fold-down surface becomes a room that closes its own door.
42. Under-stairs workstation. A desk and shelves fitted under stairs turn dead space into a focused making nook.
43. Guest room with a craft wall. Keep the bed side calm and give one wall entirely to work and storage.
44. Dining table system. A rolling cart plus project trays lets a dining table become, and stop being, a craft room cleanly.
45. Hallway landing desk. A slim desk on a wide landing can hold a surprising, satisfying daily practice.
46. Bedroom corner with a screen. A screen or curtain hides work in progress and restores the room’s restful job at night.
47. Garage or shed bench. Messy, noisy or dusty crafts may belong at a bench outside the living space entirely.
48. Portable craft case system. If space is truly zero, beautifully organised cases that store in one cupboard still count.
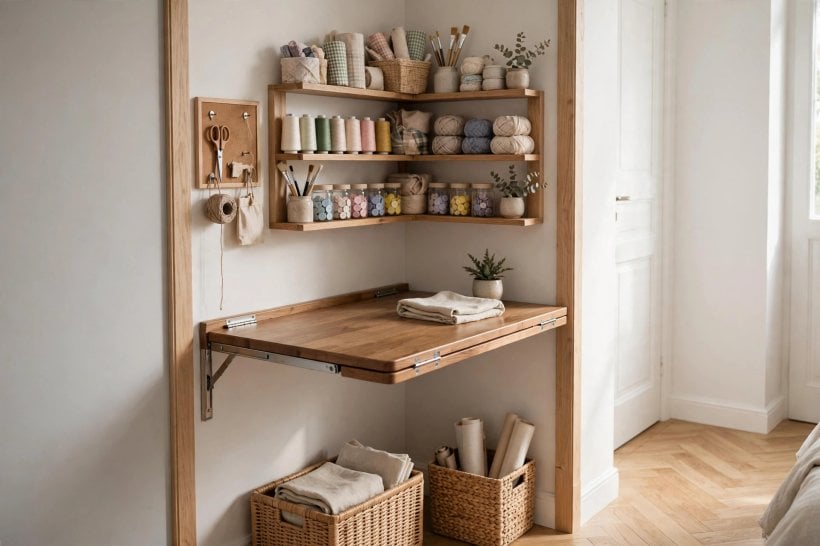
49. Wall-mounted fold-down table. A hinged surface gives a real worktop that disappears in seconds when guests arrive.
50. Rent-friendly, no-drill storage. Over-door organisers, freestanding shelves and carts keep landlords and deposits safe.
7. Colour, Light and a Room That Sparks Ideas
Colour affects accuracy and mood in equal measure. Walls near your main work area are safest in calm neutrals that do not cast colour onto your projects, while bolder colour can live on furniture, boxes and the wall behind you. Our guide to tiny house interior paint colours and our look at colourful tiny house interiors both help if you are choosing a palette.
51. Neutral work zone, colour elsewhere. Keep the judging area honest and let storage furniture carry the personality.
52. One accent wall. A single deeper colour behind shelves adds depth without closing the room in.
53. Daylight-first layout. Put colour-critical work nearest the window and storage in the room’s darker zones.
54. Layered lighting. Ceiling light for the room, task light for the surface, and a small lamp for atmosphere.
55. Directional task lamp. An adjustable lamp aimed at the work, not your eyes, prevents shadows from your own hands.
56. Display rail for inspiration. A rail or line for cards, swatches and sketches feeds ideas without covering the work area.
57. Colour-sorted storage as decor. Supplies arranged by colour on open shelves become the room’s artwork for free.
58. A finished-projects shelf. Seeing completed work displayed builds momentum better than any motivational print.
8. Tools, Technology and Tidy Workflows
Machines and digital tools earn their space when they are set up properly, maintained simply and stored with their accessories together. Keep manuals, spare parts and the correct cables with each machine, in one labelled pouch or box, so a small fault never becomes a full stop.

59. Machine home positions. Each machine gets a marked home with its pedal, cords and accessories together.
60. Charging and power strip order. One tidy power run, labelled plugs and no cables across walkways or under chair wheels.
61. Printer and cutting machine shelf. Give digital tools a shelf with paper, mats and blanks stored directly beside them.
62. Tool sharpening and care kit. Scissors, blades and needles stay pleasant to use when care tools live nearby.
63. Project workflow wall. A simple board tracking current projects, next steps and waiting-on items prevents pile-ups.
64. Photography corner. A plain backdrop spot and decent light make photographing finished work effortless.
65. Packing and postage station. If you sell or gift your work, one box of packaging at the finishing zone saves chaos.
66. End-of-session reset list. A short posted routine returns the room to ready in five minutes flat.
9. Finishing Touches That Make You Want to Stay
Practical rooms get used; loved rooms get used more. These final ideas add comfort, personality and the small luxuries that turn a workstation into a retreat you choose on free evenings.
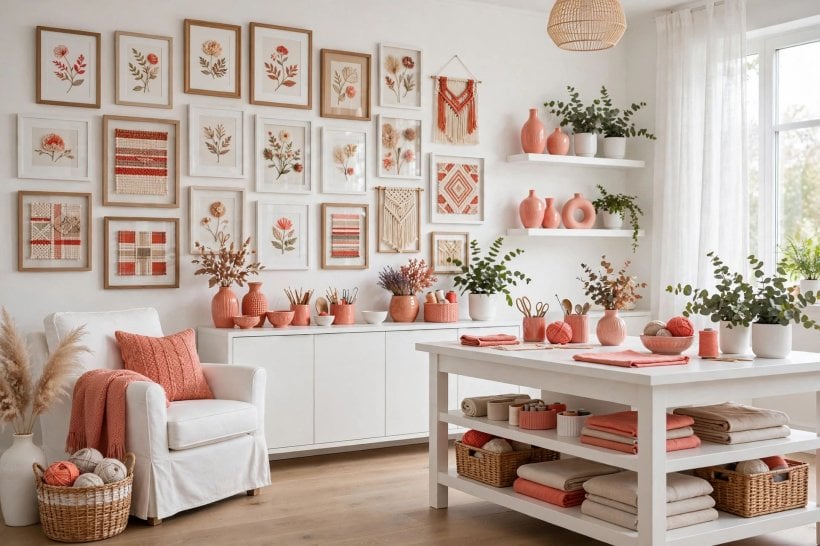
67. A genuinely comfortable chair. If you plan, hand-finish or read in the room, give it a chair you love.
68. Rug to define the zone. A low-pile, chair-friendly rug marks the craft territory in shared rooms.
69. Music or podcast corner. A small speaker spot keeps devices off the work surface and sessions companionable.
70. Drinks ledge, not desk. A side ledge for cups protects projects from the one spill everyone eventually has.
71. Inspiration library shelf. Books, patterns and notebooks within reach of the chair, not buried under supplies.
72. Seasonal display swap. Rotating one small display keeps the room feeling current without redecorating.
73. A door sign or name. Naming the room, however playfully, makes its purpose feel real and respected.
74. Guest crafter kit. A spare apron, basic tools and a clear tray make it easy to craft with friends or children.
75. The one-hour tidy challenge. Photograph the room monthly; an hour’s honest reset keeps it the room in your best photo.
10. Costs, Safety and Practical Checks
Costs scale with ambition. Rearranging furniture and decanting supplies into containers you already own costs almost nothing. New flat-pack storage, a good chair and better lighting form a sensible middle tier. Fitted furniture, electrical changes and structural work cost the most and deserve written quotes, clear timescales and a check on what is included, from delivery to disposal of packaging.
Safety deserves equal billing. Keep hot, sharp and chemical supplies stored as their labels direct, out of children’s reach where relevant, and give dusty or fume-producing processes ventilation. Check that shelving is fixed as its instructions require, that heavy items sit low, and that cables and rugs do not create trip hazards. If you plan electrical work, use a qualified electrician and follow your local requirements; check with your city or county if you are unsure what applies to your home.
Finally, plan the reset as carefully as the setup. Bins for rubbish and recycling within reach, a scrap system with limits, and a home for everything you buy will keep the room working a year from now. If a bigger home move is part of your plans, our guide to tiny houses for sale and rent is a useful reminder of how much a dedicated making space can be worth.
Final Considerations
Build the room around your real habits, not an imaginary tidier crafter. Put daily tools closest, give every material family a considered home, light your work honestly, and add one or two touches that make you smile when you open the door. A craft room that resets in minutes will be used for years, and that steady use is the whole point.


0 Comments